

This bathroom was a whirlwind of a project! 3 weeks and a whole lot of paint later, this brown bathroom completely transformed into the light and airy kids’ bathroom of my dreams and I’m over the moon about it.
Want to see what projects I’m working on now? Follow me on Instagram!
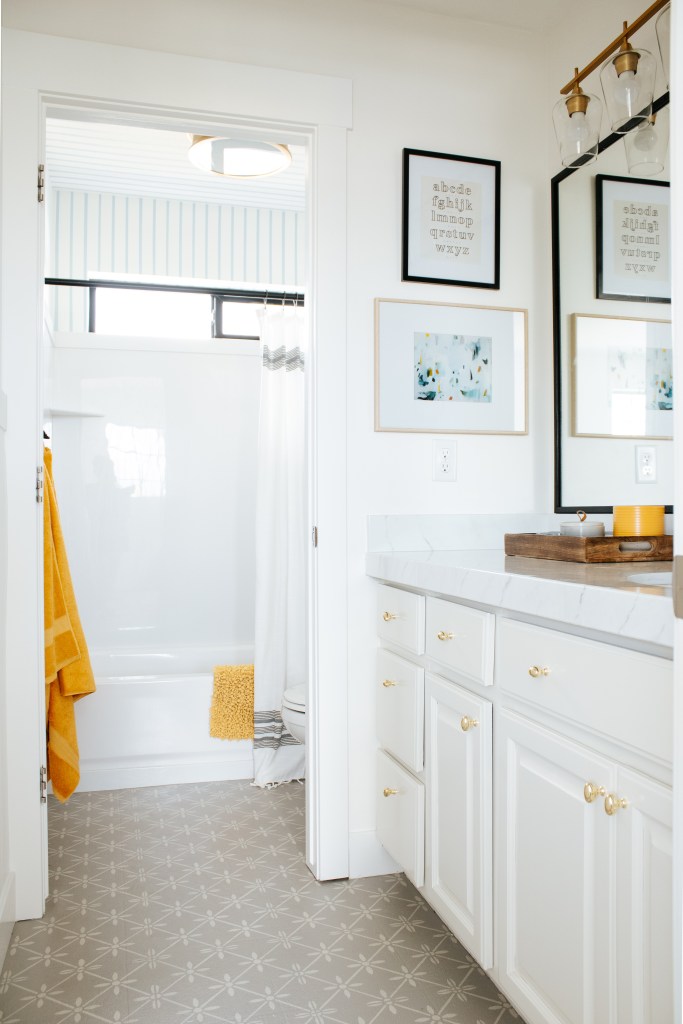
Before, this bathroom was brown and builder grade. There weren’t any functional pain points, but aesthetically this room was not cutting it for me. The brown walls and ceiling, brown floors, brown vanity and counters…you get it. It was a lot of brown. I really wanted to lighten this space up to make it feel happy and fun for my two young kids, but still work within my style.

You can see that I deviated from the original moodboard a little bit. If you follow along on Instagram, you know about the whole yellow vs. blue stripe debacle! I don’t think I’ve ever agonized over a design decision as much as i did this one. In the end, I decided to make my three year-old happy by going with blue. He loves it and it looks great, so I’m glad I went that route.
But let me back up a little. I started by painting the walls and ceiling Simply White, which in and of itself did so much to brighten up the space. This is one of my favorite white paint colors. It’s just warm enough so it doesn’t feel sterile but not too warm to the point where it looks yellow.
Then I painted the vanity Soft Chamois, a nice light creamy color. Light cream cabinets are definitely trending right now! Of course I installed hardware as well to bring in the old-Hollywood-glam vibe I was going for.

Even though the granite vanity top was high quality, it felt so dark and heavy in here. Ideally I would have purchased a new marble or quartz top, but I was trying to keep this bathroom refresh within a pretty tight budget. Spending thousands on a new top would have completely blown that budget. One day I do hope to switch this out for real stone in a style that I like, but for now this was a great solution.

And I mean, talk about a showstopper – I swoon. I used an epoxy kit to make the vanity top to look like marble. I couldn’t be happier with how it turned out! You can see my tutorial on how I did that here.
The builder grade mirror is a great size, but next to all the other updates started to look a little sad. So obviously I had to do something about it! I trimmed it out for about $25 to give it more of an on trend look.

Let me bring you into the water closet. It took me hours over the course of several days to tape these stripes and keep them straight – especially since I carried them onto the ceiling – but they bring such a fun element into this small room, right? Certainly I could have used a wallpaper that would have made it ten times easier, but again. I was trying to stay within a narrow budget (tutorial coming soon)!

I think water closets are such a great opportunity to do something fun! They’re a small space, which means patterns and bold designs won’t get overwhelming or lost. These stripes are Elliott’s favorite part of the entire bathroom.


Did you catch this spontaneous project I snuck in here? I painted this window black! Before, it was – you guessed it – brown and after finishing the space it felt like it didn’t belong. So I changed it, duh! I taped everything off, used some spray paint, and bam! Black window.
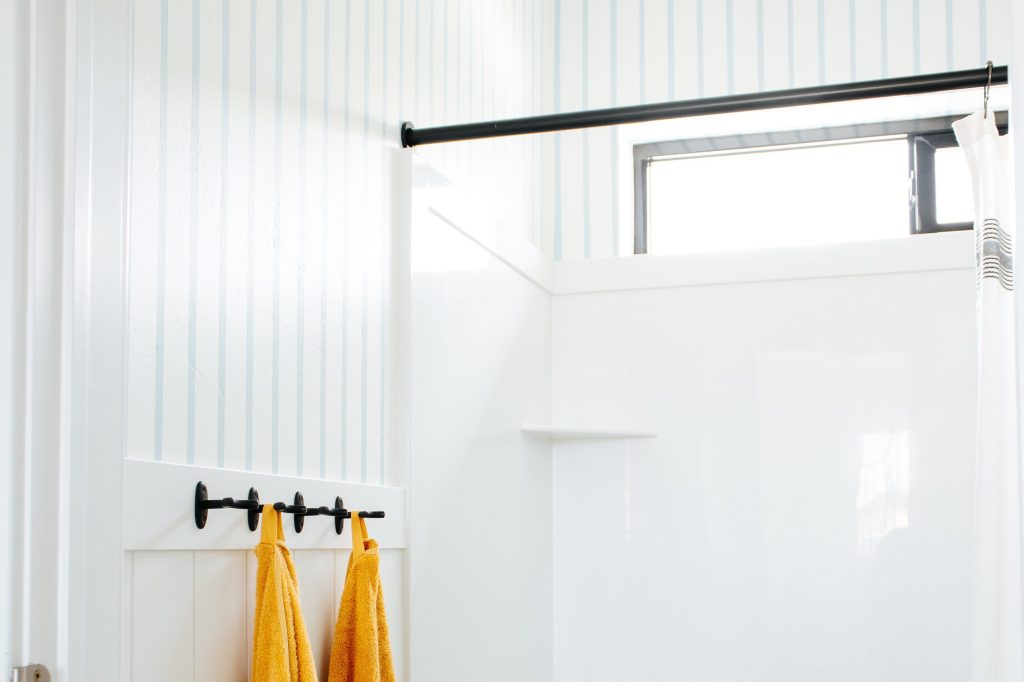
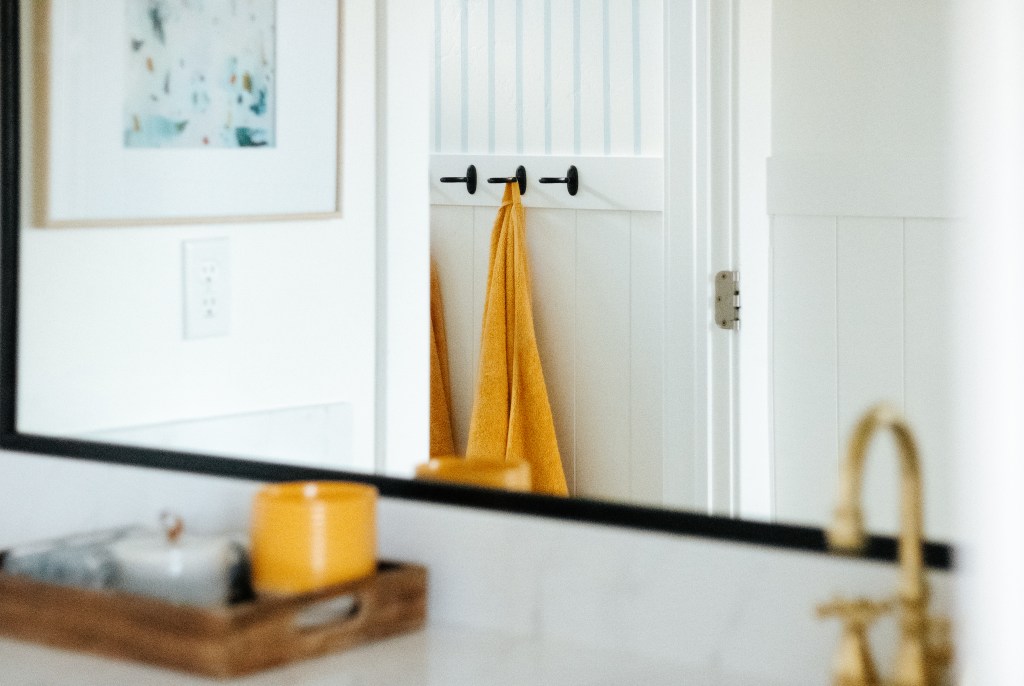
To help the two spaces flow together, I installed a half-wall vertical shiplap wall treatment. But instead of using real shiplap boards (or cutting down thin plywood for a faux look like I’ve done in the past), I tried out these shiplap panels from Home Depot. They made the install a breeze and were at least one tenth the cost compared to using the “real deal” (tutorial coming soon). The panels are not a solution for every project, but if they work for your space I think they’re a great option!

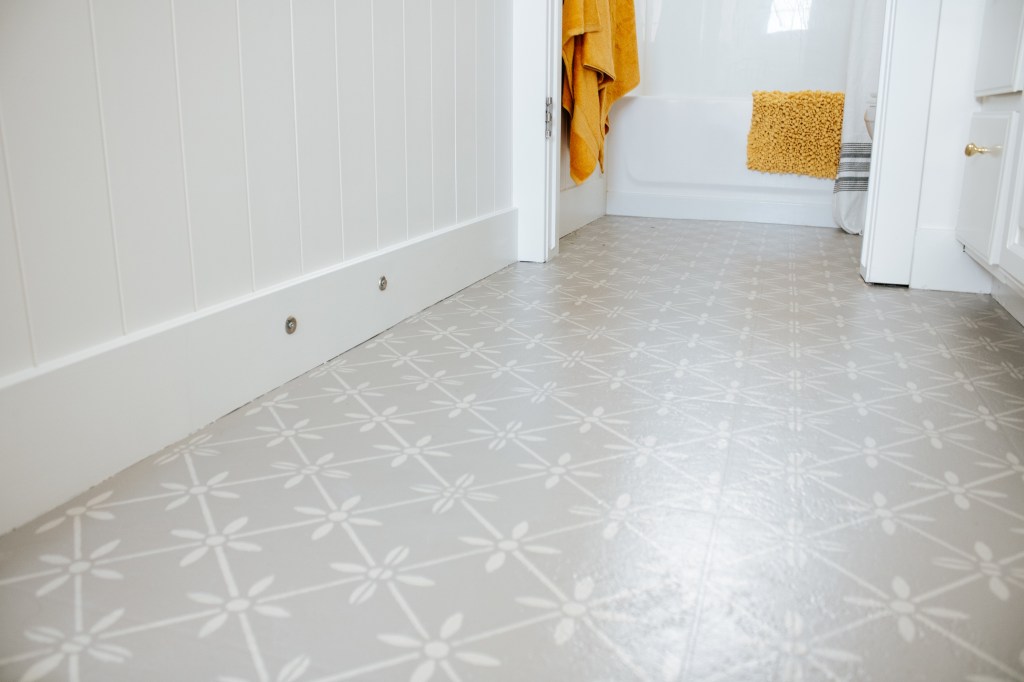
Similar to the counters, I would love to tear out this linoleum one day and retile, but for now I painted it! I’ve loved this tile pattern for ages. A few different versions of it have been sitting on my Pinterest page for years. Years. When I saw that Cutting Edge Stencils makes a stencil in this pattern, I immediately knew that it was going in here. Getting the colors right took a few tries, but we finally got it. I love the pattern in here just as much as I did sitting on Pinterest board for years (tutorial coming soon).
With all the major DIYs done it was time for the finishing touches. I installed these new light fixtures. The one in the water closet is one of my favorites I’ve ever installed! I’m all about #deathtobooblights, so switching that out for something a little more unique was very satisfying. The main fixtures are all brass, so I brought in black with the towel hooks, toilet paper holder, curtain rod and towel ring to give the space some depth.


All of the artwork is from Juniper Print Shop. This isn’t sponsored, I just genuinely love their collections! It can be difficult for me to find prints for kids rooms that I love, but all of their artwork hits the nail on head.

Sources
Wall & trim color : Benjamin Moore Simply White
Cabinet color : Benjamin Moore Soft Chamois
Blue stripes : Benjamin Moore Breath of Fresh Air
- Epoxy Kit
- Cabinet Hardware
- Vanity Faucet
- Vanity Light Fixture
- Water Closet Light Fixture
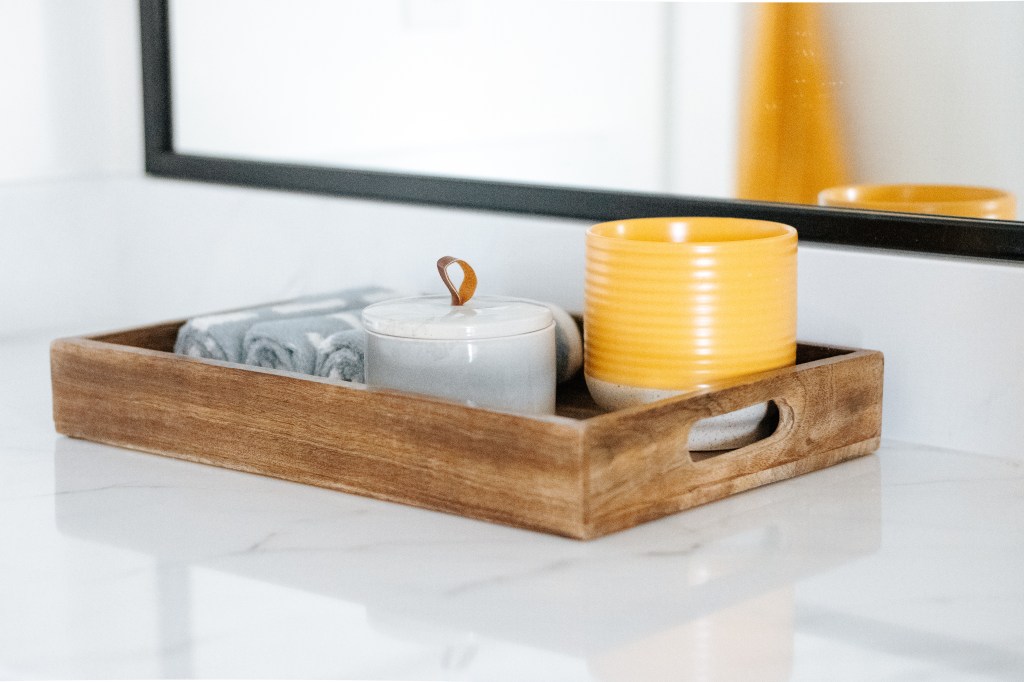
- Soap Pump & Canister
- Vanity Tray
- Pear & Sugar Candle
- Toilet Paper Tray
- Flight Art Print
- Sonnet Art Print
- Alphabet Art Print
- Shower Curtain Rod (best tension rod I’ve ever used)
- Shower Curtain
- Towel Hooks
- Toilet Paper Holder
- Towel Ring
- Yellow Towels
- Bath Mat
- Rustoleum Floor Paint (I I used Windsor Gray for the base and Oyster Shell for the stencil)
- Wallflower Tile Stencil

Thank you so much for following along with this project! I hope you enjoyed it as much as I did. If you want more behind the scenes, be sure to follow me over on Instagram too!
With love,
Mercedes ♥

5 thoughts on “Kids’ Bathroom Reveal”