

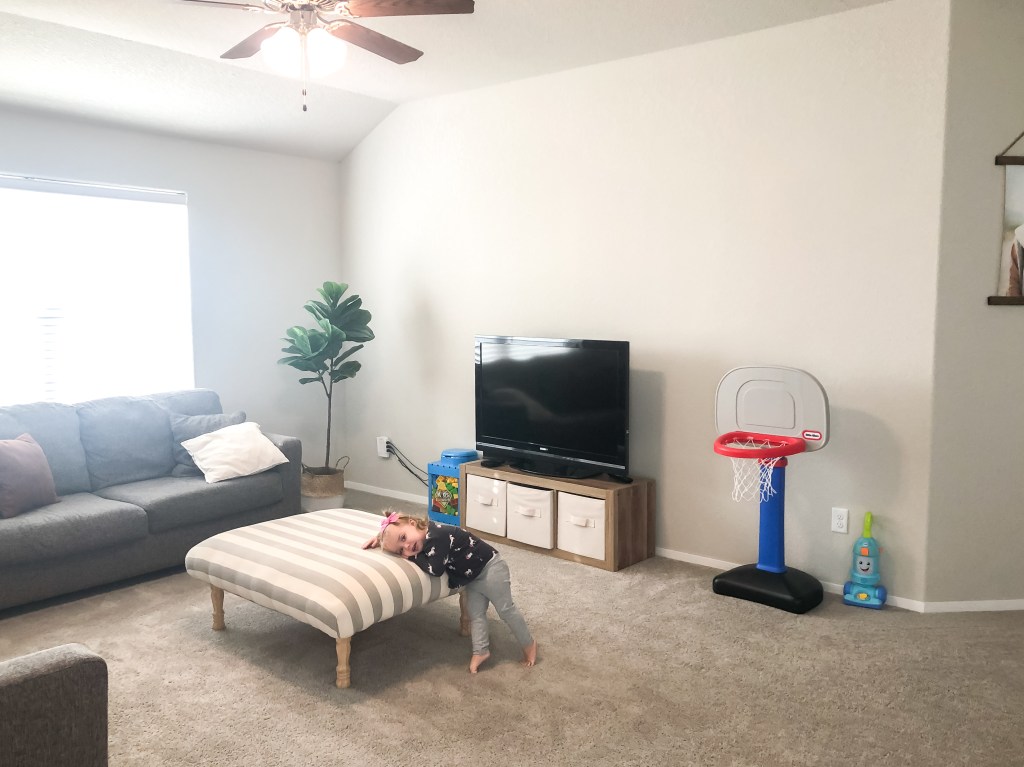
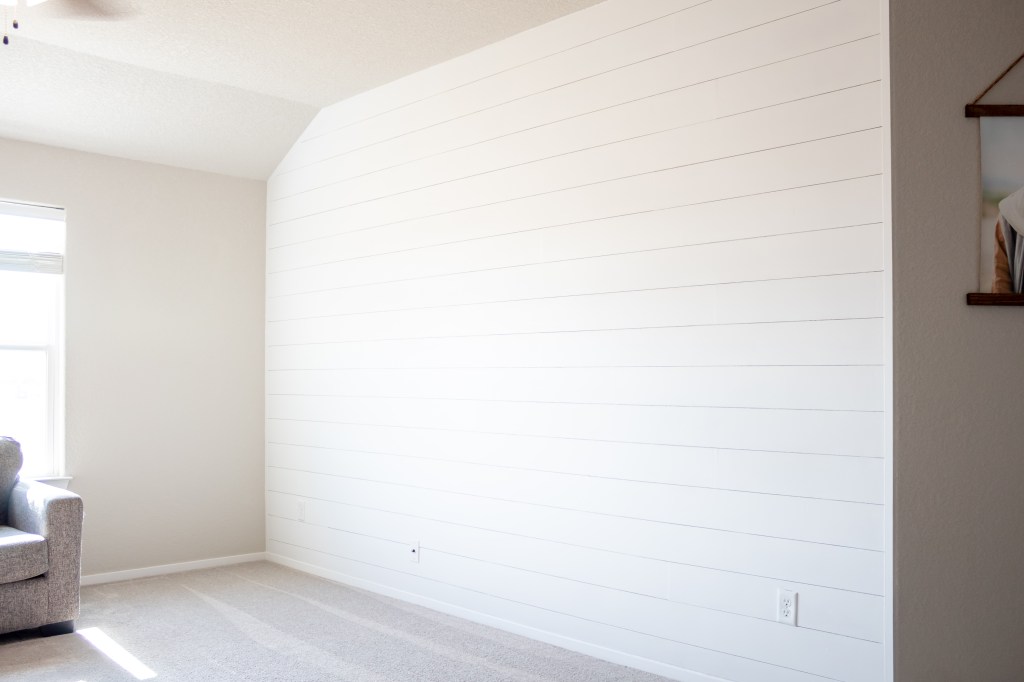
I’ve been so excited to share this project with you all because I had so much fun working on it! My friend Whitney asked me to help her install a shiplap wall in her living room to add in some character. She has a very simple and minimalistic style, so she wanted something that was going to add a little oomph to the room without overwhelming it.
Want to see what projects I’m working on now? Follow me on Instagram!
One thing that I love about shiplap is how versatile it is. It can be installed to look really rustic and farmhouse-y, but you can also flip it on it’s head and do vertical, dark shiplap for a modern look. You can tailor shiplap to fit whatever style you’re looking for. For Whitney, we wanted to be true to her minimalism so that meant clean lines that would seamlessly blend with her preexisting decor.

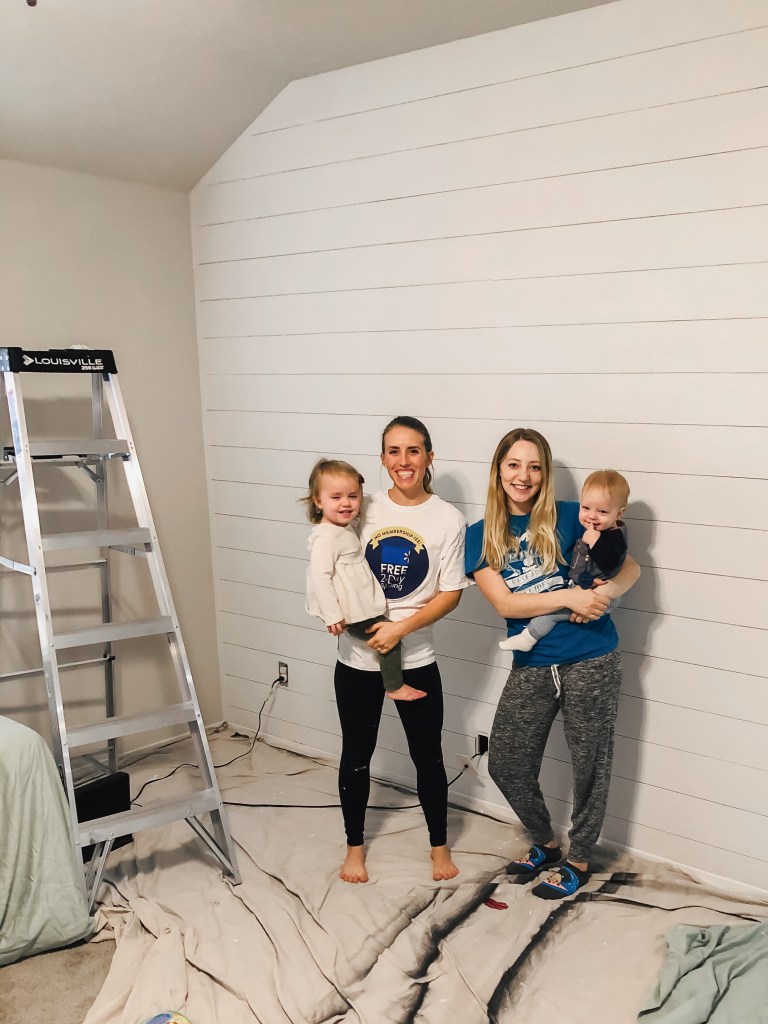
This project probably could have been a one day project, but we both have little kids and we didn’t want to work past dinnertime, so it took us about two and a half days. The first day E was having such a rough time, but we still got about half of the boards up on the wall. The second day we almost finished (and E was feeling much better), but we had to spill into a third day since the shiplap needed a second coat of paint. I fed E almost a whole box of graham crackers to keep him happy… but hey! It worked.
TUTORIAL
You’ll need all these goodies
- 4’x8′ sheets of thin plywood, cut into *almost* 6″ strips
- Primer
- Paint
- Wood filler
- Electric sander
- 80 and 120 grit sand paper to fit your sander
- Caulk and caulk gun
- Paint brush
- A bunch of foam brushes (I like 2″ ones)
- 1/4″ nap rollers (1 for primer, 1 for paint. Double that if you’re working with a friend)
- Nail gun and 2″ long nails
- Miter saw
- Circular saw or table saw
- Jigsaw
- Lattice trim pieces (2 x the height of your wall)
- 1/8″ spacers

The very first thing you need to do is figure out the dimensions of your wall. I find it helpful to draw a diagram with your wall dimensions in order to visualize it better. On your diagram, draw out where your 8’x6″ shiplap boards will start and end and try to have a flexible plan of how to stagger your seems. This does not need to be exact, but it will be helpful in figuring out how much plywood you need.
Tip : If you have something on your wall that is a large fixture, plan to lay your shiplap so that one full board lies on top of whatever thing you have. When we shiplapped the fireplace, this was our mantel, but it could be a cabinet, built in washer/dryer, etc.. I started with a full board running on top of the mantel and worked my way up and down from there. Not only does this look nice, but it also means you have fewer janky cuts.
Once you know how much you’ll need, head to your local home improvement store and have them cut your boards. We wanted each strip to be about 6″ wide. Since the sheets of underlayment are 4′ wide, that meant we could get 8 boards out of each sheet… if we could cut it with a laser. Whenever you cut something with a saw you need to account for the width of the blade (in this case, 1/8″). If we asked for boards that were 6″ wide, one sheet would give us seven boards that were the right size and 1 board that was almost an inch too narrow. In order to get them all cut evenly, ask them to measure out 6″ and then cut exactly on the line instead of to one side of it (like they normally would). This will distribute the width of the saw onto all the boards instead of leaving one narrow one.

Next, you’re going to paint the wall. You can either paint the entire wall the color of your shiplap or you can choose to just paint stripes that are about 6″ apart from each other. Here, I made a pros and cons list for you. WHOLE WALL pros : better coverage (you won’t accidentally paint crooked lines like we did, making your work obsolete) ~ cons : more time consuming. STRIPES pros : faster, you get a fun striped wall for a hot sec ~ cons : worse coverage (if you aren’t careful, your stripes and your shiplap gaps won’t line up).
While your wall is drying, sand the edges of your shiplap boards. This doesn’t need to be perfect, but the smoother it is, the easier it will be to paint. This is also a good time to find and mark where your studs are on your wall. Just use a little bit of painters tape to mark them.
After the edges are sanded, go ahead and prime the edges. We stood all the boards up on their sides and painted them all at once (use a foam brush because they are cheap and if your edge isn’t perfectly smooth, it will inevitably destroy your brush). We weren’t able to finish the whole project in one day, so some of the boards dried together and messed them up in a few spots. If you do this, make sure to separate your boards after priming the edges if there is a chance they might dry together.

Before you put any boards on the wall, I recommend using a piece of 1.5″ wide lattice to trim out the edges. I think that it finishes off the edges of the boards really nicely, giving the shiplap a nice, clean line and it’s not expensive at all. This wall was a little bit tricky because on the left side, it slopes with the ceiling. This wouldn’t be hard if I had an angle finder, but I don’t. I eyeballed what I thought the angle of the ceiling was and used a scrap piece of lattice to test it until I got the right angle, then I cut the piece I needed using the angle I had found.

Now it’s finally time to start putting the shiplap up – yay! Like I said previously, if you’re working around some sort of surface like a mantel or a cabinet, you want to start there and work your way up/down. If you have a blank wall, then you just have to decide if you want to work top down or bottom up (the Biology teacher in me can’t write that without thinking about ecological relationships). We decided to work top down so that the last board, which was only going to be about 3.5″ wide, would be hidden on the bottom instead of the top.

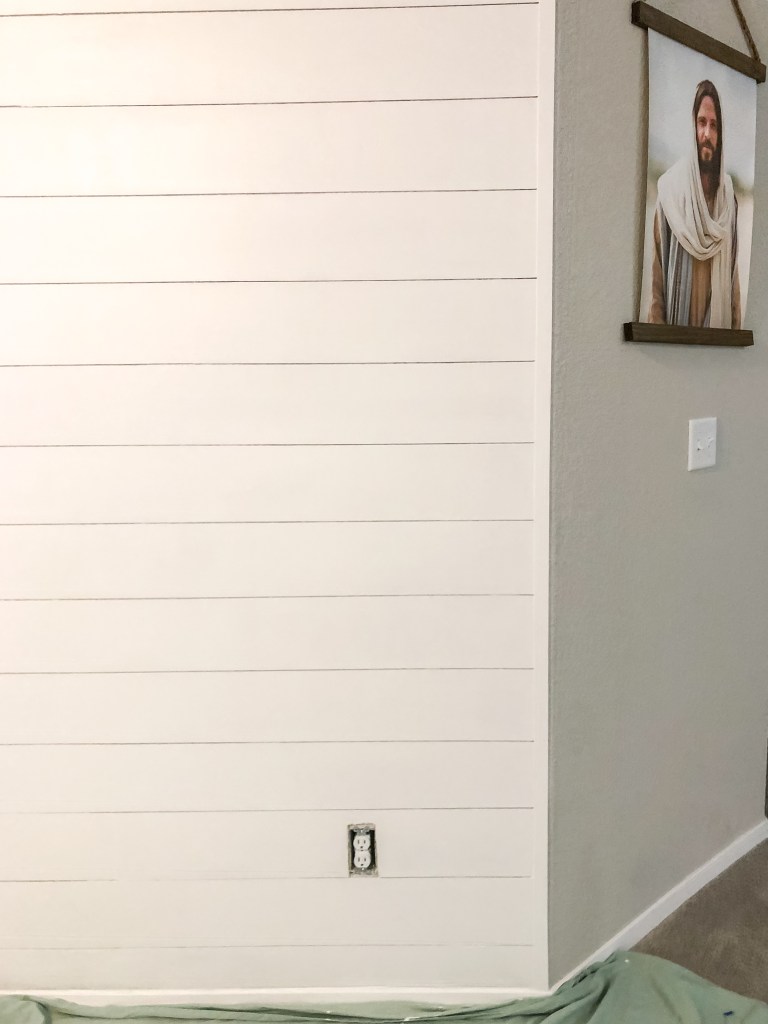
Use a jigsaw to cut any holes for outlets and a circular or table saw to rip that last row down to the right width. A quick note about the outlets – it looks much better if your outlet cover sits on top of your shiplap. Don’t cut your shiplap around the outlet cover, but rather around the hole in the drywall that the outlet sits in. Pick up a package of these electrical spacers and use them to pull your outlet out enough that when you screw the cover back on (on top of the shiplap), the sockets are still flush.
As you work, use an 1/8″ spacer to leave gaps between the boards. Some people will use nickels, but I have spacers from when we laid our flooring, so I use those and they work great. Start on one end of your board, use the spacer to get the right size gap, then put one nail into your board. This one nail basically works as an extra hand holding that end of the board in place, allowing you to work with the rest of the board without worrying about it falling off the wall. Work your way across the board using the spacers and securing it using a nail gun into studs.
Note : I prefer not to use liquid nails on the back of my wall projects. If anyone decided they wanted to change it down the road, then all they have to do is fill some nail holes. If I used an adhesive, they would have to do a lot more drywall work. I am too indecisive for that kind of commitment! But, if you are not worried about that, you can add liquid nails to the back of the boards.
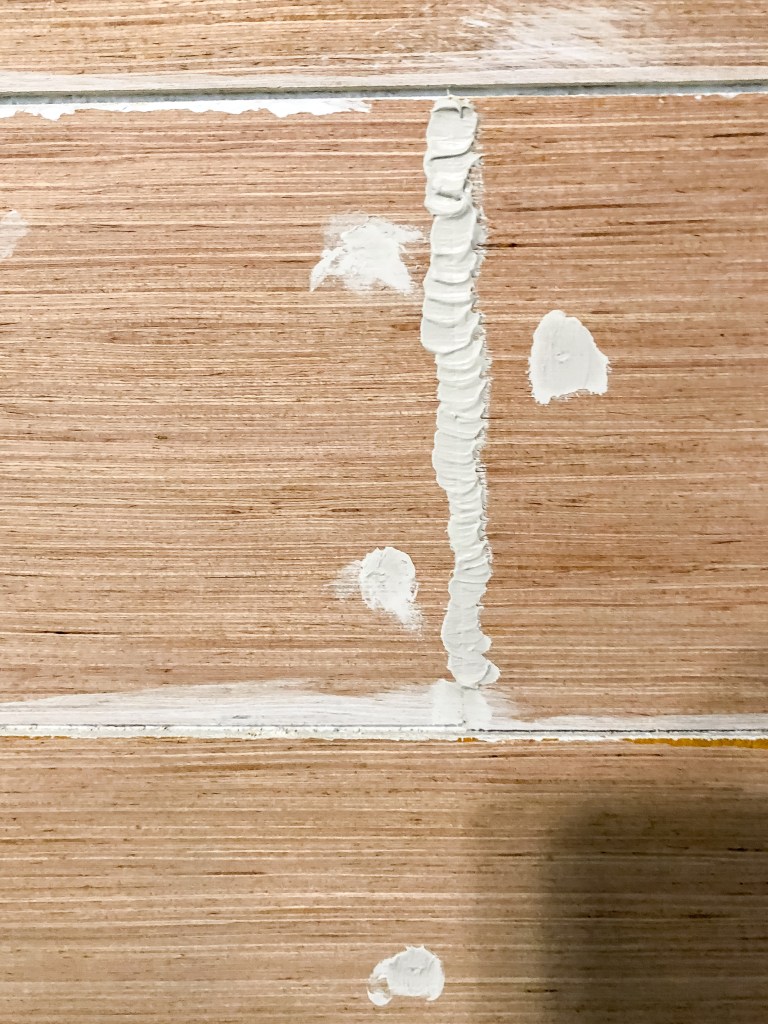
Once you have all your boards up, take a step back and squint because you’ll finally be able to start imagining what it will look like! Once you’re done squinting, use wood filler to fill in all the nail holes and any seams, except for where the shiplap butts up to the wall or the trim pieces. When using wood filler, you want to use more than what you think you’ll need because you’ll sand it smooth after it dries. I like to use 80 grit paper, then 120 over anything that still looks a little rough.
Wipe your boards down with a damp paper towel, microfiber cloth, or tack cloth to remove the dust and start priming! Since our edges and the back of the wall were already painted, we didn’t need to worry about getting in the cracks (except for a few spots that we missed). Use a brush along the edges and in any cracks you need to touh up, then a 1/4″ nap roller on a 4″ frame to get a smooth finish (though a foam roller would also work just fine).
Once you’ve primed everything, you will need to go through again and fill the nail holes that you inevitably missed the first time. While you’re waiting for that to dry, you can caulk! I like to caulk before I paint, but if you are painting your shiplap pure white like we did here, it doesn’t really matter. Caulk the seams where the shiplap butts up to the trim pieces (you may need a multitool or a flathead screwdriver to scrape any unwanted caulk out of the shiplap gaps), where the trim pieces hit the walls, and along the baseboards and ceiling. Caulk has a tendency to shrink with temperature changes, so keep your extra caulk around for touchups as the seasons change.

Finally, time for my favorite part – paint! Start by using a brush to paint along the edges and in between the cracks, then roll over those spots gently to get rid of any brush strokes. Paint the rest of the boards and roll in the same direction every time (making all your strokes horizontal is easiest) so that you have a nice, smooth finish. Even though we used my favorite Sherwin Williams Superpaint, we still needed two coats.

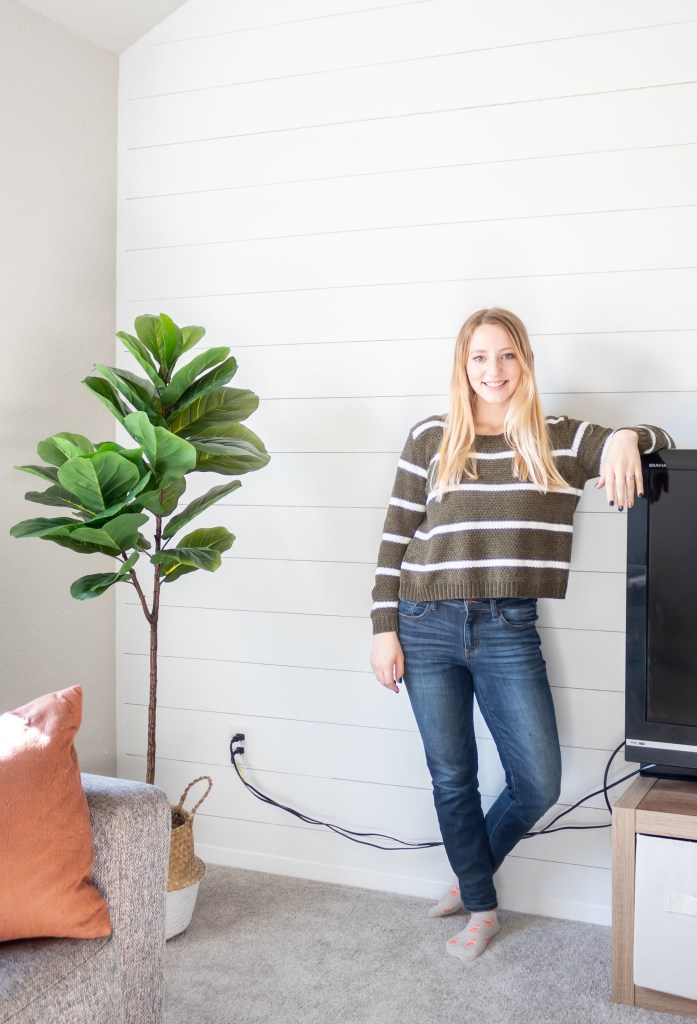
Finish it off by touching up any spots on your other walls that you accidentally painted white and ta-da! You have a beautiful shiplap wall.
With love,
Mercedes ♥

3 thoughts on “DIY Faux Shiplap Wall”