

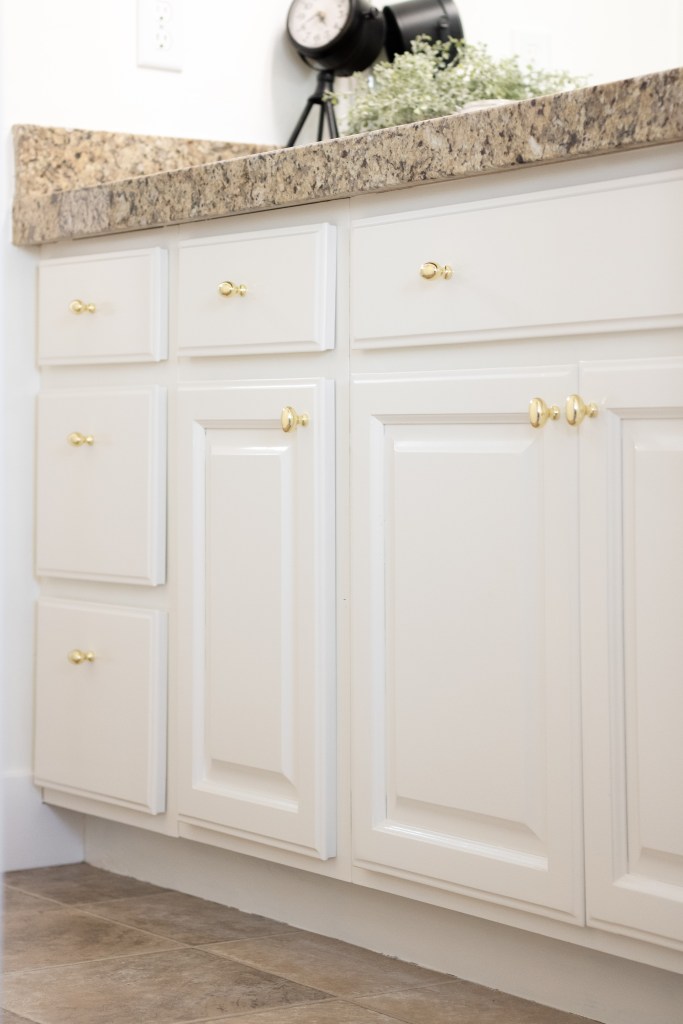
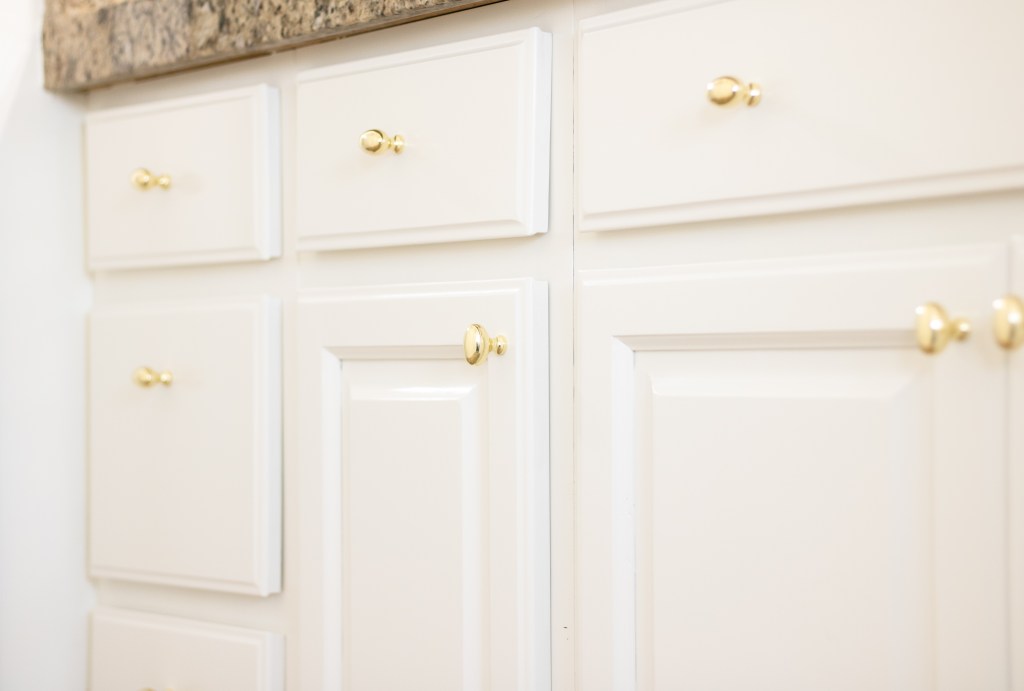
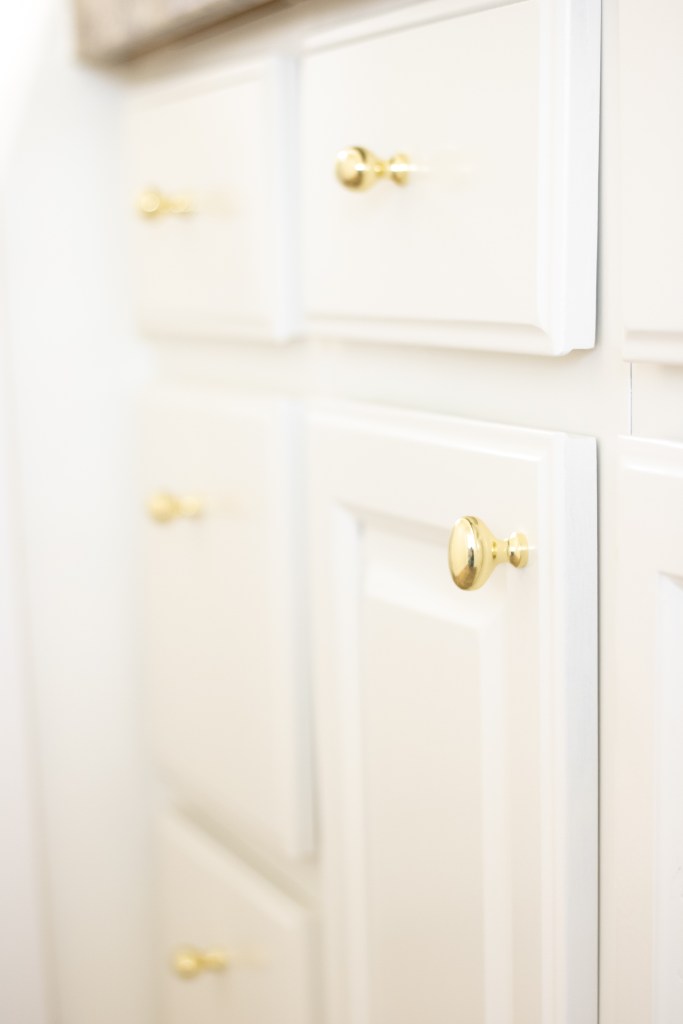
Operation “de-brown” this bathroom is underway! This week I got almost all of the brown out of here. Is there anything better than a fresh coat of paint on the walls? I think not. And the vanity…can we talk about the vanity?
Want to see an update? I epoxied the counters here!

I’m in love with how this turned out (and it isn’t even done yet – *wink*). The color is perfect. I am going for old-Hollywood-glam but make it fun and I think it sets the stage perfectly.
Want to see what projects I’m working on now? Follow me on Instagram!

Painting bathroom vanities is basically the same as painting kitchen cabinets, the only difference is that it’s a project that is easily accomplished in a weekend. If you’re thinking about painting kitchen cabinets, I highly recommend starting off with a bathroom vanity! It’s a great way to practice and dip your toes in before committing to a bigger project.
If you’re looking for a more in depth tutorial, I have one here for you! But if you want a quick run down, keep reading.

Materials
- Krud Kutter
- 180 grit sandpaper or liquid sandpaper
- 320 grit sanding sponge
- Tack cloth
- BIN primer
- Benjamin Moore Advance paint (the color I used is Soft Chamois)
- Foam roller
- Paint brush
- Paint sprayer
Tutorial
First, clean your vanity really well with Krud Kutter to get all that old grime off. Remove the doors and drawer fronts.

Lightly sand everything down with 180 grit sandpaper or liquid sandpaper. The goal here is just to rough up the surface so your primer will adhere well. Once it’s all clean and scuffed up, wipe it down with a tack cloth.
Now prime it. If you are going to be using a light color, it’s a good idea to use a primer that blocks the tannins in the wood from seeping through. I like the BIN primer! But just a note: this won’t clean up with water. So you either need to use a brush you’re planning to chuck or clean it with mineral spirits.

After you prime and it’s dry, sand it down with the 320 grit sponge to knockdown any high points and wipe it down with the tack cloth again.

On the cabinet boxes, use a brush and roller to paint two coats of Advance paint on (don’t forget to do a light sanding between coats). On the doors, use the paint sprayer. I like to do two coats on the backs and three on the fronts for a little extra durability.
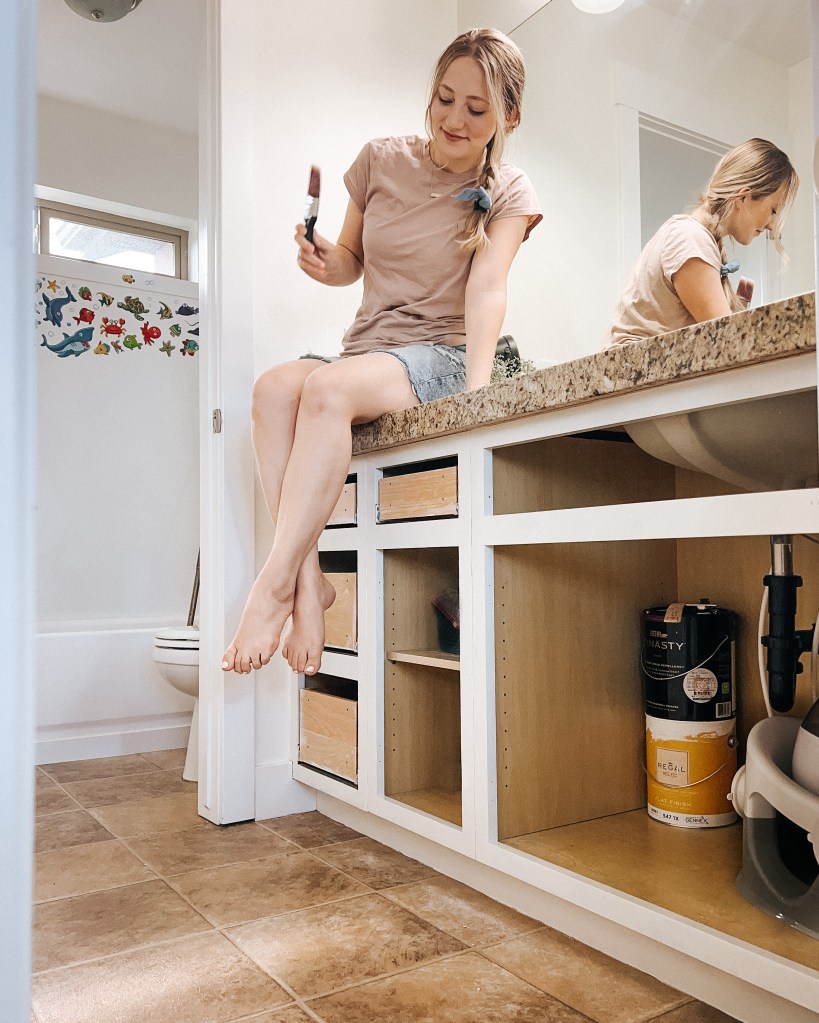

Once everything is dry, reattach everything and install the hardware! The biggest time consuming factor in this project is dry time in between coats, but it’s definitely a project you can easily do in a weekend. Good luck!

And remember, if you’re looking for more in depth instructions, don’t forget to check out this post here. There is still a lot more to be done in his bathroom (and even with this vanity!) so make sure you’re following me over on Instagram so you don’t miss any behind the scenes!


With love,
Mercedes 🖤

One thought on “I Painted the Vanity in the Kids’ Bathroom!”