
Cutting Edge Stencils supplied the stencil & brushes for this project. As always, all opinions are my own.
A few months ago, I had never painted a floor. Imagine almost anything else and chances are I had painted it, but my she-shed floors were my first painted ones and it totally got me hooked! I don’t know why, but painting floors is so stinking fun. I highly recommend you give it a go.
Want to see what projects I’m working on now? Follow me on Instagram!
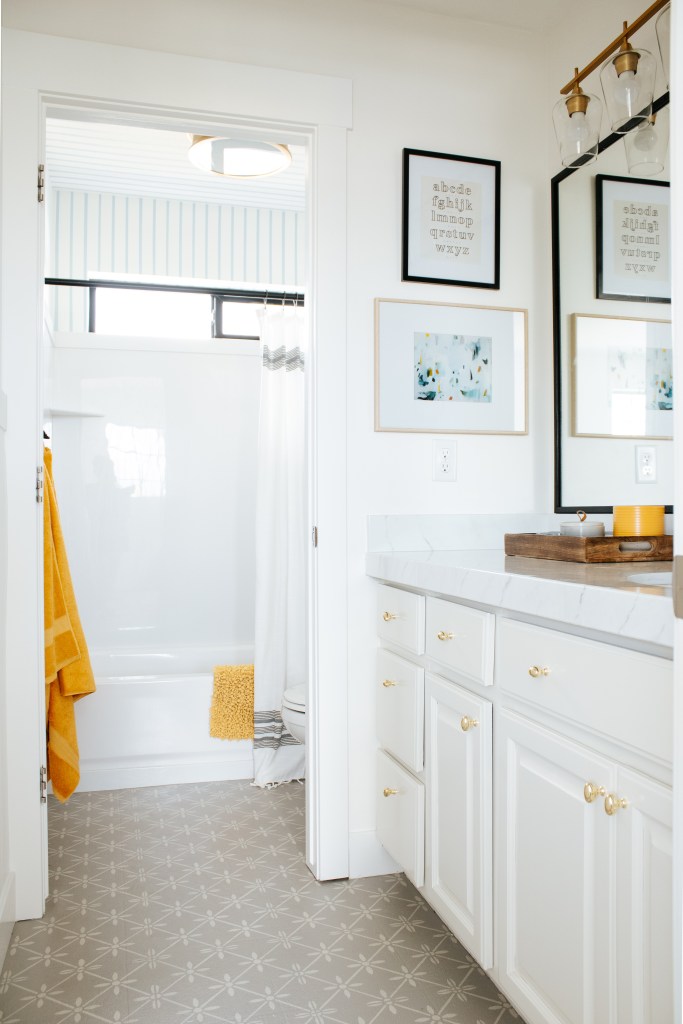
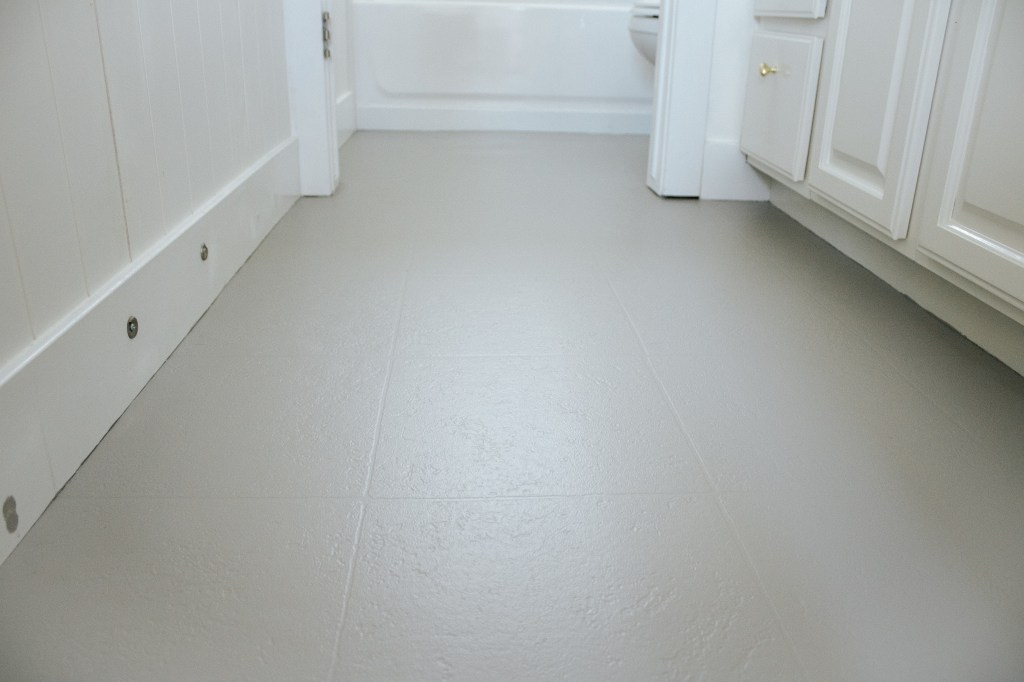
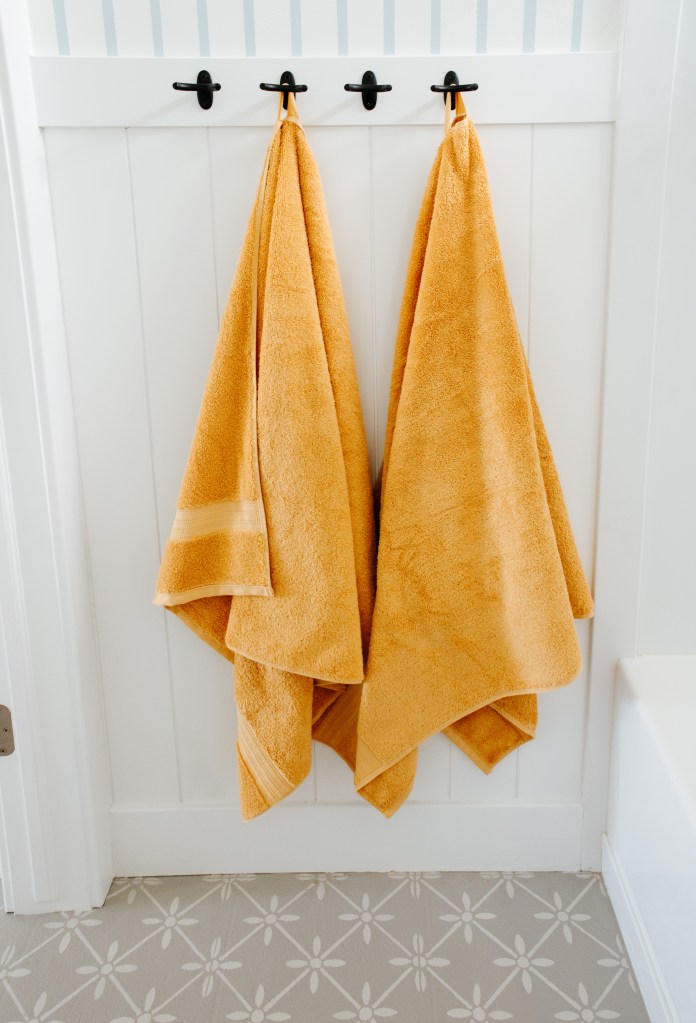
If you’ve read anything else I’ve written about this bathroom then you know that my main complaint before was that everything was brown and the floors were no exception. The brown linoleum really weighed the space down and kept it feeling out of date even after I had updated everything else.


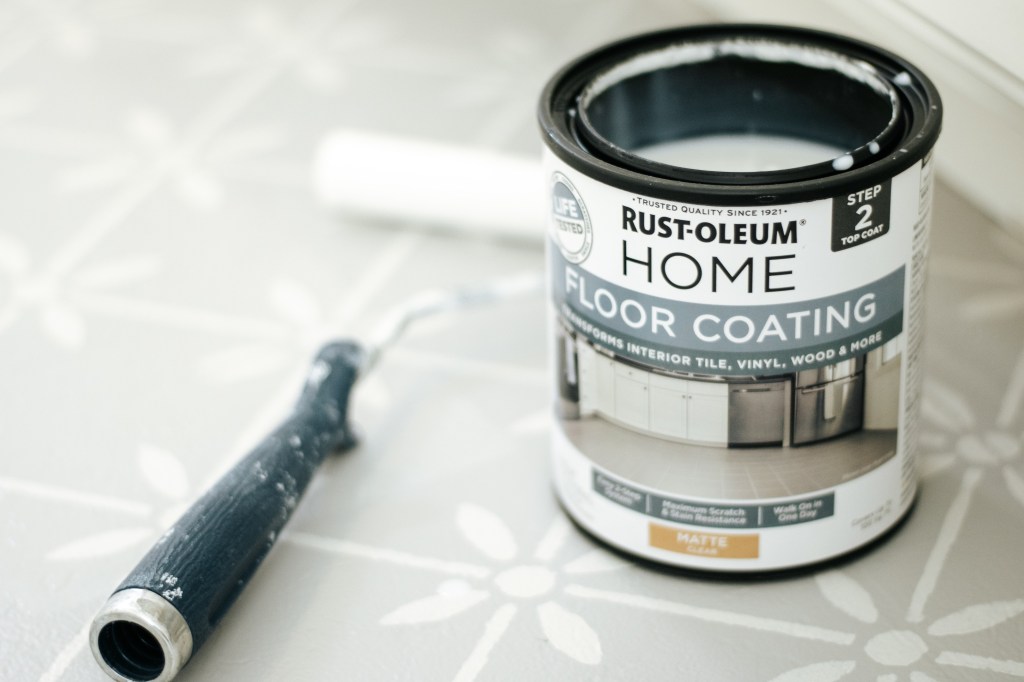
I used Rustoleum Home Floor Coat paint, which was another first for me. I have been super impressed so far with the porch and patio paint I used in the shed, but I wanted to try this popular product against that one so I can compare them. Once I’ve been able to thoroughly test their durability, I’ll write up a blog post comparing them.

Materials
Disclosure: Some of the links provided are affiliate links, which simply means I may earn a small commission (at no additional cost to you) if you shop through one of my links.
- Krud Kutter
- 3/8″ nap roller (I started with a foam one and then switched to this)
- Paint brush
- Rustoleum Home Floor Paint – Base coat in 2 colors
- Rustoleum Home Floor Paint – Top coat
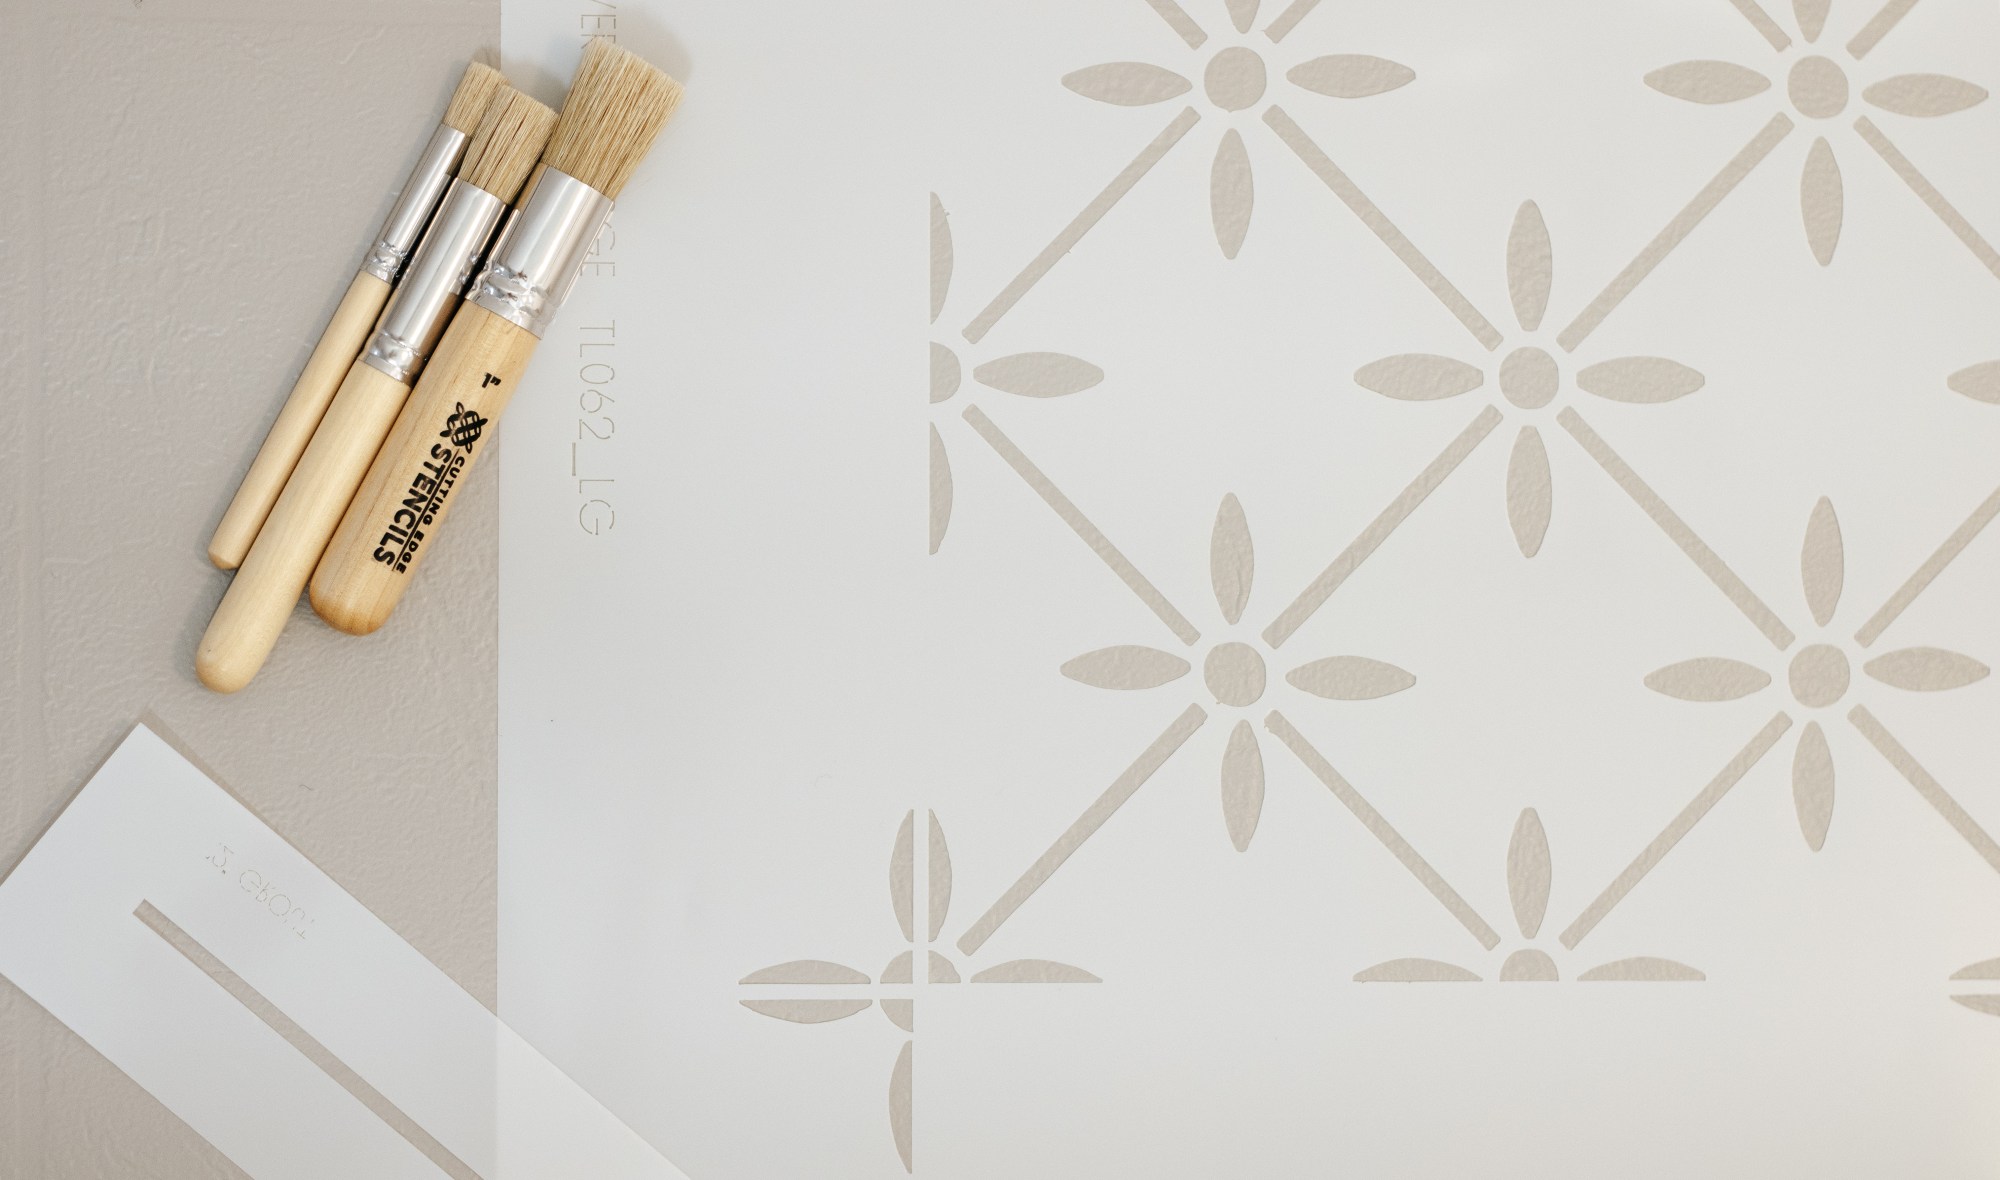
- Stencil
- Stencil brushes
Tutorial
The floor paint doesn’t require any sanding (hallelujah!) but you do need to clean the floors really well. I swear by the effectiveness of Krud Kutter. I gave everything a good wipe down with water after cleaning it to make sure there wasn’t any chemical residue that was going to hinder the paint’s ability to adhere properly.
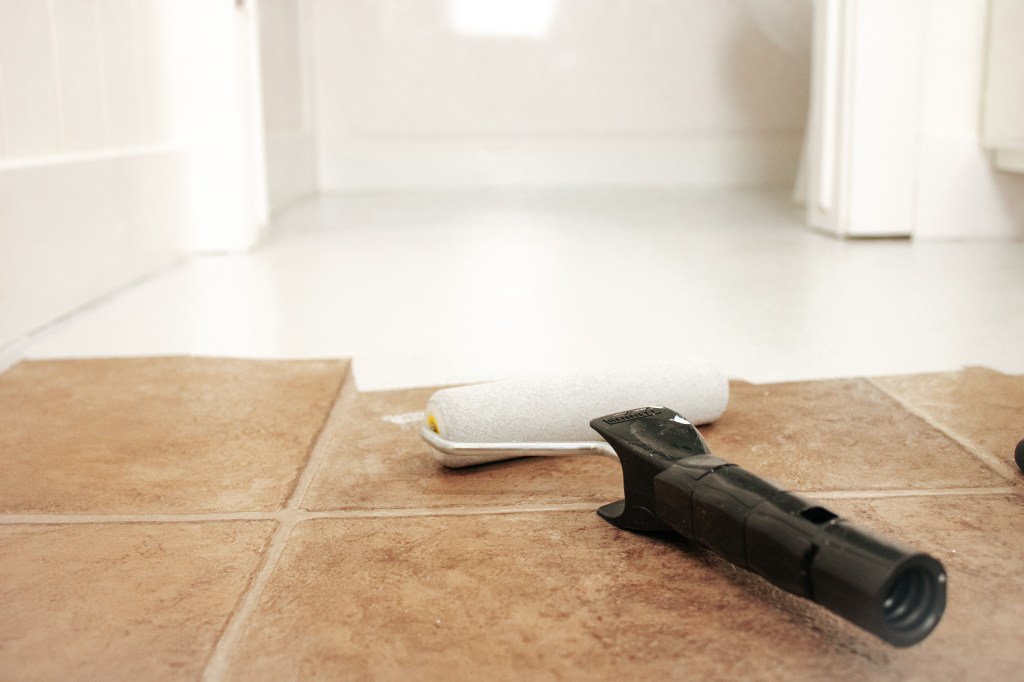
There is no primer necessary so as soon as everything was clean, I went ahead and started painting! The first color I tried was Pearl Gray and that was not it. It was way too light and looked like baby blue! Not what I was going for. So I went back (okay I drove 40 minutes to a Home Depot that had this paint in stock) and got a new quart tinted to Windsor Gray instead. Much better! It took 2 coats of the Windsor Gray to get full coverage.

My main complaint with the Rustoleum product is that you can only tint it so preselected Rustoleum colors and getting an accurate reading on what those colors actually look like is really difficult.
Each coat needs to dry for six hours before you can add any additional coats. Be aware, the paint will still feel a little tacky even after the six hours. This is because it is designed to work with the top coat. There was no way for me to get the second coat (and later the stencil work) painted without stepping on the floors, so I made sure I was wearing clean socks before going in.
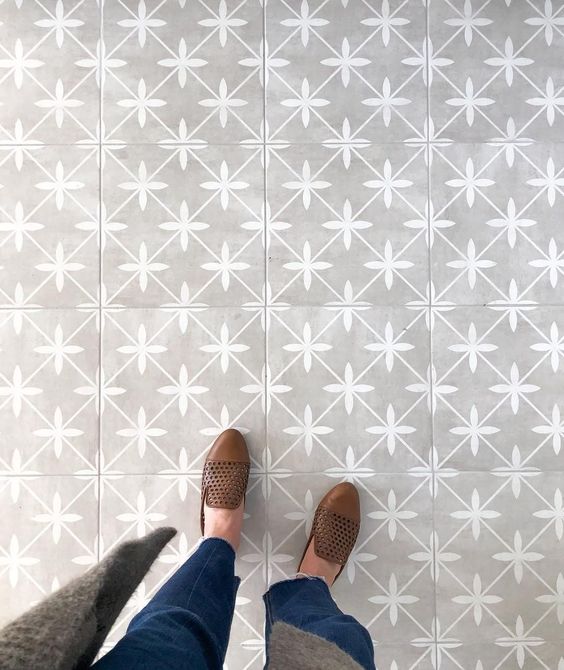
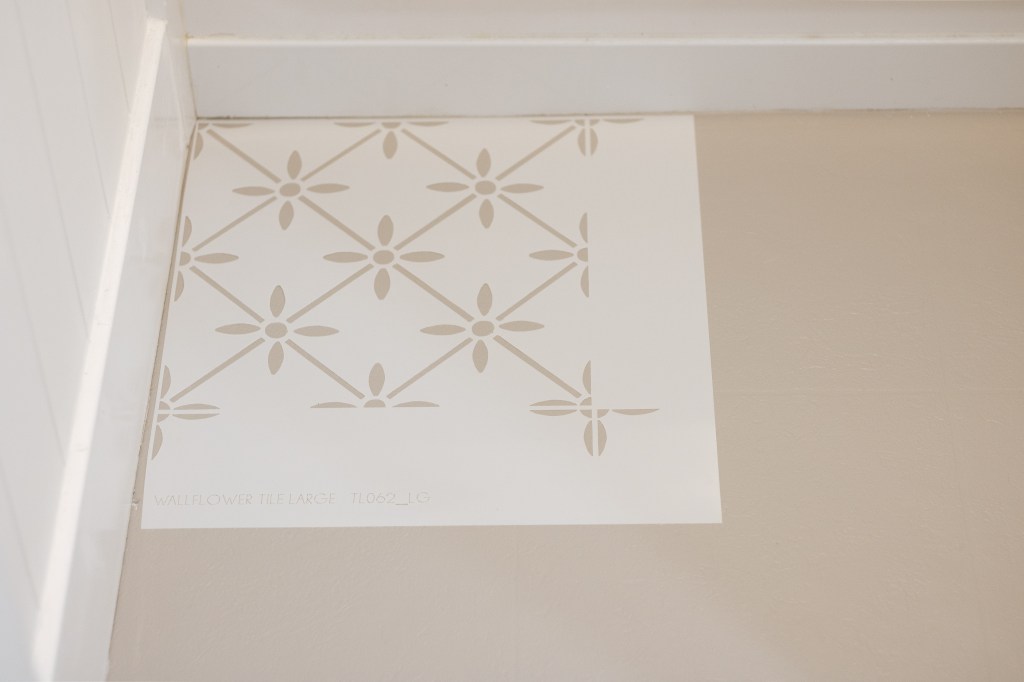
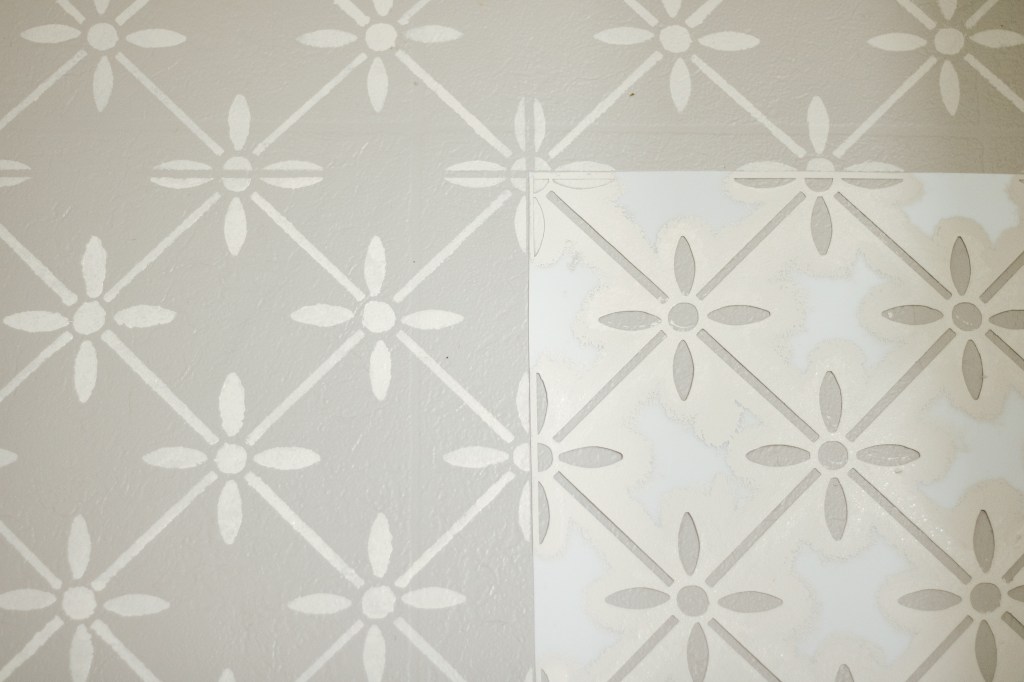
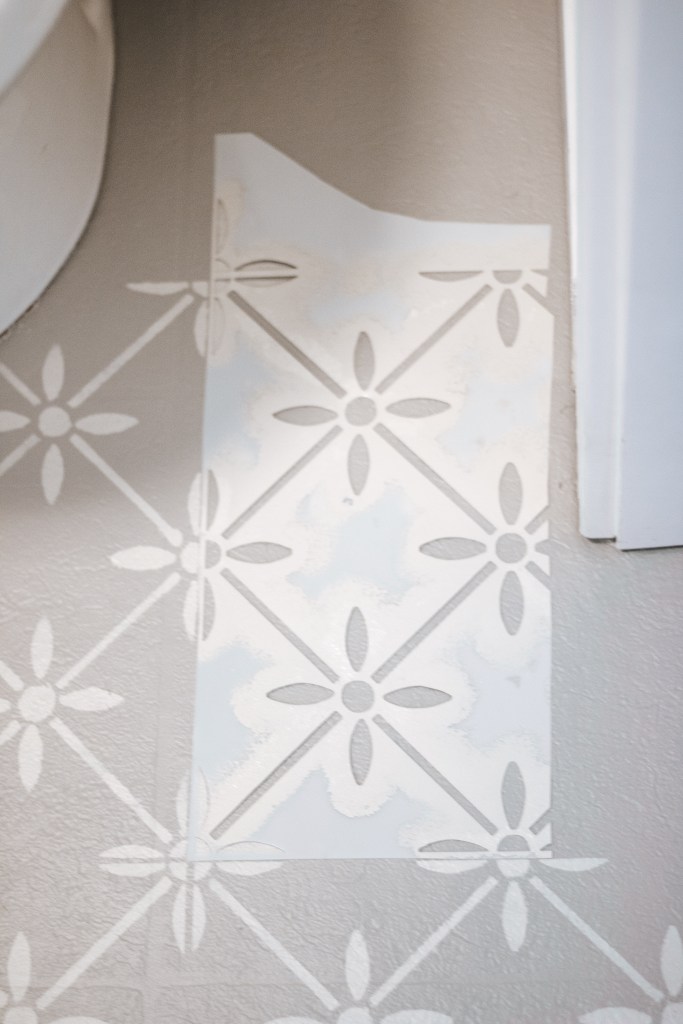
I have had this tile pattern pinned on my Pinterest board for years! When I saw it from Cutting Edge Stencils, I got so excited! I was able to get the look that I love without having to replace the floors. It’s the large Wallflower Tile Stencil and I recommend getting two. It’s helpful to have an extra that you can cut up to use for tricky corners and tight spaces. There are so many different pattern options on their site, so be sure to head over there to check them out.
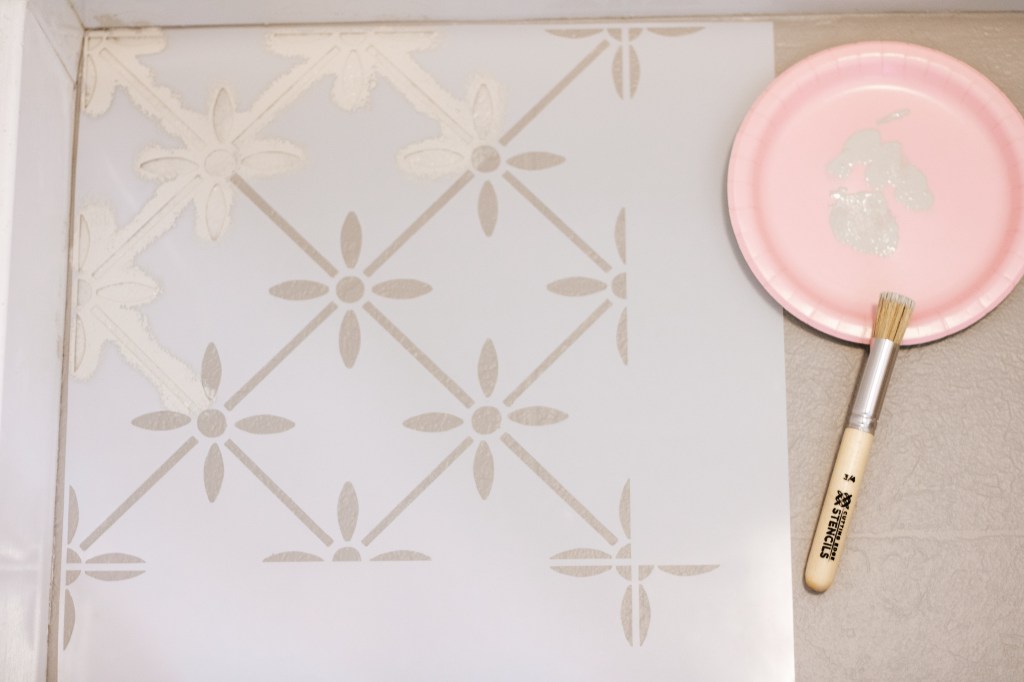
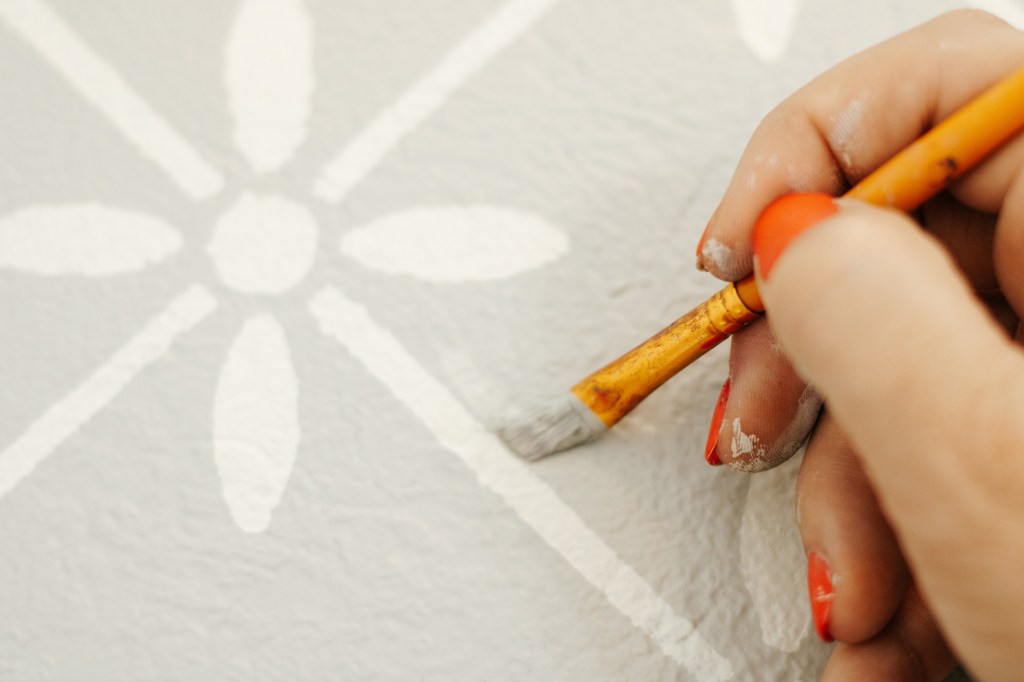
I used Cutting Edge Stencils stencil brushes as well. They are so much stiffer than a regular paint brush, which is really what you need for dabbing the paint over the stencil.
Like I mentioned before, the floor was still a little tacky which was great because it helped to hold the stencil in place. Once I was happy with where it was, I took the brush and dipped it in paint (the contrasting color I went with is Oyster Shell) then dabbed it onto a paper plate to get excess paint off. Then onto the stencil it went! I was pleasantly surprised with how well the stencil worked.
As I worked, I just lined the stencil up with the previously painted pattern and kept going.
The next day I came back in and did touchups. It didn’t need many, but there were a few spots that just needed a little extra love.
I then applied the recommended one coat of top coat to finish it off. I accidentally wore what I guess are not “lint free” sweatpants while I was doing the touchups so before I did the top coat, I had to go around with a tack cloth collecting all the black fuzzies that my sweatpants had so lovingly left behind. So be warned, no sweatpants allowed!
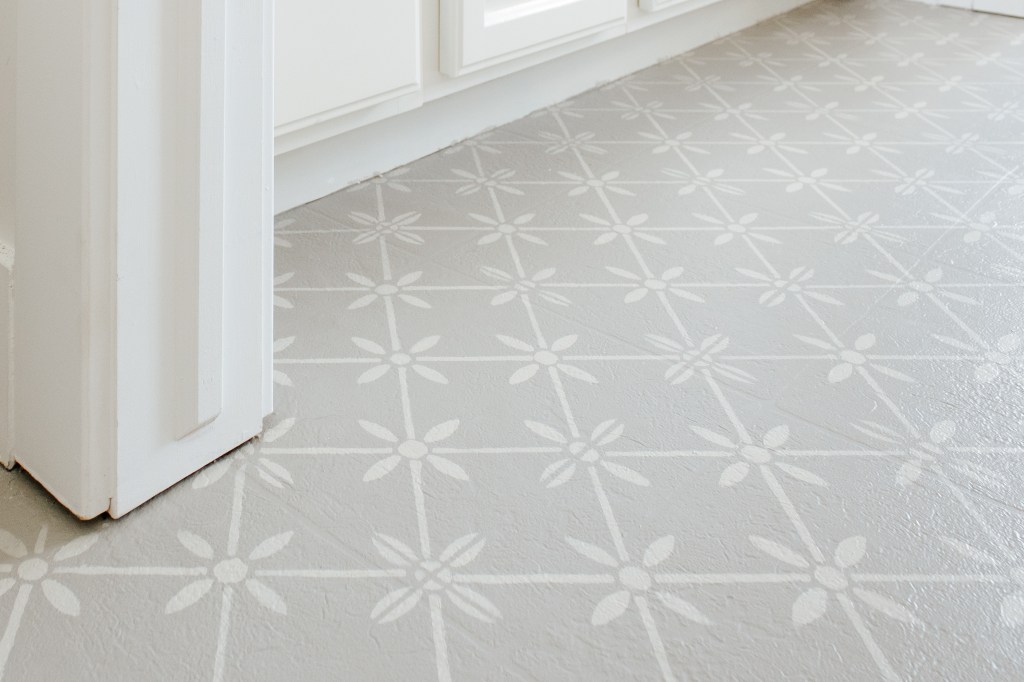
The new pattern is so fun and perfect for a kids’ bathroom. No longer brown and drab, it really lightens up and elevates the whole room!
See the full kids’ bathroom reveal here.
With love,
Mercedes ♥
