
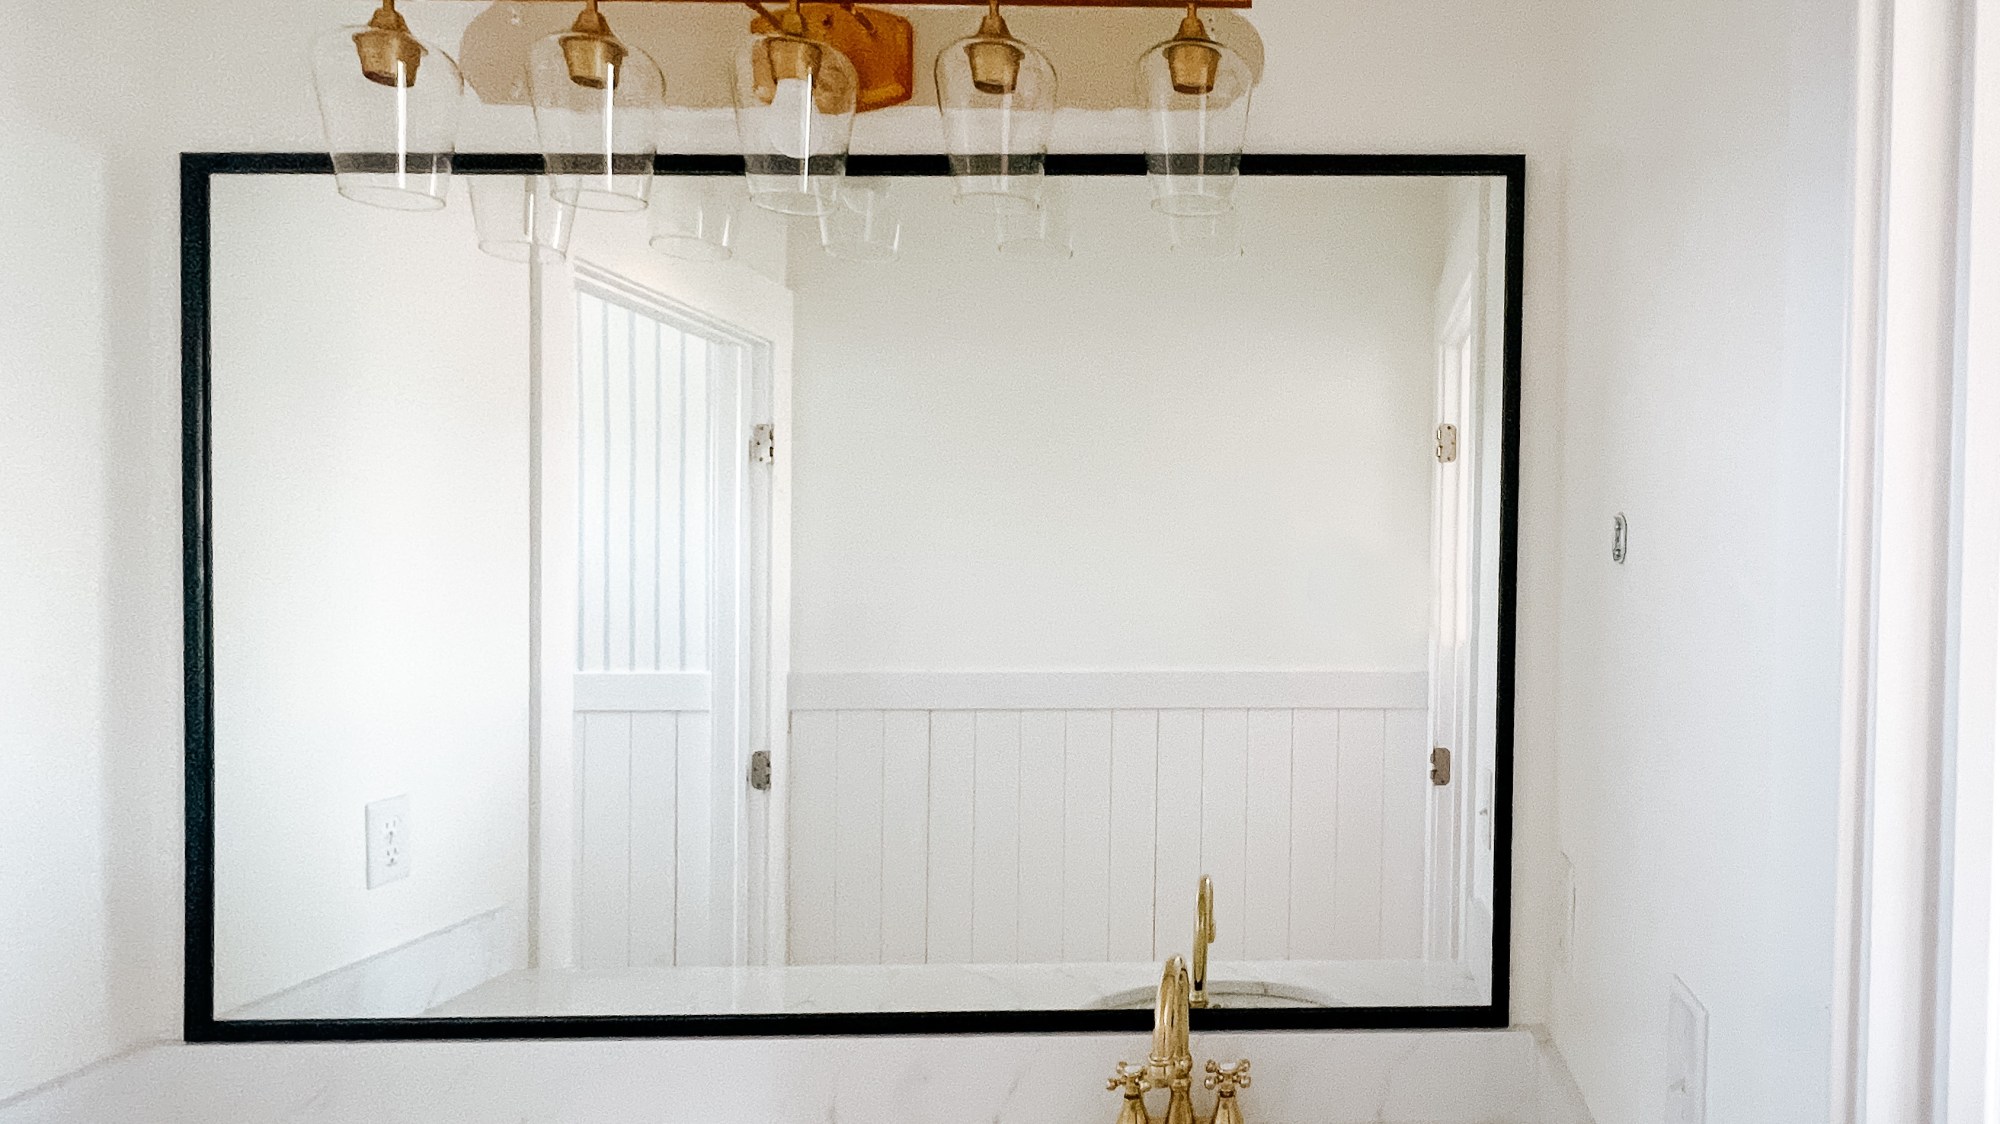
I love these types of updates. This only took me a couple of hours (most of that was dry time) and the results are killer! An on trend, black framed mirror of similar size retails for around $700 but this hack does a pretty good job replicating it for a fraction of the price.
Want to see what projects I’m working on now? Follow me on Instagram!
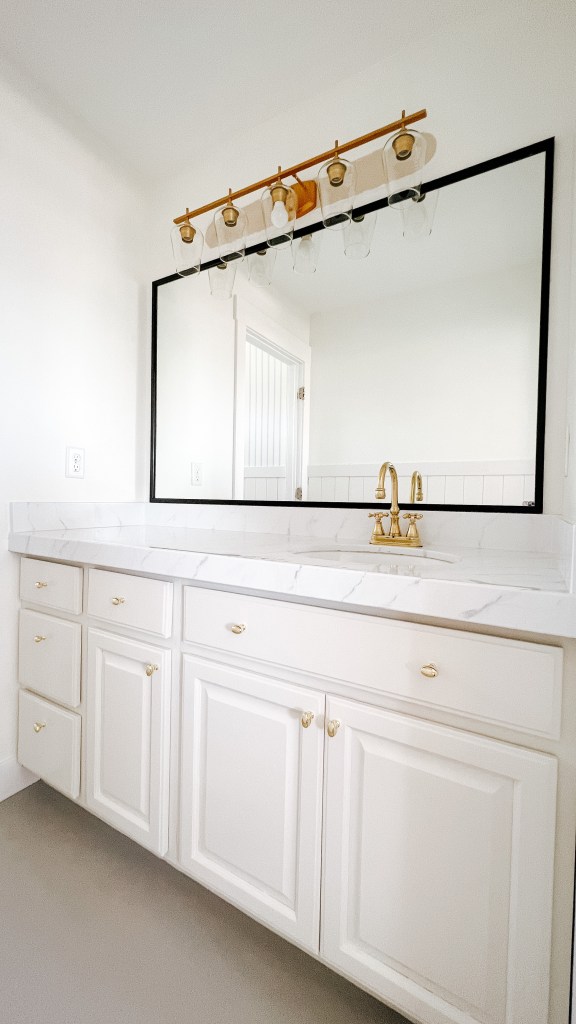
See the finished bathroom here!
The total cost for me was only $25 because I already had the spray paint and primer. If you need to purchase those then it’ll bring your cost up to around $40, which still makes it a super inexpensive update!

Materials
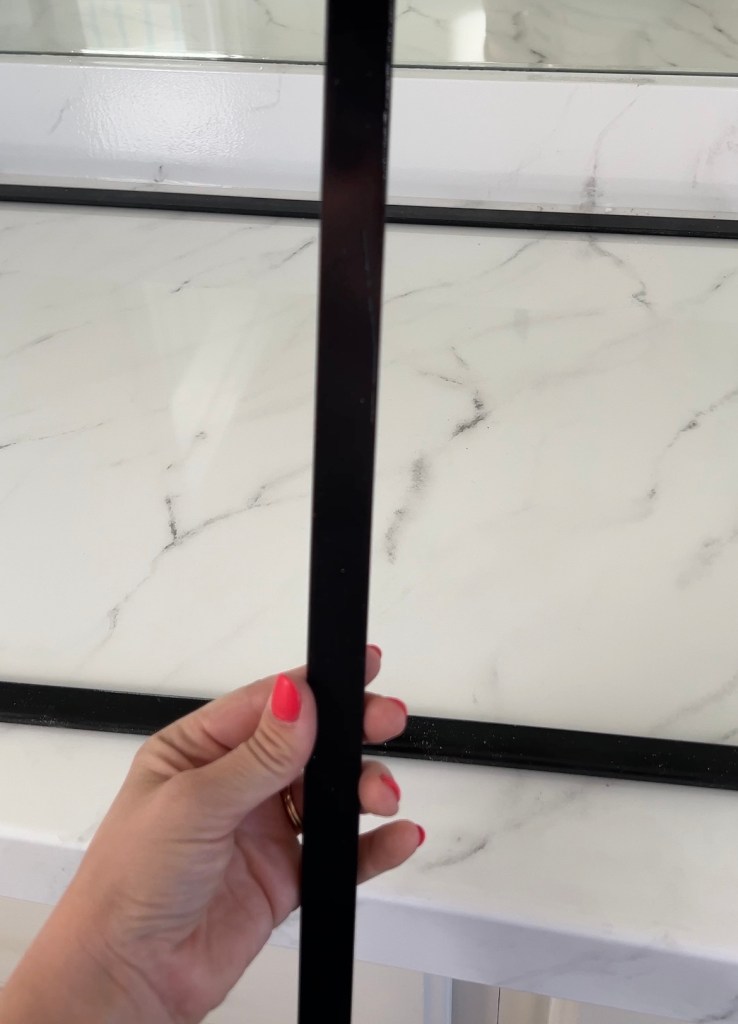
- 3/4″ Screen molding (I needed 3 pieces)
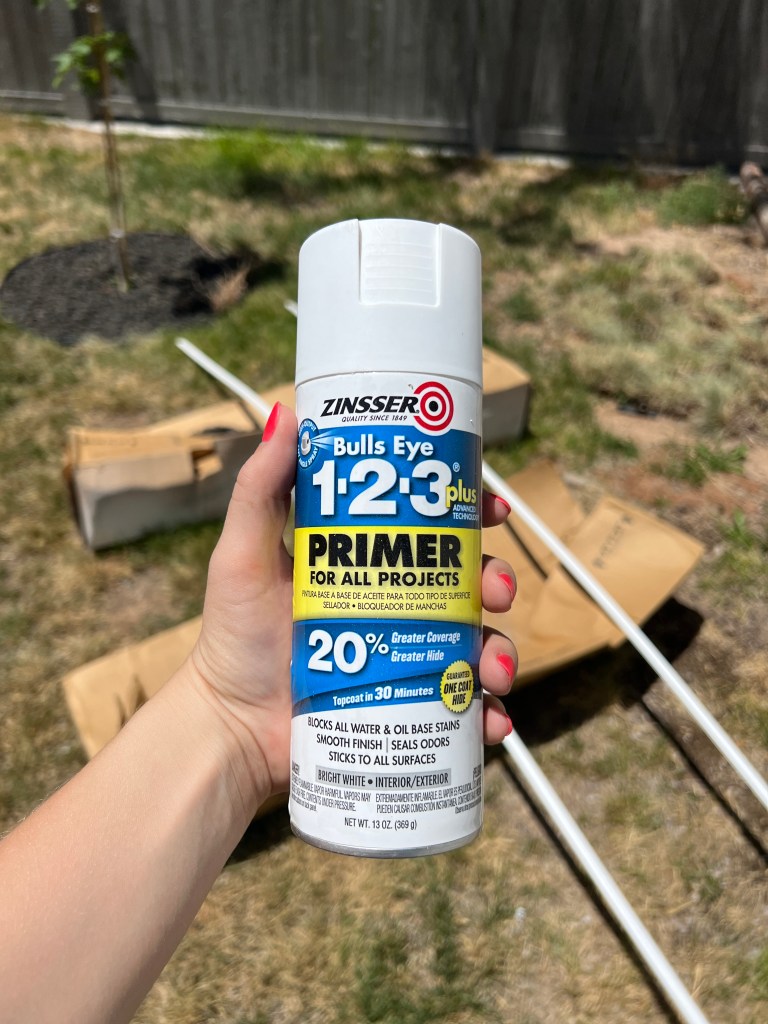
- Spray primer
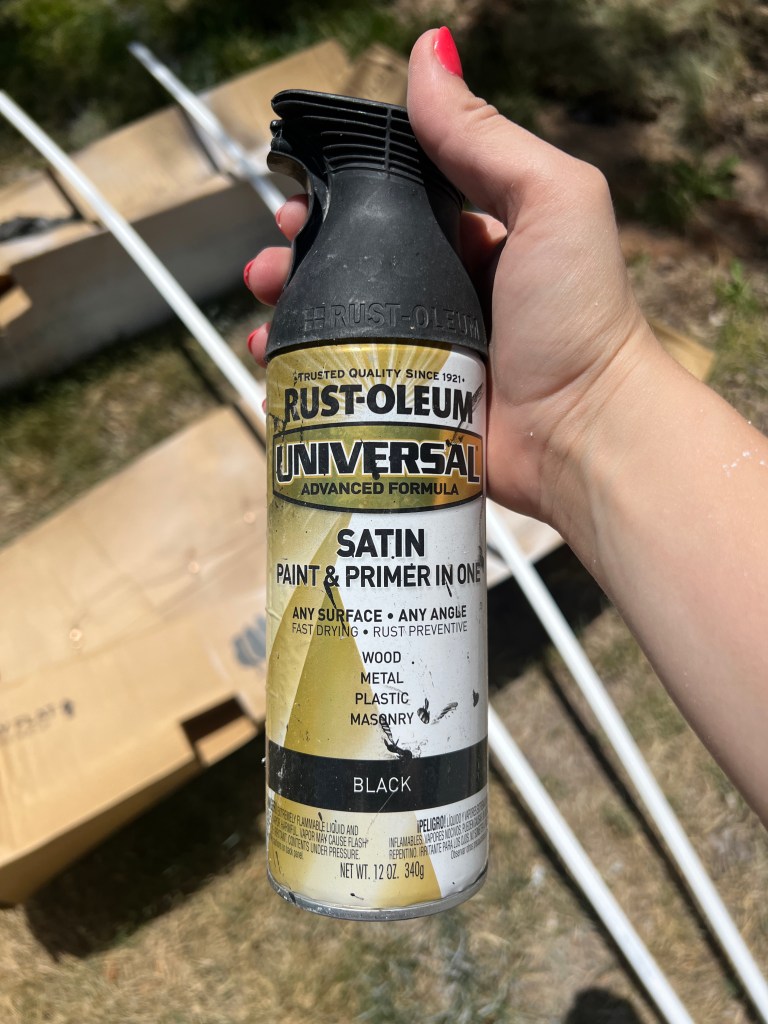
- Spray paint
- 320 grit sanding sponge
- Gorilla glue (*I used this, but I recommend this instead)
- Miter saw or miter block or miter shears
Tutorial
Even though the spray paint says it’ll adhere just find to plastic, I decided to prime the screen molding first for some extra durability. I like using spray primer for projects like this because it’s fast and you don’t have to worry about brush strokes! I did a coat of primer on the front and on the back, making sure to hit the sides as well.
Then I put two coats of paint on the back, sanding super lightly with a 220 grit sponge in between to knock down any high points. After it was dry, I flipped it over and did the same to the front. You need to paint both sides because the back will reflect through the mirror and you’ll be able to see it!
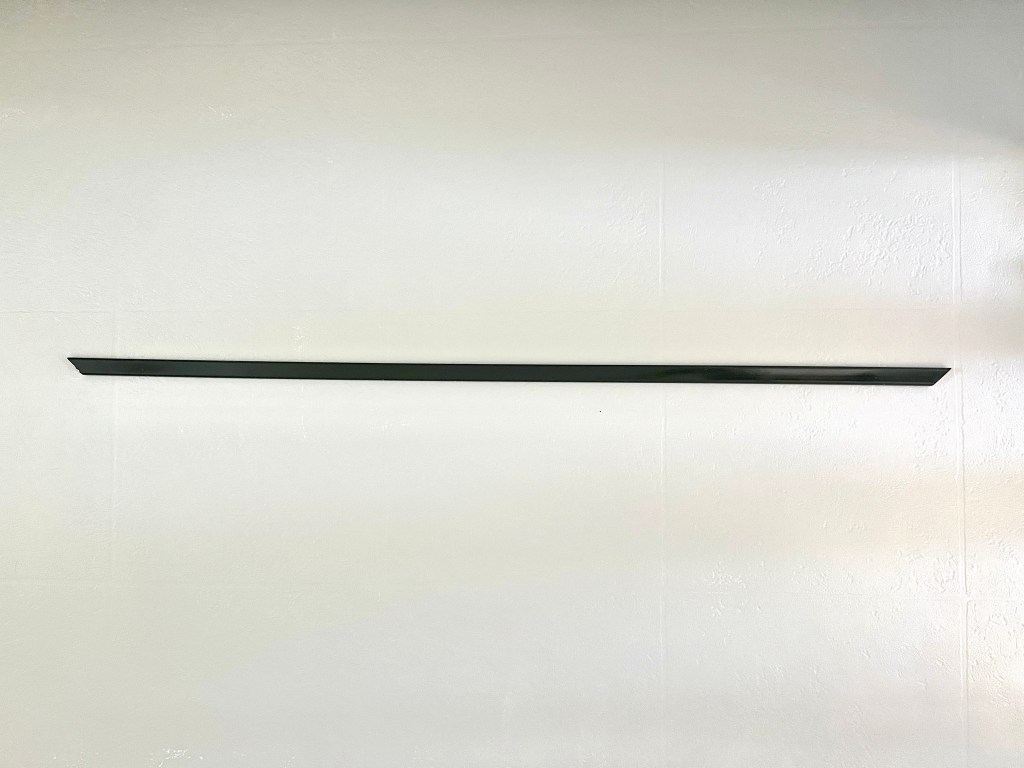
Then I cut the pieces with my miter saw. If you don’t have a miter saw, you can use a hand saw and this miter block or you could purchase some of these miter shears that I think would work just fine for this material. Make sure that each piece is a trapezoid, so your angles will be pointing towards each other. Or in other words. you’ll have one long edge and one short edge.
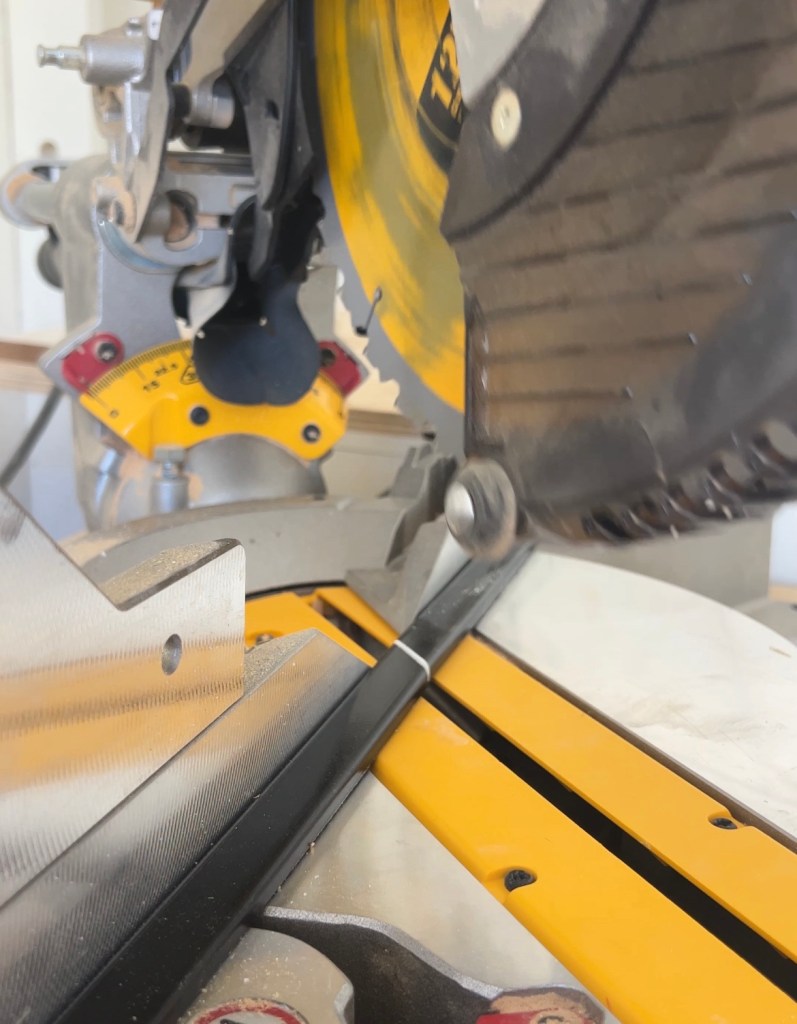
After you cut it, be sure to spray your cut ends so any gaps blend in.

The glue that I used dries white, which meant I had to be careful with where I put it. Originally, I zig zagged it down the piece and put it up, but I could see the glue through the mirror. So I quickly pulled it off and scraped all the glue on it. Instead of a zig zag pattern, I ran the bead of glue close to the outside edge. That worked really well, I can’t see any of the glue reflecting into the mirror because it’s far enough away from the inside edge. *BUT if I were to do this again, I would chose a clear glue. I’d still run it along the outer edge, but I wouldn’t have to be as exact.


Anyway, once you have the glue on put the pieces onto the mirror. They are so lightweight that I didn’t need any tape to hold them up while the glue dried, they just stayed in their spots perfectly!

Ok. That’s it! Seriously the easiest, quickest mirror update – let me know if you try it! And don’t forget to tune in early next week for the finished bathroom reveal.

With love,
Mercedes ♥

Hi! I love this! Do you just adhere right over the top of the metal pieces that hold the mirror up? Planning on doing this but couldn’t figure out if I glued to that or around it. I just didn’t want to ruin my chance of ever taking it down if I wanted to change it up in the future. Thanks 🙂
LikeLike
Hey Larissa! My mirror doesn’t have any metal clips to work around. You could notch the frame out or attach the frame to the wall instead of the mirror, depending on what exactly your mirror looks like!
LikeLike
Thanks so much for the response! Lucky you without the ugly metal pieces! hahaha
LikeLike