
I’m so excited to be sharing this project! It’s one that I actually finished last summer, but it’s taken me a while to get around to writing a post about it. Sometimes that’s just life, though.
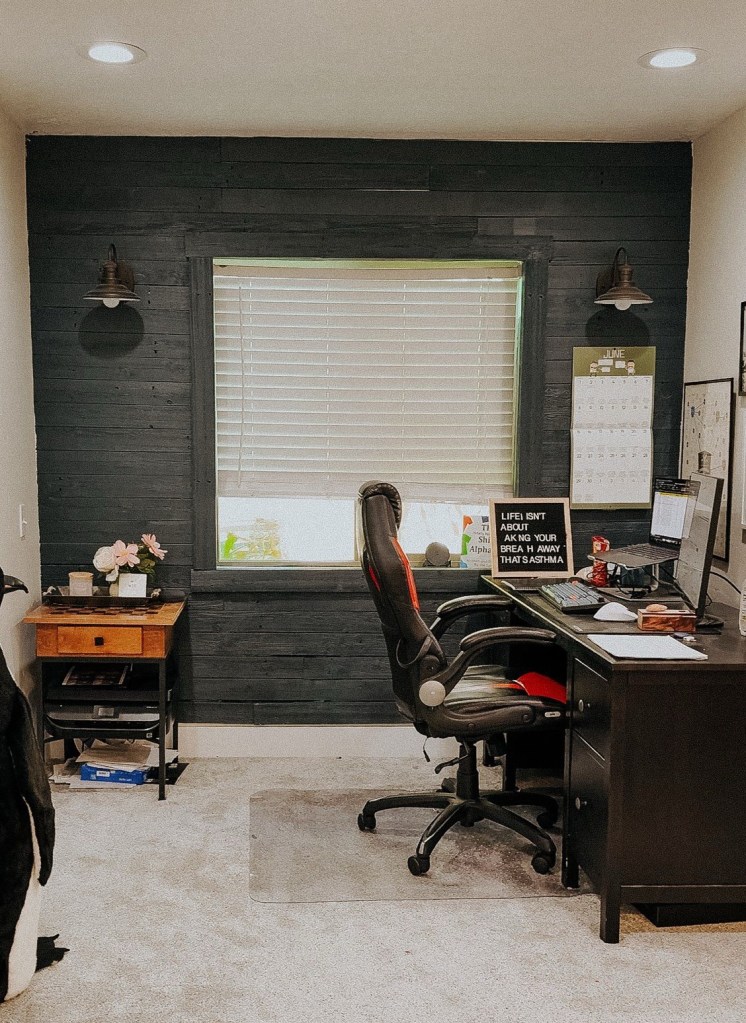
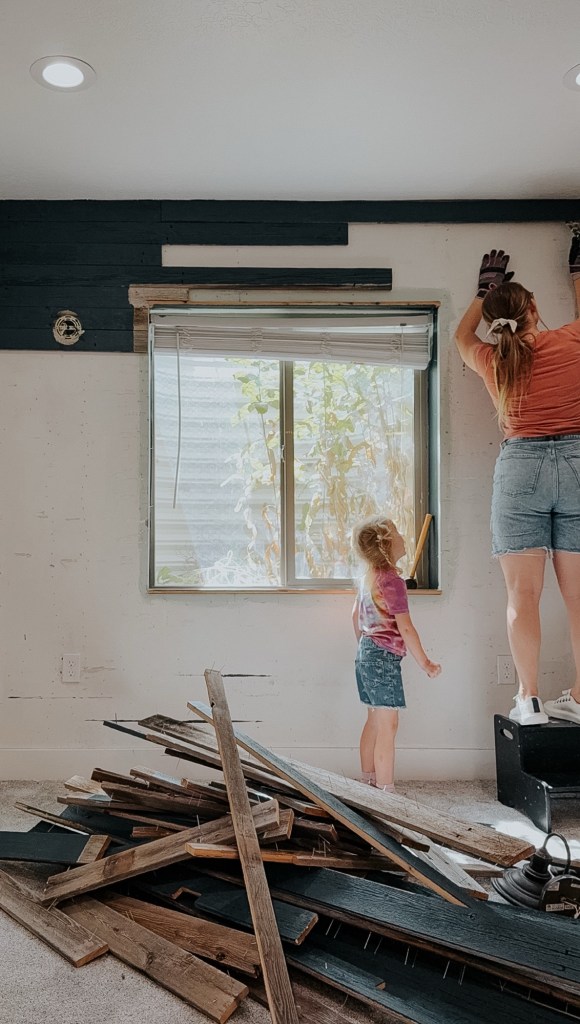
When Violet was born, we turned what used to be Jordan’s home office into her nursery. It wasn’t a huge deal at the time since he only worked maybe one day a week from home, but then he got a new job and started working remote 100% of the time, which we love. It also meant I wanted him to have a space that was a little more deliberately designed and functional for him, and I figured I could likely find a way to do both that and find a home for all of my books.
Designing the Space
Jordan’s biggest request was that he have a whiteboard behind his desk that he could use for brainstorming and working through information on video calls, but other than that (and the color, which we’ll get to) he trusted me to make it awesome. That’s one of the cool things about having done so many projects in our homes, he pretty much just trusts that what I’ll do will turn out great and gives me free reign to try whatever I want!
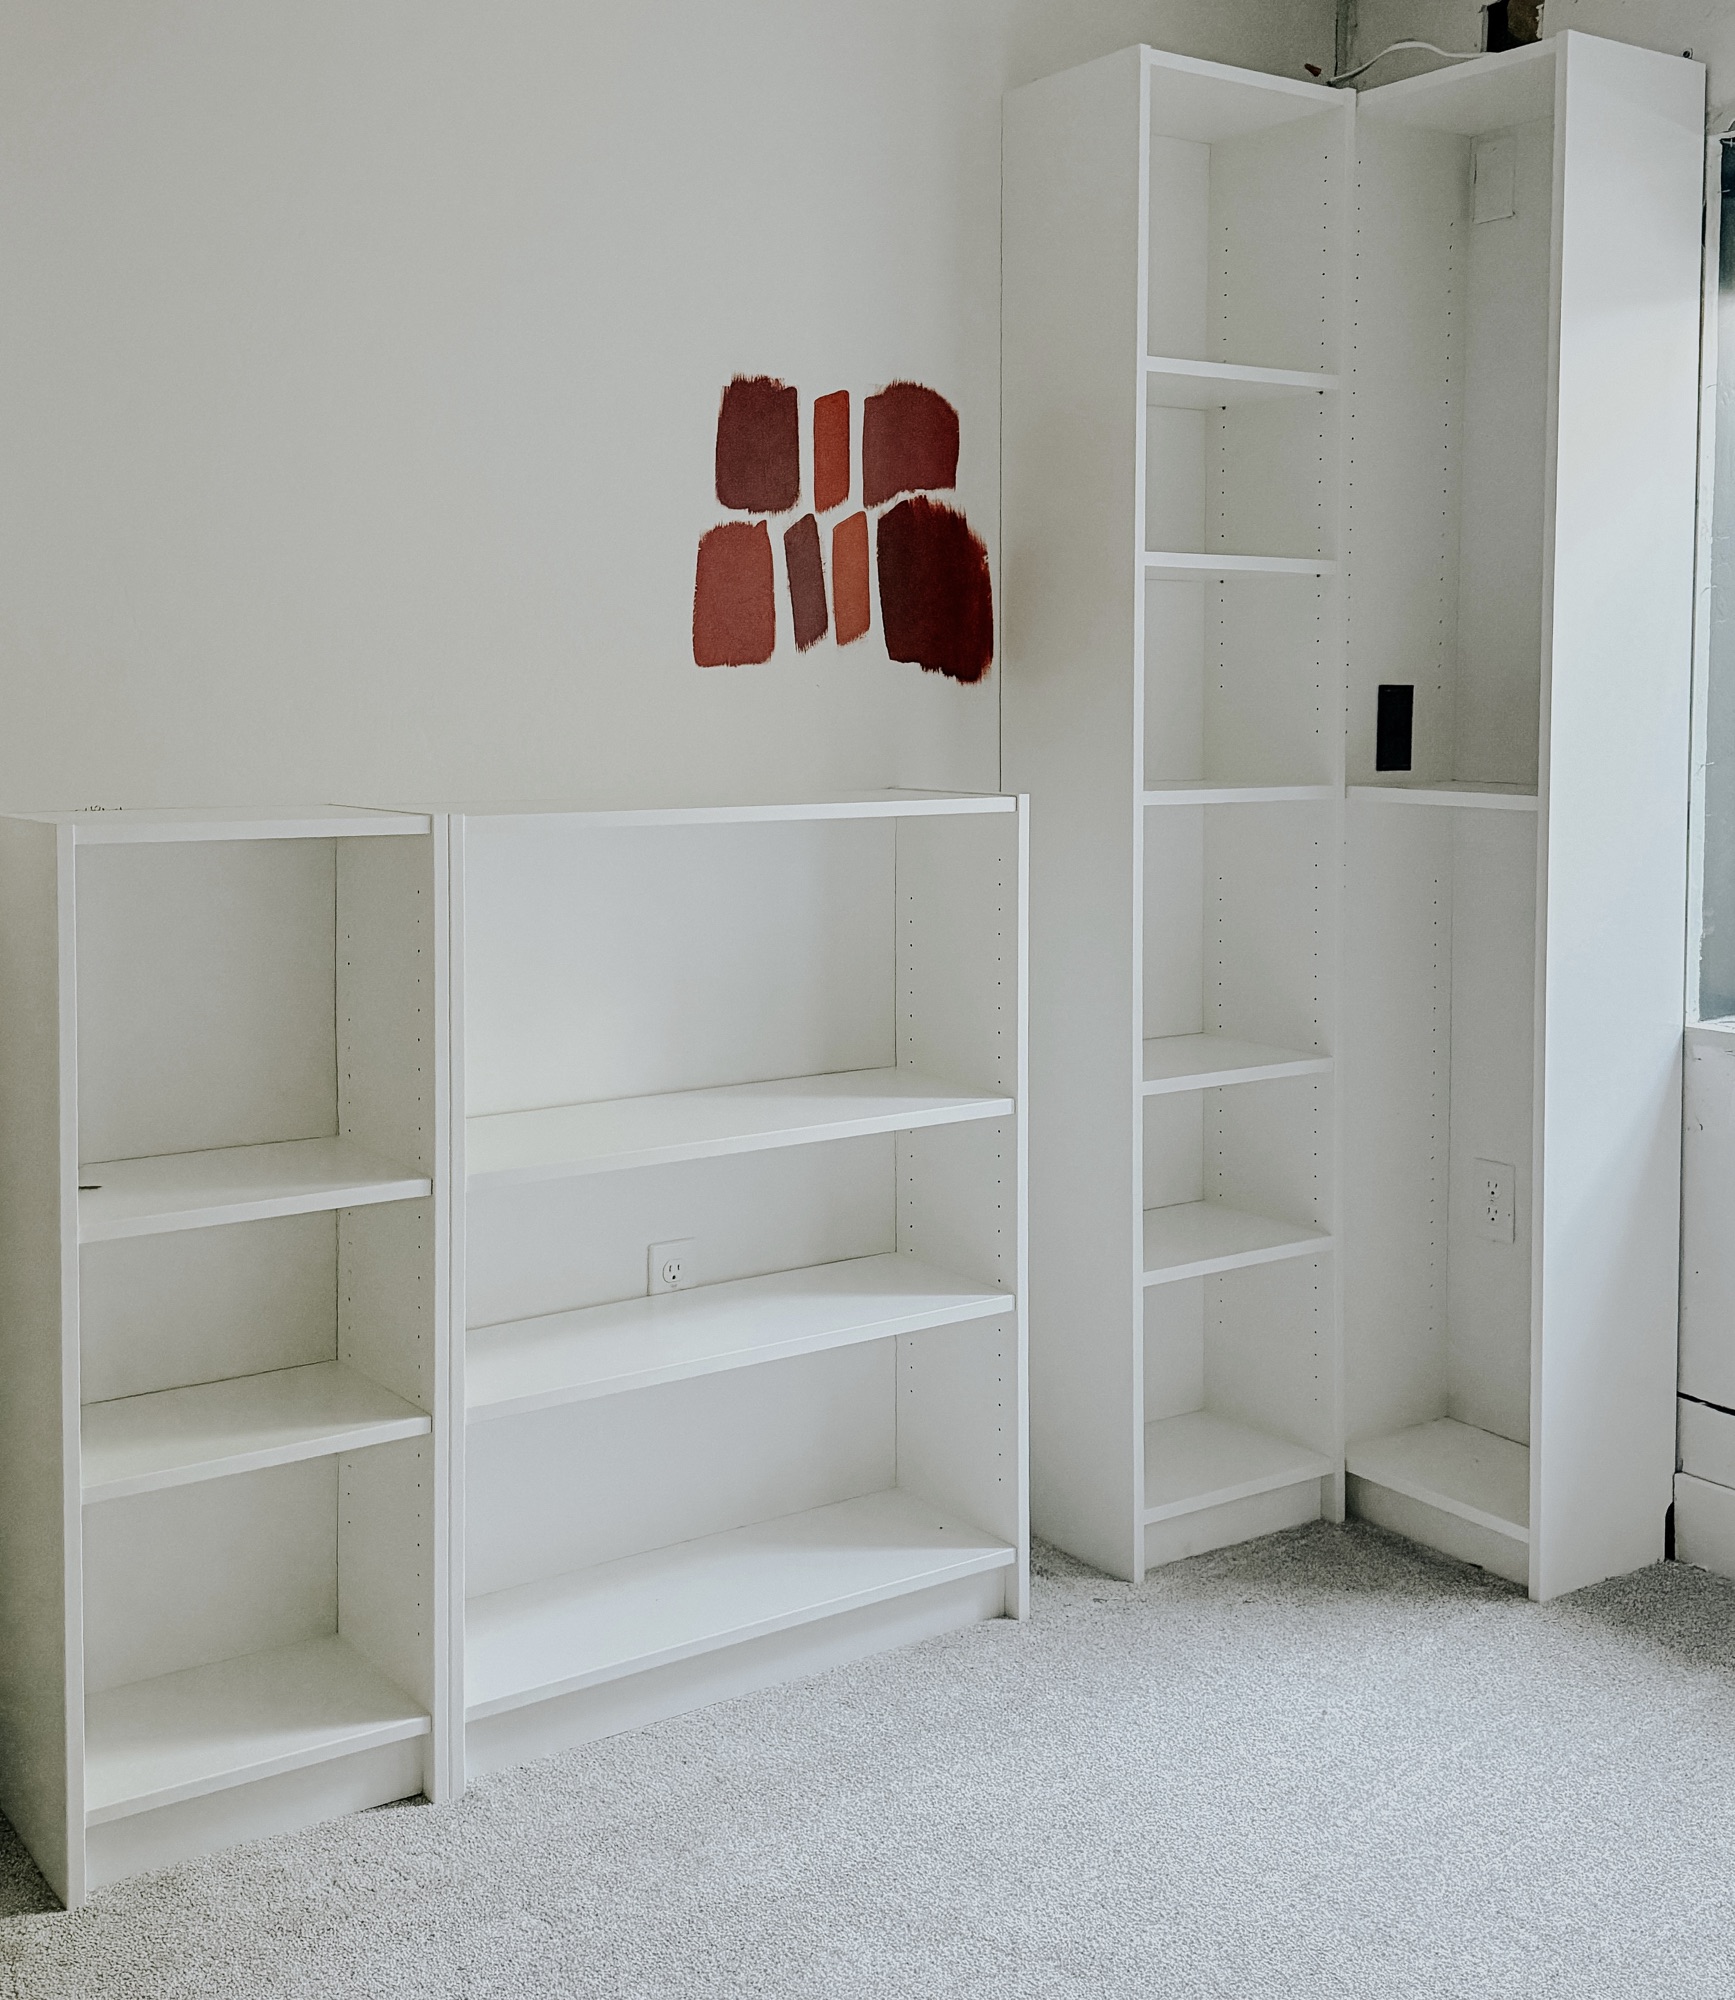
I debated between building everything from scratch or using IKEA Billy bookcases. I used Billy bookcases in our living room and built some from scratch in Elliott’s room. Each method has its pros and cons but with it being the middle of the summer and having three kids to wrangle, I decided the convenience of Billy bookcases (and being able to build them entirely inside, out of the heat) was going to be worth the trade off of slightly less sturdy materials.
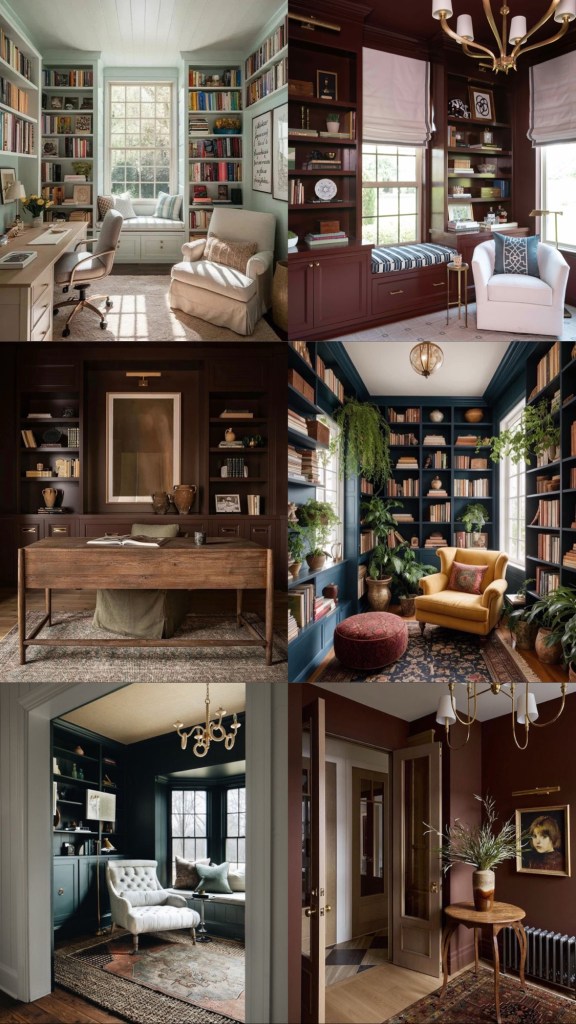
I don’t think the Billy bookcases feel flimsy at all and I’ve had no issues with the painted finish on our living room ones, so the trade offs for me were quite negligible. If I were doing it all again, I would easily pick Billy bookcases again.
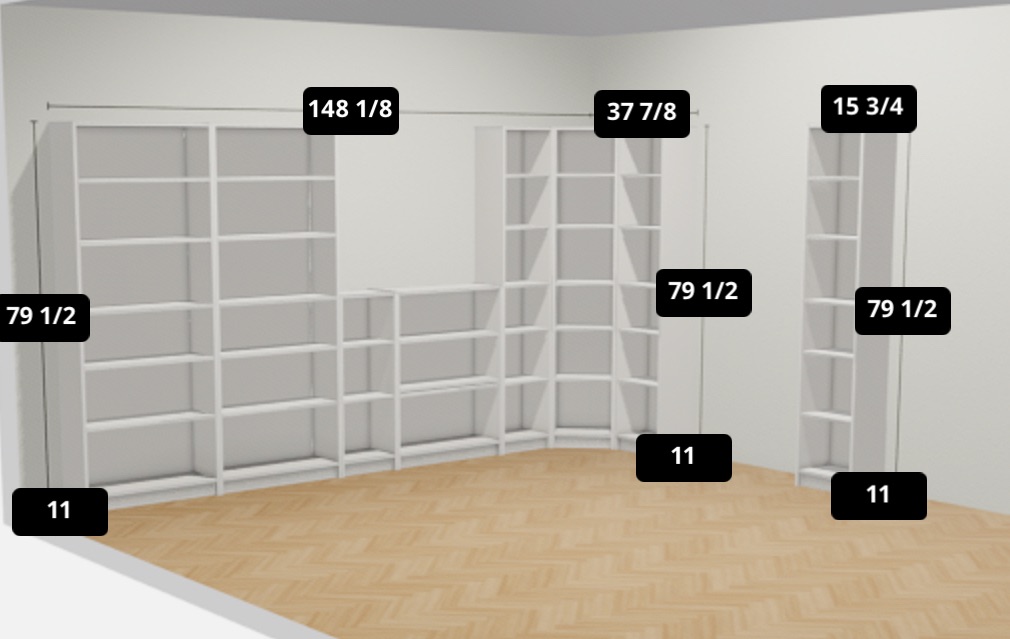
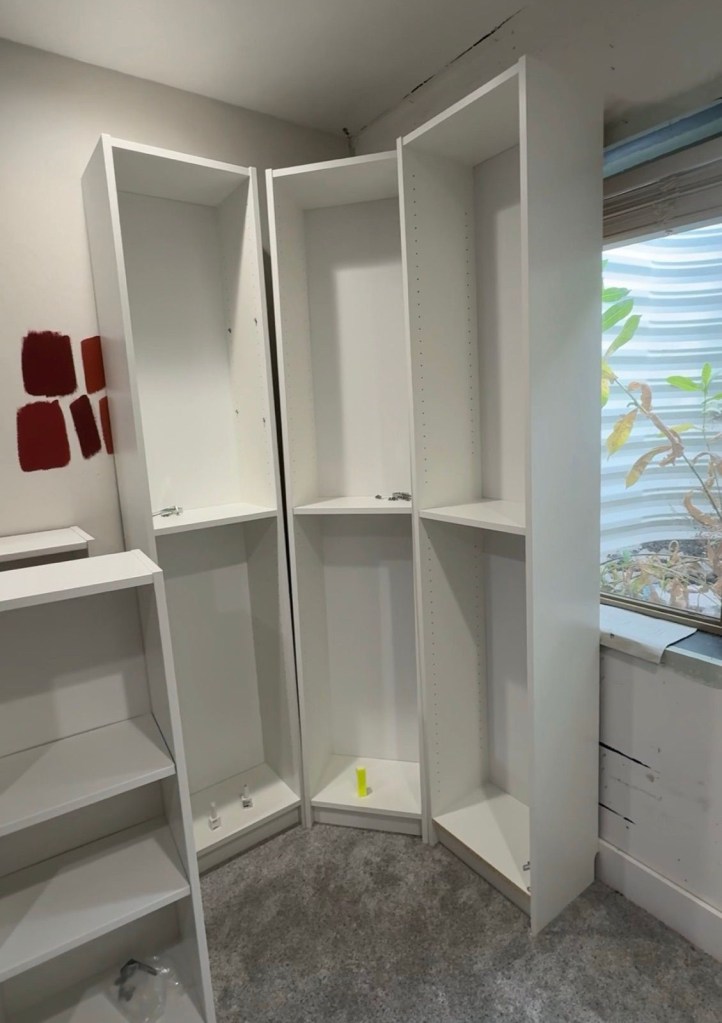
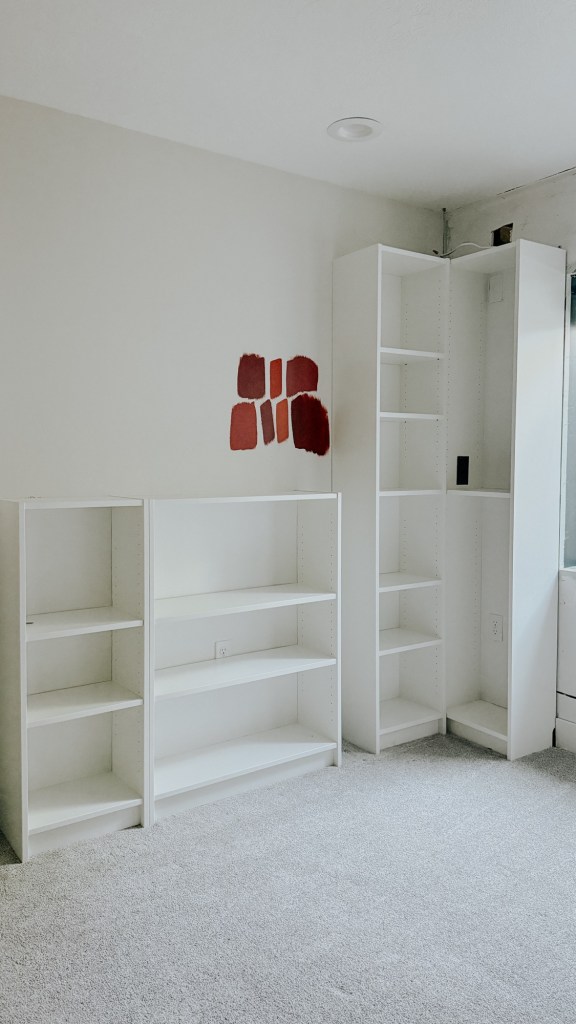
IKEA has an amazing online planner that you can use to layout your space. I have used their planners with our kitchen, our closet in our last home (even though I didn’t end up using IKEA materials, I still used it to map my layout), and then again here. I really like this way to visualize what I want to do. Unfortunately this time I did mismeasure something in the office, which meant I didn’t actually have the space to do the corner case like I was planning. Huge bummer since I think it’s absolutely adorable, but it was easy enough to pivot. I also ended up with an entire extra large bookcase? Clearly I mis-measured!
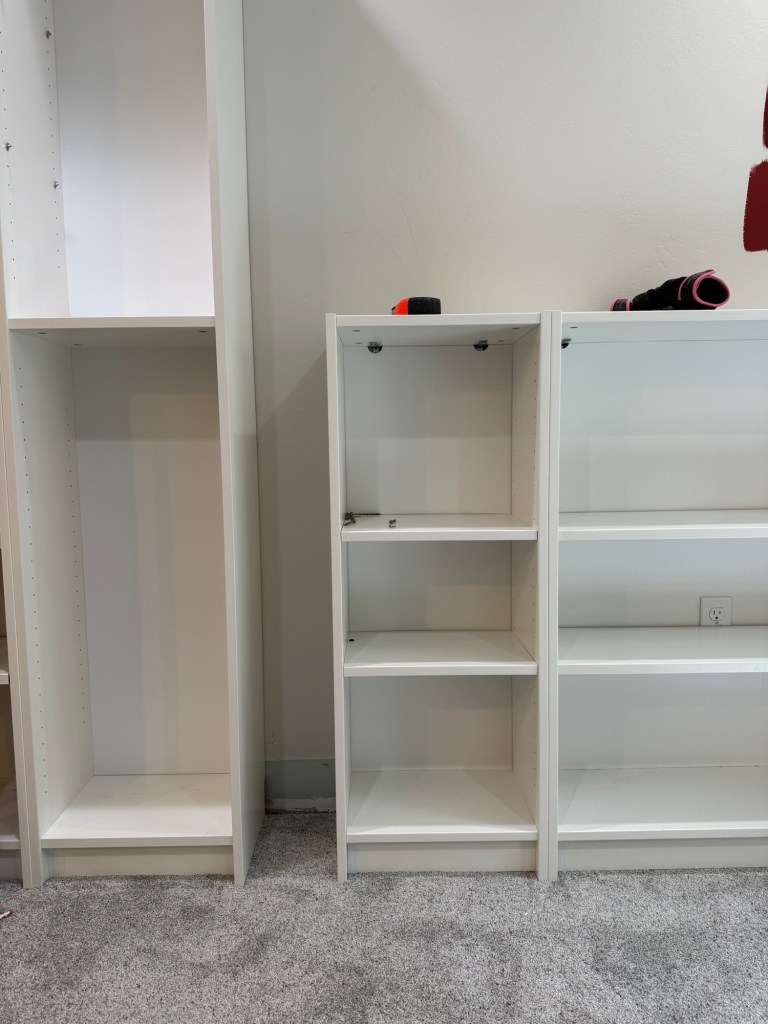
I included a few shorter cabinets where we can store the endless stream of papers that come home from school, as well as a bunch of other office related things that we don’t necessarily need displayed out on the shelves. This also gave me the perfect spot to install Jordan’s whiteboard!
Ideally, I really like a desk that faces a window. It gives the best lighting for video calls – especially in a basement room like this one – and makes you feel a little less like you’ve been staring at a computer screen all day. This room is multipurpose, however, and there wasn’t a good way to orient the desk to face the window without having our guest bed in the background. So keeping the desk against the wall was the best move for this space.
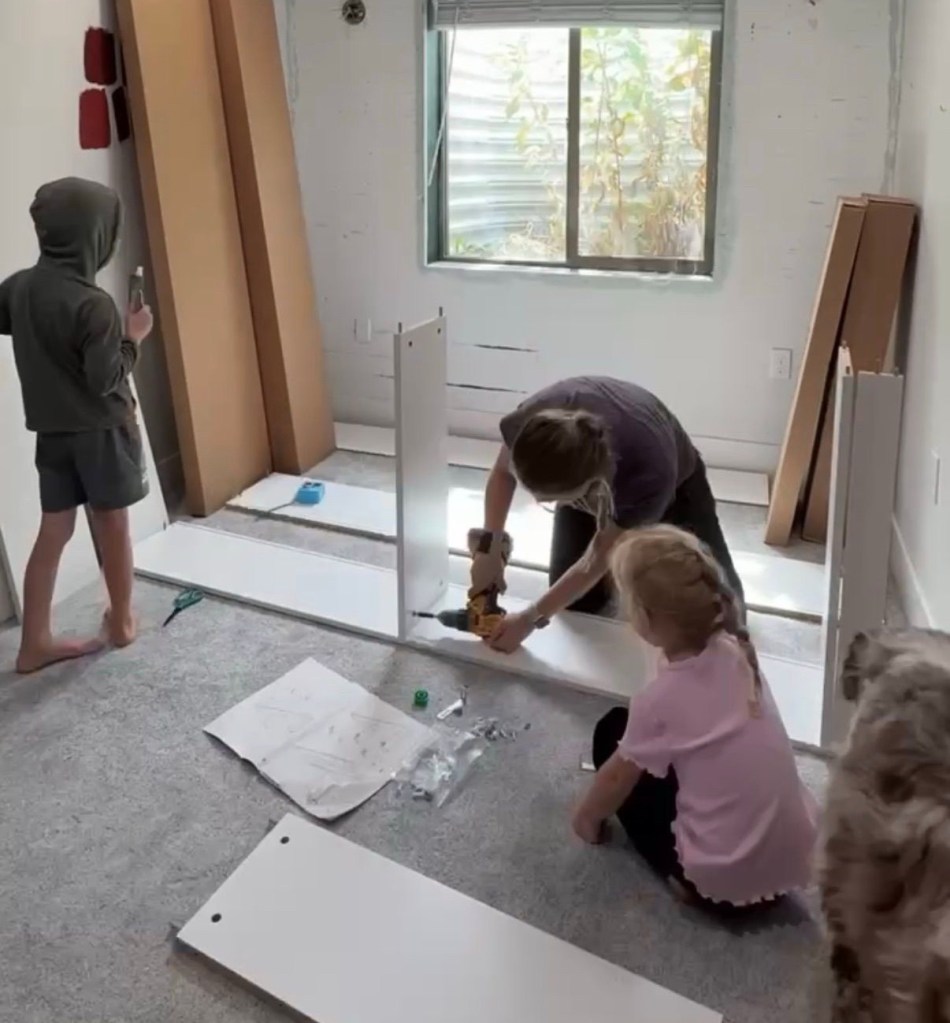
Assembly and Trim
I enlisted my little helpers to assist with putting together all of the bookcases, which they loved. I never force my kids to help me with projects, but they love joining in and doing what I love with me. It really is so much fun to be able to do even monotonous things together!
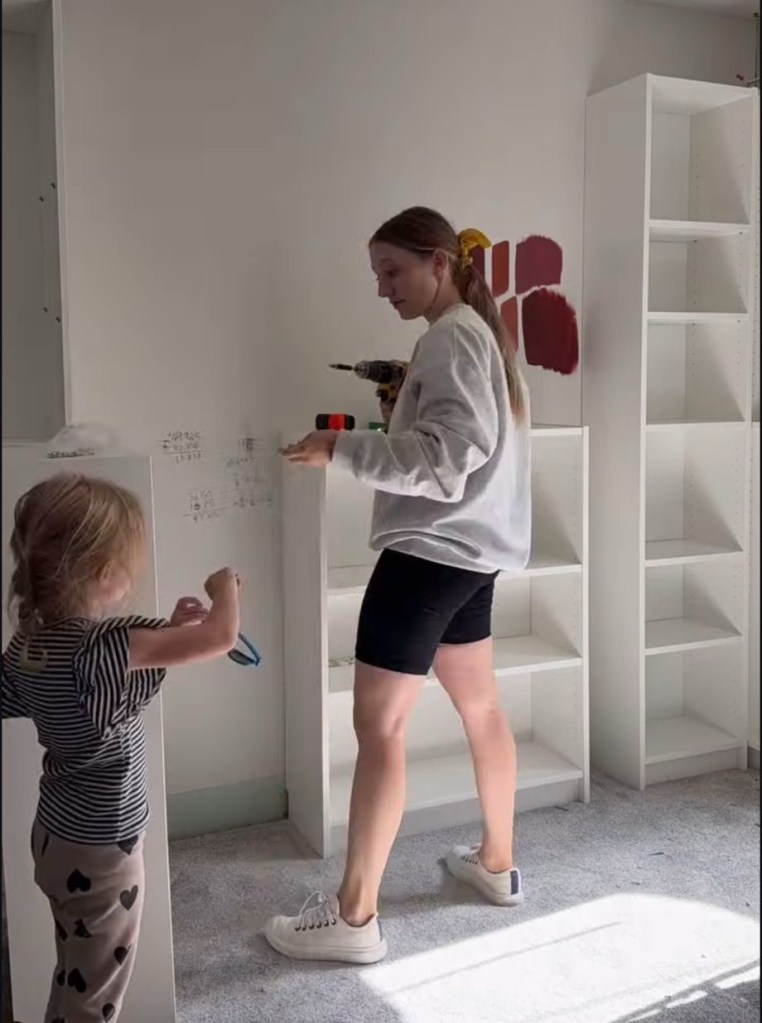
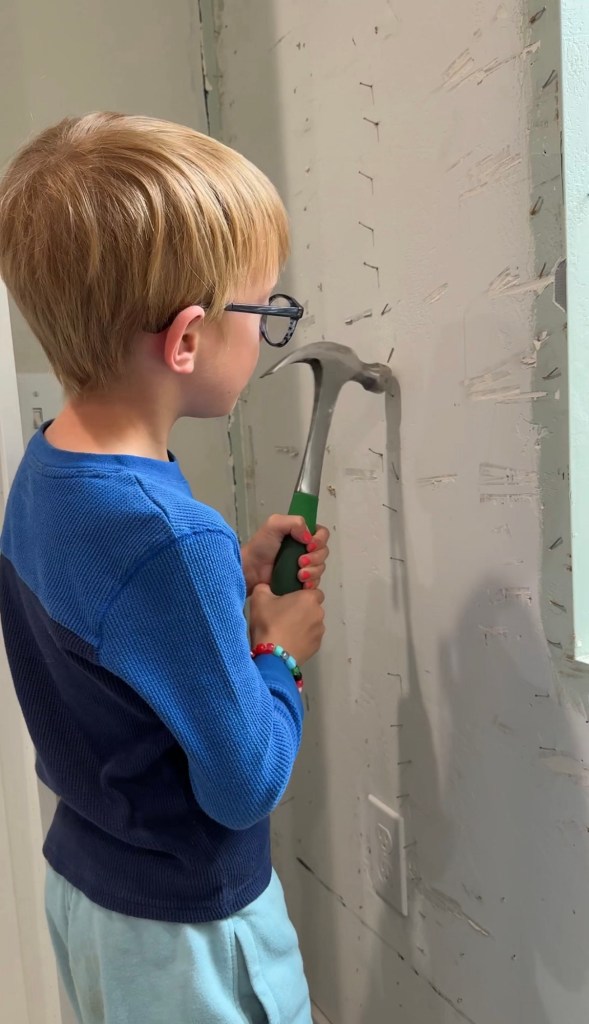
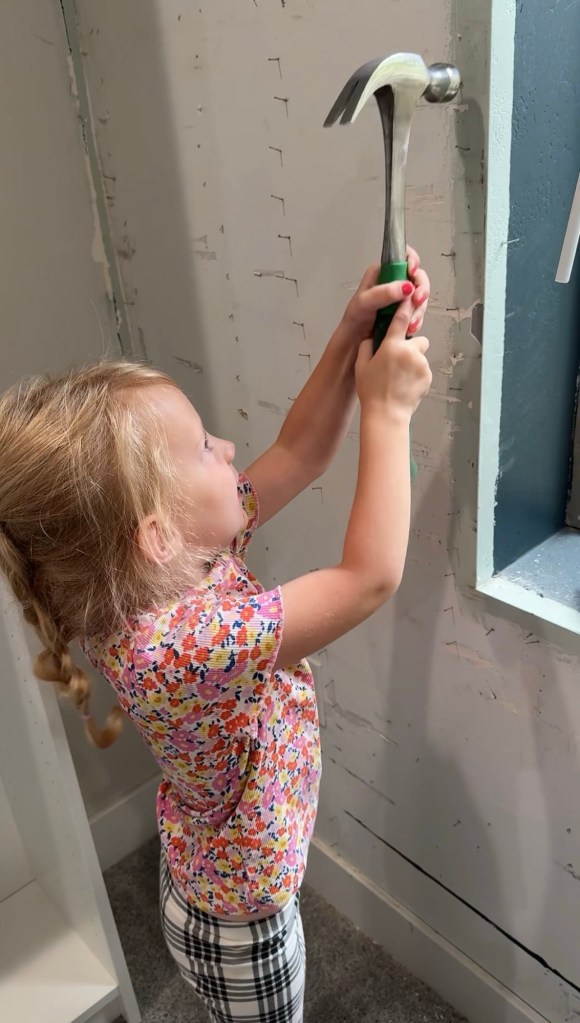
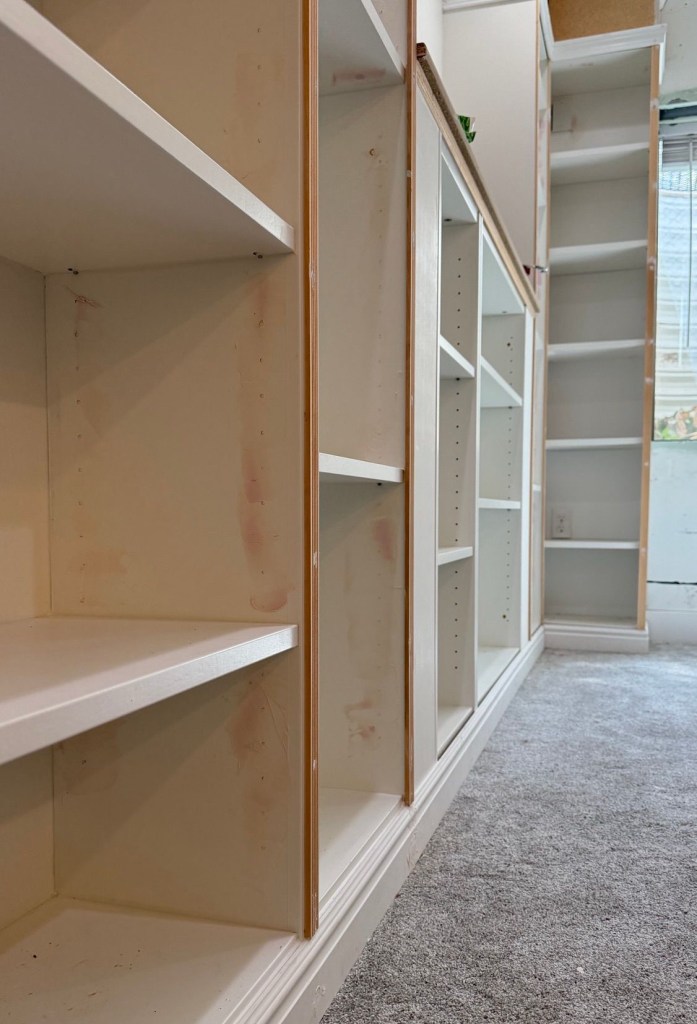
Once the bookcases were built, I secured them into the studs in as many spots as possible. No way are these bookcases going anywhere. IKEA includes the hardware to do this.
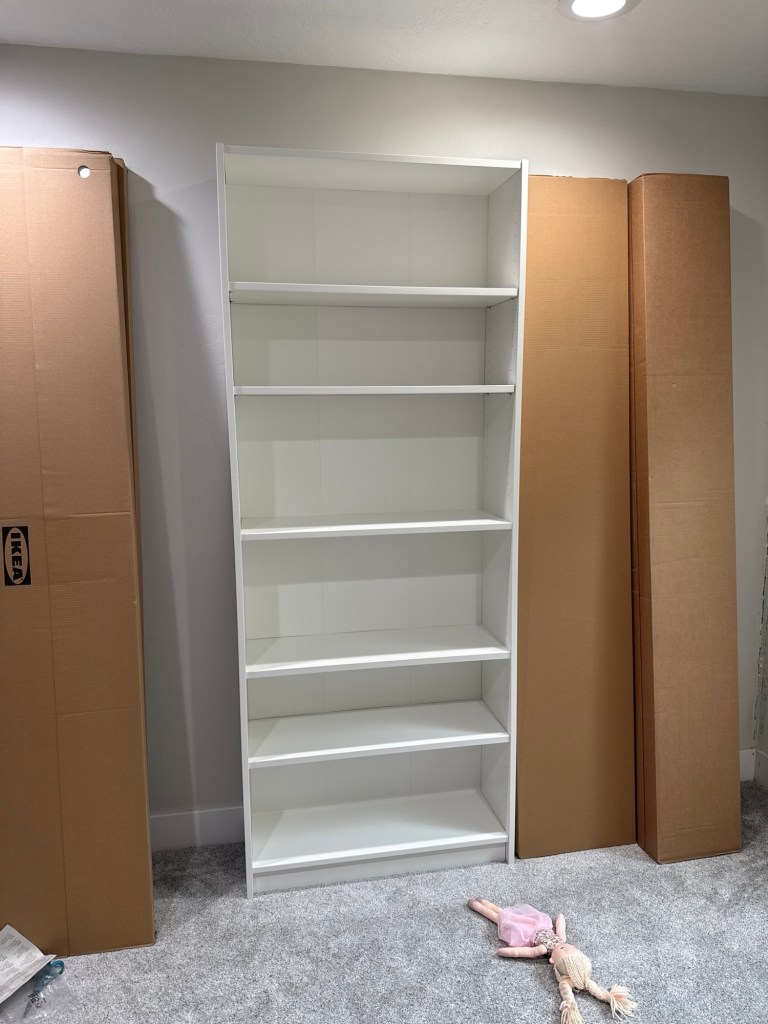
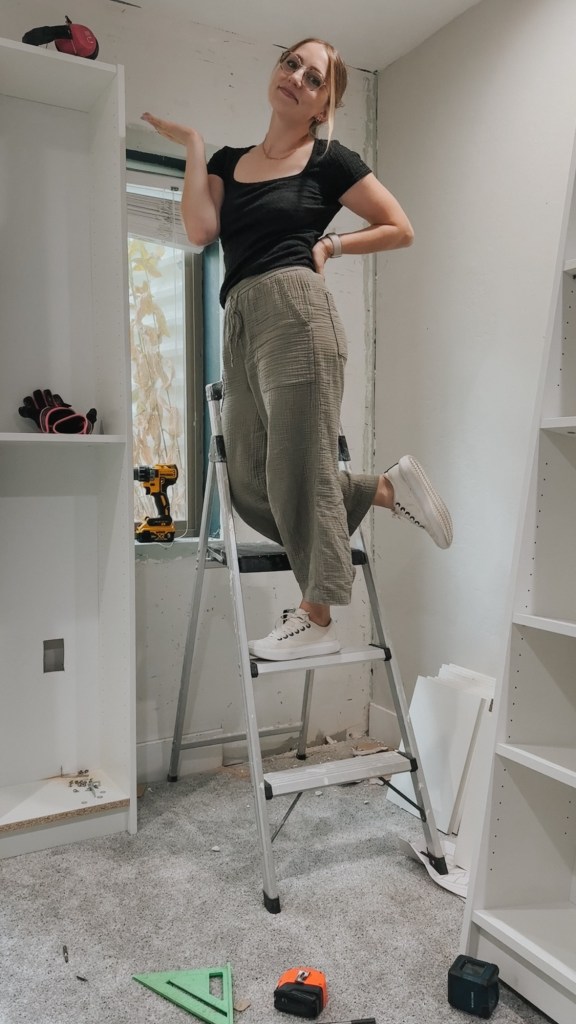
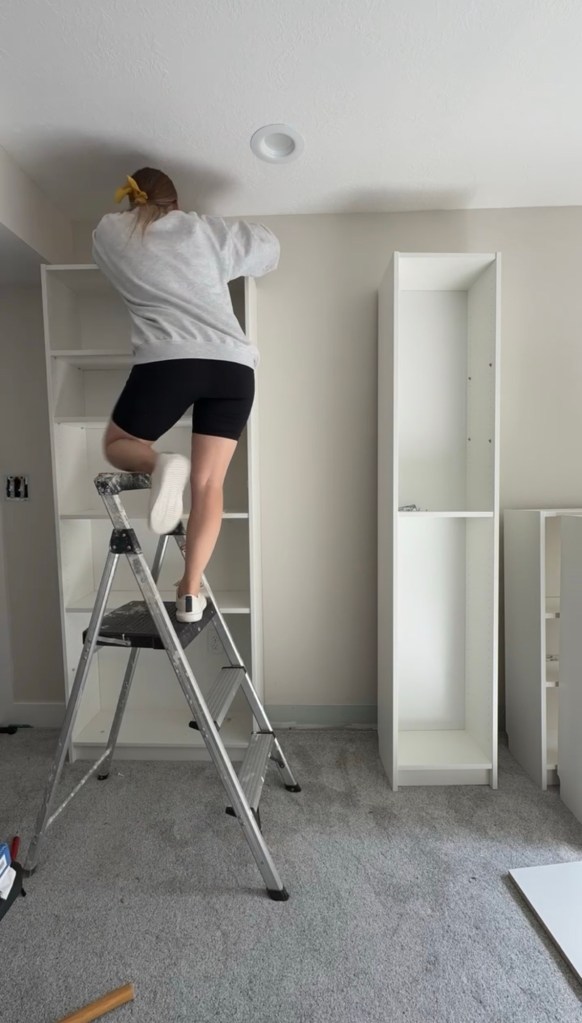
This is when I started to get really excited about the space. It was starting to look like my own little library…I mean Jordan’s office…;). But of course the bookcases themselves are pretty barebones without anything extra.
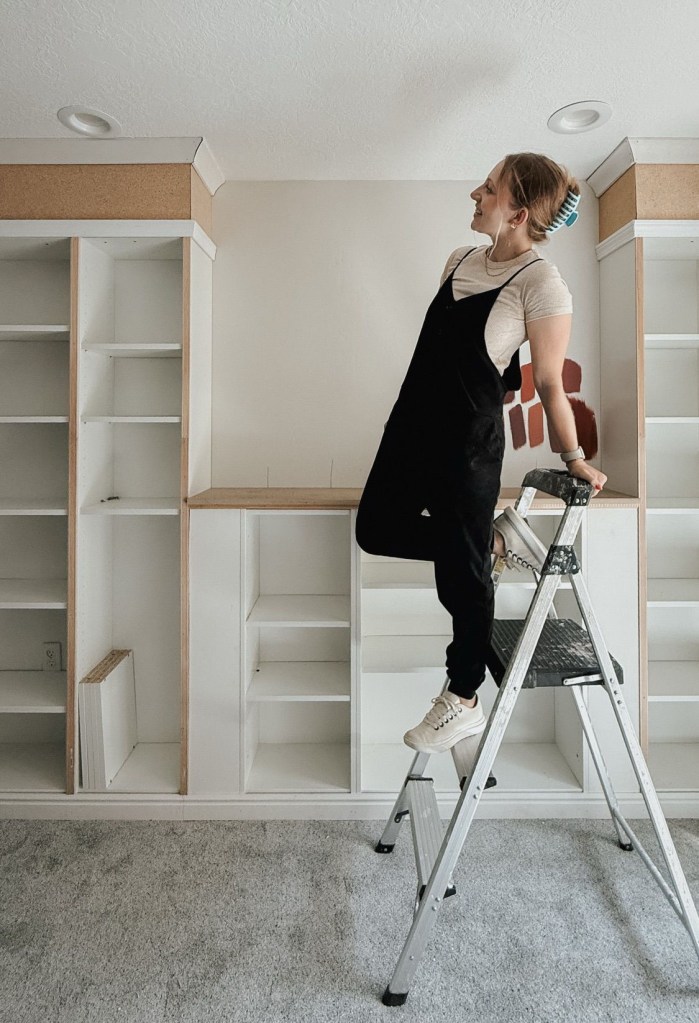
I started by building the tops up to the ceiling. IKEA sells extension units, and I used this in my living room, but there wasn’t quite enough space for them to fit in the basement. I do love a nice chunky top, so it was only a bit of a bummer.
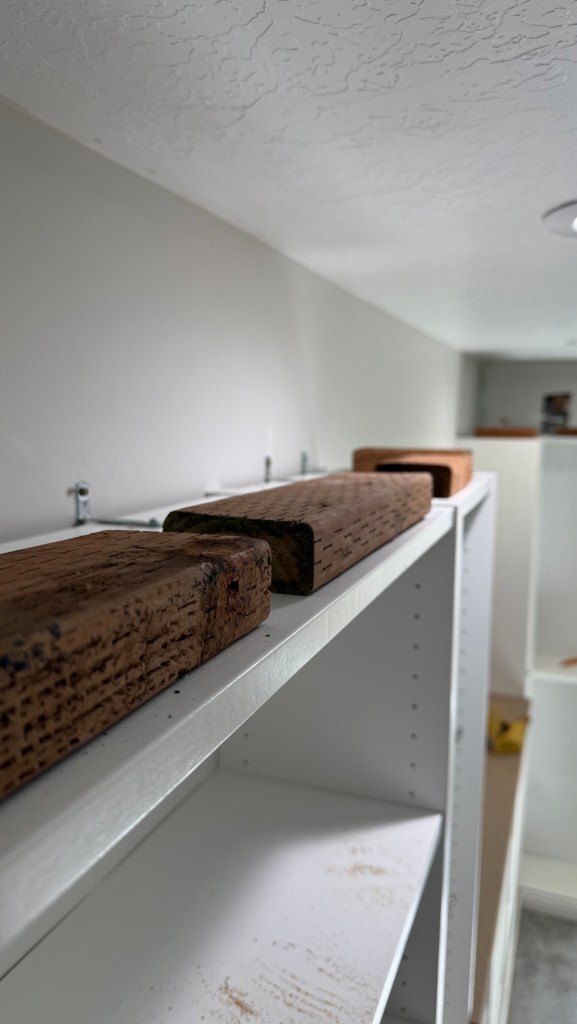
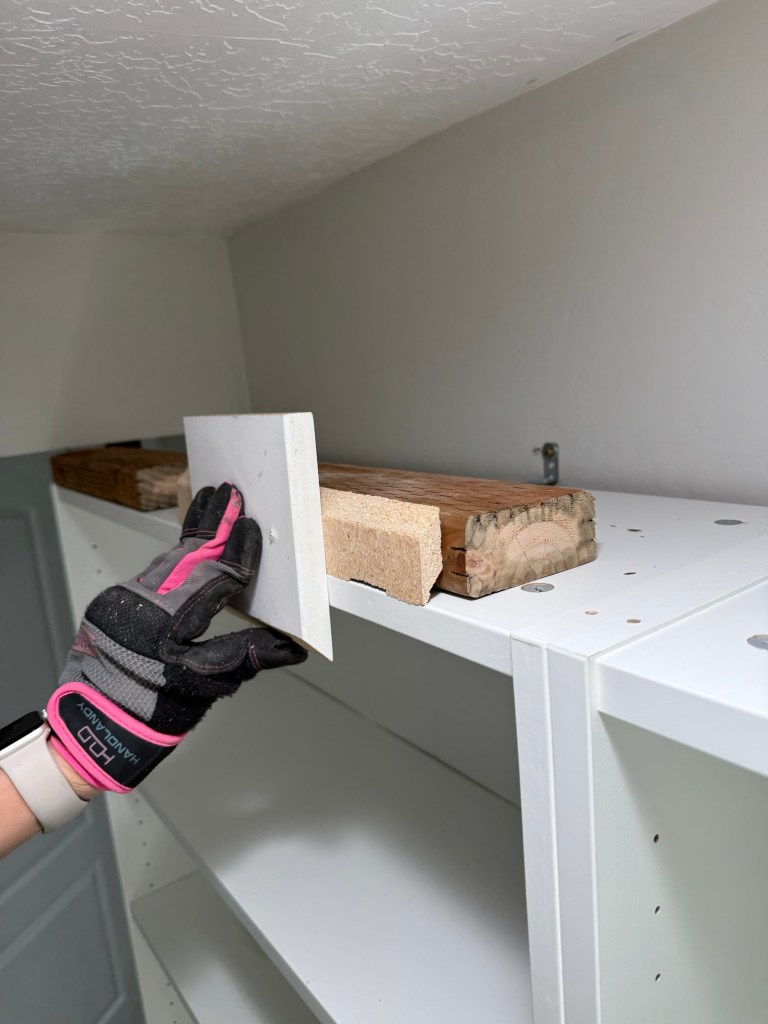
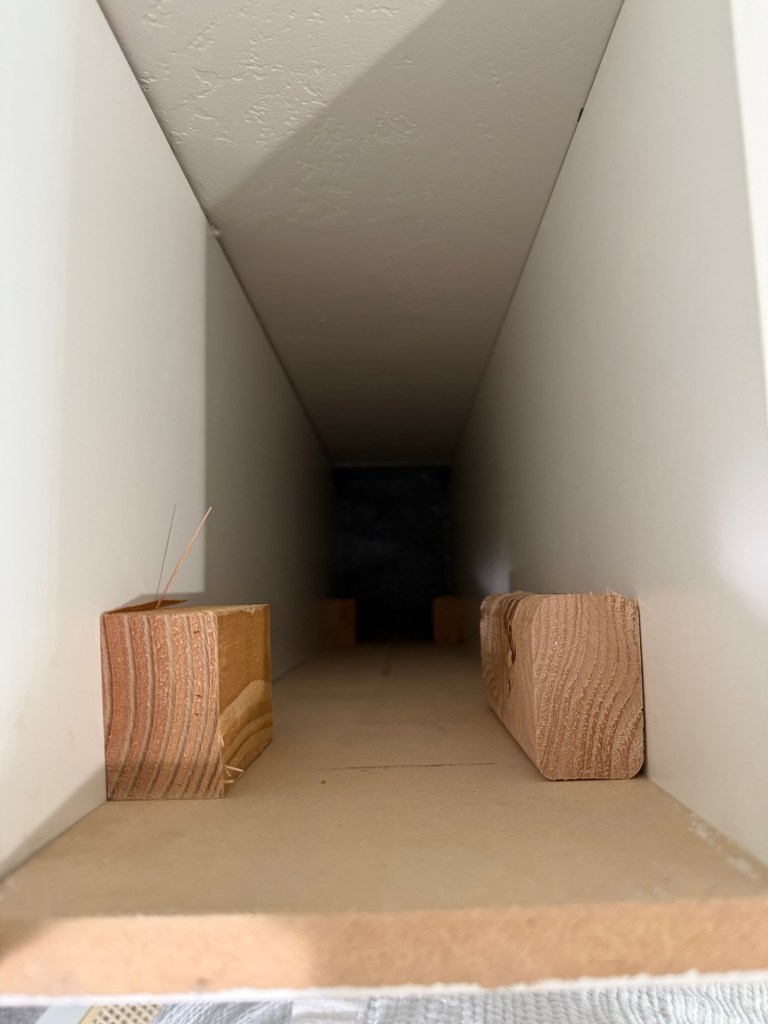
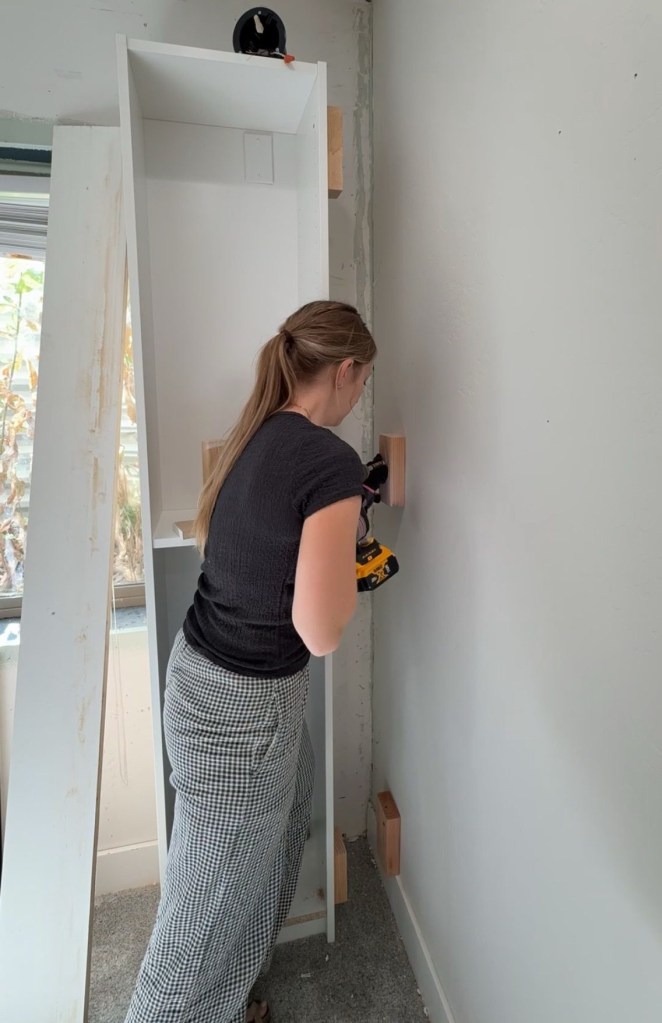
I used blocking to create support for the “box” that would span the gap. I screwed 2x4s into the top of the bookcase from the inside, that way I could sink the screw into the case and keep it hidden. Be sure to account for the thickness of your material when adding your blocking so that it will all be flush in the end. I did this by creating a really simple jig. I used a flat, scrap piece of material (white) screwed on to a smaller scrap piece of the material I’d be using to create the gap filler (light brown). This allowed be to perfectly place the blocking so that it would leave me with a flush front.
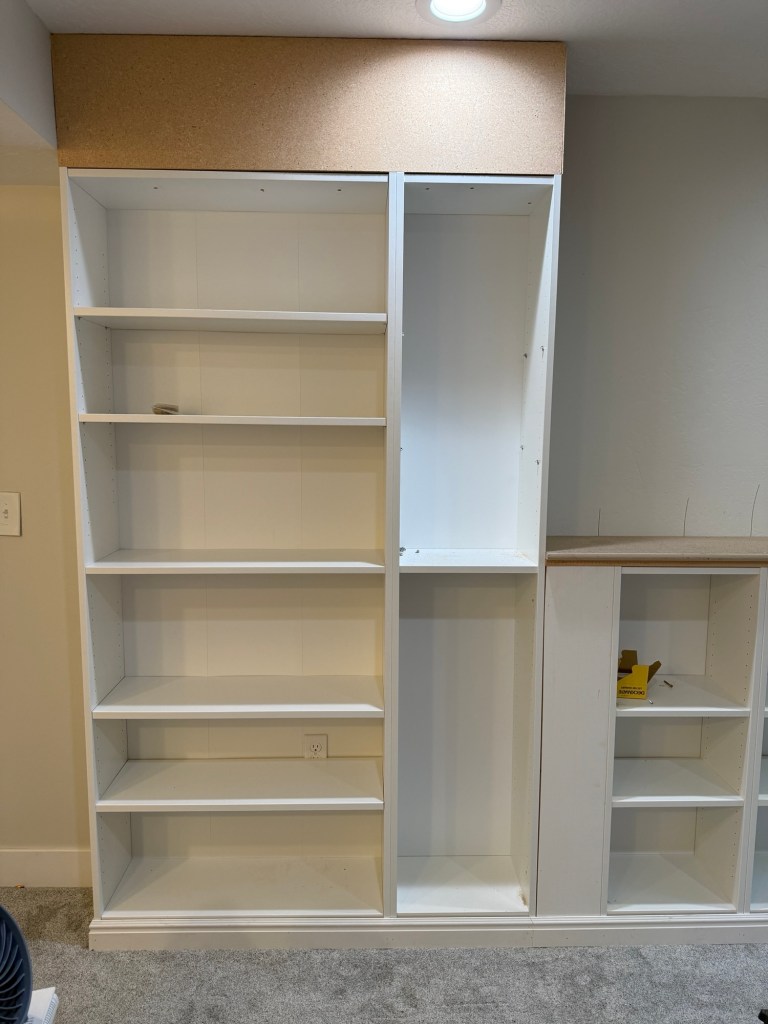
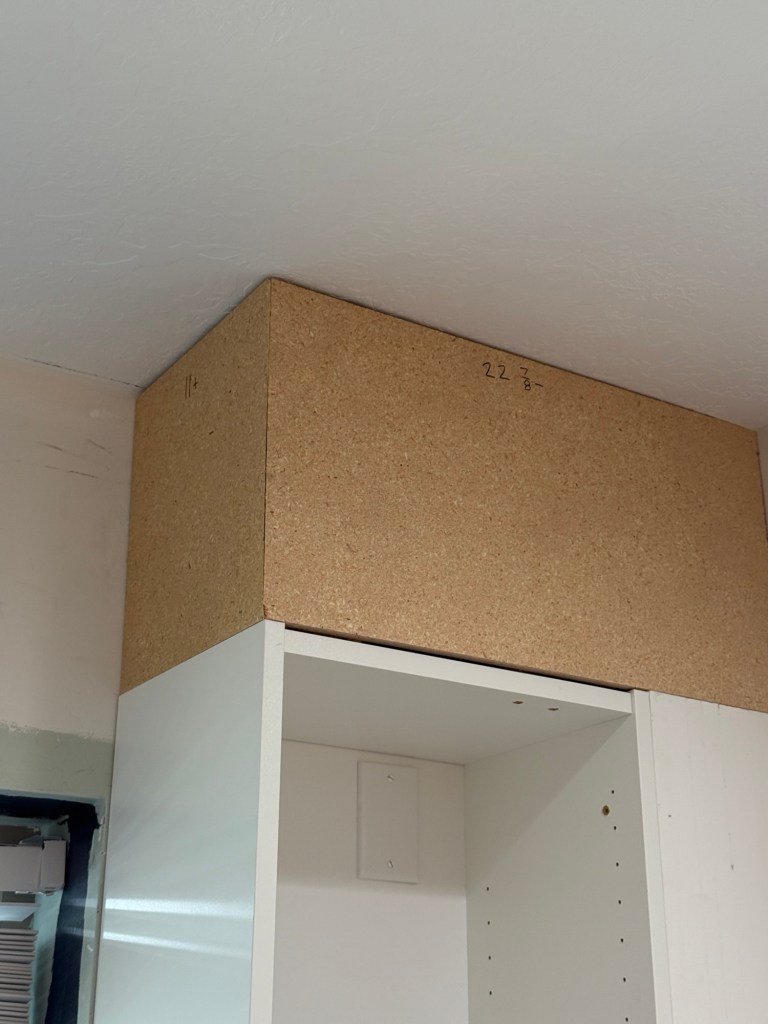
Then I added the material. Typically I would use plywood to do this, but I had this particle board lying around so I used it instead.
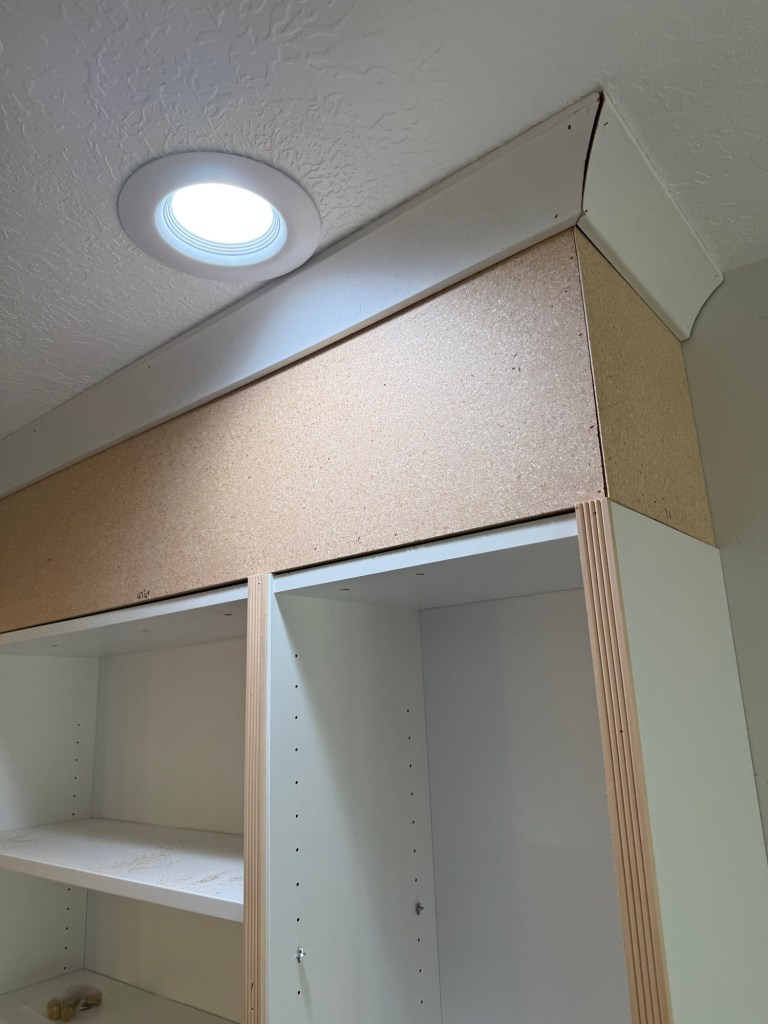
I also added crown moulding, of course, and some decorative trim to hide the seam between the bookcase and the gap-stopping-boxes. Then the bases got baseboards added on to make them look more built in.
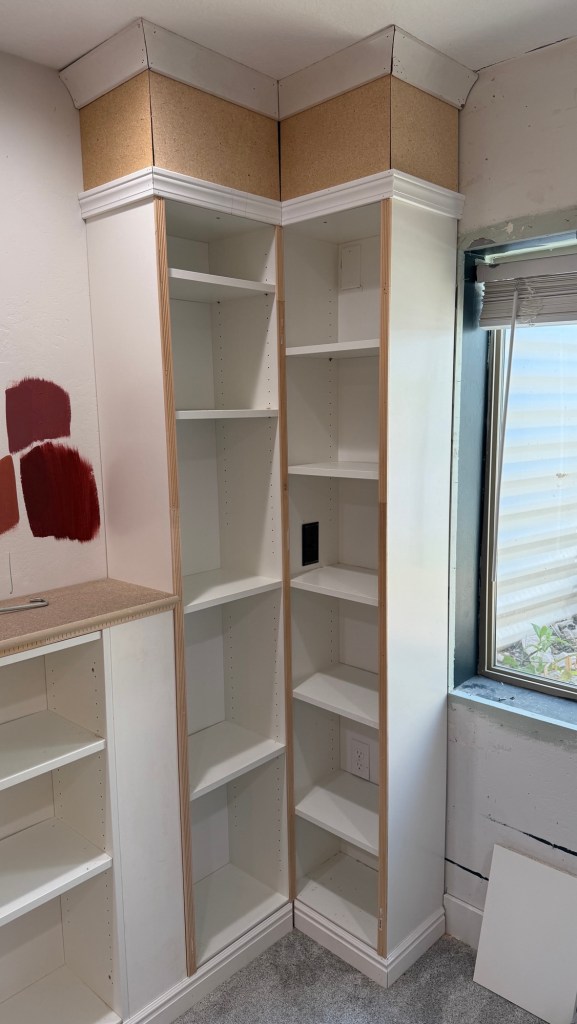
My favorite trim that I added was this fluted wood between each of the bookcases. It really makes them all flow so nicely together and is, simply put, stunning.
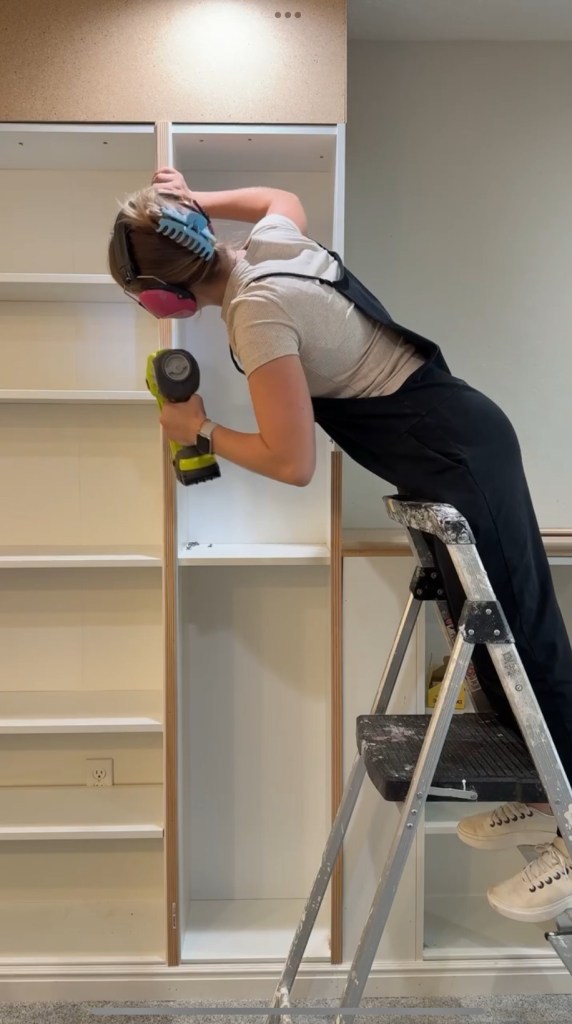
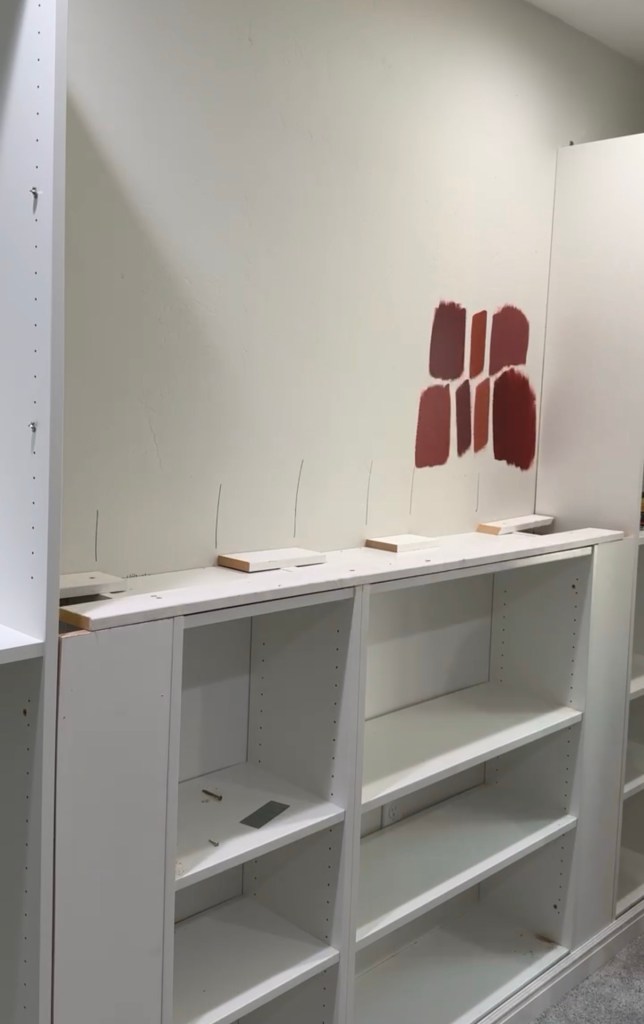
The cabinets needed slightly different accoutrements than the bookcases. First, I closed the gap between the cabinets and the bookcases with much the same method as the tops of the bookcases. A little blocking and a panel and it was good to go!
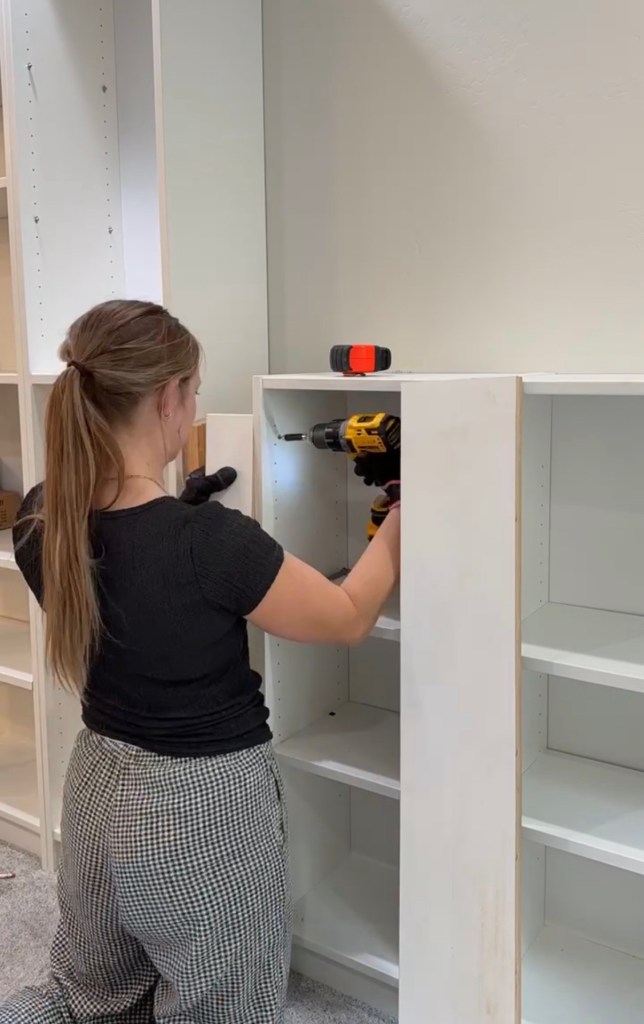
I installed this shelf top to create something of a counter. I really liked the bullnose edge, but getting it perfectly smooth took a lot more sanding (and lots of sanding between coats of primer) than I would have liked.
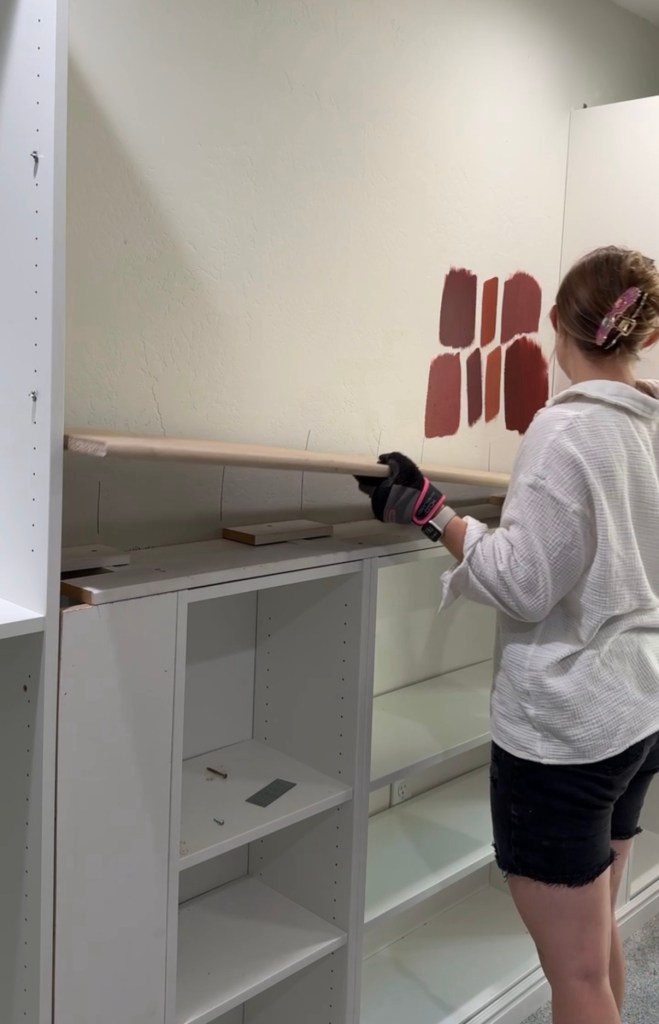
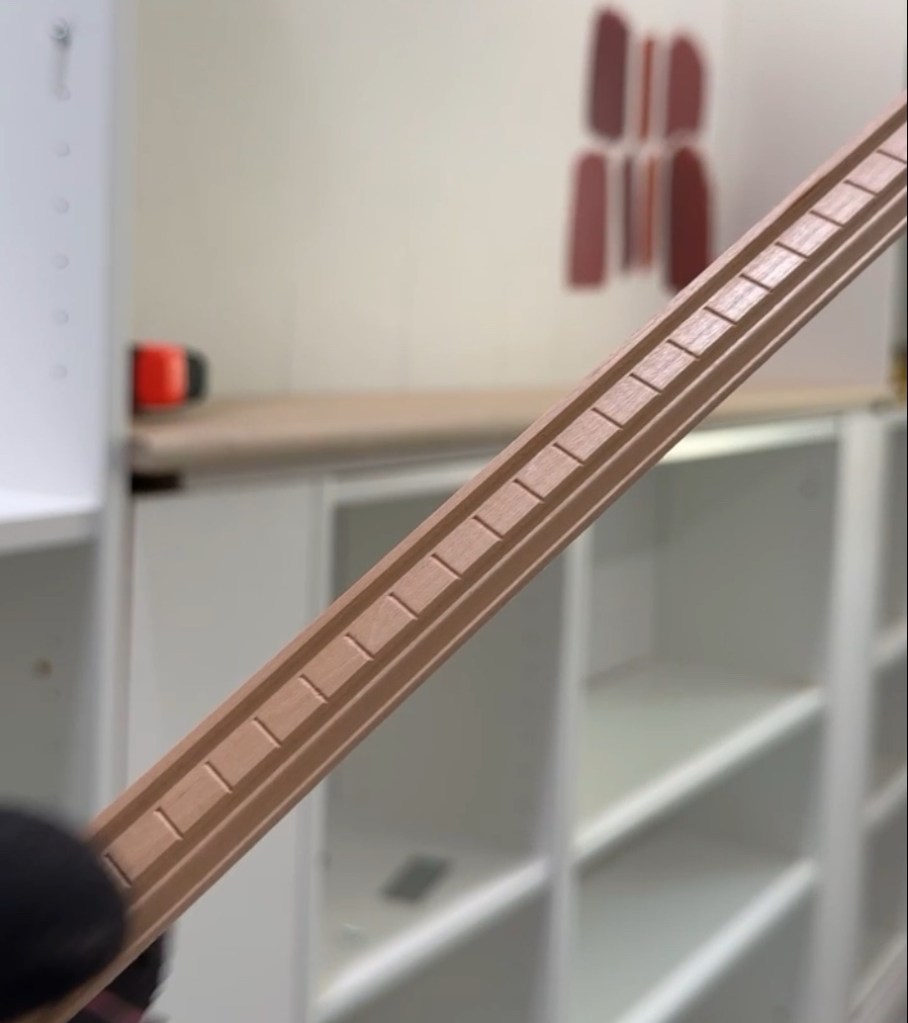
Under the shelf top I attached this dentil moulding, which is definitely up there with the fluted trim. I think it’s so cute!
Next Steps
With everything up, it was time to caulk, fill, prime, and paint! I’ll cover all of those steps in the next post so I can really dive into how to get a lasting paint finish on your IKEA furniture.
Stay tuned for that next post! I promise it won’t be long 🙂
With love,
Mercedes 🖤


One thought on “Cozy Home Office and Library : Part One”