
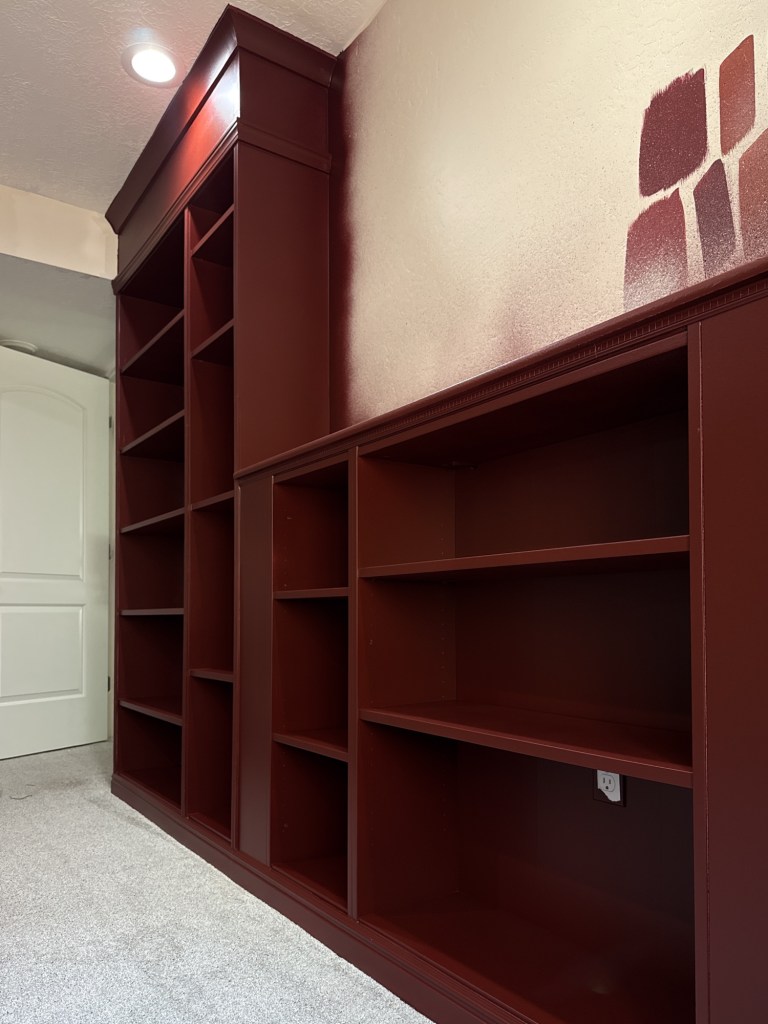
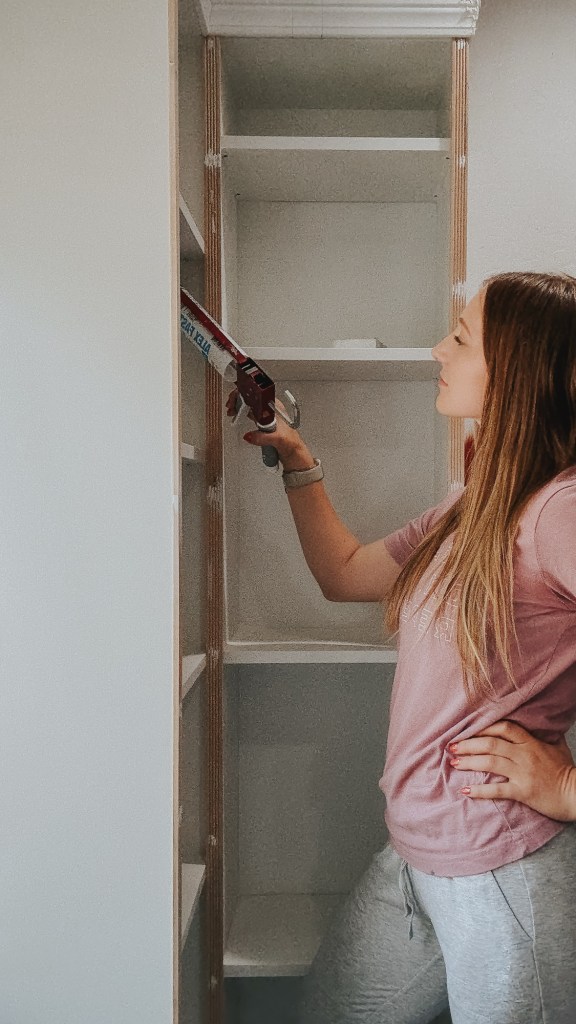
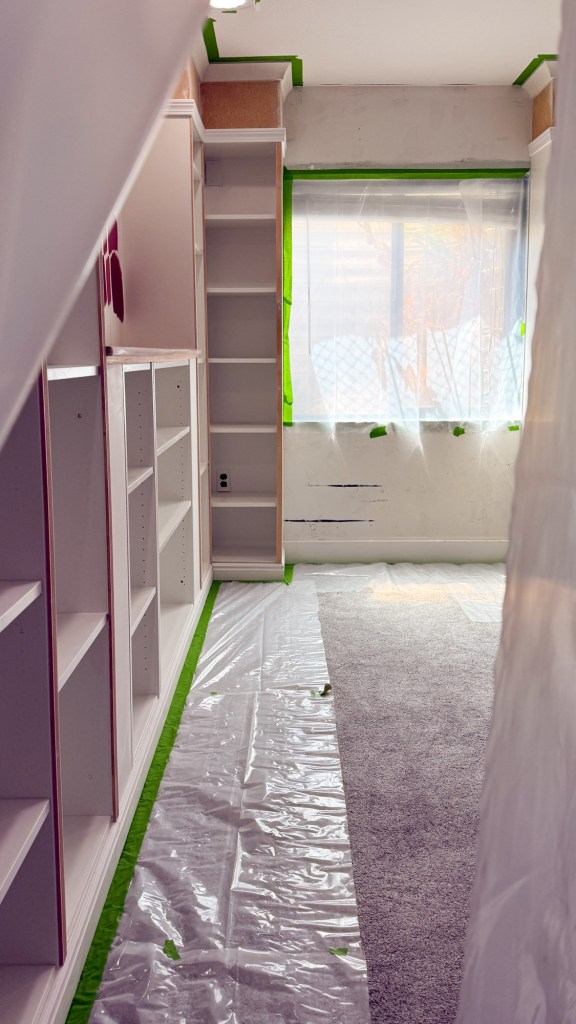
Ready for a super in depth look at how to paint IKEA furniture? I’ve got you! In my last post I shared all about the planning, assembly, and installation of the IKEA Billy bookcases I used to create our home office/library space. Once I had everything installed where I wanted it, trimmed out to look built-in, and every last nook and cranny filled and caulked (I think I went through 5 tubes?), it was finally time to paint!!
This is arguably the best part of the whole transformation and I’m so excited to show you. A coat of paint is one of the easiest ways to infuse your personal style into your home and I’m a huge proponent of taking advantage of a gallon of paint on a weekend, but painting IKEA furniture requires a bit more forethought and prep work.
Picking the Color
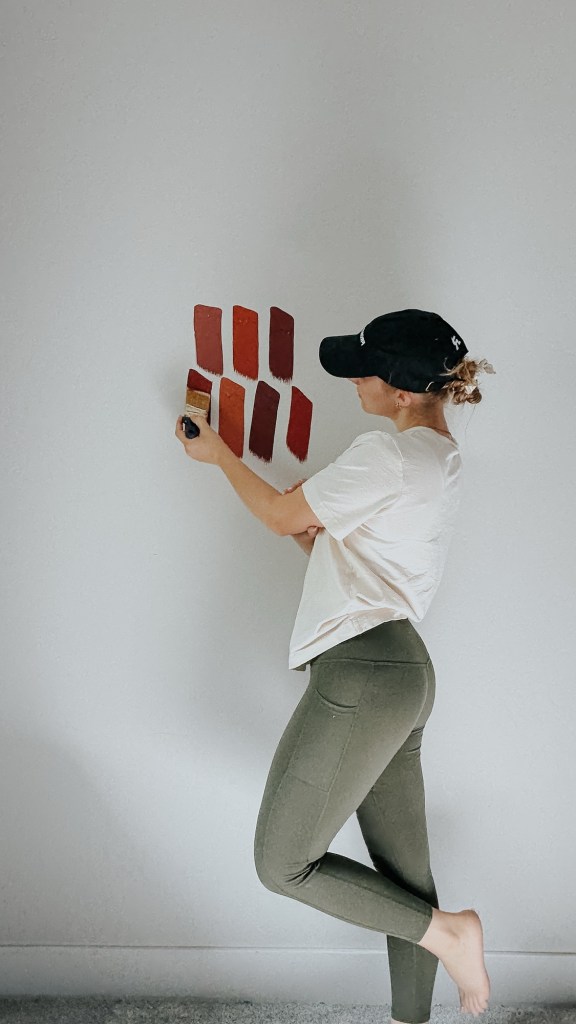
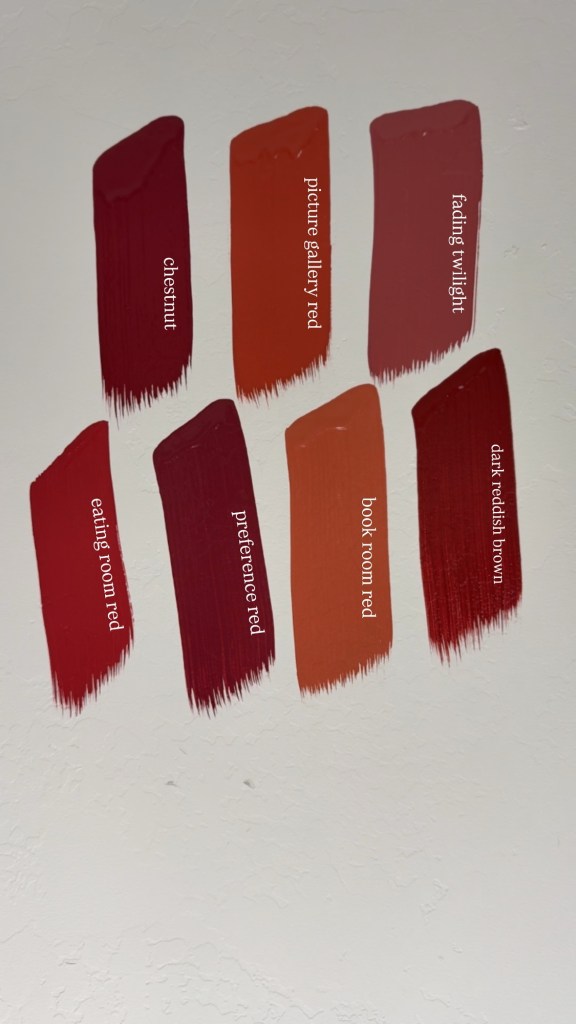
J works from home 90% of the time and my main goal for this space was to give him an area that he loved. With that in mind, I pretty much gave him free rein to decide what color he wanted. That sounds a little ridiculous, but he really does defer to me with all home decisions and while I’ll run things by him to make sure he’s also a fan (duh, we both live here), he trusts what I do and hardly ever opposes my picks – bless him. The vibe we were going for was a moody, dark academia style and he picked a deep red color. I’ve never used a deep red like this before and I was honestly so excited to jump on board!

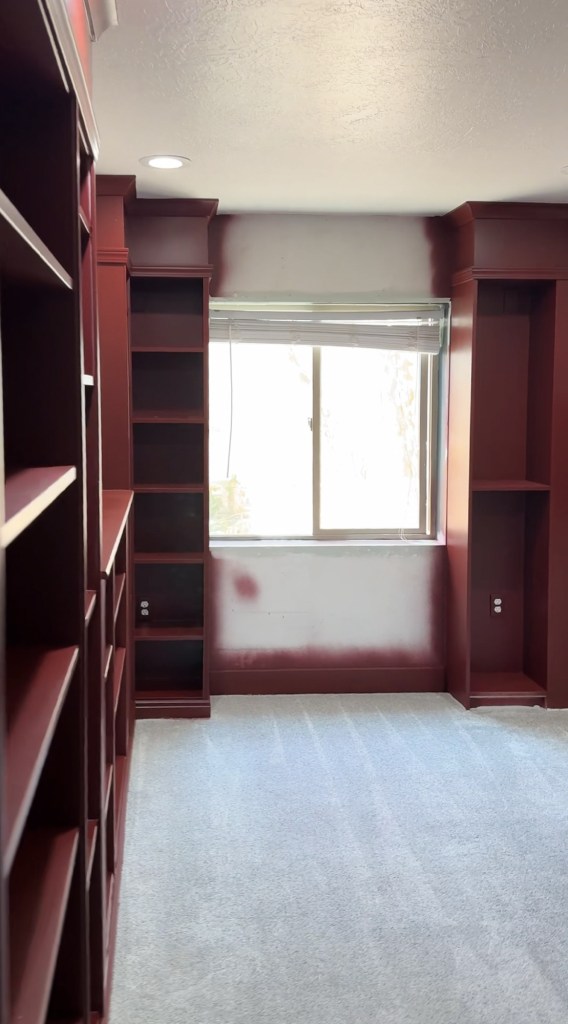
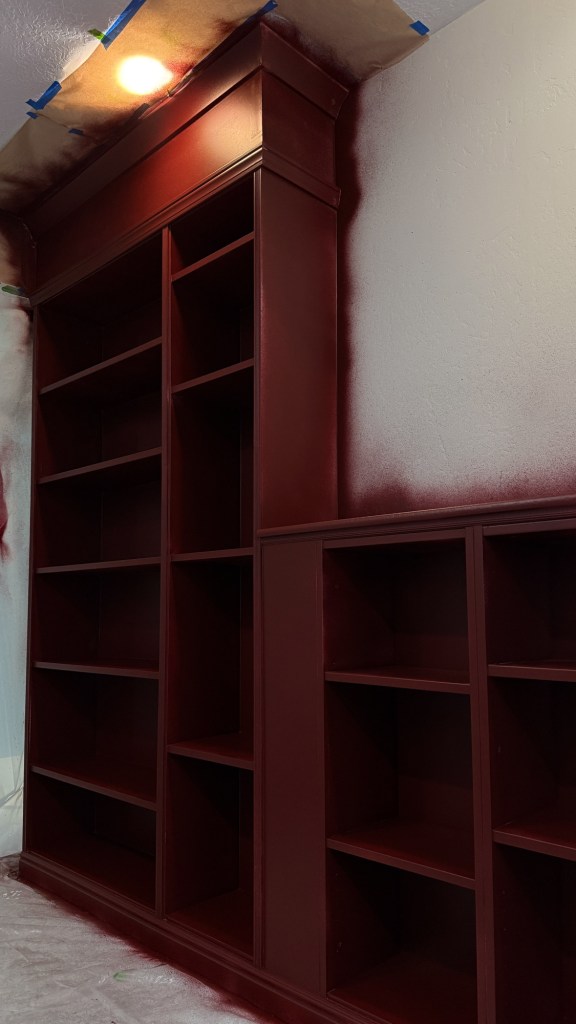
This room is in our basement and I was a little worried about a dark color making it feel dungeon-y, so we sampled several different colors before landing on Farrow and Ball Dark Reddish Brown.
Prepping IKEA Furniture for Paint
With the paint color picked, I could get straight to prep. This is, arguably, the most important part of painting IKEA furniture. Do not skimp on prep work or you will regret it, I promise.
Here are the steps that you’ll follow :
- Fill holes, seams, and fix imperfections
- Scuff sand
- Clean
- Prime
- Light sand
- Clean
- Prime
- Light sand
- Clean
I covered filling holes and seams in the last post, but before priming is the best time to do any caulking, wood filler/spackle, and last minute perfecting that may need to happen. Remember to fill the nail holes in your trim!
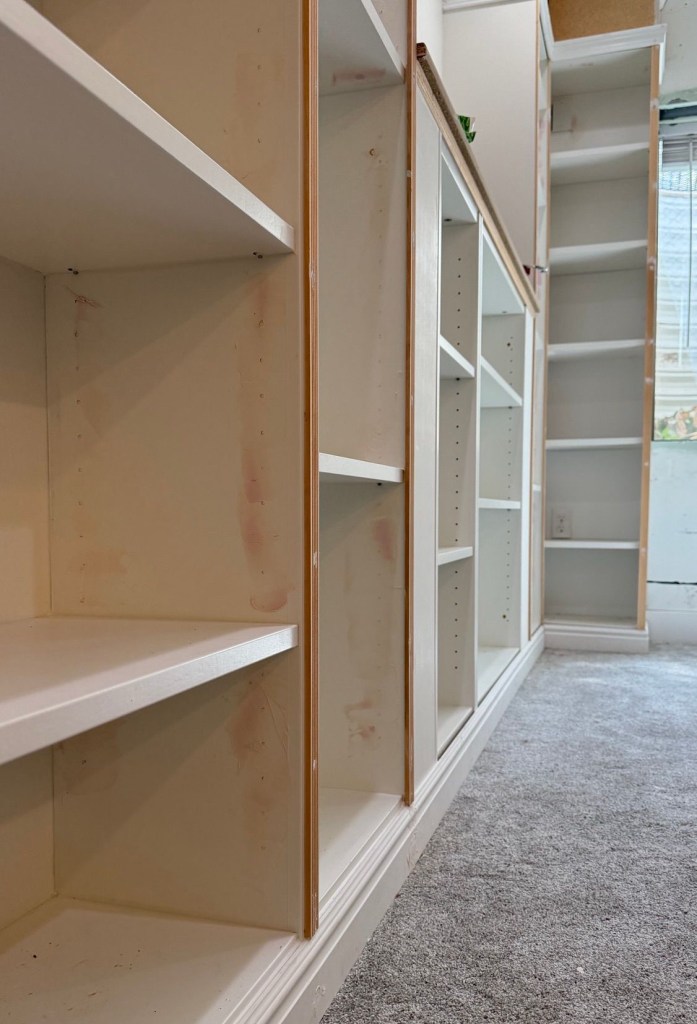
Scuff sanding : Even when using the world’s best primer, which is what you’re going to do, you need to scuff up IKEA furniture. It will adhere better and last so much longer. I have used my favorite primer on unwanted slick surfaces before and while it works pretty well, I still wouldn’t trust it on the smooth abyss that is an IKEA bookcase. The primer needs something to grip to and scuffing it up just a little is how you’re going to do that. Now, if you have a lot of forethought you could do this before assembly, if you wanted…it would probably be easier than after assembly!
You’ll want to use a fine grit sandpaper to do this. The goal is not to remove material, just to remove the glossiness and give the surface a little texture I like 220-320 grit for this and while I always use a sanding sponge, you could put a disc on an orbital sander if you chose to sand before assembly.
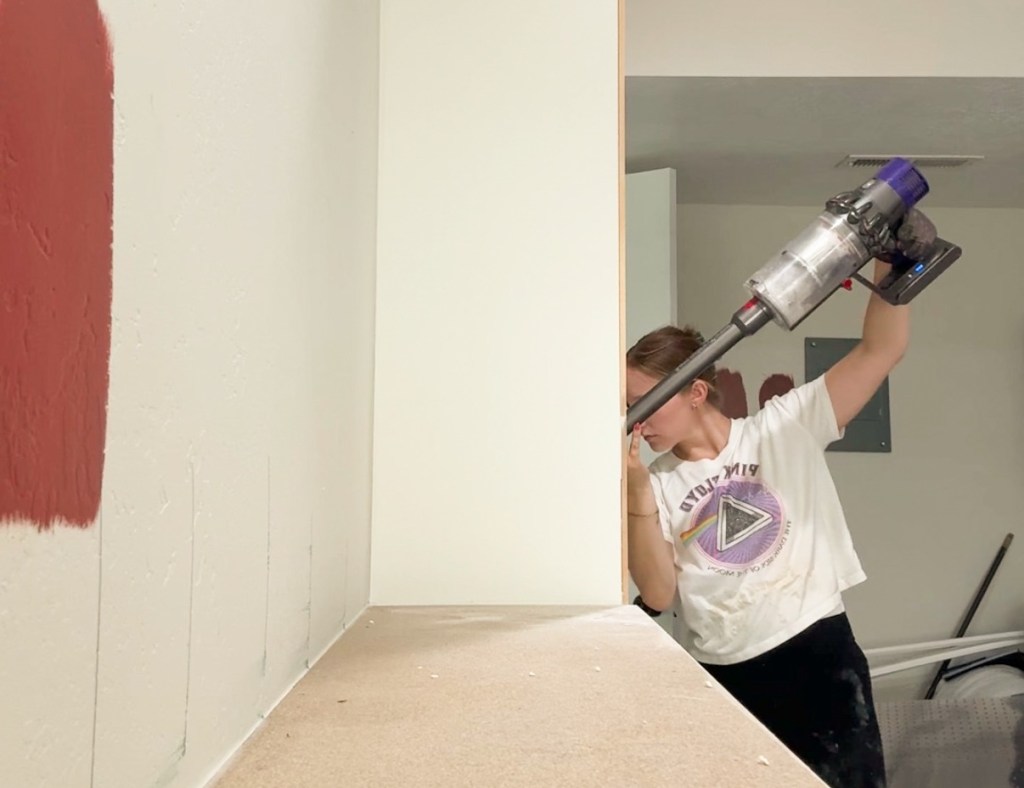
Clean : This is so so so incredibly important! You want every lick of dust off that surface before you even look at the primer can. Start by vacuuming with a brush and corner attachments, then wipe everything down with a tack cloth. Tip – wear rubber or dish gloves because the tack cloth will make your hands sticky. At this point I like to go in with Krud Kutter pre paint cleaner to get any residue from the tack cloth (or kids fingers that made their way in) removed. I don’t go crazy, but I still make sure everything is good and clean.
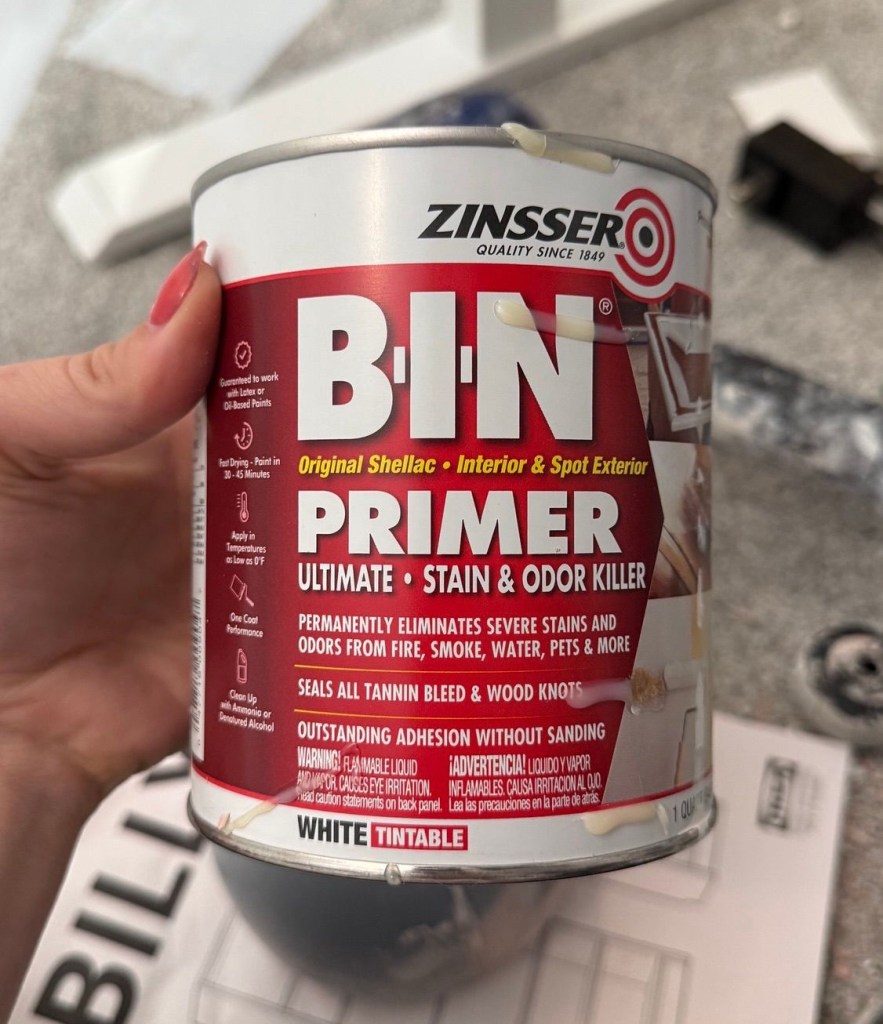
Primer : Now you get to prime! I use my favorite primer – Zinsser’s BIN primer – here. I’ve raved about it before, but it’s the absolute best when it comes to painting really any type of furniture. It is shellac based, so it’s incredibly stinky and an absolute pain to clean up. Even so, it is worth it.
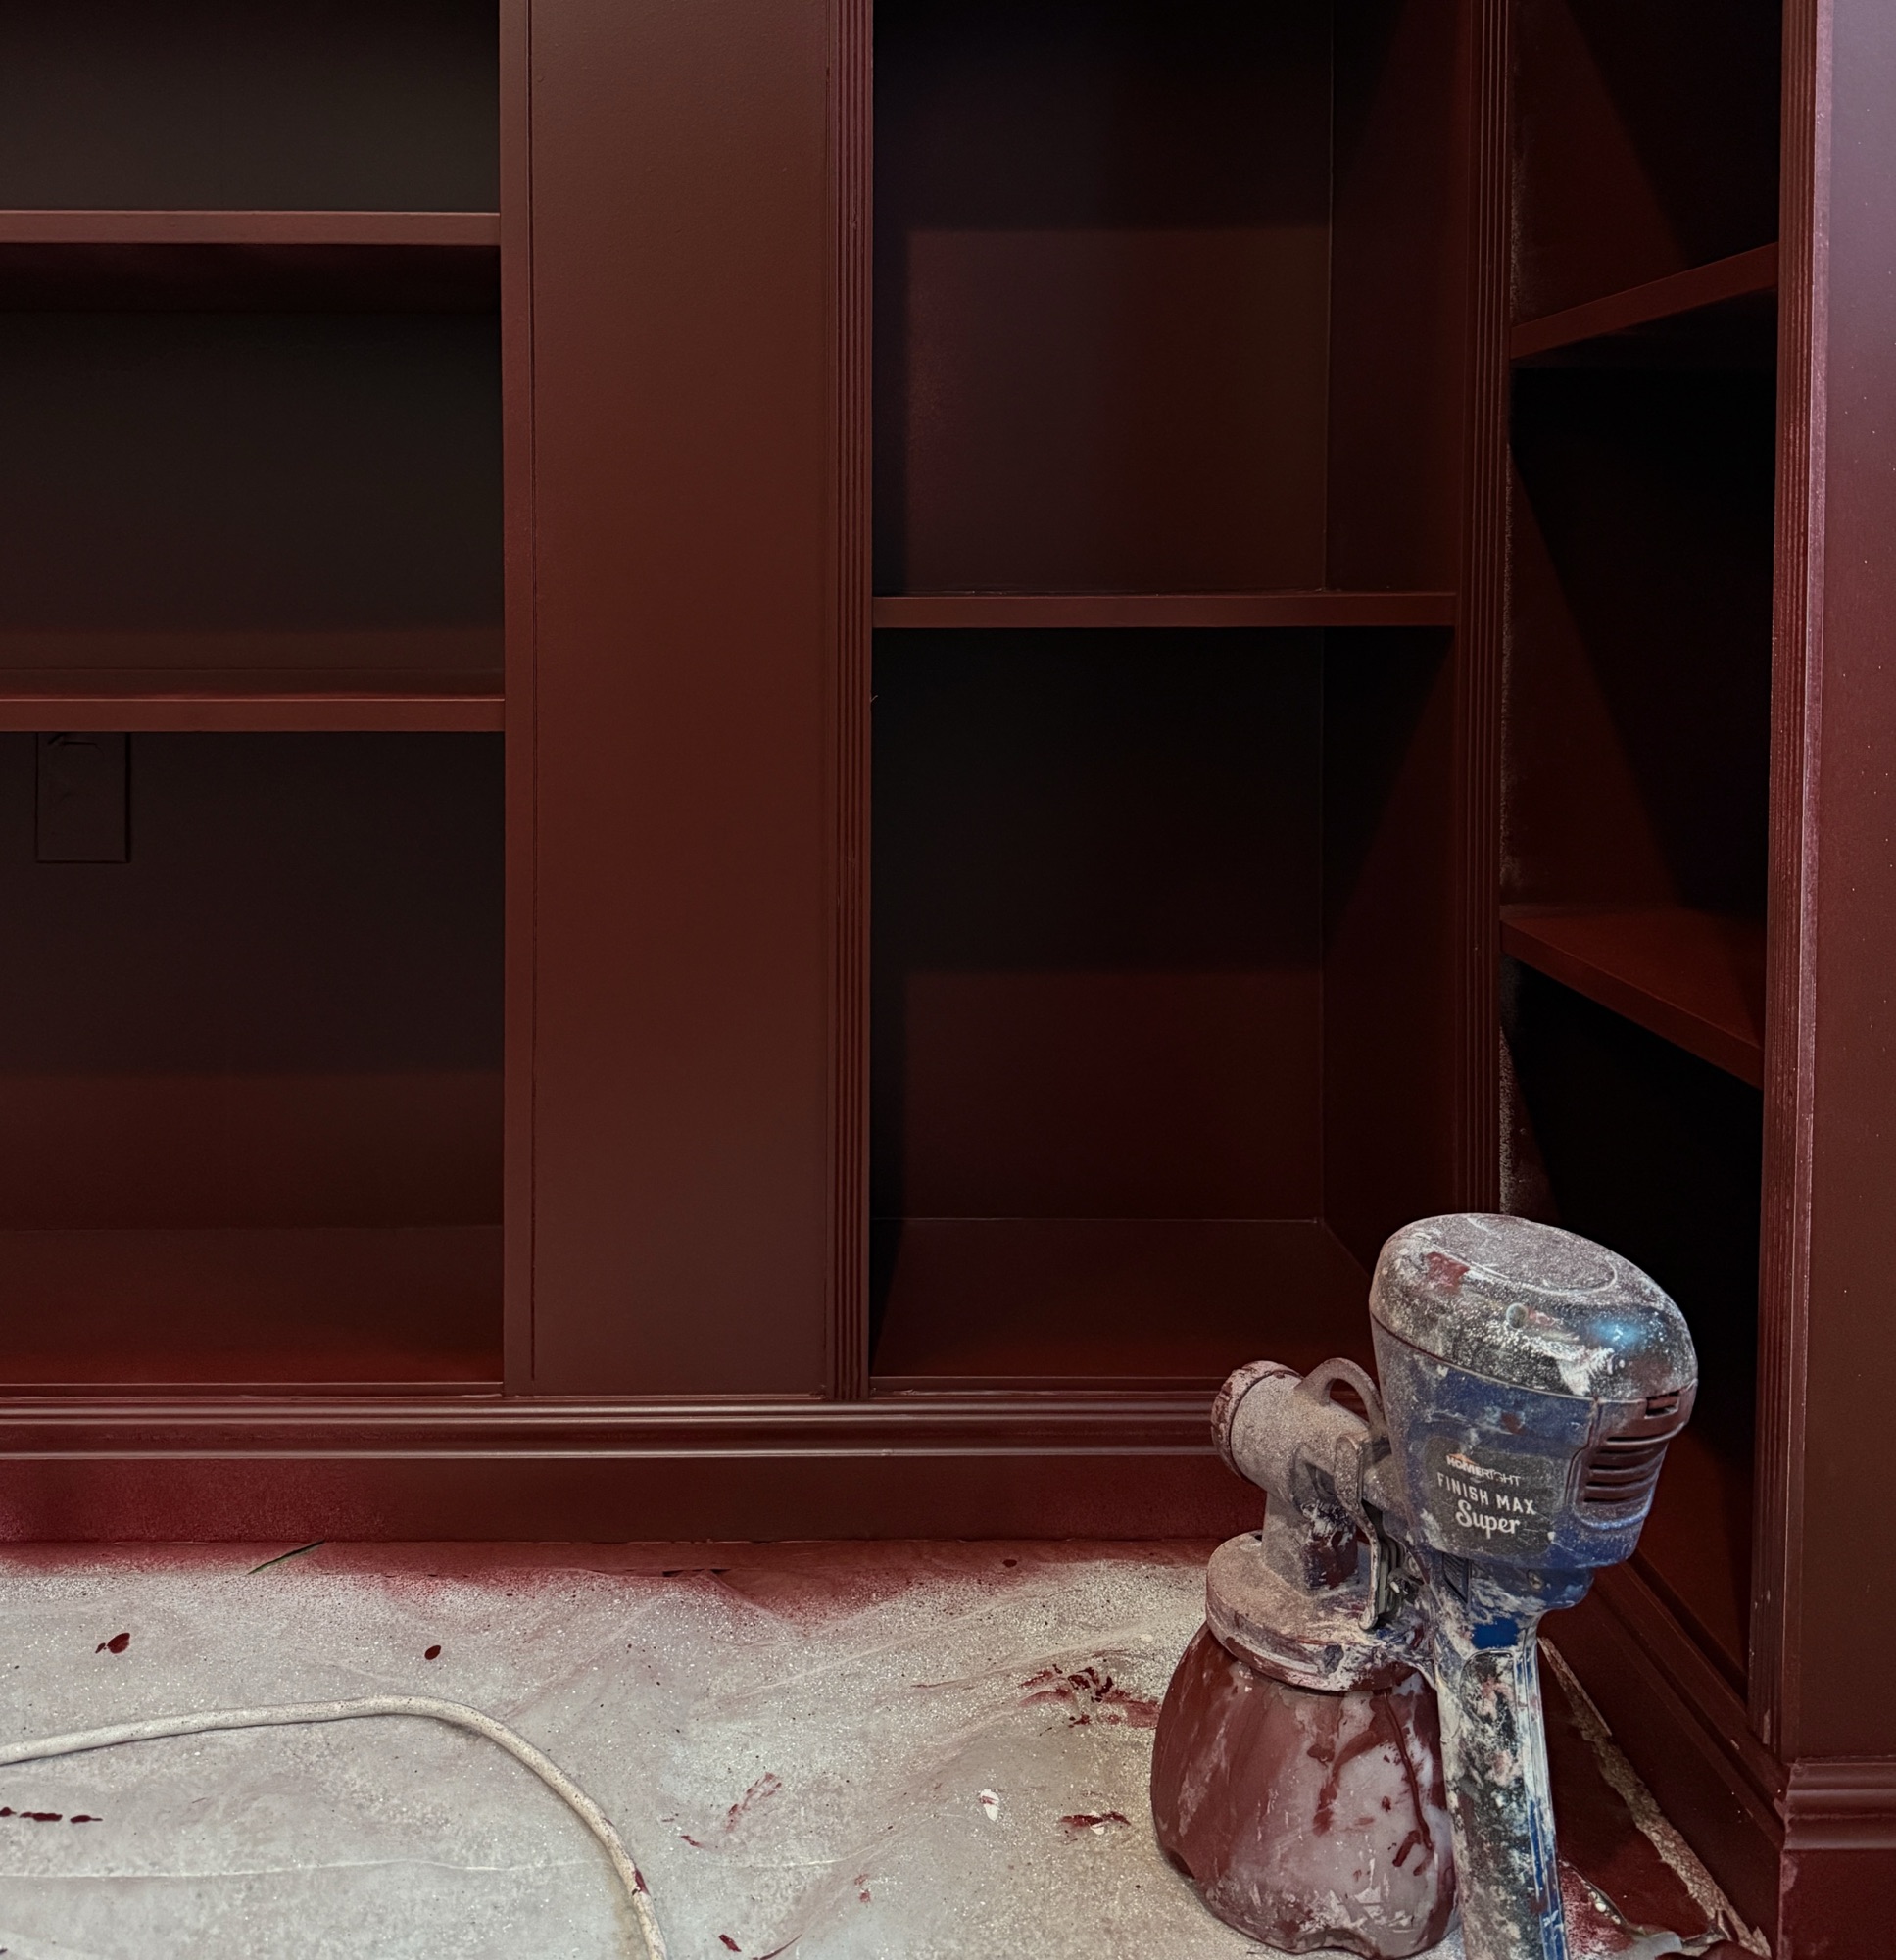
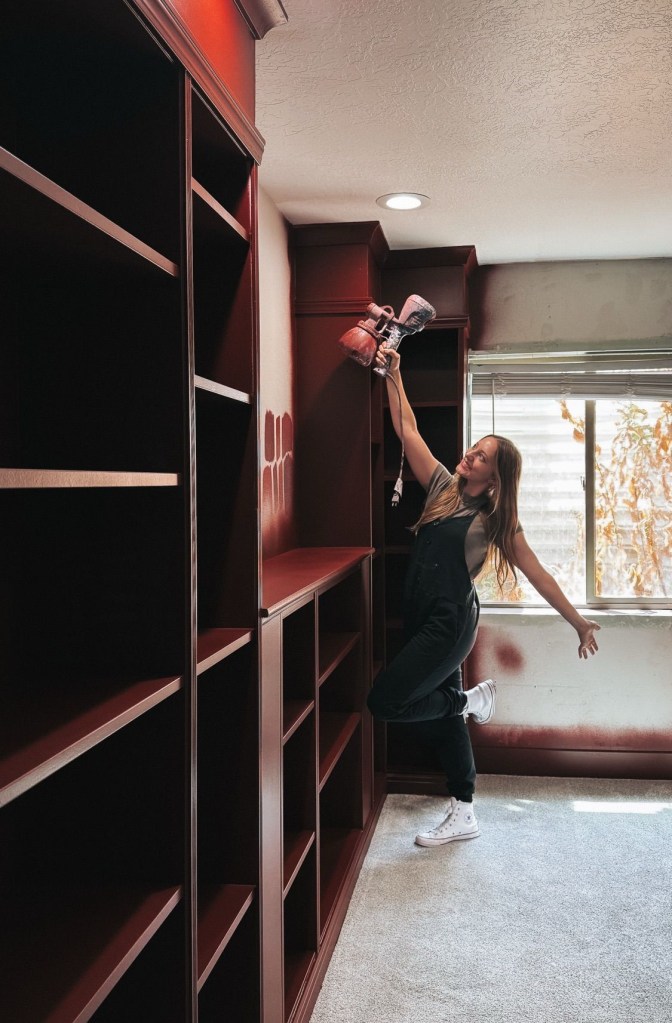
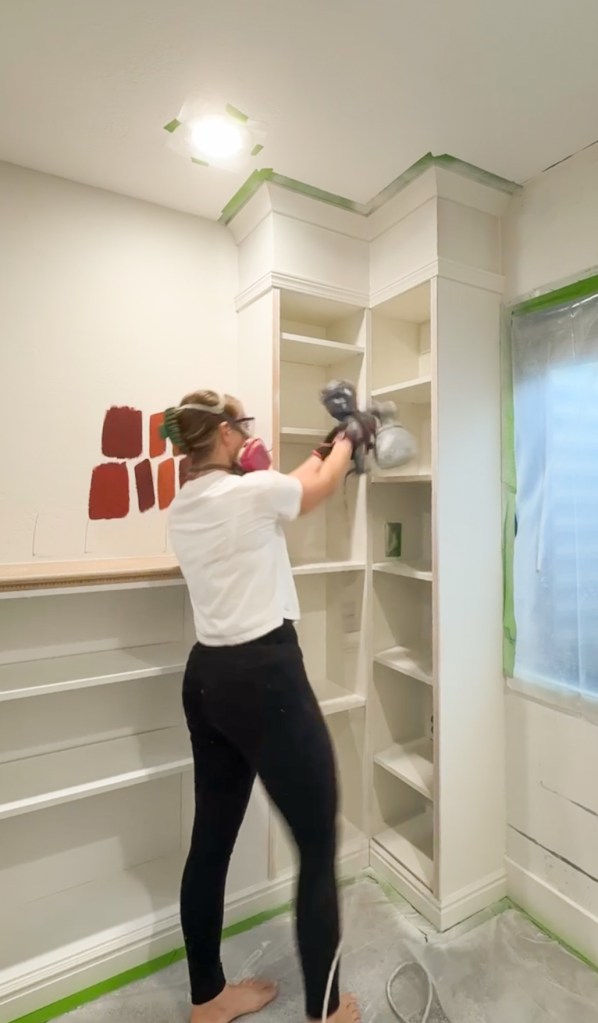
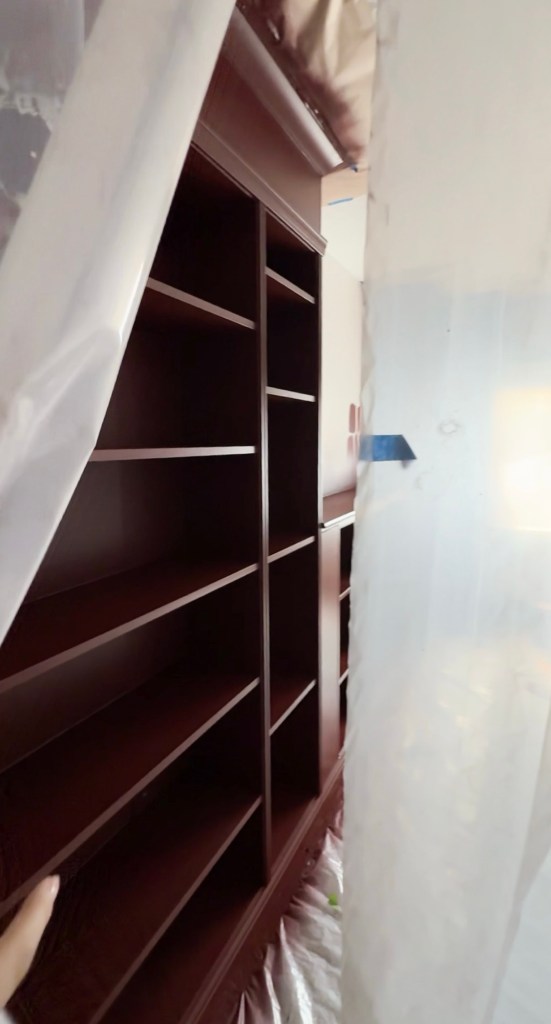
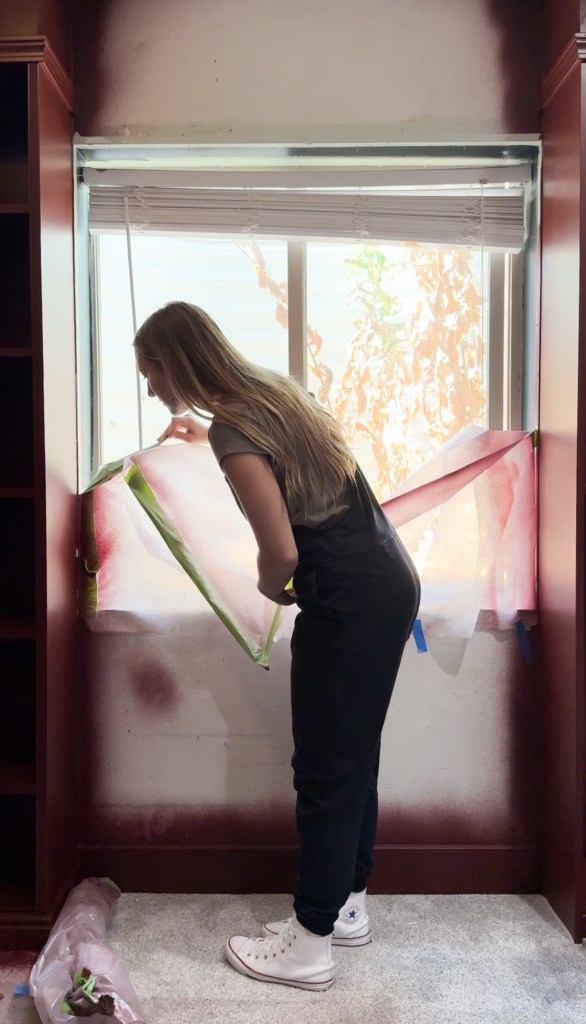
Typically I do not spray this primer. Its shellac base makes it difficult to clean up since you need to use rubbing alcohol instead of water, and cleaning the sprayer with that is no small task. With the sheer amount of surface area I had to cover in this room, though, it was an easy trade off. I think my arms may have actually fallen off if I tried to hand paint all of those shelves! Using my favorite paint sprayer meant I was able to quickly cover a large area, I knew I was covering it well, and getting in all the small spaces required no extra work.
Always wear a respirator (filters) and eye protection while using a paint sprayer.
While it’s a very exciting step, your cabinets will look almost identical after primer. Keep that in mind as you’re painting and ensure that you have even coverage, but not so thick that you’re starting to cause it to drip everywhere. I recommend having a piece of cardboard handy to test your spray pattern. If you’re painting a dark color, you might consider getting the primer tinted so you can see the coverage better.
Light sand : One of the other things I love about BIN primer is its leveling nature. It is quite thin and evens itself out like a dream – exactly what you want when painting furniture. Regardless, you still need to go in with a 220 grit sanding sponge and knockdown any texture or accidental drips. Even if you don’t see any texture, there is going to be just a little bit (you’ll feel the difference after a light sand) and we want to get rid of that before layering more product on top. Don’t sand so aggressively that you get back down to the bookcase below. Instead, think of it more like wiping your counters down.
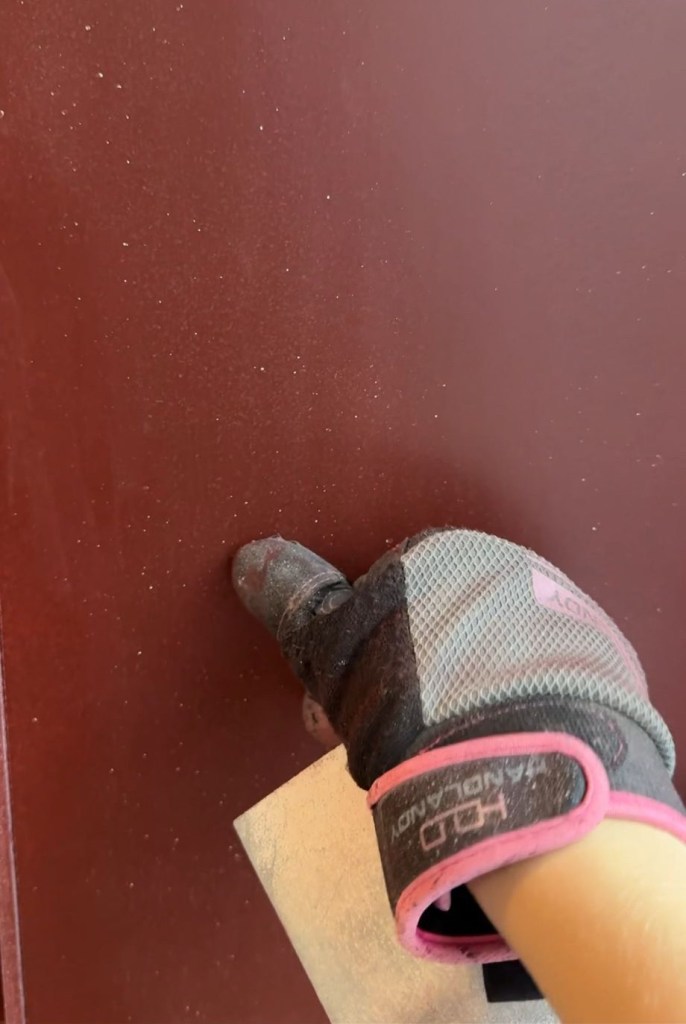
Clean : Our favorite step again…we need to clean up the dust. There shouldn’t be a lot at this point, but you’ll want to vacuum and wipe up the small amount that you removed from sanding after the first primer coat. Use a tack cloth, and do not wipe down with Krud Kutter after.
Primer : Now it’s time for the second coat of primer. Do exactly as you did with the first coat.
Light sand : And again, repeat what you did the first time around.
Clean : This is your last step before painting, so while you clean up any lingering dust make sure to take stock of your furniture. Are there any spots that need more primer? Any filler that didn’t get sanded smooth that needs to be fixed? This is the time to fix it. Adjust anything you need, re-prime that spot (a foam brush works great), and get everything nice and tidy before moving onto paint.
Painting IKEA Furniture
FINALLY after all that work, the furniture will be ready to paint! The prep work takes so long, but it really pays off here with a flawless paint job that will last years.
Of course, I used my paint sprayer. I love it. I was talking to a friend of mine and she was really nervous to use her sprayer, but I promise you they’re so easy! It’ll change the way you paint furniture if you just give it a try.
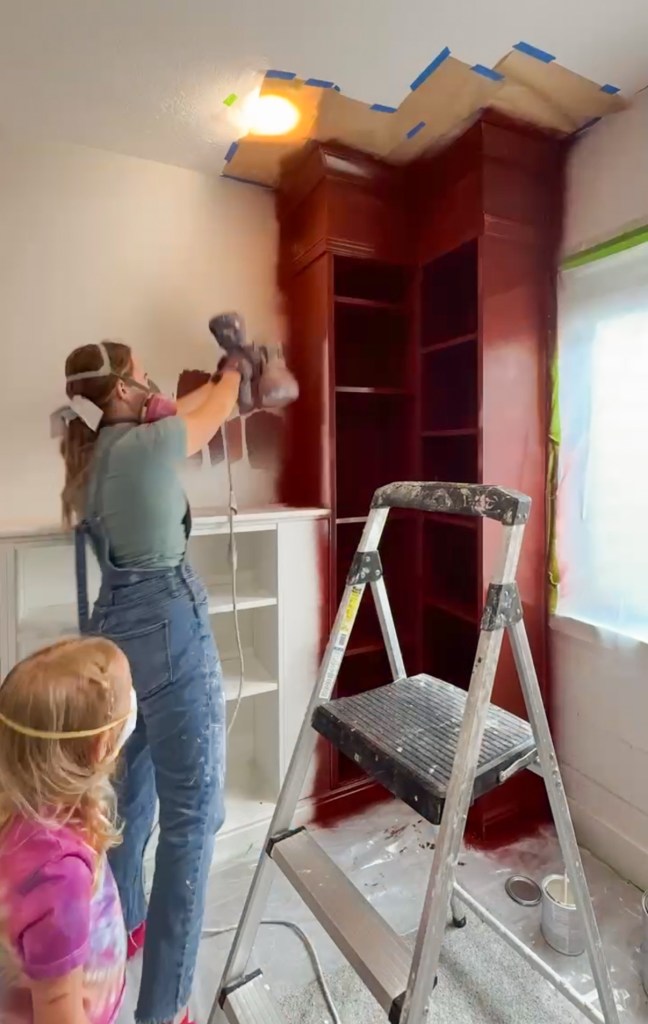
I like to use Sherwin Williams Emerald Urethane Trim Enamel. I also love Benjamin Moore’s version (advance) and I’ll go with whoever makes the color I prefer. In this case, I was color matching to Farrow and Ball and I went with Sherwin Williams because they were running a sale at the time. If you need to color match, just go into your local store and ask them, “Could you please color match this to [paint color] by [paint brand]?” It is also helpful to know the color code; the brand’s numbers that are associated with the specific color.
Urethane enamel paints do an excellent job of self leveling, and I still find it beneficial to thin them before painting. I add about 10-15% water to my pot and mix it really well (that part is important!). This will allow you to spray it in a finer mist, which gives you a move even finish. It also makes your paint coverage a little worse, so you may need an additional coat, but the finish is worth it.
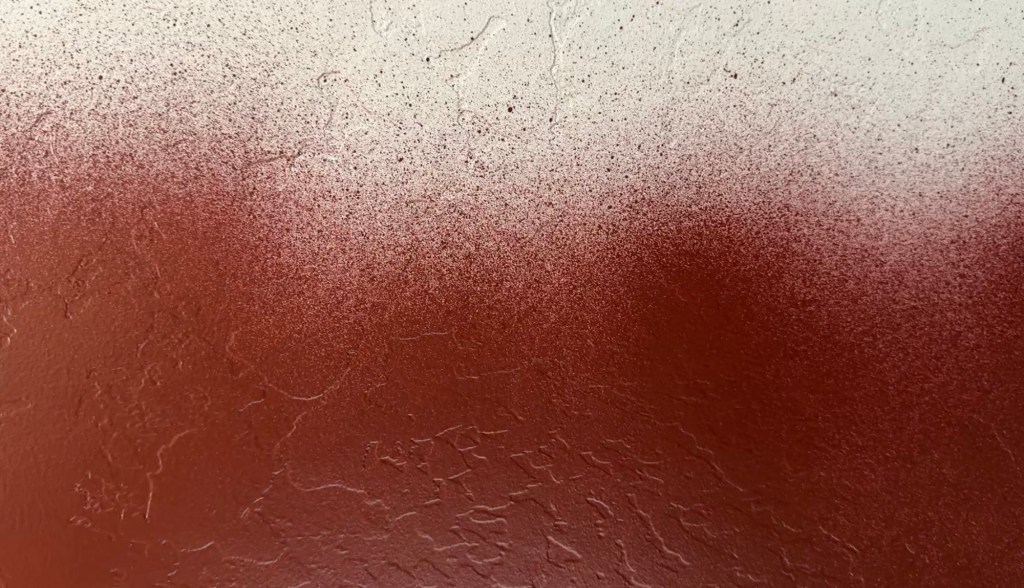
Spray your paint – again, be sure you’re getting full coverage, but not so heavy that you’re seeing splatters or drips. If you see splatters, you need to adjust the pressure on your sprayer so it’s not spraying as much paint out, and just move a little slower to endure you get full coverage. You can also check your tip for clogs. If you see drips, try speeding up so you’re not spending so much time in one spot.
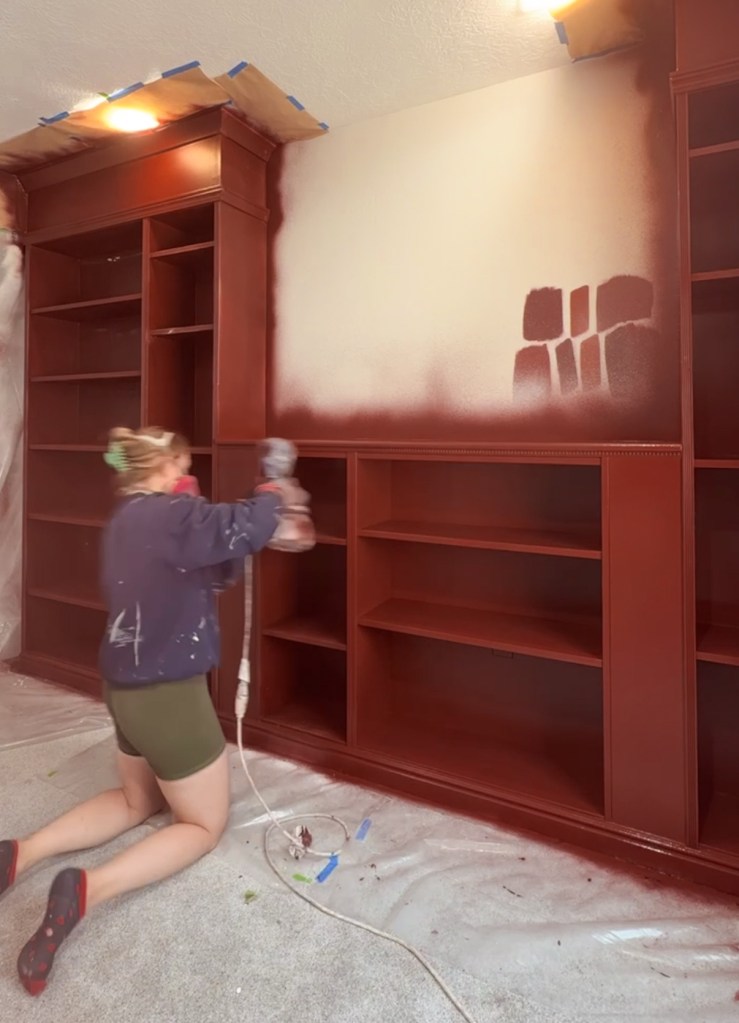
After spraying, you’re going to need to let this sit and dry. Don’t try to rush it. For the first coat, I like to give it a full day before moving on. Once it is fully dry, you’ll go through and do another light sand and clean. Do not skip this step!
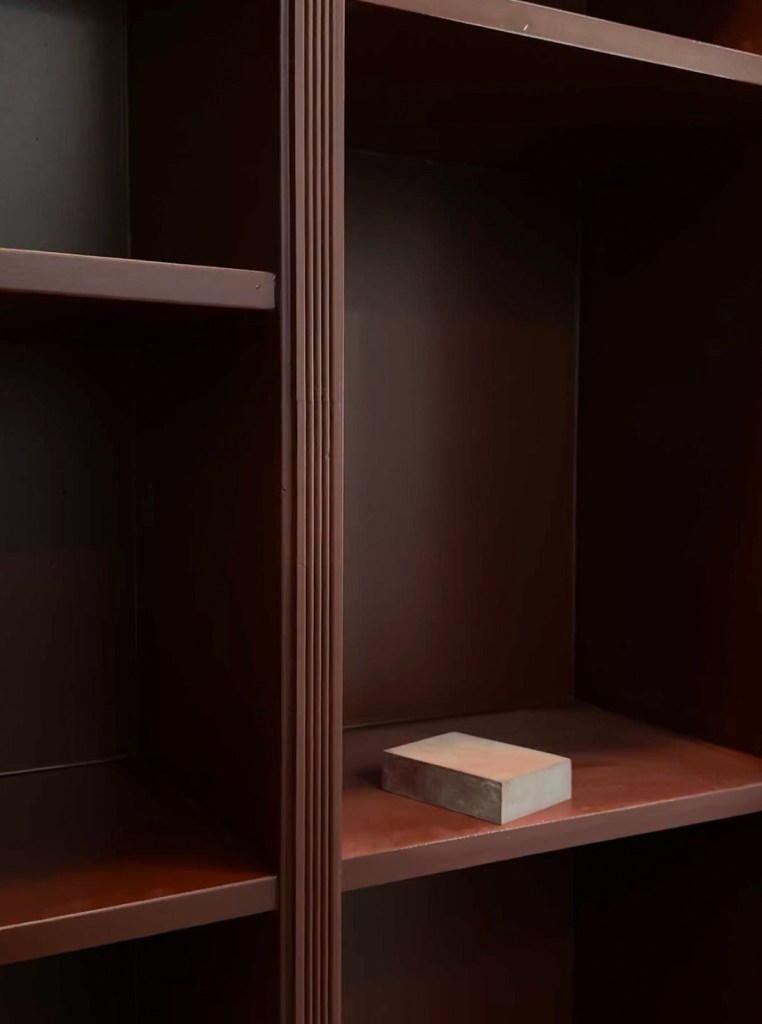
Now you’re ready for your next coat, so just keep repeating that pattern paint-sand-clean until the last coat. Don’t sand the last coat because you’ll change the glossiness of the final finish in that spot.
Okay, the very last step! You need to wait. For the best, longest lasting finish you need to give the paint time to cure before putting anything on it. You can give it up to a month, but in my desert climate I usually rush it a little and do two weeks. After spending so much time and effort on this project, don’t skimp at the very end and regret it when you chip a section of paint off.
Wow. That was kind of long and a lot of information, but I really wanted to give you an in depth, step by step look at how to paint IKEA furniture. It is such a fun and budget friendly way to give yourself anything from a home library like we did to a bookcase in a bedroom or maybe a drop zone in the garage.
As always, feel free to reach out with whatever questions you might have, I’m always happy to help!
With love,
Mercedes 🖤

