
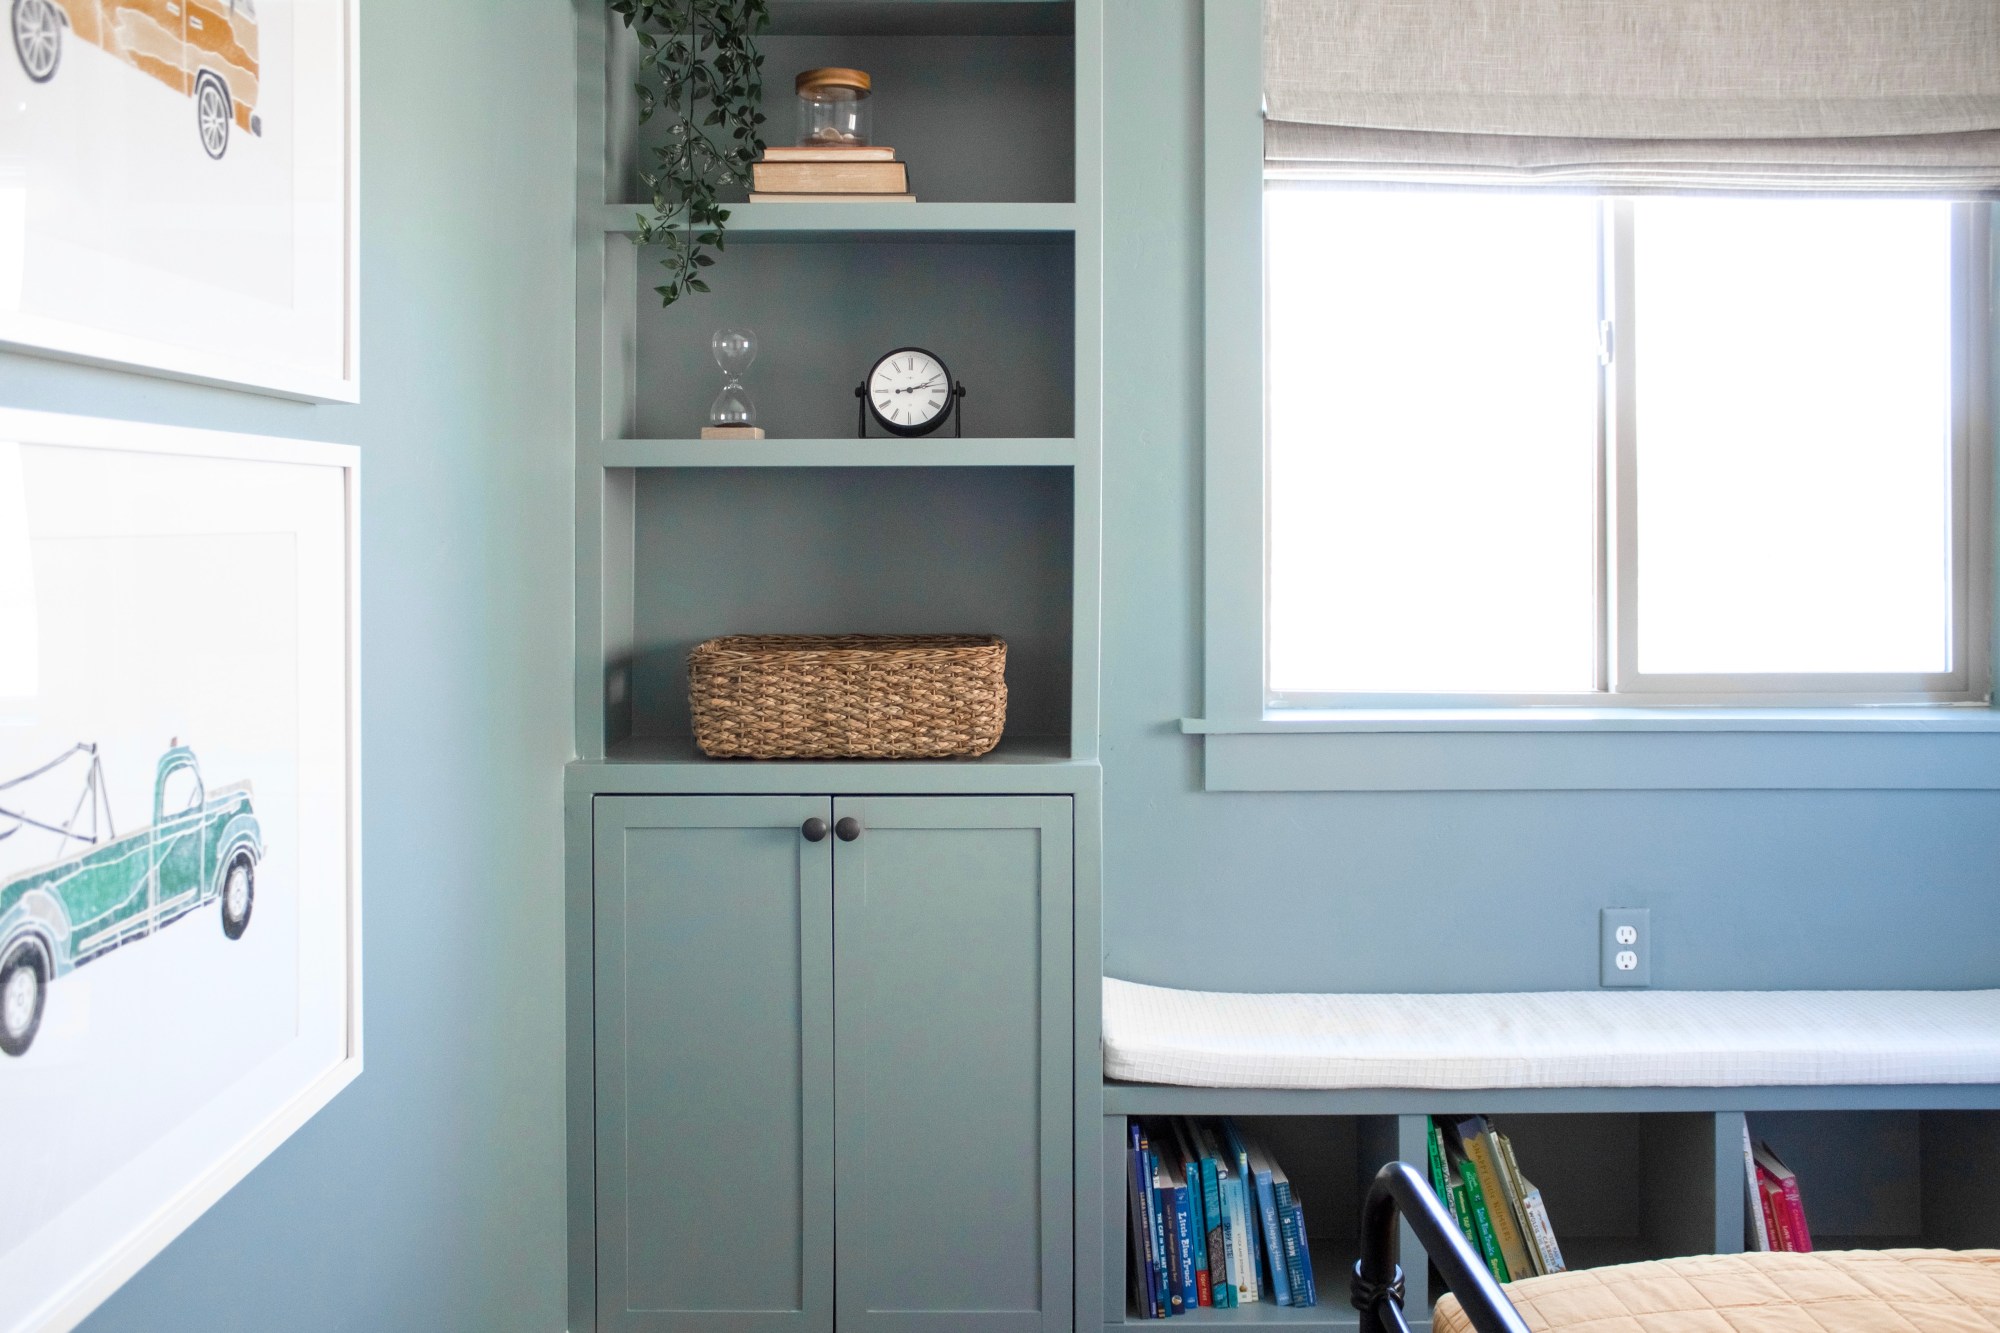
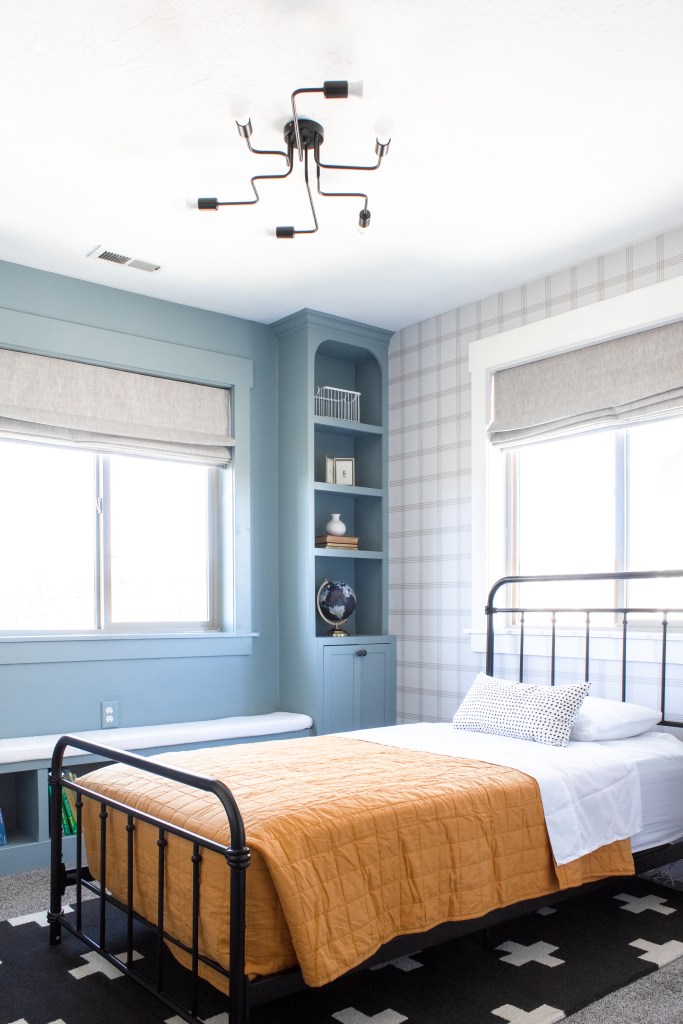
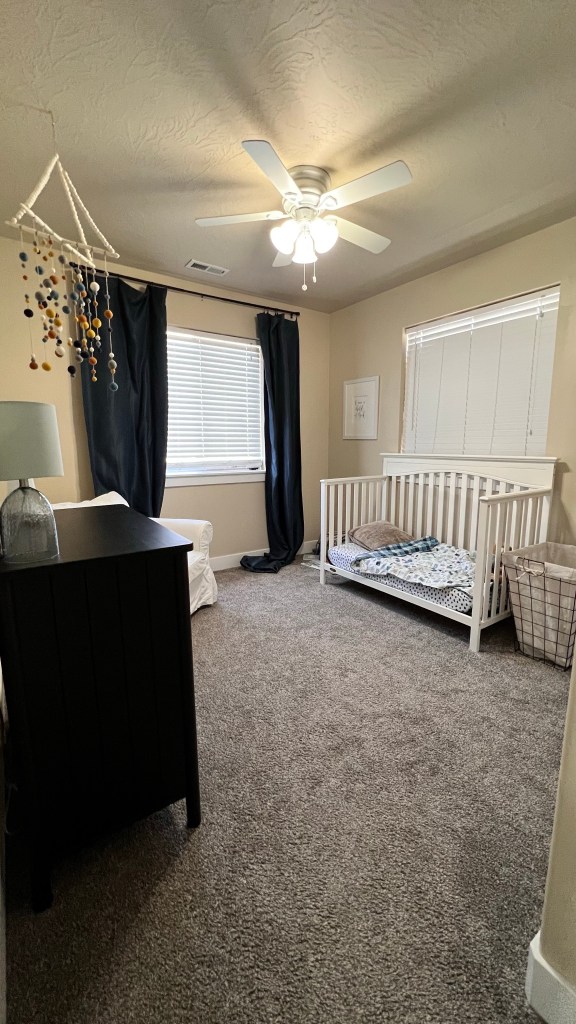
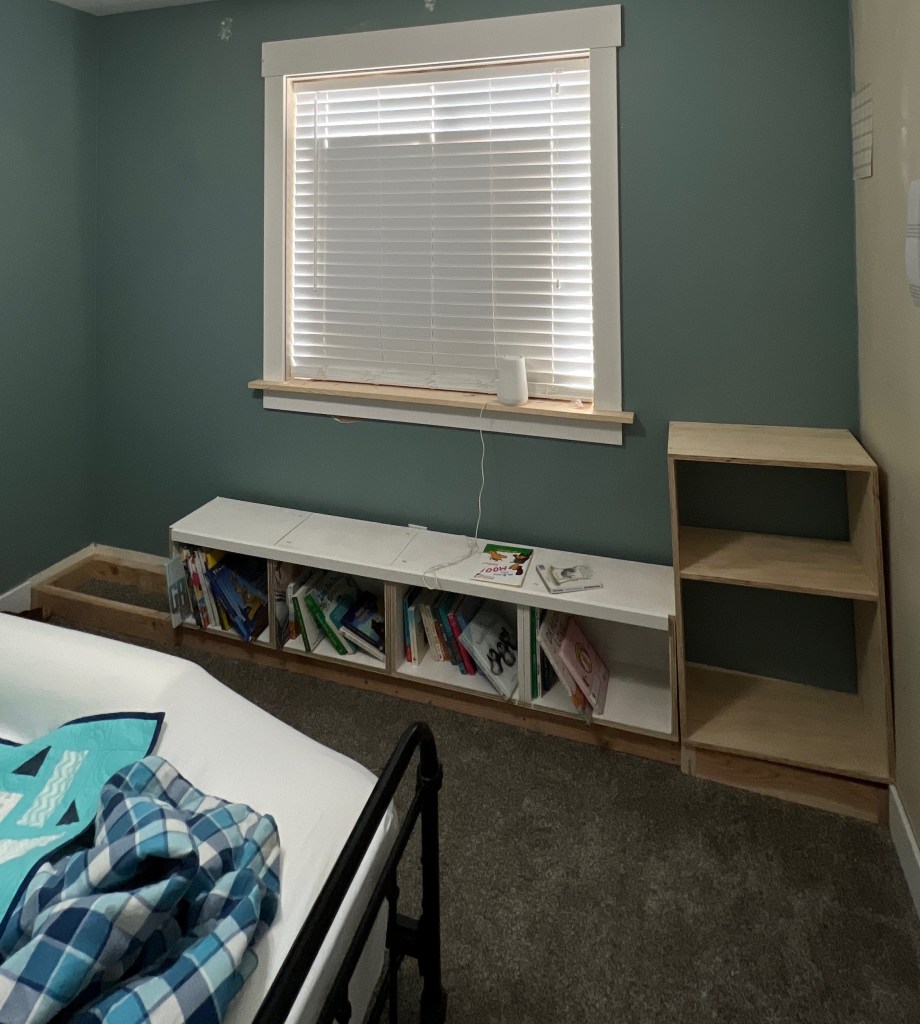
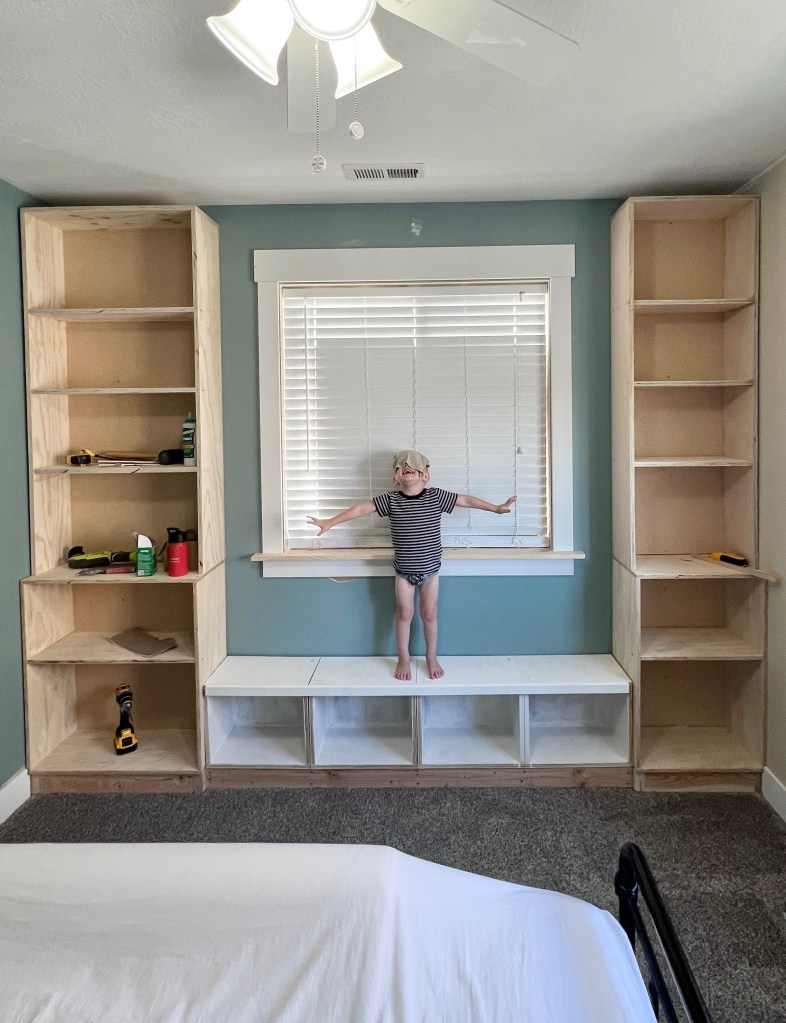
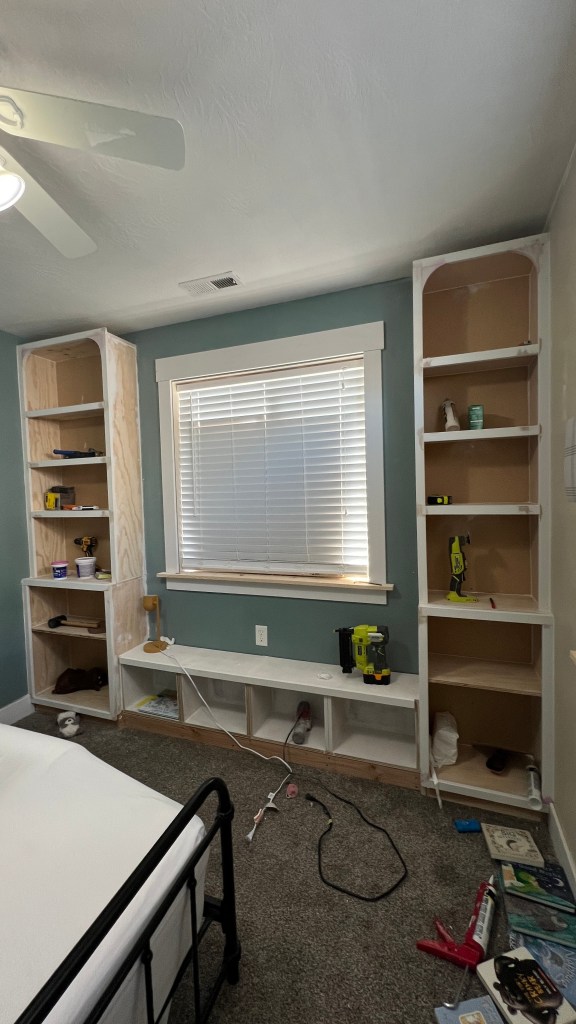
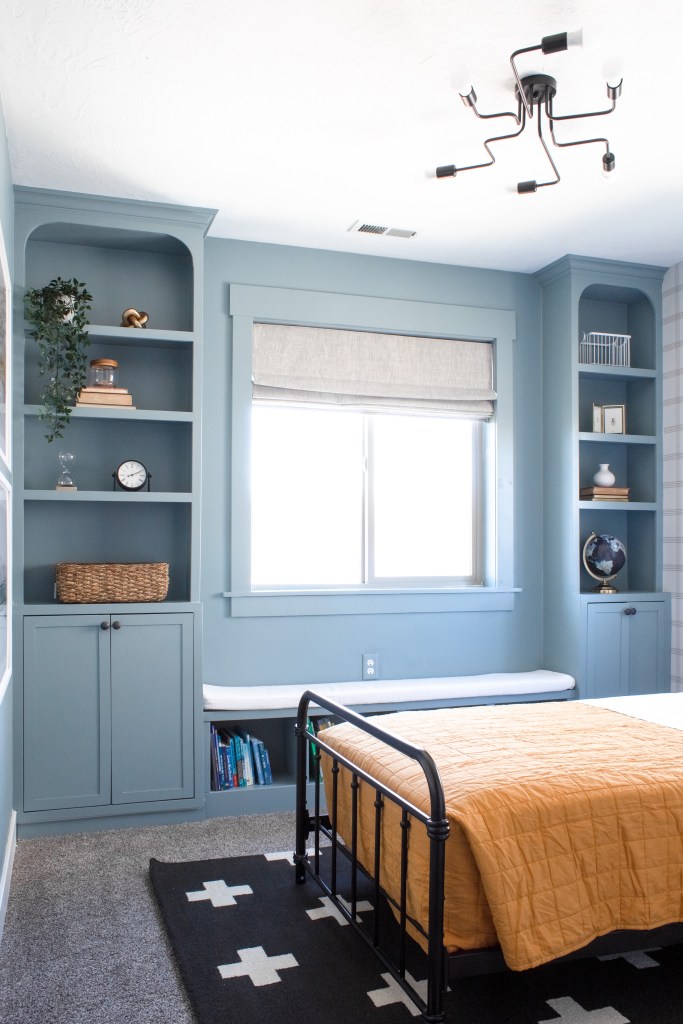
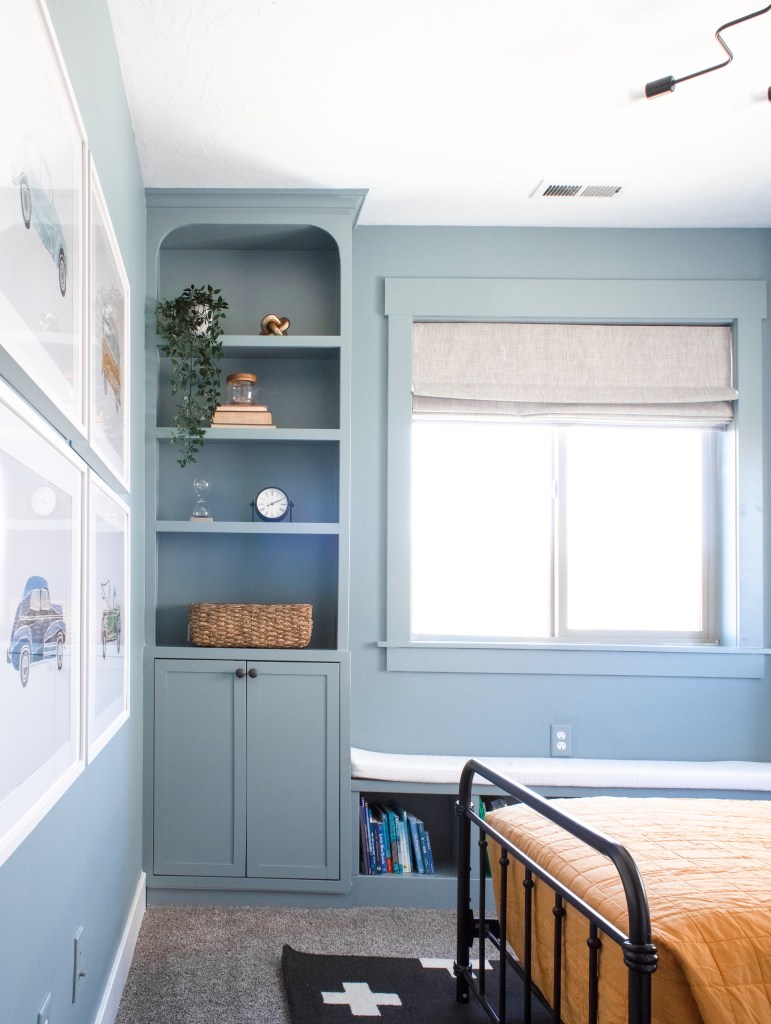
Although they were quite the labor of love, these built-ins really make this room. Don’t you agree? I love the depth and character they add to what was previously a pretty boring bedroom. The bigger cabinet has become Elliott’s favorite hiding spot for hide and go seek and he has started collecting his treasures to display on the shelves.
Want to see what projects I’m working on now? Follow me on Instagram!
And while they were time consuming to build, the project was actually way easier than I expected it to be. Keep reading for the tutorial – you can totally do this in your house too!

Disclosure: Some of the links provided are affiliate links, which simply means I may earn a small commission (at no additional cost to you) if you shop through one of my links.
Materials
Note : Your material quantities are going to vary drastically based on how large your space is.
- 2x4s
- 3/4” plywood
- 1/2” plywood
- Particle board (plywood would work too, but wood prices…)
- 1.5” wood screws
- 3” screws
- 1×2 MDF
- 1×4 MDF
- Eucaboard
- Hinges
- Hinge jig
- Hardware (linked similar)
- Tape measure
- Level & Square
- Pocket hole jig
- Wood clamps
- Wood glue
- Wood filler or spackle
- Caulk
- Sanding sponge
- Tack cloth
- Foam for cushion
- Fabric
- Circular saw and guide or table saw
- Miter saw
- Nail gun
- Jig saw
- Drill
- Primer
- Paint
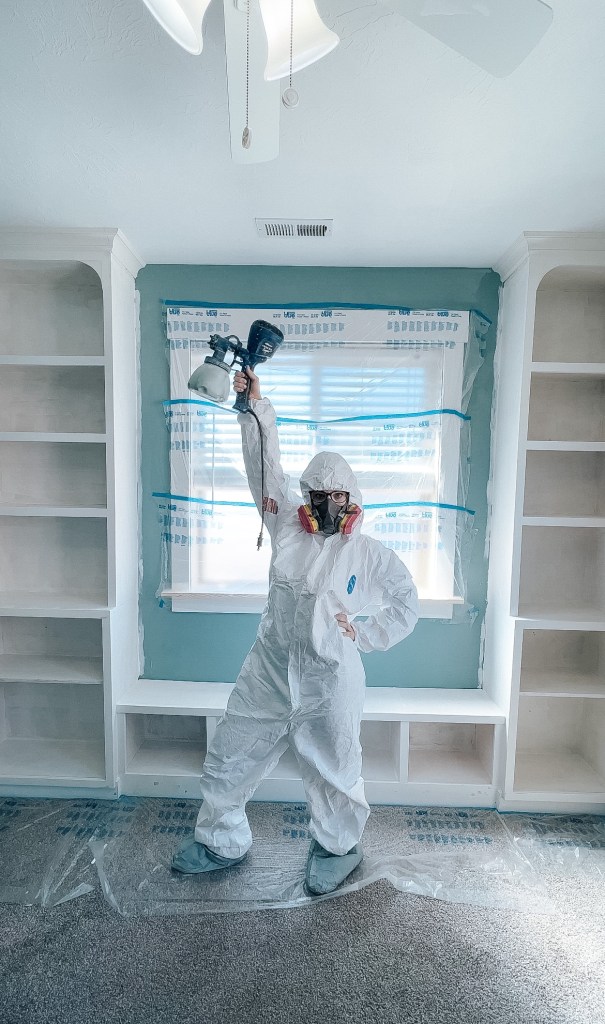
- Paint sprayer (optional, but highly recommended!)
- Multitool
- Stud finder
- Sander
Tutorial
A lot of my projects are simple. This one is more complex. Not difficult, just complex. I am going to try to keep these instructions as clear as I can, but as always feel free to reach out with any clarifying questions!

Build the Base
The foundation of the unit is a base built out of 2x4s. I built three separate boxes (one for each cabinet and one for the bench) and screwed them together with 3” screws. This is a great opportunity to dry fit and adjust your measurements before committing further. Make sure to cut away your baseboards so that everything will be flush against the wall. Screw the frame into the studs with 3” screws.
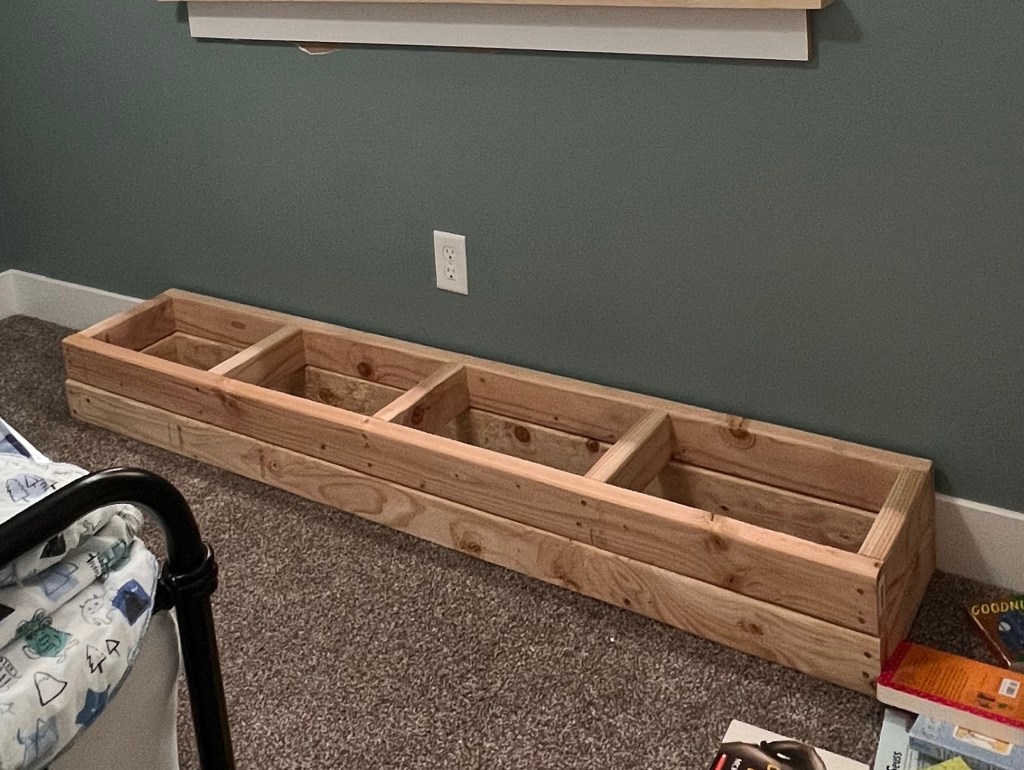
Window Bench
I started with the window bench because it seemed less intimidating than the cabinets! I’m going to tell you the way I built it, but then I’m going to tell you the way I think it would be much easier to build.

I built 4 boxes of equal size out of 3/4” plywood and used wood glue and pocket holes to screw them together, making sure that everything stayed square. Make sure to sand your plywood (120 grit then 220/320 grit) so that you get a nice smooth finish when it’s time to paint.
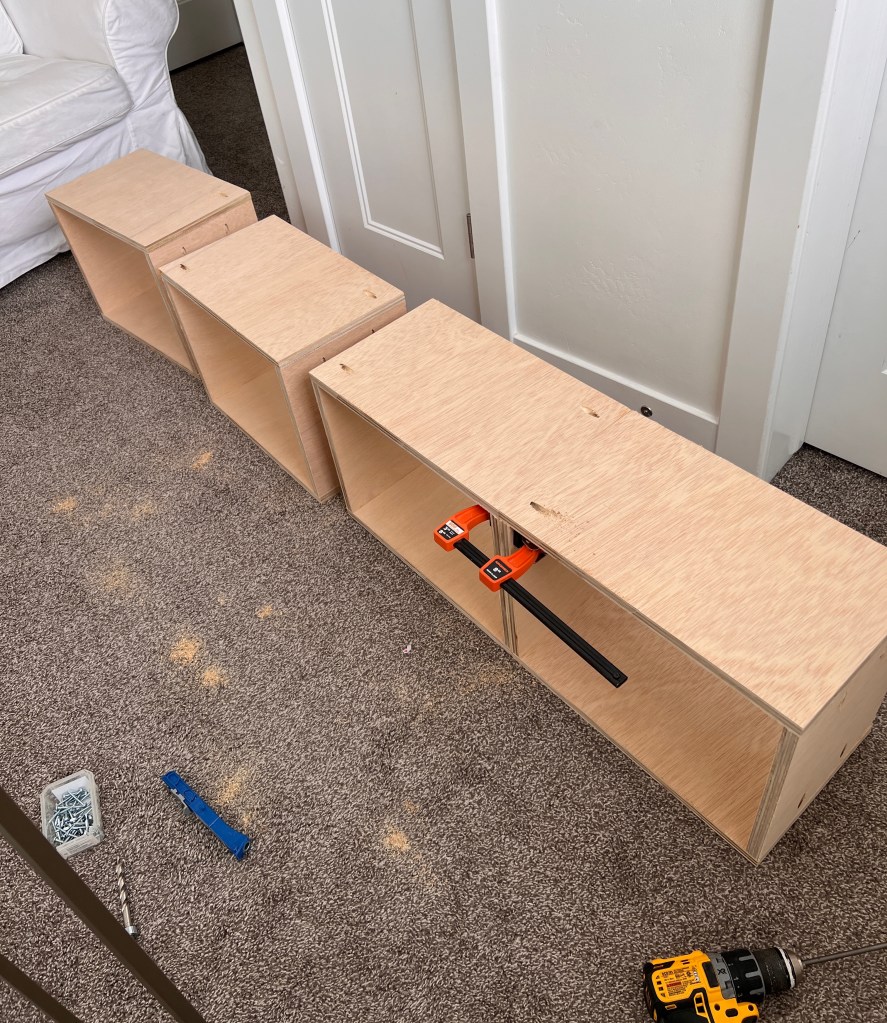
I then clamped all four boxes together and screwed them together with pocket screws, again. I added Eucaboard to the back with my nail gun so that it had a nice, clean finish. Then I trimmed out all the raw edges with 1×2 MDF that I cut down with my miter saw. I left the bottom undone because I will add a baseboard to it, but not quite yet. I caulked all the corners and bam – window bench!
This works totally fine! But there is an easier way! Instead of building 4 boxes, build one big box (like a sideways bookcase) and add two dividers in the middle. This way would’ve been less complicated and would have saved me some wood. Next time!
I didn’t fully install the window bench until later just so that I could move it around while I worked on the cabinets, but when I did I just shot a few nails into the frame below.
Cabinet Boxes
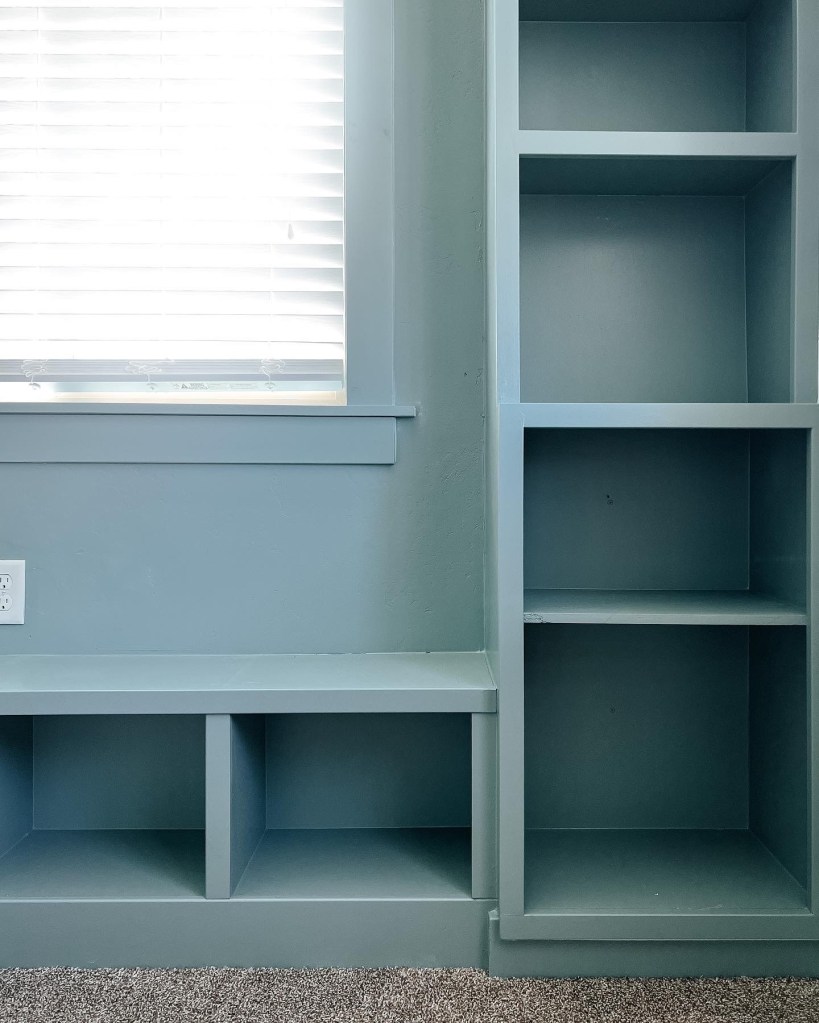
Next up, I built the cabinet boxes. These seem intimidating but in all honesty, it’s just a box. Don’t overthink it! My window is not centered on the wall (queue eye twitch here) so I made my cabinet boxes two different sizes so that at least the space around the window would be equal. Because you’re building these yourself, they are completely customizable so go with whatever dimensions will fit you and your space!

Take two of your side pieces and lay the bottom piece on top. If there is a “good” side of the plywood you’re using, orient it accordingly (bad side facing the wall or into the cabinet, good side always facing where you’ll see it) and don’t forget to sand again to get that nice, clean finish! Spread wood glue along the edge that rests on the side pieces and use 1.5” screws and screw the bottom piece onto the side piece. Don’t forget to use your square to make sure everything is, well, square.
Flip the box over and do the same to the top piece. Be conscious of where you place your screws on the top. I placed mine is spots I knew would be hidden by the shelving unit I was planning to set on top.
Cut a piece of particle board (or plywood, I just used particle board because wood prices are insane right now) to fit on the back of your cabinet and glue and screw it in as well.
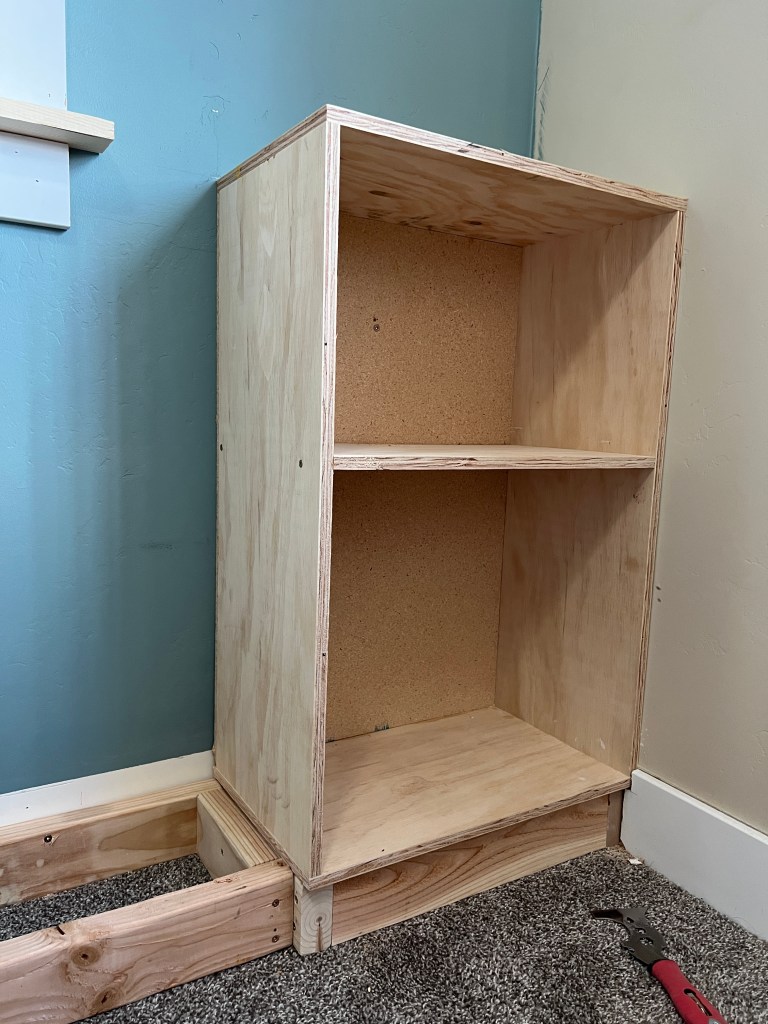
I added one shelf inside (which I cut out of 3/4” plywood) and I just eyeballed where I wanted it. I screwed it into the sides with 1.5” screws, making sure to sink the screws in so that I could fill them with filler.
Finally… time to install them! Set your cabinets on the 2×4 frame and screw them into the studs in your wall. Eventually we’ll frame out the front with 1x2s, but that part comes a little later.
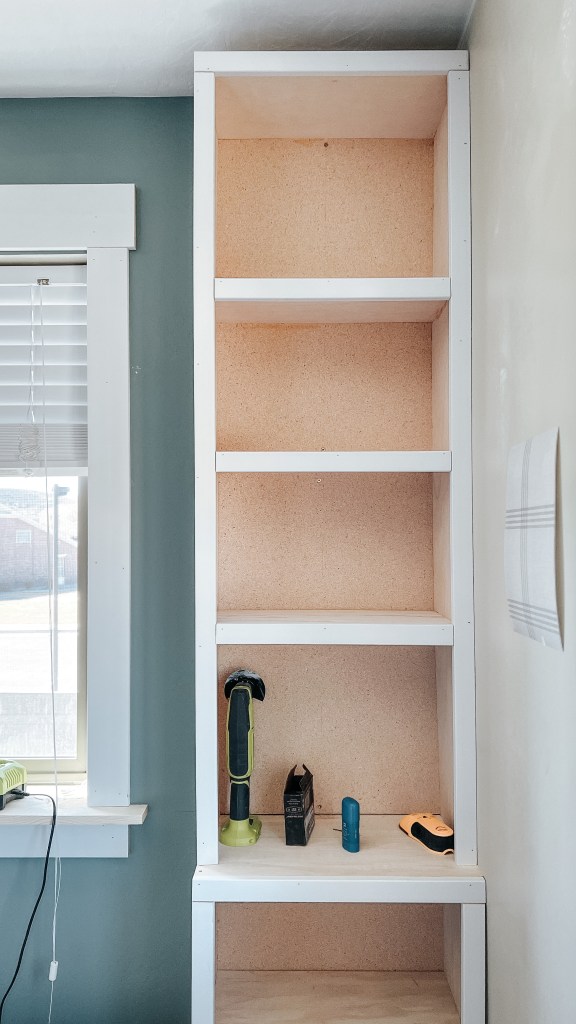
Shelving Units
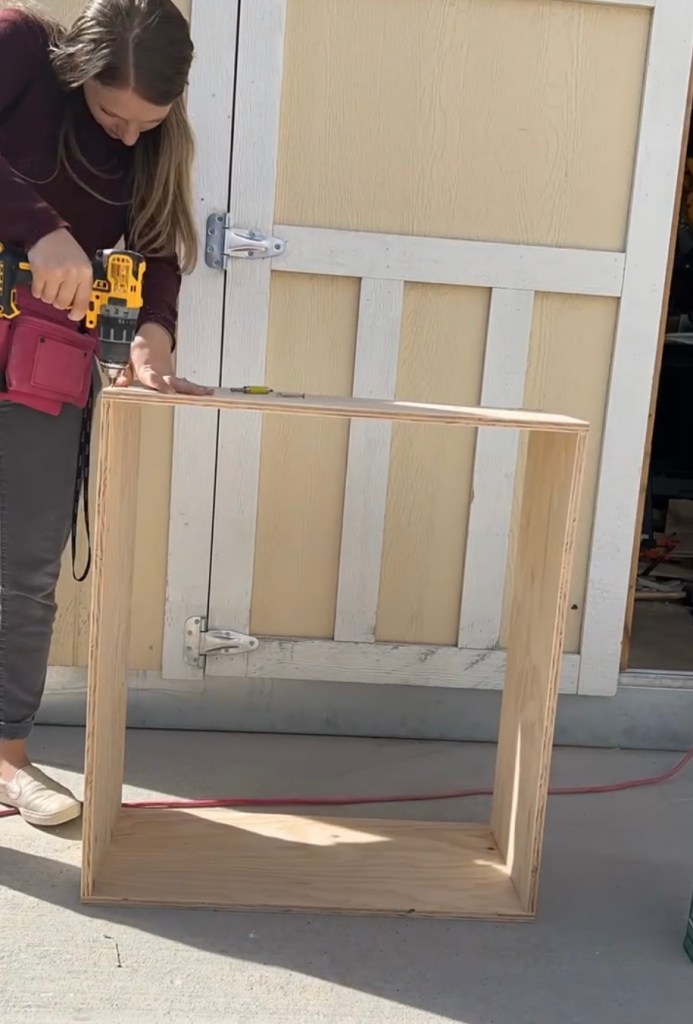
These shelves are probably the easiest part of the whole build! Create a box just like you did with the cabinet boxes, but leave off the bottom piece. I made mine a few inches shallower than the cabinets so there was a bit more dimension.
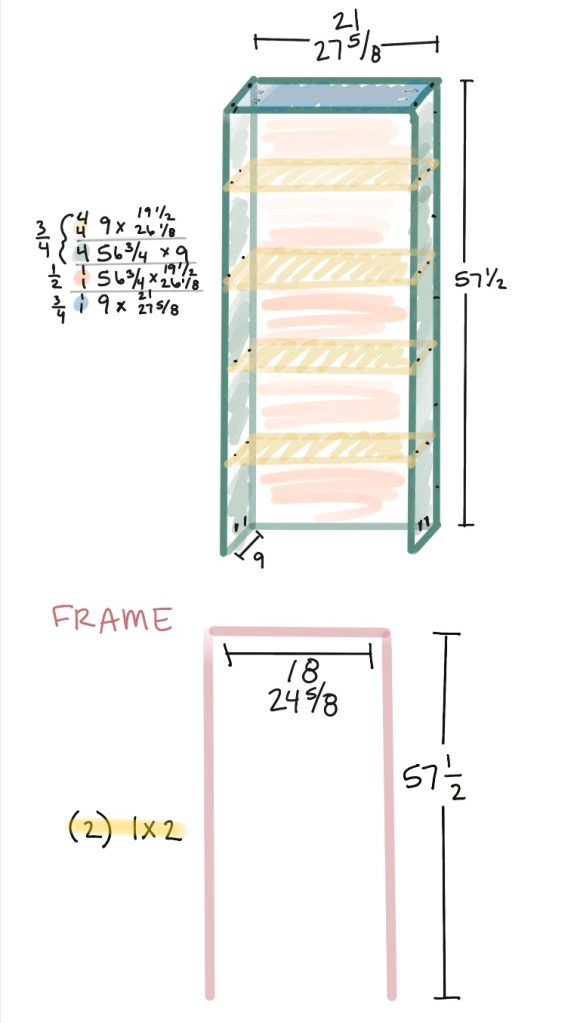
Now you can add shelves. Add as many or as few as you want and space them according to your needs! I spaced mine about 13” apart, but allowed for about 22” between the bottom and the first shelf. The distance between the top shelf and the top is also a little bigger, which I think looks nice. I cut a piece of scrap wood and used it as a spacer while attaching them so that I could make sure they were perfectly spaced. Screw them in from the sides with 1.5” screws and make sure to sink your screw into the wood a little so you’ll be able to fill it and make it disappear.

Add a back with particle board just like with the cabinet boxes, glue and screw! Then screw it into your studs. I shot a few nails into the cabinet box on the very bottom of the shelving unit for a little extra stability.
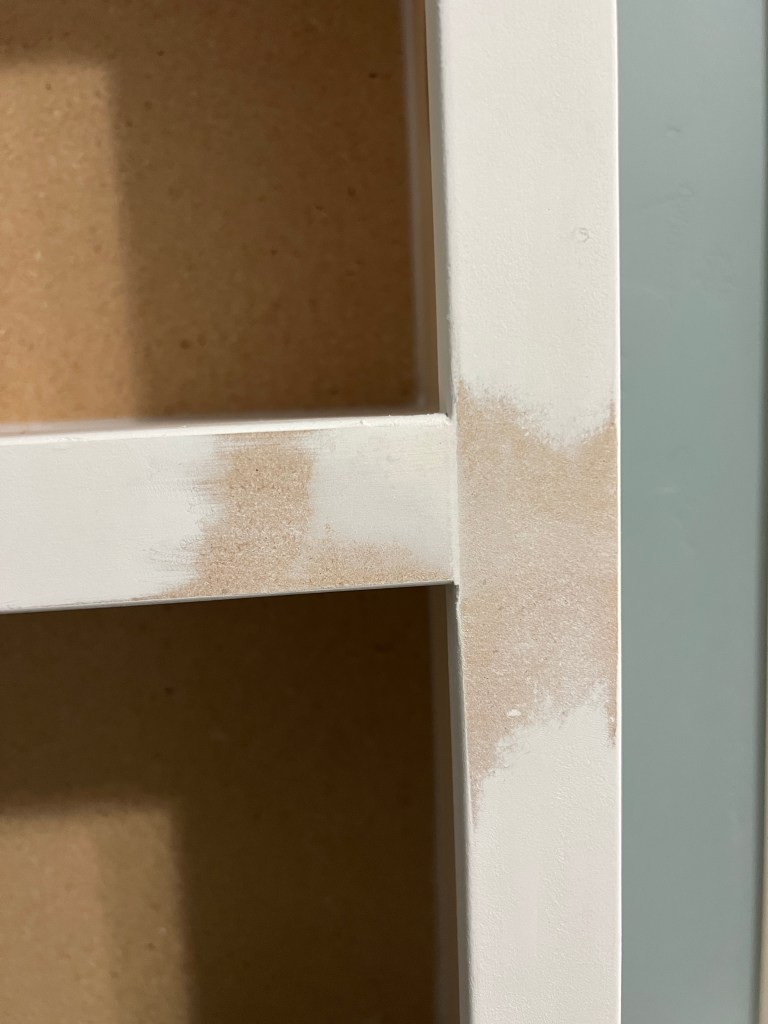
Caulking and filling this was a marathon, but soooo satisfying! Caulk all your corners and use wood filler or spackle to fill in any screw spots, as well as the raw edge of the particle board backing.
Trim Everything Out
Everywhere there is a raw edge (except along the very bottom) I added 1×2 MDF. I attached it using my nail gun and then caulked and filled all the seams.
Along the bottom, add the baseboard/toe kick. I used 1×4 MDF and attached it with my nail gun again. On the window bench, I ran the 1×4 all the way up to the bottom edge so it is flush with the “floor” of the window bench.
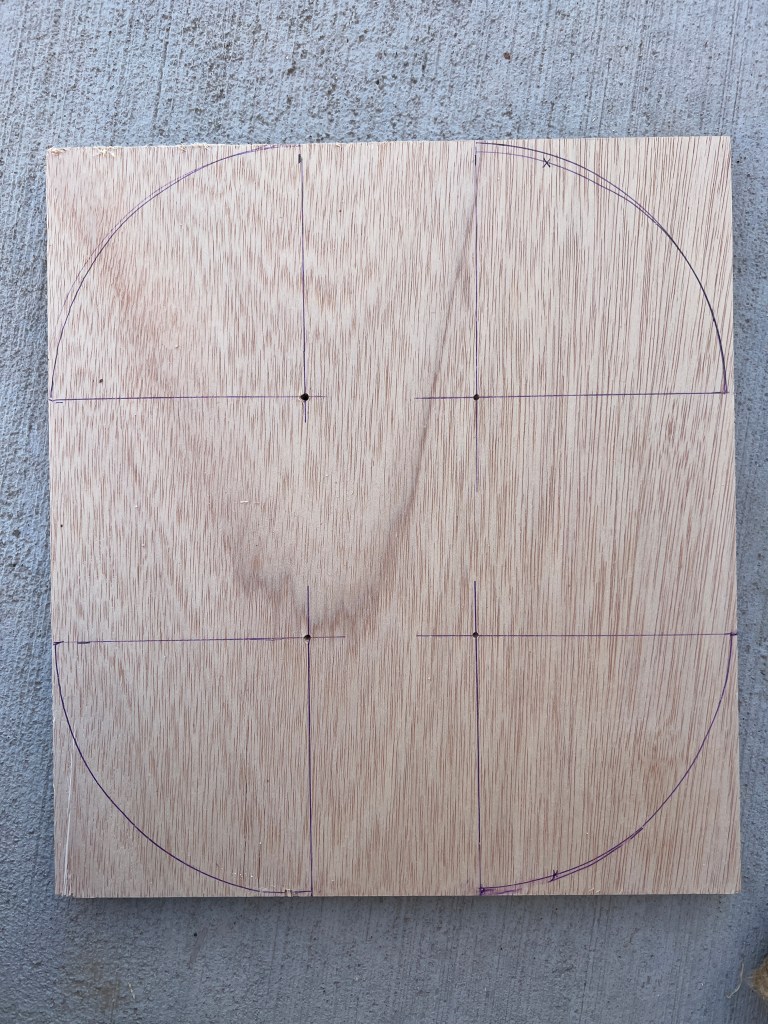
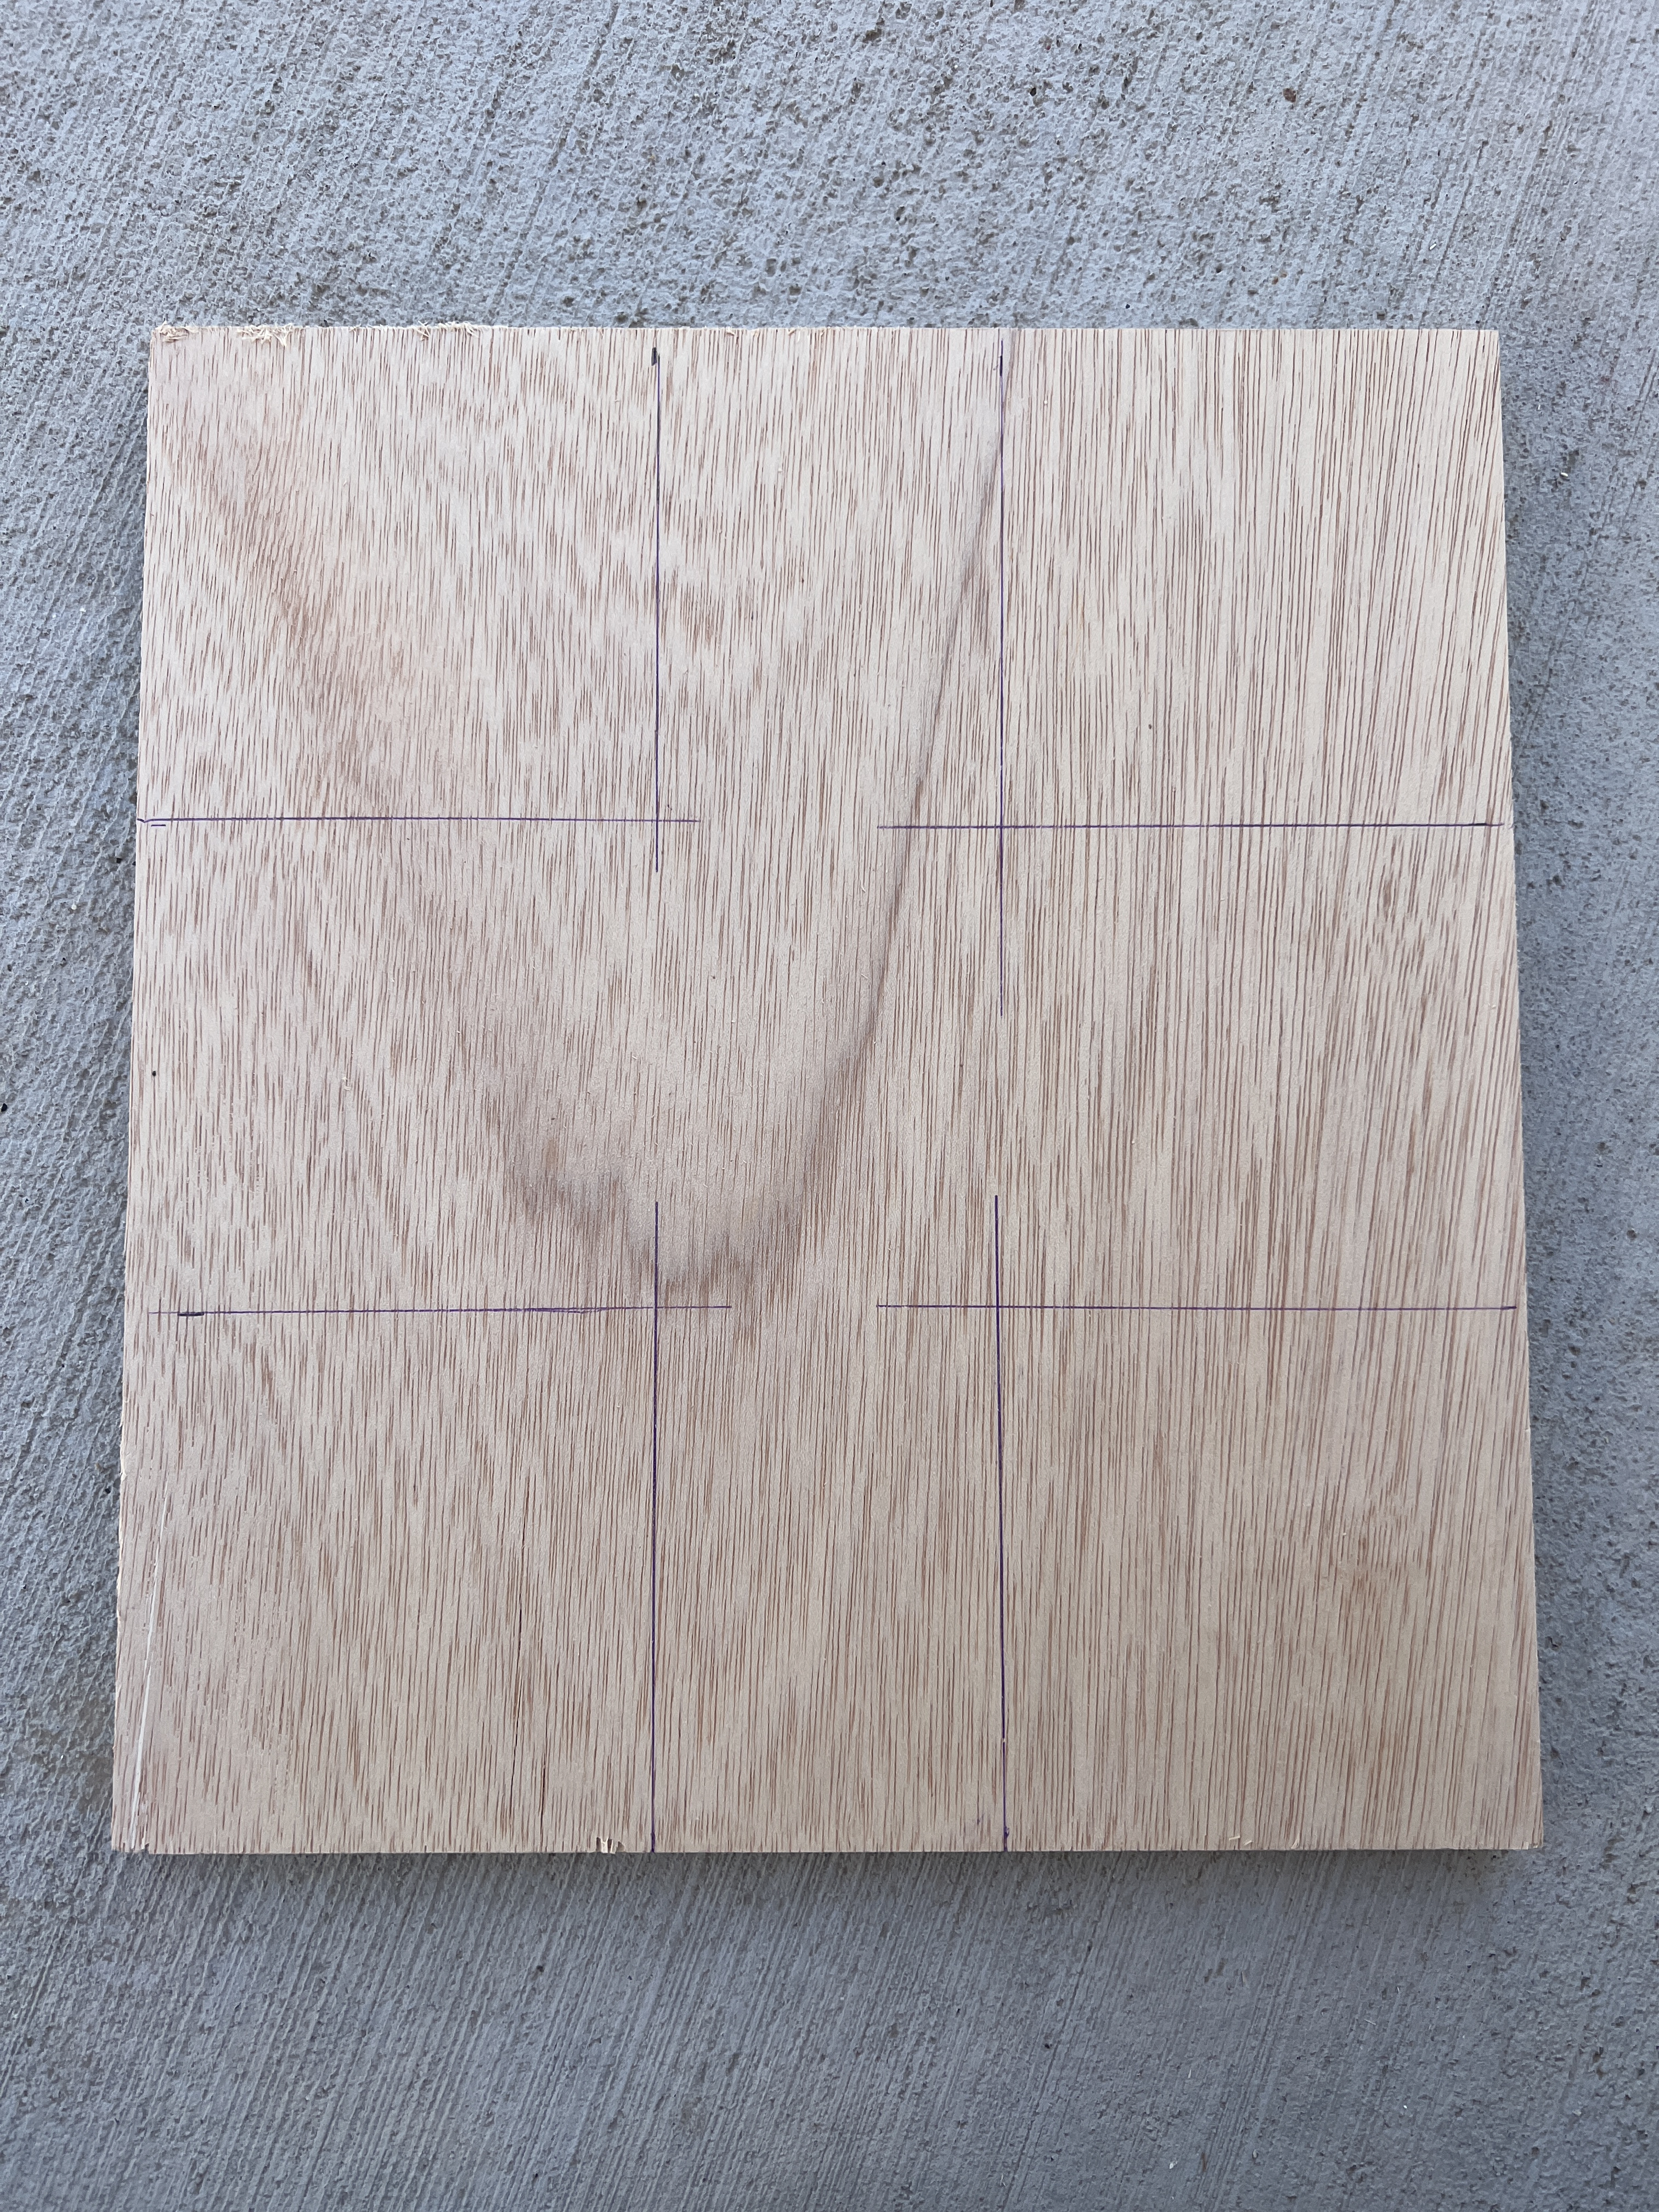
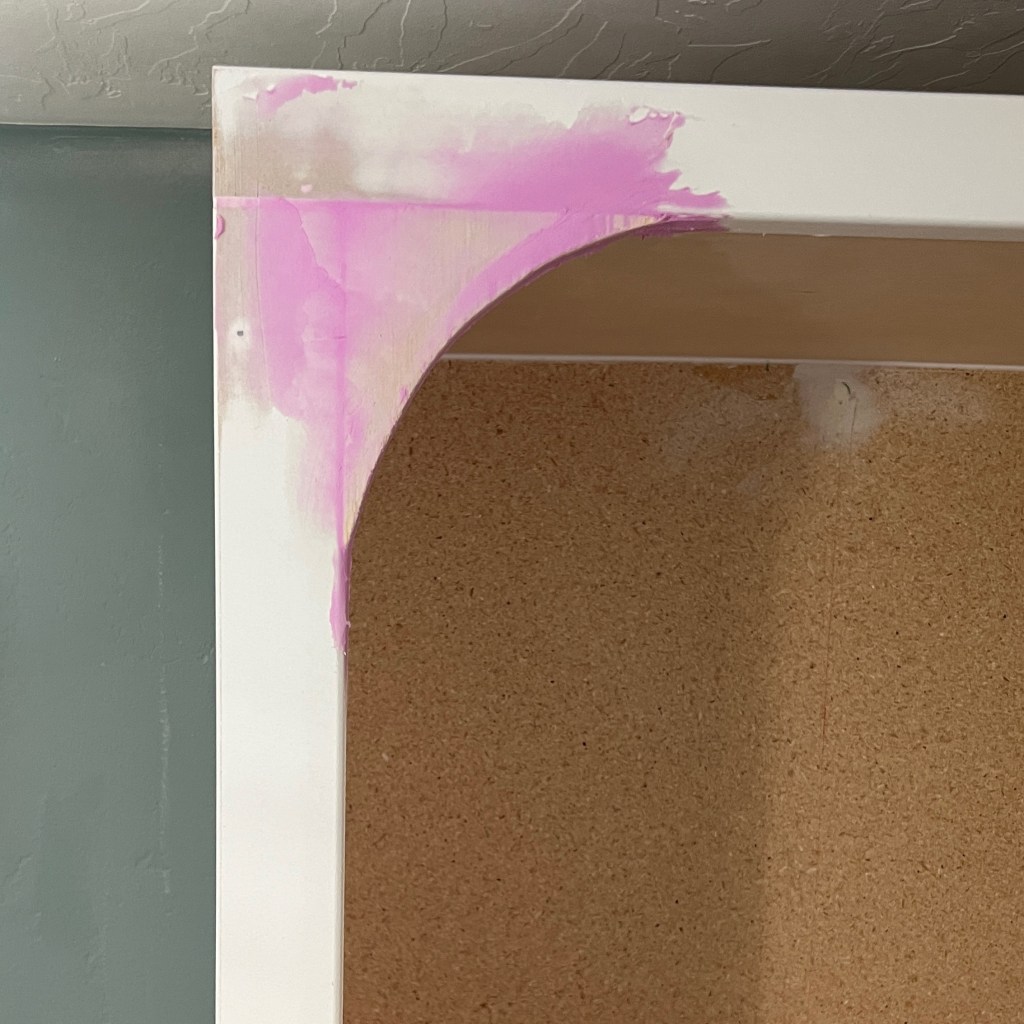
It was a last minute decision but the best decision, in my opinion, to add these little arched details to the shelving units. I mocked up an arch using cardboard so I could get a sense of how big I wanted them to be. I used a string to draw the arch on some scrap 3/4” plywood and then my jigsaw to cut it out. I nailed it into the 1×2 frame on the sides and then used spackle to get it to look like it is one piece. Magic! It’s probably my favorite part of the whole build.
You’ll also want to install crown molding now too! There are so many pretty options out there to chose from, and I recommend watching a few YouTube videos on how to cut and install – I am definitely not an expert on that!
Paint & Finish
It’s finally the time you’ve been waiting for! The finish line is in sight.
Prime everything with Zinsser’s BIN or Cover Stain primer. I like to use shellac based or oil based primer while working with raw wood because it doesn’t raise the grain, which I love. I personally use BIN. I brush and roll it on because it’s a pain to get out of the sprayer and it levels super well so you won’t see any strokes.
After the primer is dry, sand with a 220 grit sanding sponge. You’re going to want to skip this step. Don’t. The difference in the finish when you sand between coats is so huge and you just spent all this time building a beautiful piece, spend the couple extra minutes now to finish it well. After sanding be sure to vacuum the dust up and then wipe everything down with a tack cloth.
Time to paint! I love Benjamin Moore Advance paint and especially on cabinetry, I think the quality justifies the slight increase in cost. You don’t need to seal it and it is self leveling. If you chose a different paint, I do recommend adding on a sealer to make it long lasting. I used my paint sprayer and painted this beauty to match the walls – Benjamin Moore Atmospheric. I did two coats and I sanded with a 320 grit sponge in between, but only on the outside and the tops of the shelves – I didn’t sand where no one will touch.
Cabinet Doors
I am going to write a whole blog post on how I built these doors – I didn’t do it the “right” way, but my shortcut worked really well and I’m proud of them! So stay tuned for that.
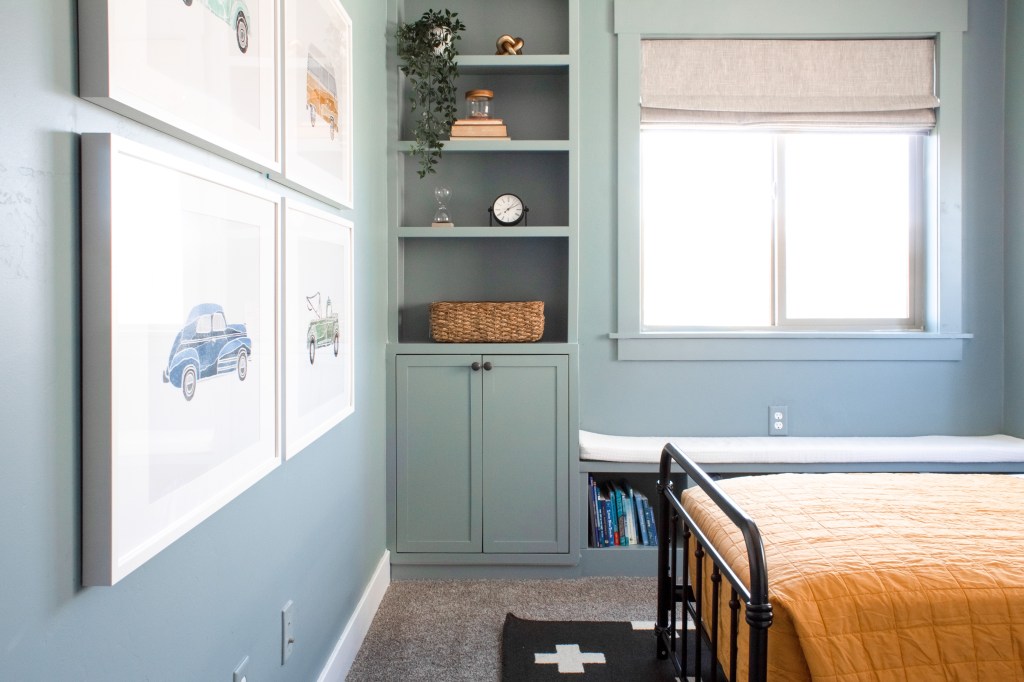
Decorate
Now the only thing left to do is add a bench cushion and decorate your shelves! There are a lot of great tutorials on how to sew a bench cushion. I used this foam because it was on super sale and these curtains as fabric, but I’m thinking I’m going to sew a new cover because it’s pretty thin and, well, kids.
I think that’s all! It’s a big project for sure, but you can save so much money by doing this yourself and as long as you pay attention to details, you’ll be successful.
If you try this yourself, tag me in it on instagram (@with.love.mercedes) because I want to see your awesome work! Sources for Elliott’s room are linked here.
With love,
Mercedes

I’ve been planning, pinning, and stressing over building this exact type of project for my home and your detailed tutorial has finally given me the confidence to tackle it- hopefully WITHOUT expensive prebuilt cabinets. Thank you for taking the time to share all of your work. It looks amazing!
LikeLike
Thank you!!
LikeLike
Hi! We are looking to build this this weekend, can I ask what the 1/2” plywood is for? Seems like you used 3/4” for the middle bench but not sure it specifys for the cabinets or the bookshelf
LikeLike
This is a great question because I cannot figure out where I used 1/2”. Surely I must have since I listed it…but looking through everything I have no clue 😂 The cabinets and shelf towers are 3/4”. I would just use 3/4” for everything.
LikeLike
Thanks for posting this, super helpful as I work on building some custom built-ins! Question, might be stupid, but when you installed them and you wrote “screw it into the studs” – where are you screwing it? through the particle board back panel? or how do you attach the frame of the shelving unit or cabinet or bench to the studs?
LikeLike
Yes! Long screws through the back panel of whatever it is (shelves, cabinet, bench) into the studs
LikeLike