
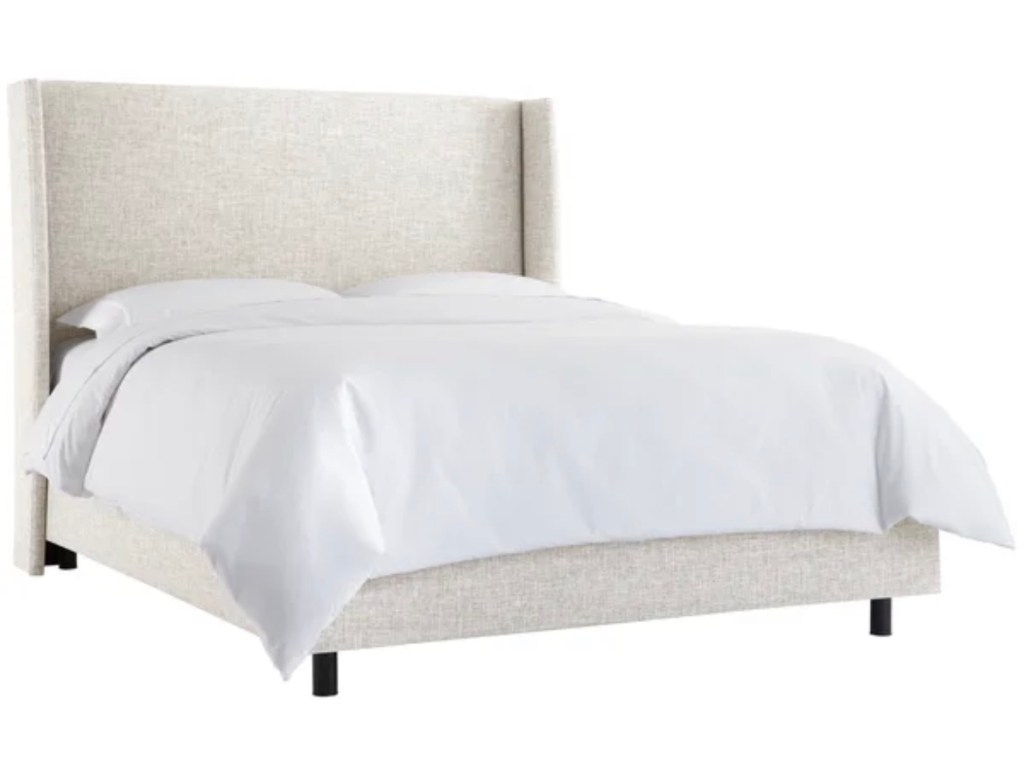
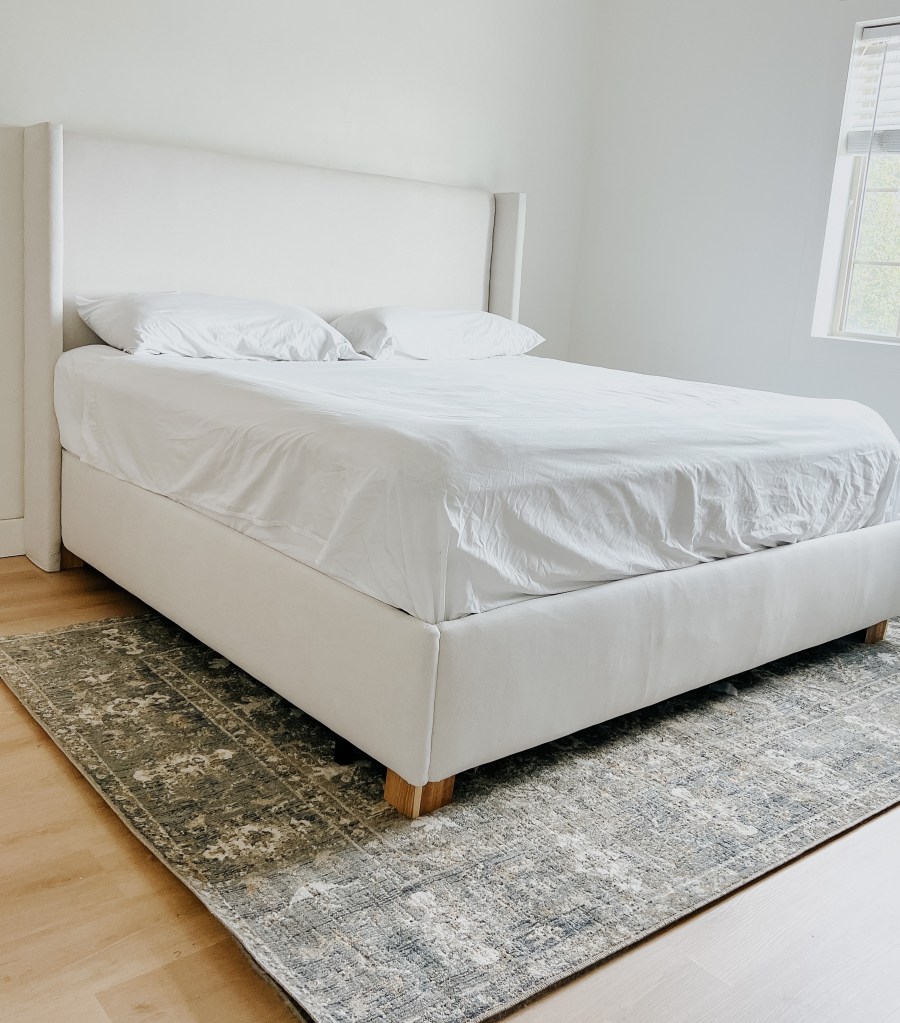
I love the look of a full upholstered bed – the warmth, softness, and (you guessed it) coziness is everything I want for our primary bedroom. But do you want to know what I don’t like about upholstered beds? The price tag!
This one is beautiful and my inspiration…but it’s definitely above my budget!
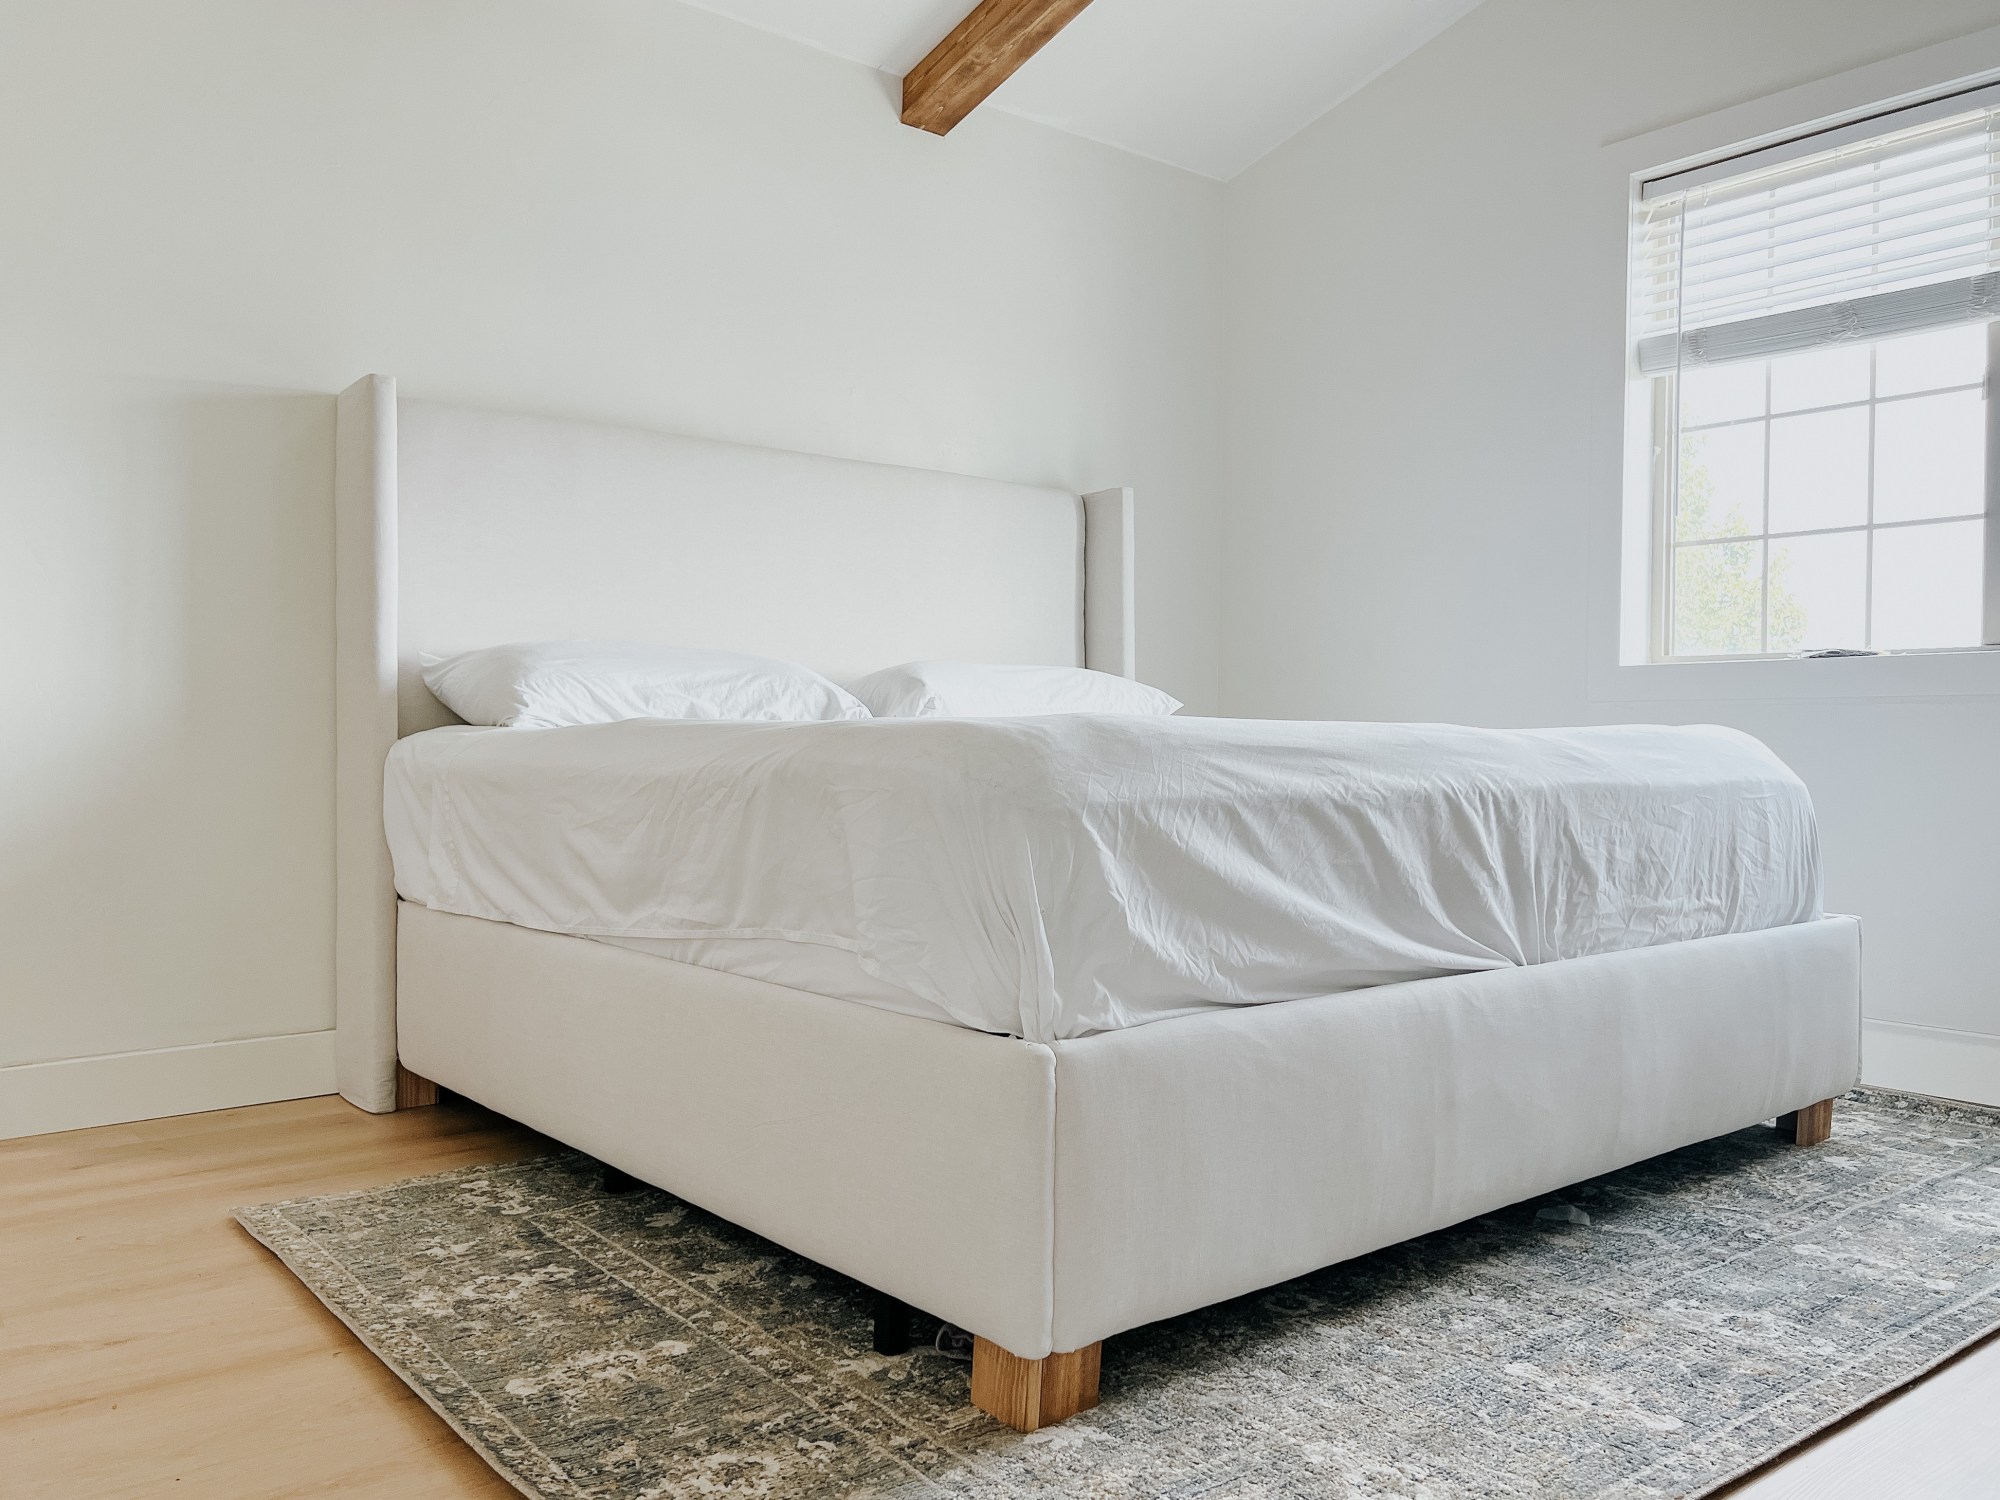
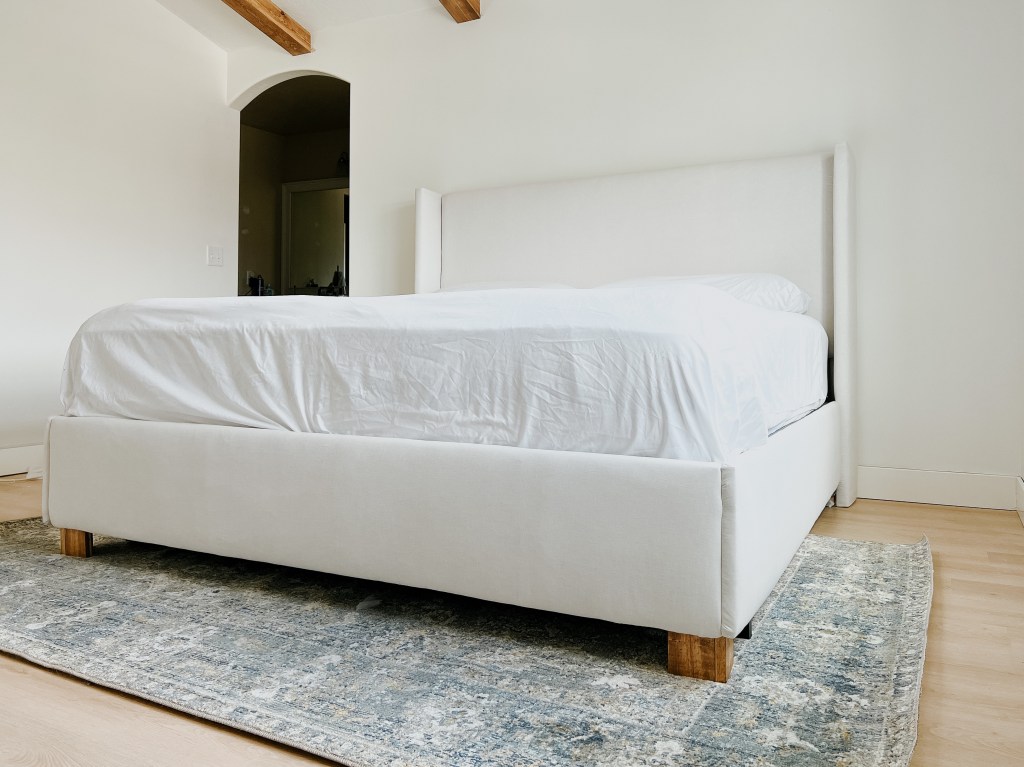
After building my headboard years ago, I figured I could probably build a faux frame to go around the metal frame we use. I started it without much of a plan and figured it out as I went, but I think it turned out beautifully!
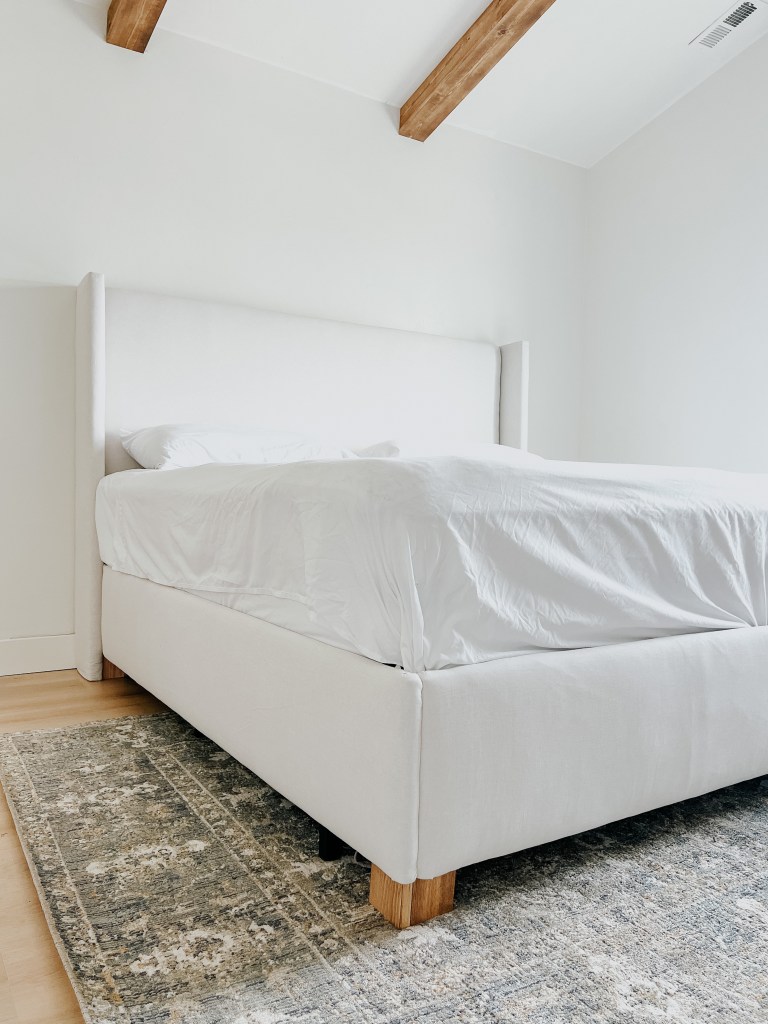
Take the legs, for example. They were a last minute addition because attaching the boards to the metal frame wasn’t going to work like I had planned, but they are such a happy coincidence. I love the texture they add and that they match the beams in our room!
This may seem like an intimidating project, but it is actually super beginner friendly! I love that you can customize the fabric to your liking and do it for cheap! Be sure to let me know if you build one yourself.
Tools & Materials
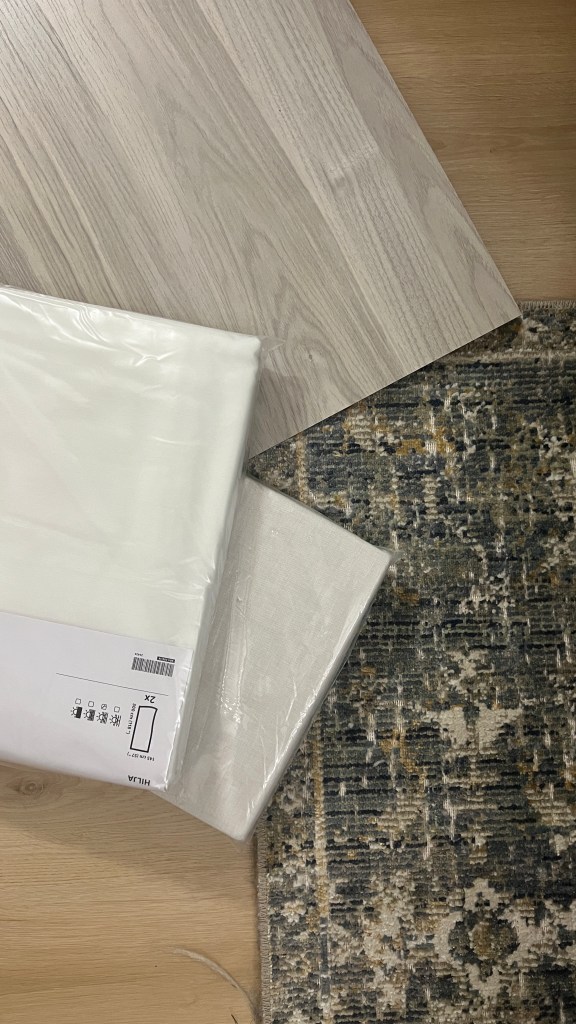
- 4’x8’ OSB (2 sheets ripped down to 12”)
- Batting (grab 2)
- Fabric (curtains are a great way to get upholstery fabric without selling a kidney)
- Corner braces
- 1×4 pine
- Wood stain
- Wood screws for OSB pairing
- Wood screws for everything else
- Staples
- Wood glue
Tutorial
First, build the headboard! You can find my tutorial from a few years ago here – I modified it from Angela Rose Home’s tutorial.

Take your sheets of OSB and have Home Depot/Lowe’s cut it into 12” strips. You’ll end up with 6 12”x8’ strips and 2 that are slightly narrower. Set those narrow ones aside and only use the ones that are 12”.

Cut them down to length using a miter saw or a circular saw. If you’re using a circular saw, this rip guide is helpful for making straight cuts. I made this for a king sized bed, so if you’re making this for a different bed adjust accordingly!

I doubled up the boards by sandwiching a bunch of glue and screwing them together.
I layered the two 76” boards together – that will be the foot board. Then I took one 72.5” piece and layered it on top of a 79.25” piece. I lined it up so that one end is flush and one end looks like a step. I did this with both boards – they’ll be the side boards. I glued & screwed these ones as well.

Then I wrapped them with batting. I did 3 layers of medium loft batting, but 2 layers of high loft batting would probably be easier. If you’re using a darker fabric, you might be able to get away with only one layer of high loft batting, but since mine is light I don’t want any wood color showing through!


I wrapped the batting around the edges kind like a present (see my headboard tutorial on how to do corners) and stapled it down. Make sure to trim away excess batting.

I like to use curtains for upholstery projects because it isn’t too difficult to find decent quality fabric for way less than what you’d pay at a craft store. It’s worth mentioning that the fabric I originally used on the headboard when I first made it was thicker than this fabric, which I did like. So if you can find a blackout style curtain in a fabric you like, I would pick that over light filtering.
Since these curtains came all folded up, I had to iron them out – the worst part of the whole project! You can try throwing them in the dryer to speed things up. That worked with the fabric I used when I built the headboard, but didn’t do anything to help the wrinkles on the new fabric.
The curtains the I used came in two 57” panels and I cut them in half long ways. Then I payed my footboard/sideboards out on the fabric and got to stapling.
I started on one of the short ends, pulling the fabric straight before stapling. Then I went to the other short end and pulled the fabric tight longways, but didn’t staple yet.

Then I went along the length of the board on one side and stapled, trying to keep the fabric in a straight line. I stapled the cut edge of the fabric down first.
Then I moved onto the other side and made sure to pull the fabric tight (but not so tight that I was creating dimples!), overlapped the edge, and stapled away. Don’t be stingy with your staples! Use a bajillion.
Lastly I did the end. I did it the same way I did the first edge, by pulling the fabric tight, stapling, then doing the corners.

I repeated that for all three boards.

Next I created the little feet. I took 1x4s that I had left over from building my beams and cut them down to 6.5”. Then I glued and nailed them together. Just glue would probably be fine, but having a nail gun means you don’t have to leave it clamped and wait for it to dry.

I attached the feet to the foot board. When you drill the fabric, you need to go slowly so you don’t twist and pull the fabric too much. I started with a small drill bit to make a pilot home and drilled backwards and forwards over and over until I had cut a hole through the fabric and batting.

To help brace the pieces, I also added a metal corner brace on each end. I used a piece of wood to make sure I had it positioned correctly.

To attach the side boards, I cut a 2×4 to the height I needed to prop it up to make it level with the footboard (well, actually I cut it a little short so I had to shove some scrap flooring under it as well) and then screwed the foot and the brace into it. I regularly assessed the boards to make sure they were in line with each other.


Now ideally, I would slide the boards back and slip them next to the headboard then screw the unattached sides to the headboard, but my bed is already in place so I’m just going to leave it propped up on some 2x4s. No one will know! Except you, of course.

I am also 100% going to scotchguard this fabric because… kids… but if it gets ruined one day, it won’t be too hard to spend another $50 on curtains to recover it.

Tell me what you think of this project and if you build one yourself, be sure to tag me in it on Instagram so that I can see it!
With love,
Mercedes 🖤

2 thoughts on “Upholstered Bed for less than $150”