
Disclosure: Some of the links provided are affiliate links, which simply means I may earn a small commission (at no additional cost to you) if you shop through one of my links.
A year ago, my parents bought a new house! They have a lot of big dreams for what the space will eventually become and I’m so excited to help them along the way. I only wished we lived a little closer (like closer than a 20 hour drive) so I could help them all the time!
My Dad is a PA who works in pulmonology and my Mom is currently in the middle of a PhD, so needless to say they don’t have a whole lot of spare time or energy to devote to house projects. While my Mom was visiting me, she fell in love with the board and batten wall that I installed in my own bedroom during the Fall One Room Challenge (you can find more detailed steps on how to install your own here). So much so that the only thing she asked for for Christmas was that I help her install one in her room!
I’ve mentioned before that if I could go back and do one thing differently in my house, I would change the order in which I completed projects. I had improved most of the spaces in my home before I ever touched our master bedroom. That meant that every morning I would wake up in a room I didn’t love. Now, I advocate for the master bedroom to be the first room that gets updated. So, while my parents still have a lot that they want to do in their house to to make it their own, their bedroom is one step closer.
Want to see what projects I’m working on now? Follow me on Instagram!


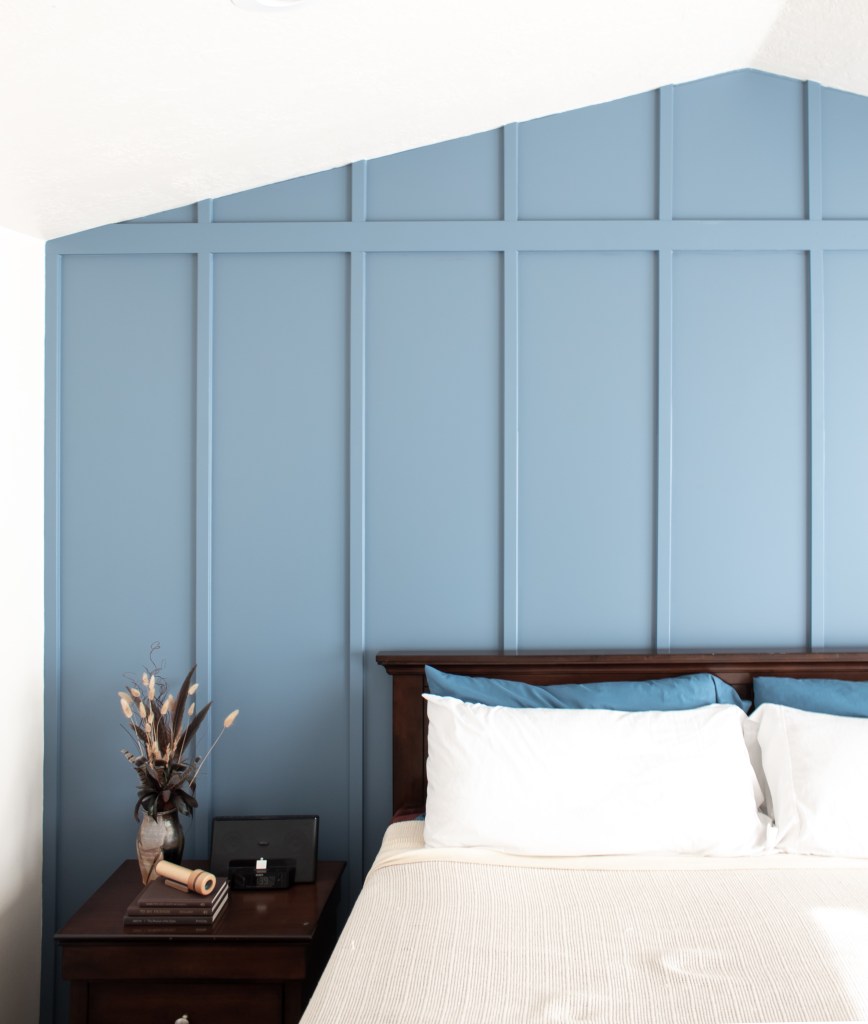
Here is what their room looked like before. Pretty standard and nothing special, but with a really pretty vaulted ceiling that we showcased with this accent wall.
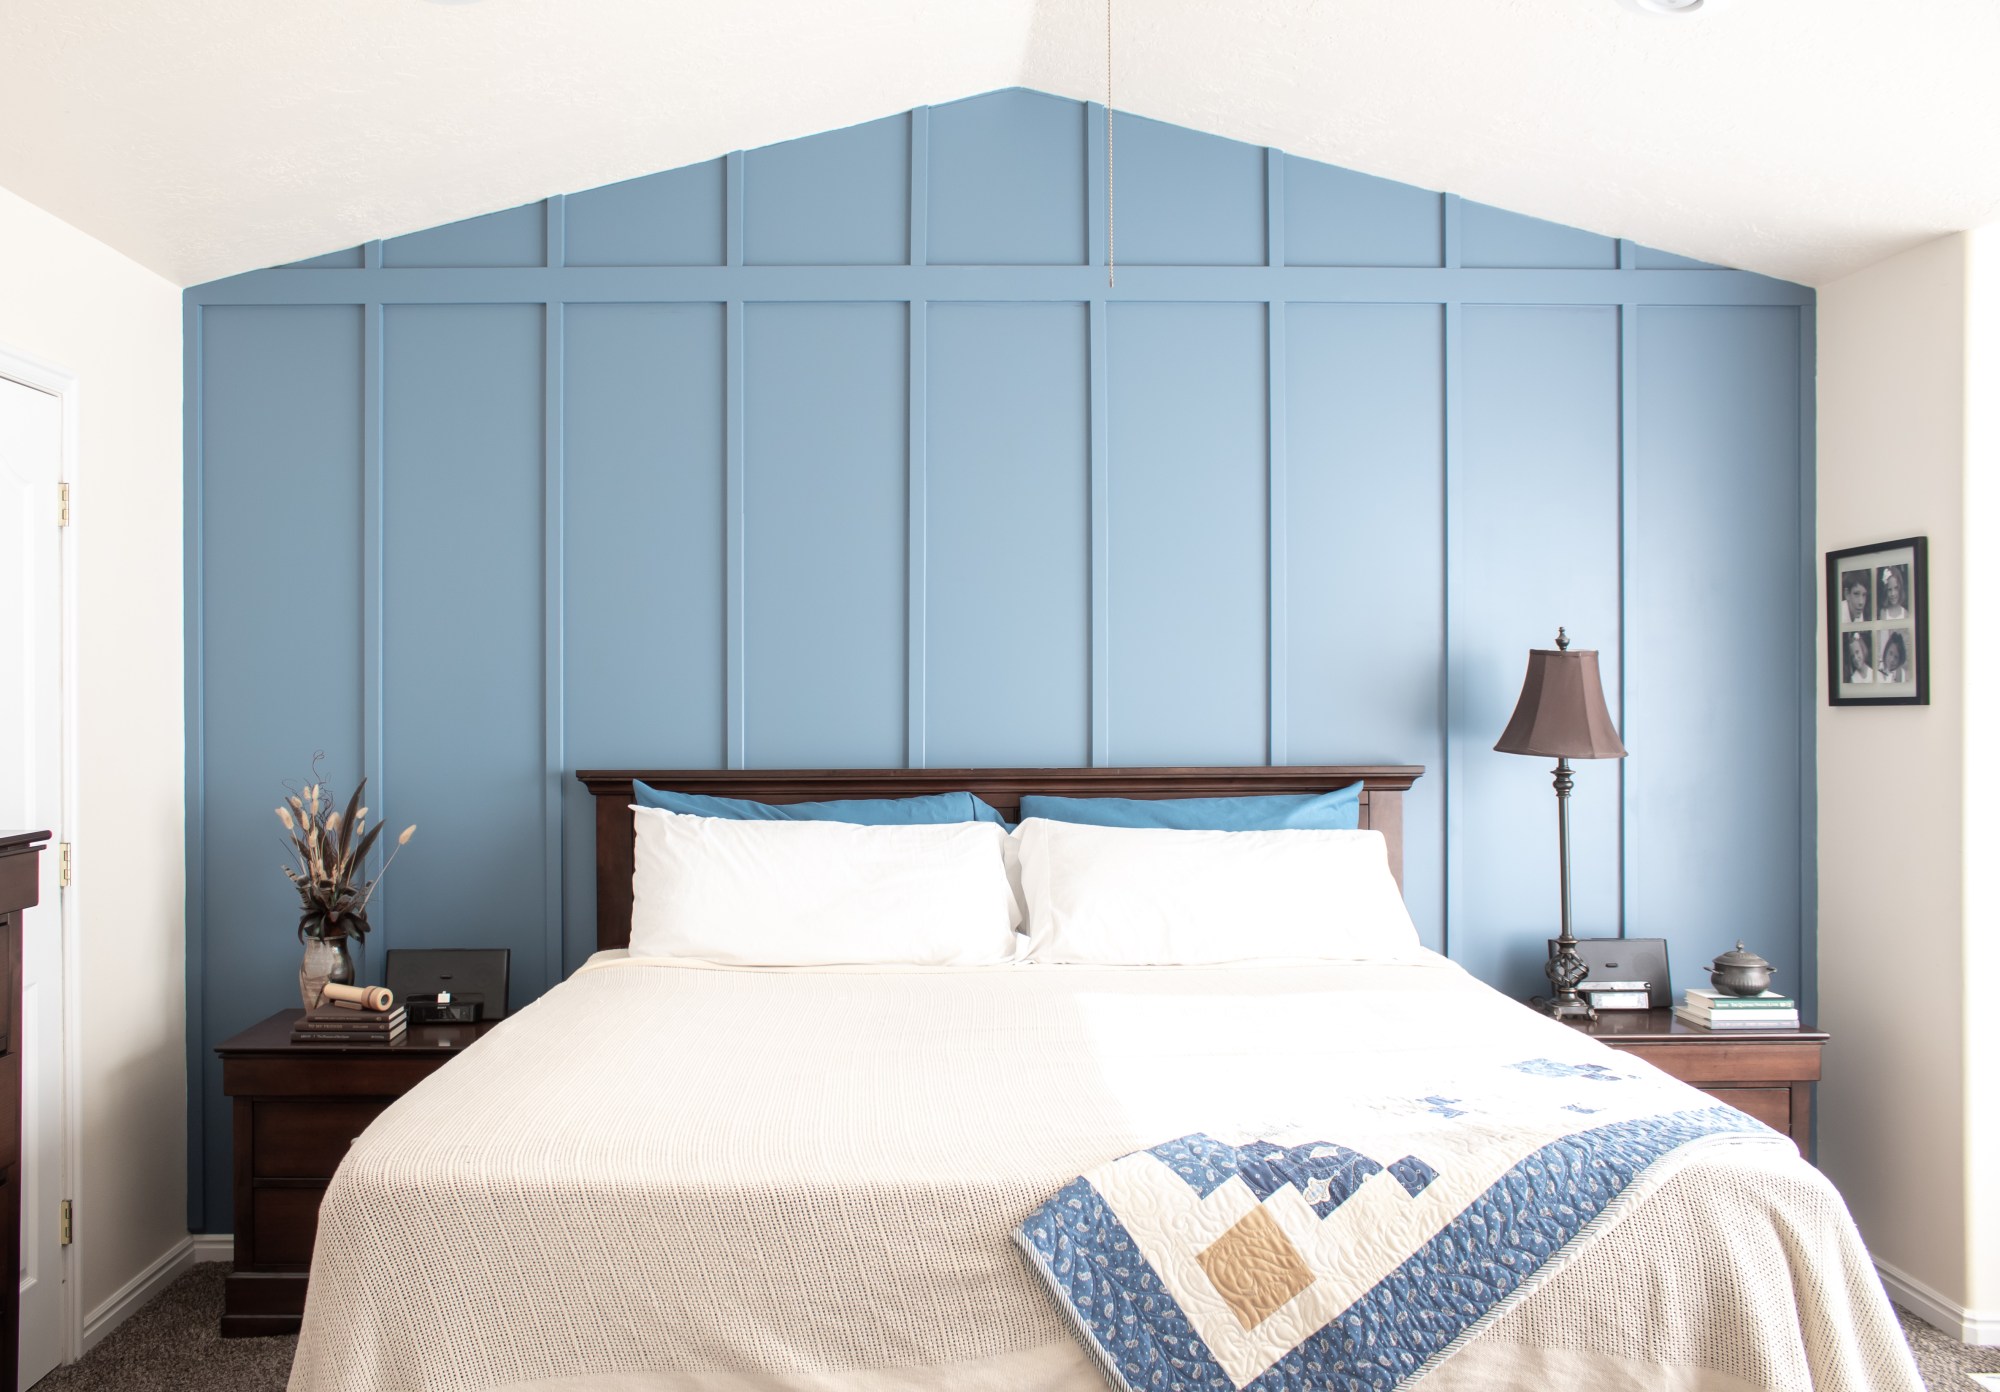
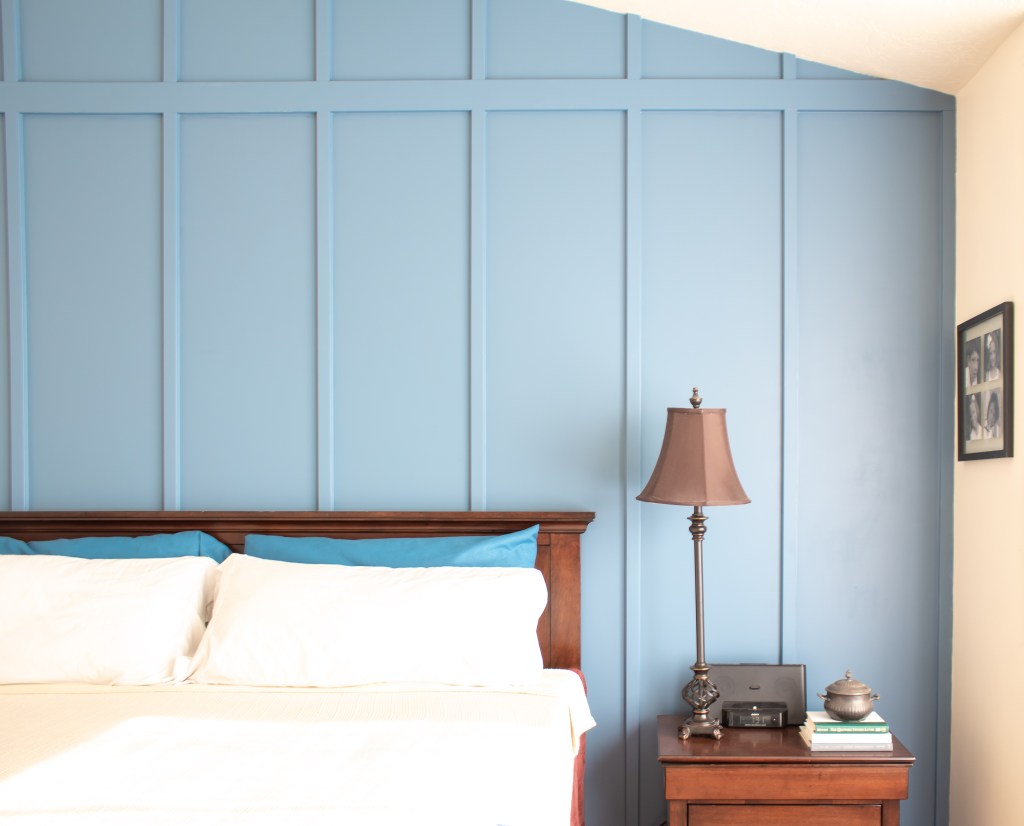
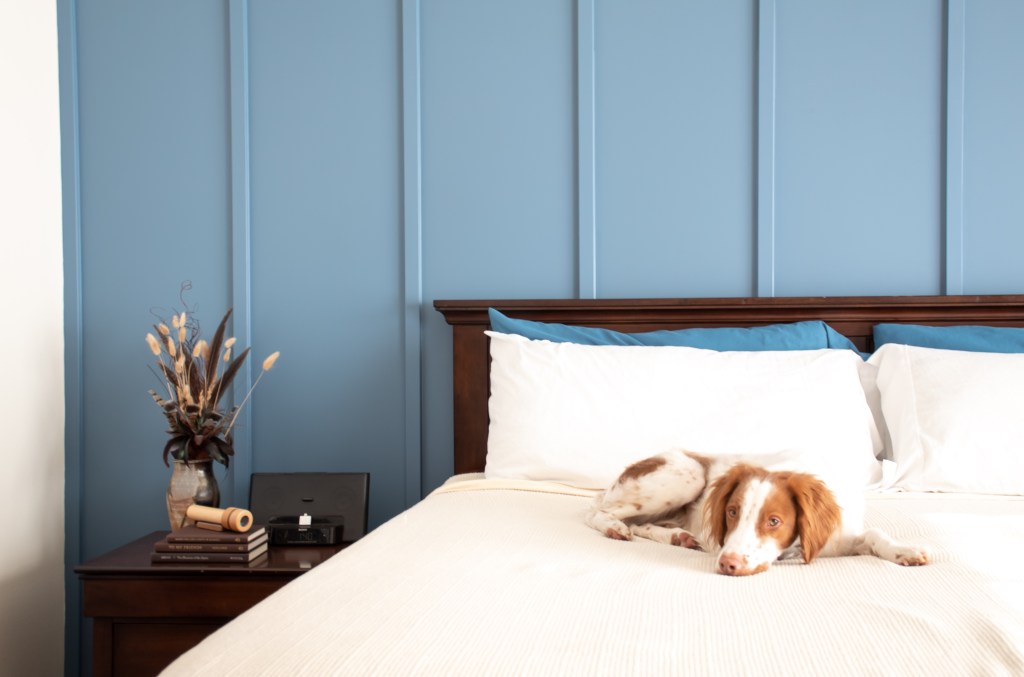
And here is the finished result!

It took us about 3 and a half days. We spent one day planning and doing math as well as getting all of our materials, a day putting the hardboard and boards/battens (did you know that the vertical ones are boards and the horizontal ones are battens? Mind. Blown.), half a day caulking, and a day painting.

My parents have been in love with this paint color (Behr Blueprint) ever since Behr announced it as the 2019 color of the year, so that’s what we went with! When my Dad walked in, he said, “Good, I’m glad I like the color as much as I thought I would!” I’m glad too, seeing as we didn’t even test any other colors. If it were my home, I probably would have picked something a little bit more muted, but this color is soooo pretty and perfect for my parents.
Hardboard (5) – $44.90
1x2x8 MDF (13) – $46.26
Wood filler (1) – $6.92
Caulk (2) – $5.92
Paint – $45.79
Paint Rollers (2) – $4.27
Paint Tray – $3.19
Total Cost : $157.25
So have I convinced you yet? I think you need a board and batten wall in your room too 😉 Head to my board and batten blog post to get more detailed instructions on how to tackle it!
With love,
Mercedes ♥

This has completely changed our room! I can’t say enough how much I love it. Thanks for working your magic, we love you, Mercedes! ❤
LikeLike
Thank you! It was my pleasure 😘
LikeLike
This looks awesome, well done!
LikeLike
Thank you!
LikeLike
Ok I want to do this stat! It looks spectacular! The material list only lists 1×3 but it looks like boards and battens are different widths. Did you double them up? Or use different sizes?
LikeLike
Ah! You’re right! I can’t believe I missed that – whoops! And you bringing this up made me realize I made another mistake on the materials (fixed now!). I must’ve been tired haha. The vertical ones are 1x2s and the horizontal one is a 1×4 👍
LikeLike
What paint color did you use? Its soo pretty!!
LikeLike
Behr Blueprint 🙂
LikeLike
How far apart did you place the vertical boards? This turned out awesome!
LikeLike
Hey Sierra! Thank you! I don’t remember exactly how far apart these are, but the measurements are going to be really specific to your wall. I have details on how to figure that out in my moody board and batten tutorial! You can also use some painters tape on your wall to visualize how many boards you want and then figure out the spacing from there. The boards should be between 15”-30” apart, but like I said it’ll be really dependent on your specific wall so that you can get them evenly spaced!
LikeLike
So gorg. How did you figure out the angle to cut the top boards due to the angled ceiling ?
LikeLike
Thanks! I took a piece of paper and folded it along the angle, then used that to line up my saw. You can also buy angle finding tools though to make it a little easier.
LikeLike