

Let’s talk vanities for a hot sec. Why are they so expensive? Okay, actually I get why they’re so expensive. The base is pretty simple – it’s a box with some doors and drawers but when you add on the fact that it needs a countertop and a sink, the price tag makes more sense. Still, every time I look at pretty new vanities I have major sticker shock.
Want to see what projects I’m working on now? Follow me on Instagram!
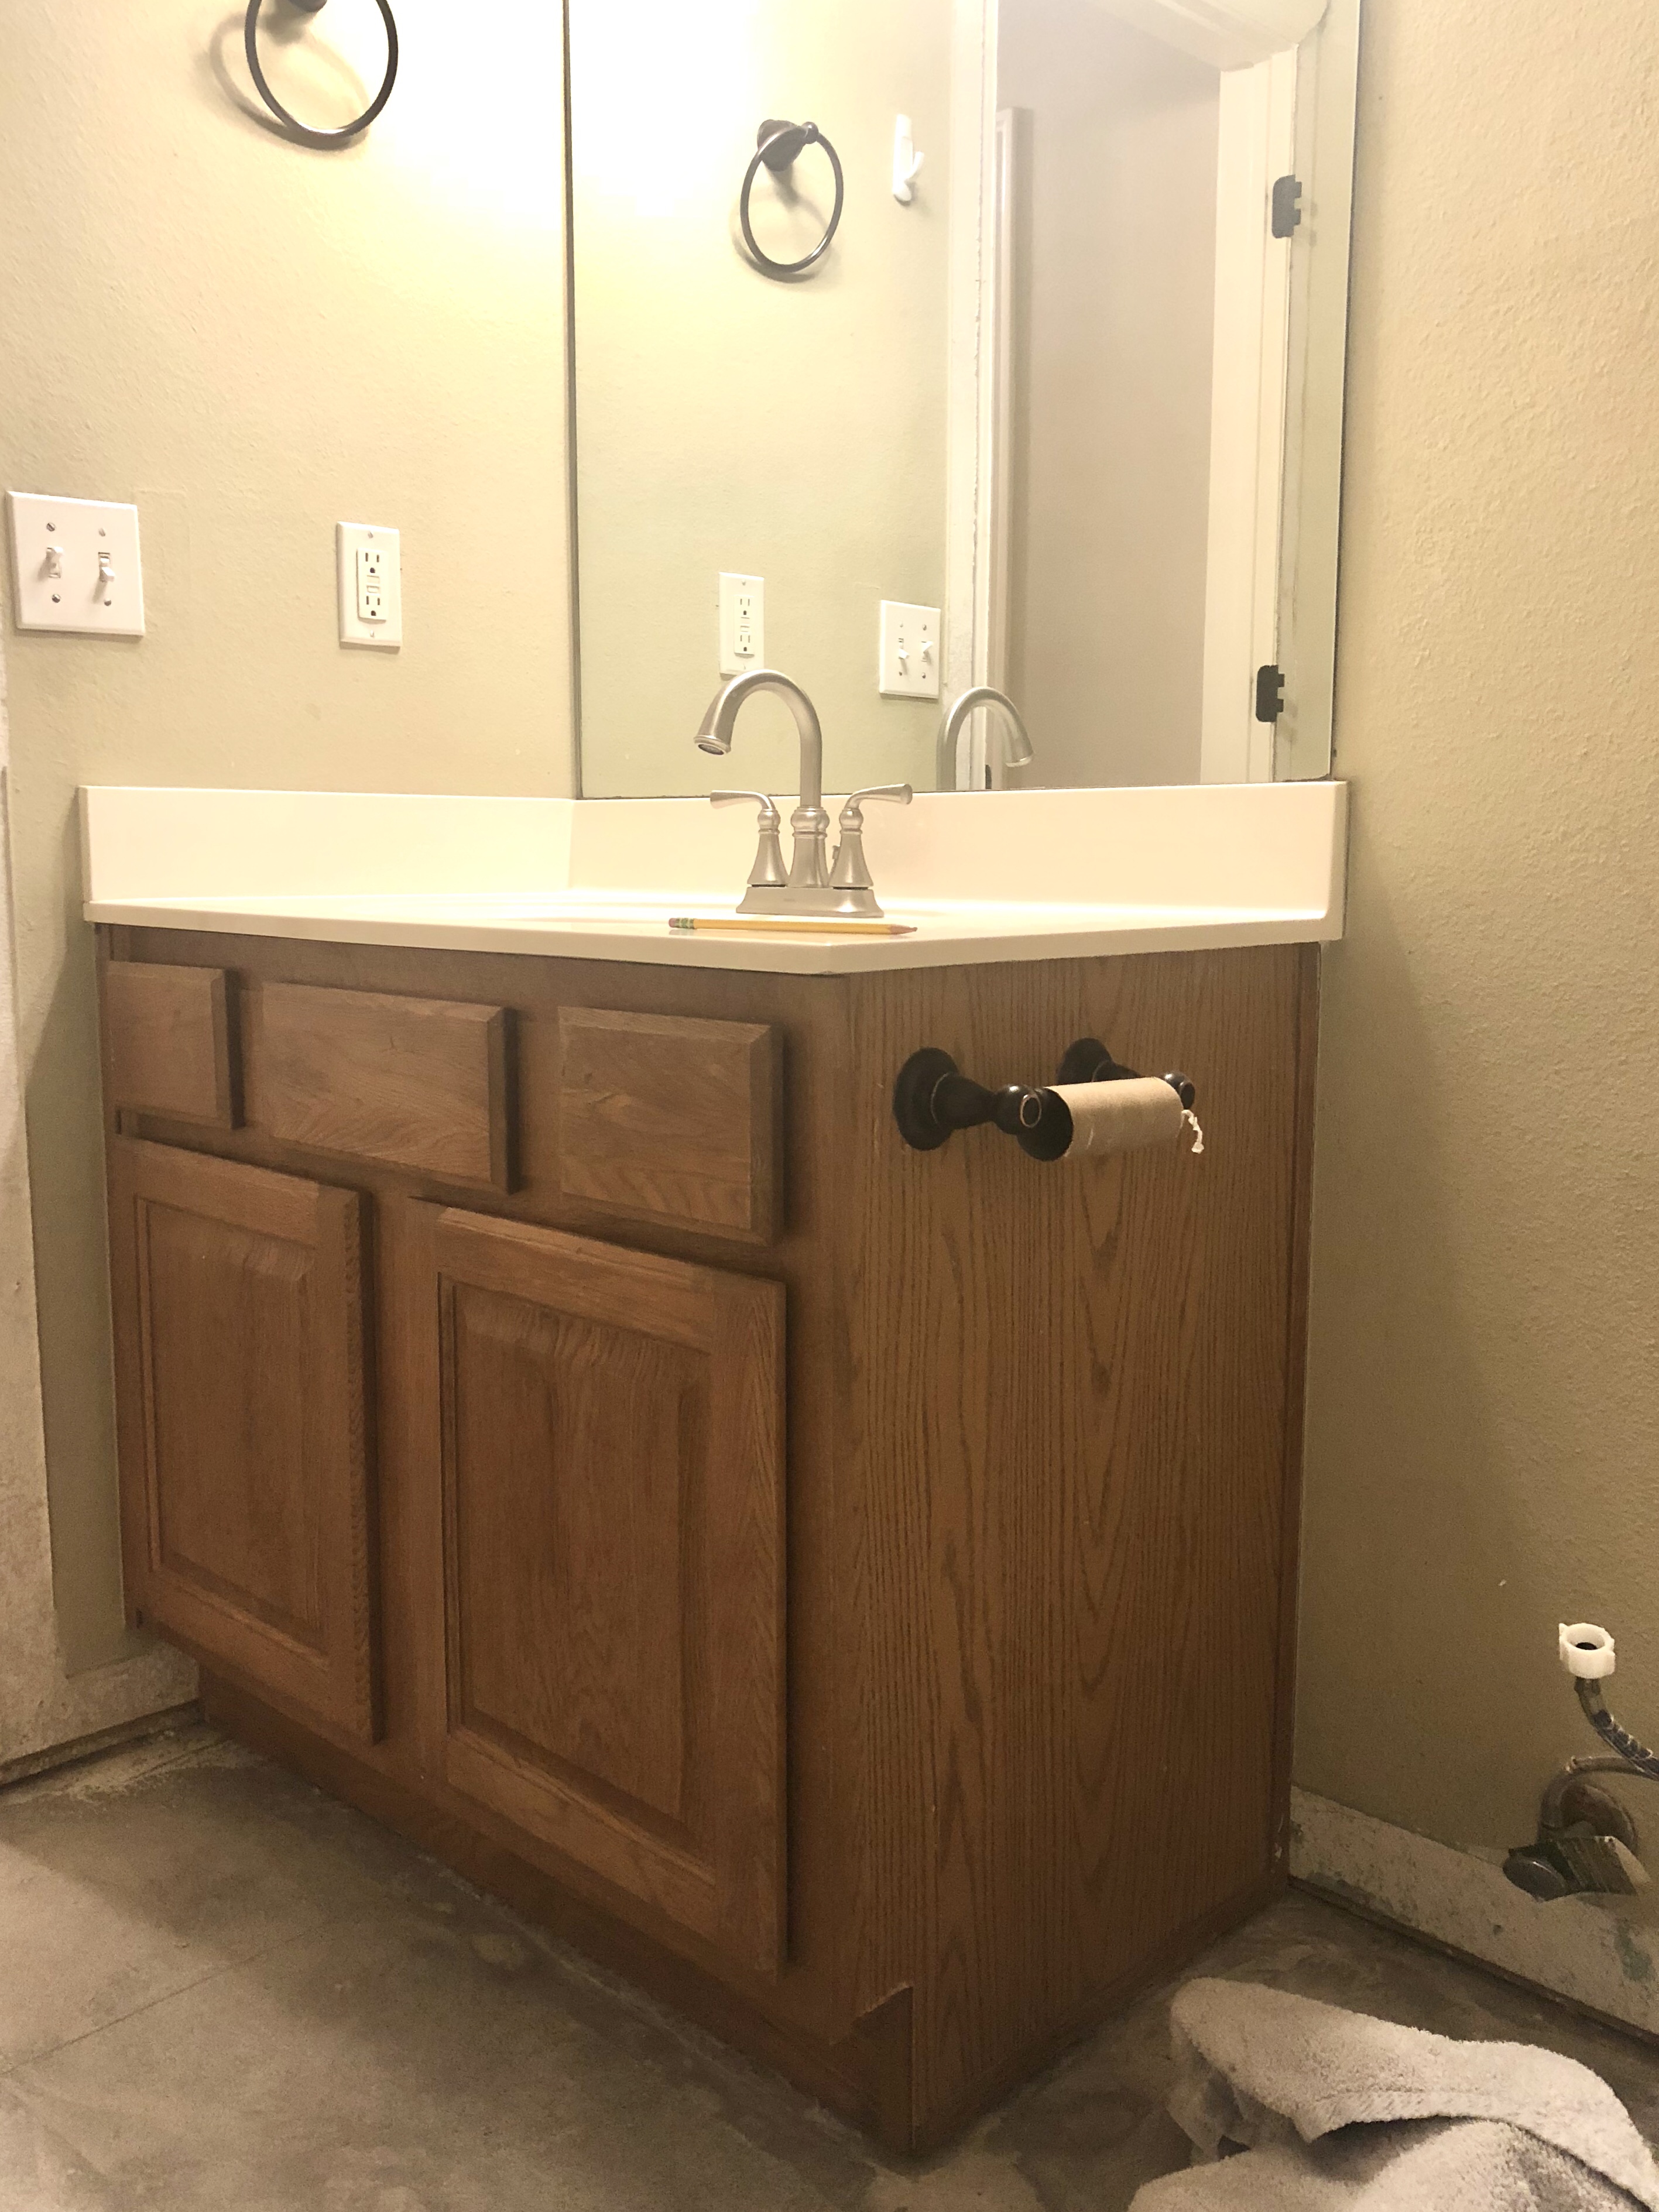
It makes sense that a lot of homes have builder’s grade vanities because upgrading to a different one is so freaking expensive and our home is no different. I knew I couldn’t afford to put in a new vanity, but I also didn’t want to leave it as is.

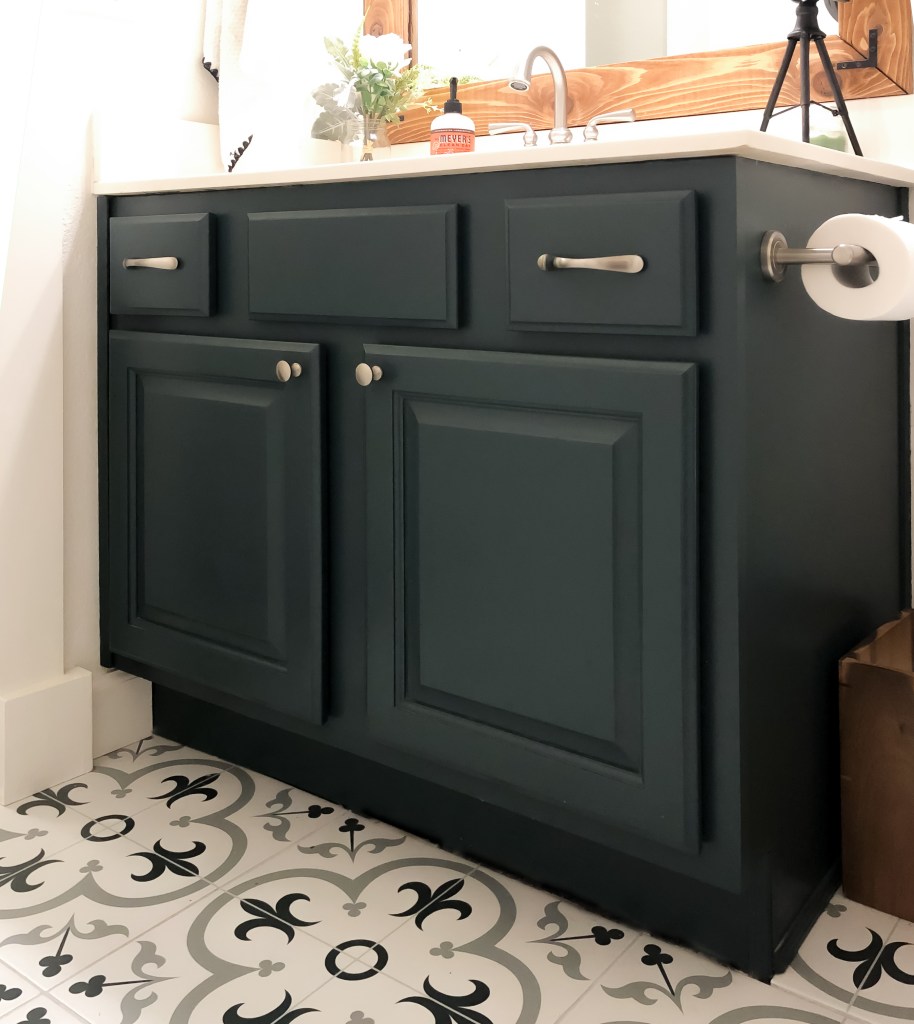
The first step in updating our bathroom was redoing the floors with the prettiest patterned tile and painting the walls Benjamin Moore White Dove. There were a lot of light colors in the room, so I wanted to balance them out with something a little darker. I took a scrap piece of tile and matched it to a paint chip that seemed closest (Benjamin Moore Stonecut), then took that paint chip to Home Depot and had them color match it in Behr Marquee semi-gloss paint.
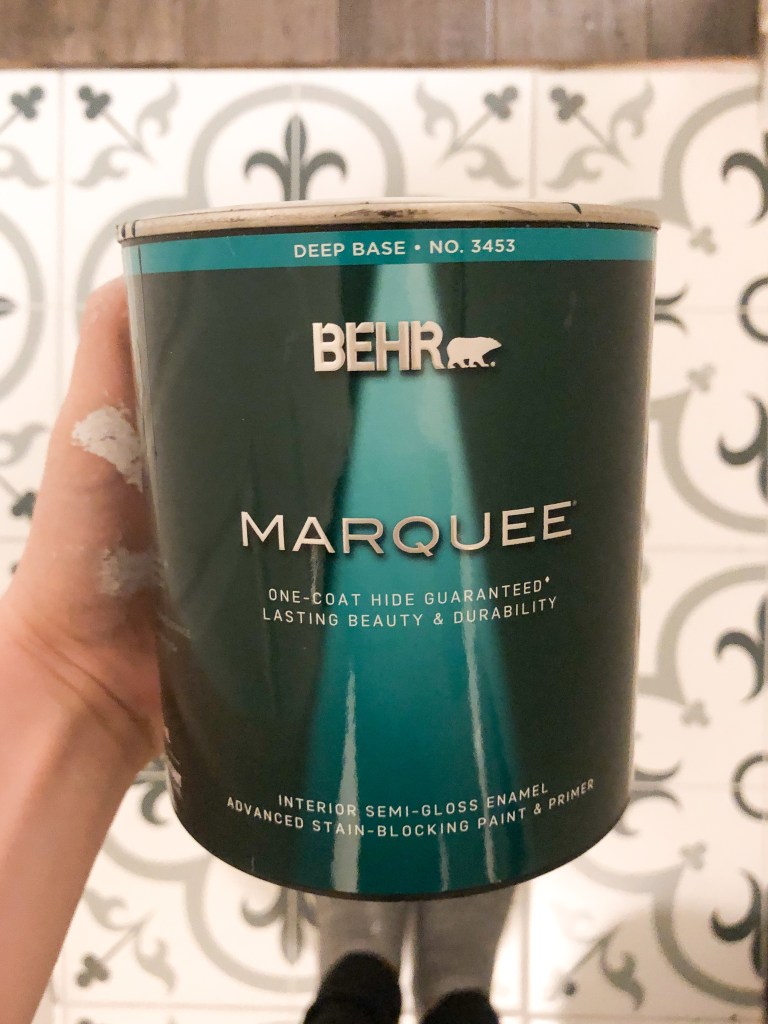
While I love the color, it’s not actually what I originally wanted. It’s more blue than deep gray, which is the color I was trying to match in the tiles. If I were doing this again, I would just take the tile straight to Home Depot and have them color match straight off the tile. Why didn’t I think of that in the first place?
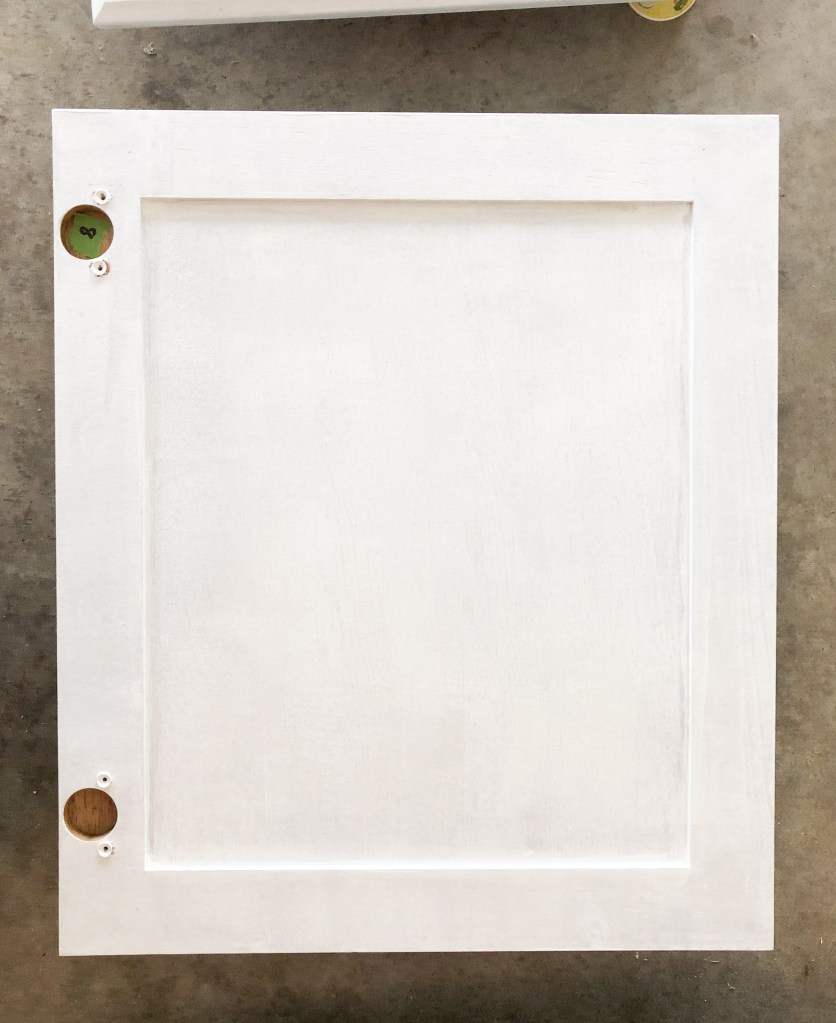
I took the doors and drawer fronts off. It is always a good idea to label which door or drawer goes where. It makes reassembling the vanity MUCH easier.
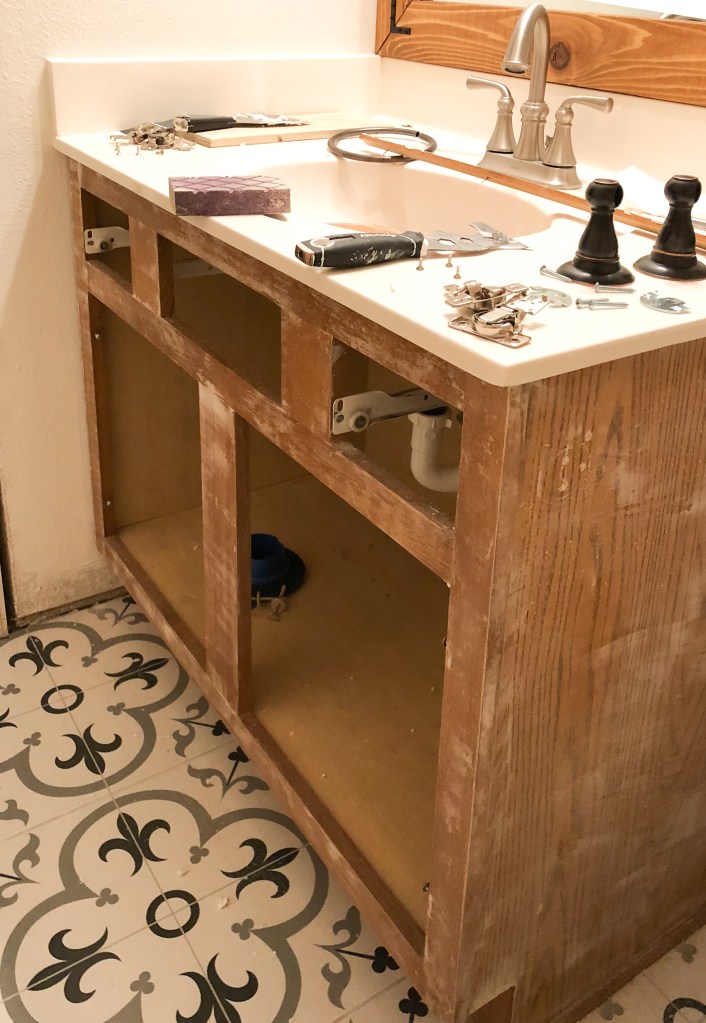
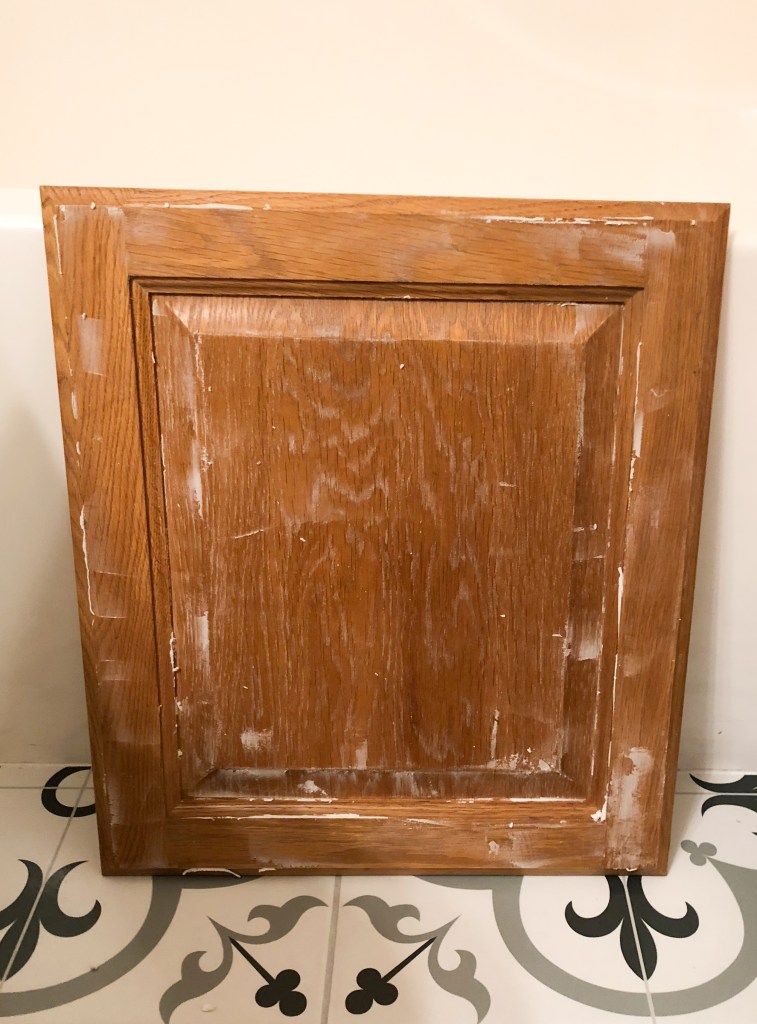
To fill the wood grain, I used spread spackle on the fronts of each drawer/door and then sanded it down. This worked really well for me! There are a couple of places where I can see the wood grain if I look really hard, but for the most part it gave me a really smooth finish.
Then I primed using my favorite primer (Zinsser’s 1-2-3). I used a brush to get in the recessed areas and a foam roller for all the other spots.
Note : Since I did this vanity, I’ve switched from using foam to a 1/4″ nap and I prefer that. Either works well though! I did two coats of primer.
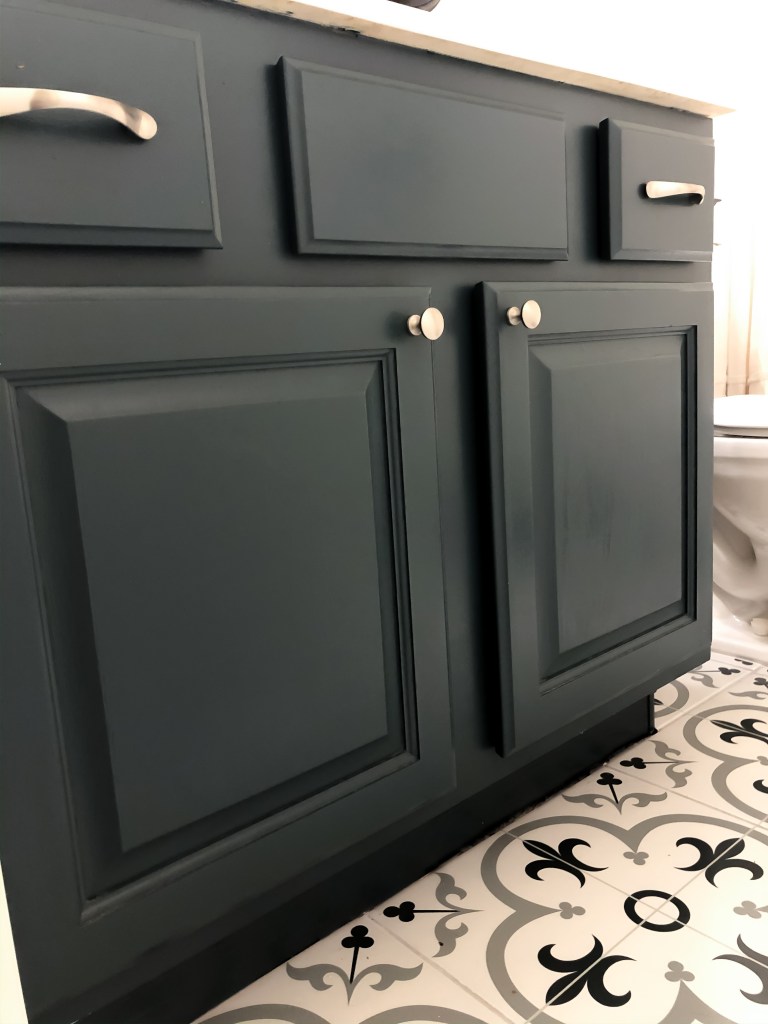
Next it was time for the actual paint. I painted the backs, let them dry, and then flipped them over. Starting on the back is important because if anything happens to the finish while you have it flipped over, you want it to be on the back and not the front.

At this point I probably should have sealed it, but I just reattached the doors and drawers at this point! I think I still will go back and do a coat of my favorite top coat (it’s a little more pricey – but so worth it!) to protect it since that bathroom is getting used more as E grows. I still have plans to add these little bun feet… one day!

I finished it off with some satin nickel hardware that I got from Lowe’s (knobs here, similar pulls here). Something about our door/drawer depth is weird and I had to find different length screws because neither of the standard length ones that the hardware came with worked.
So, do you have a vanity that you don’t like? Try painting it! And if you do paint it, post it on instagram and tag me because I want to see your hard work!
With love,
Mercedes ♥
Interested in using a sprayer to paint? Check out this post!

Hey! What’s the name of the behr color that you used?! I absolutely love it. Thanks!
LikeLike
It’s Benjamin Moore Stonecut and I had Home Depot color match it. Thank you!
LikeLike
Did you brush or spray the paint?
LikeLike
Hi! I brushed and rolled this one, but now that I have a paint sprayer, I prefer that finish! You can check out this recent post as an example of a sprayed vanity https://withlovemercedes.com/2022/06/27/i-painted-the-vanity-in-the-kids-bathroom/
LikeLike
What size is the cabinet?? It looks great
LikeLike
Beautiful. I had to compare three times because I couldn’t believe it was the same vanity. Super nice.
LikeLike
Thank you!
LikeLike
Beautifully done! Is the countertop color white or almond/beige? It’s a bit difficult to tell in the photos? I want to repaint our bathroom cabinets without having to change out our almond/beige countertops. Love the paint color you chose but just wondering if it would clash with beige.
LikeLiked by 1 person
They are pretty white, but I don’t think this color would clash with beige counters 🙂
LikeLike
Love the flooring-must I ask where that was purchased..
LikeLike
If you click the link in the third paragraph it will take you to the flooring post! The tiles were purchased at floor and decor.
LikeLike