
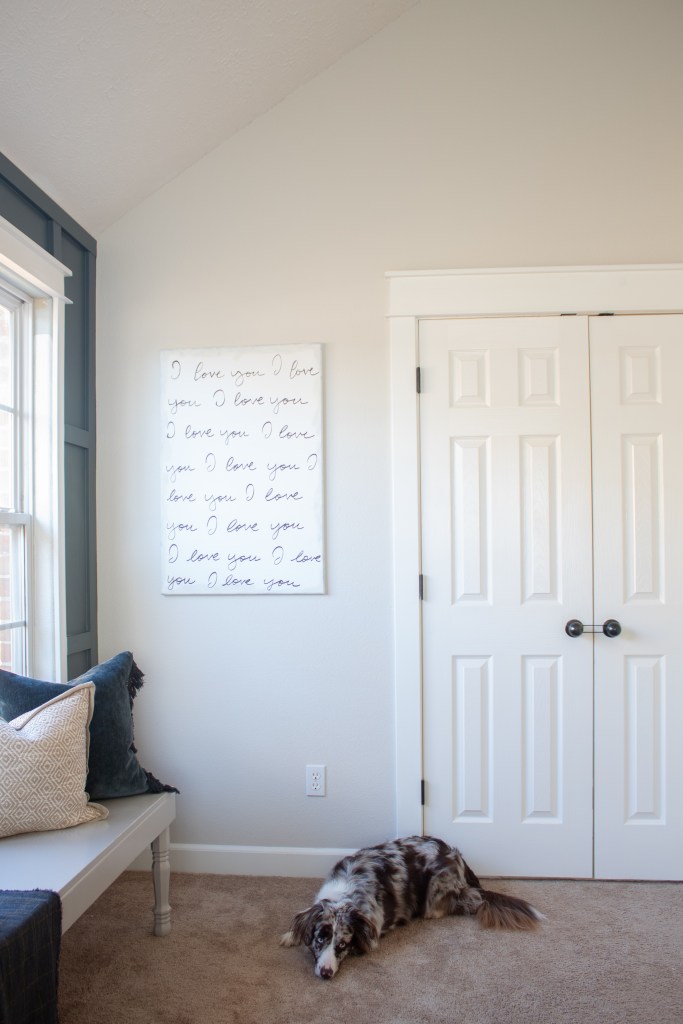
I talked about the awkward shape of our bedroom in my post a few weeks ago. To solve the problem, I knew that I wanted a bench under the window. While I would have loved to build a gorgeous window bench with built-ins on both sides, it wasn’t going to work with our space because the window is on the same wall as the so-pretty-you-can’t-stop-staring-at-it board and batten (though I’m not ruling this option out for other spaces in our house…).

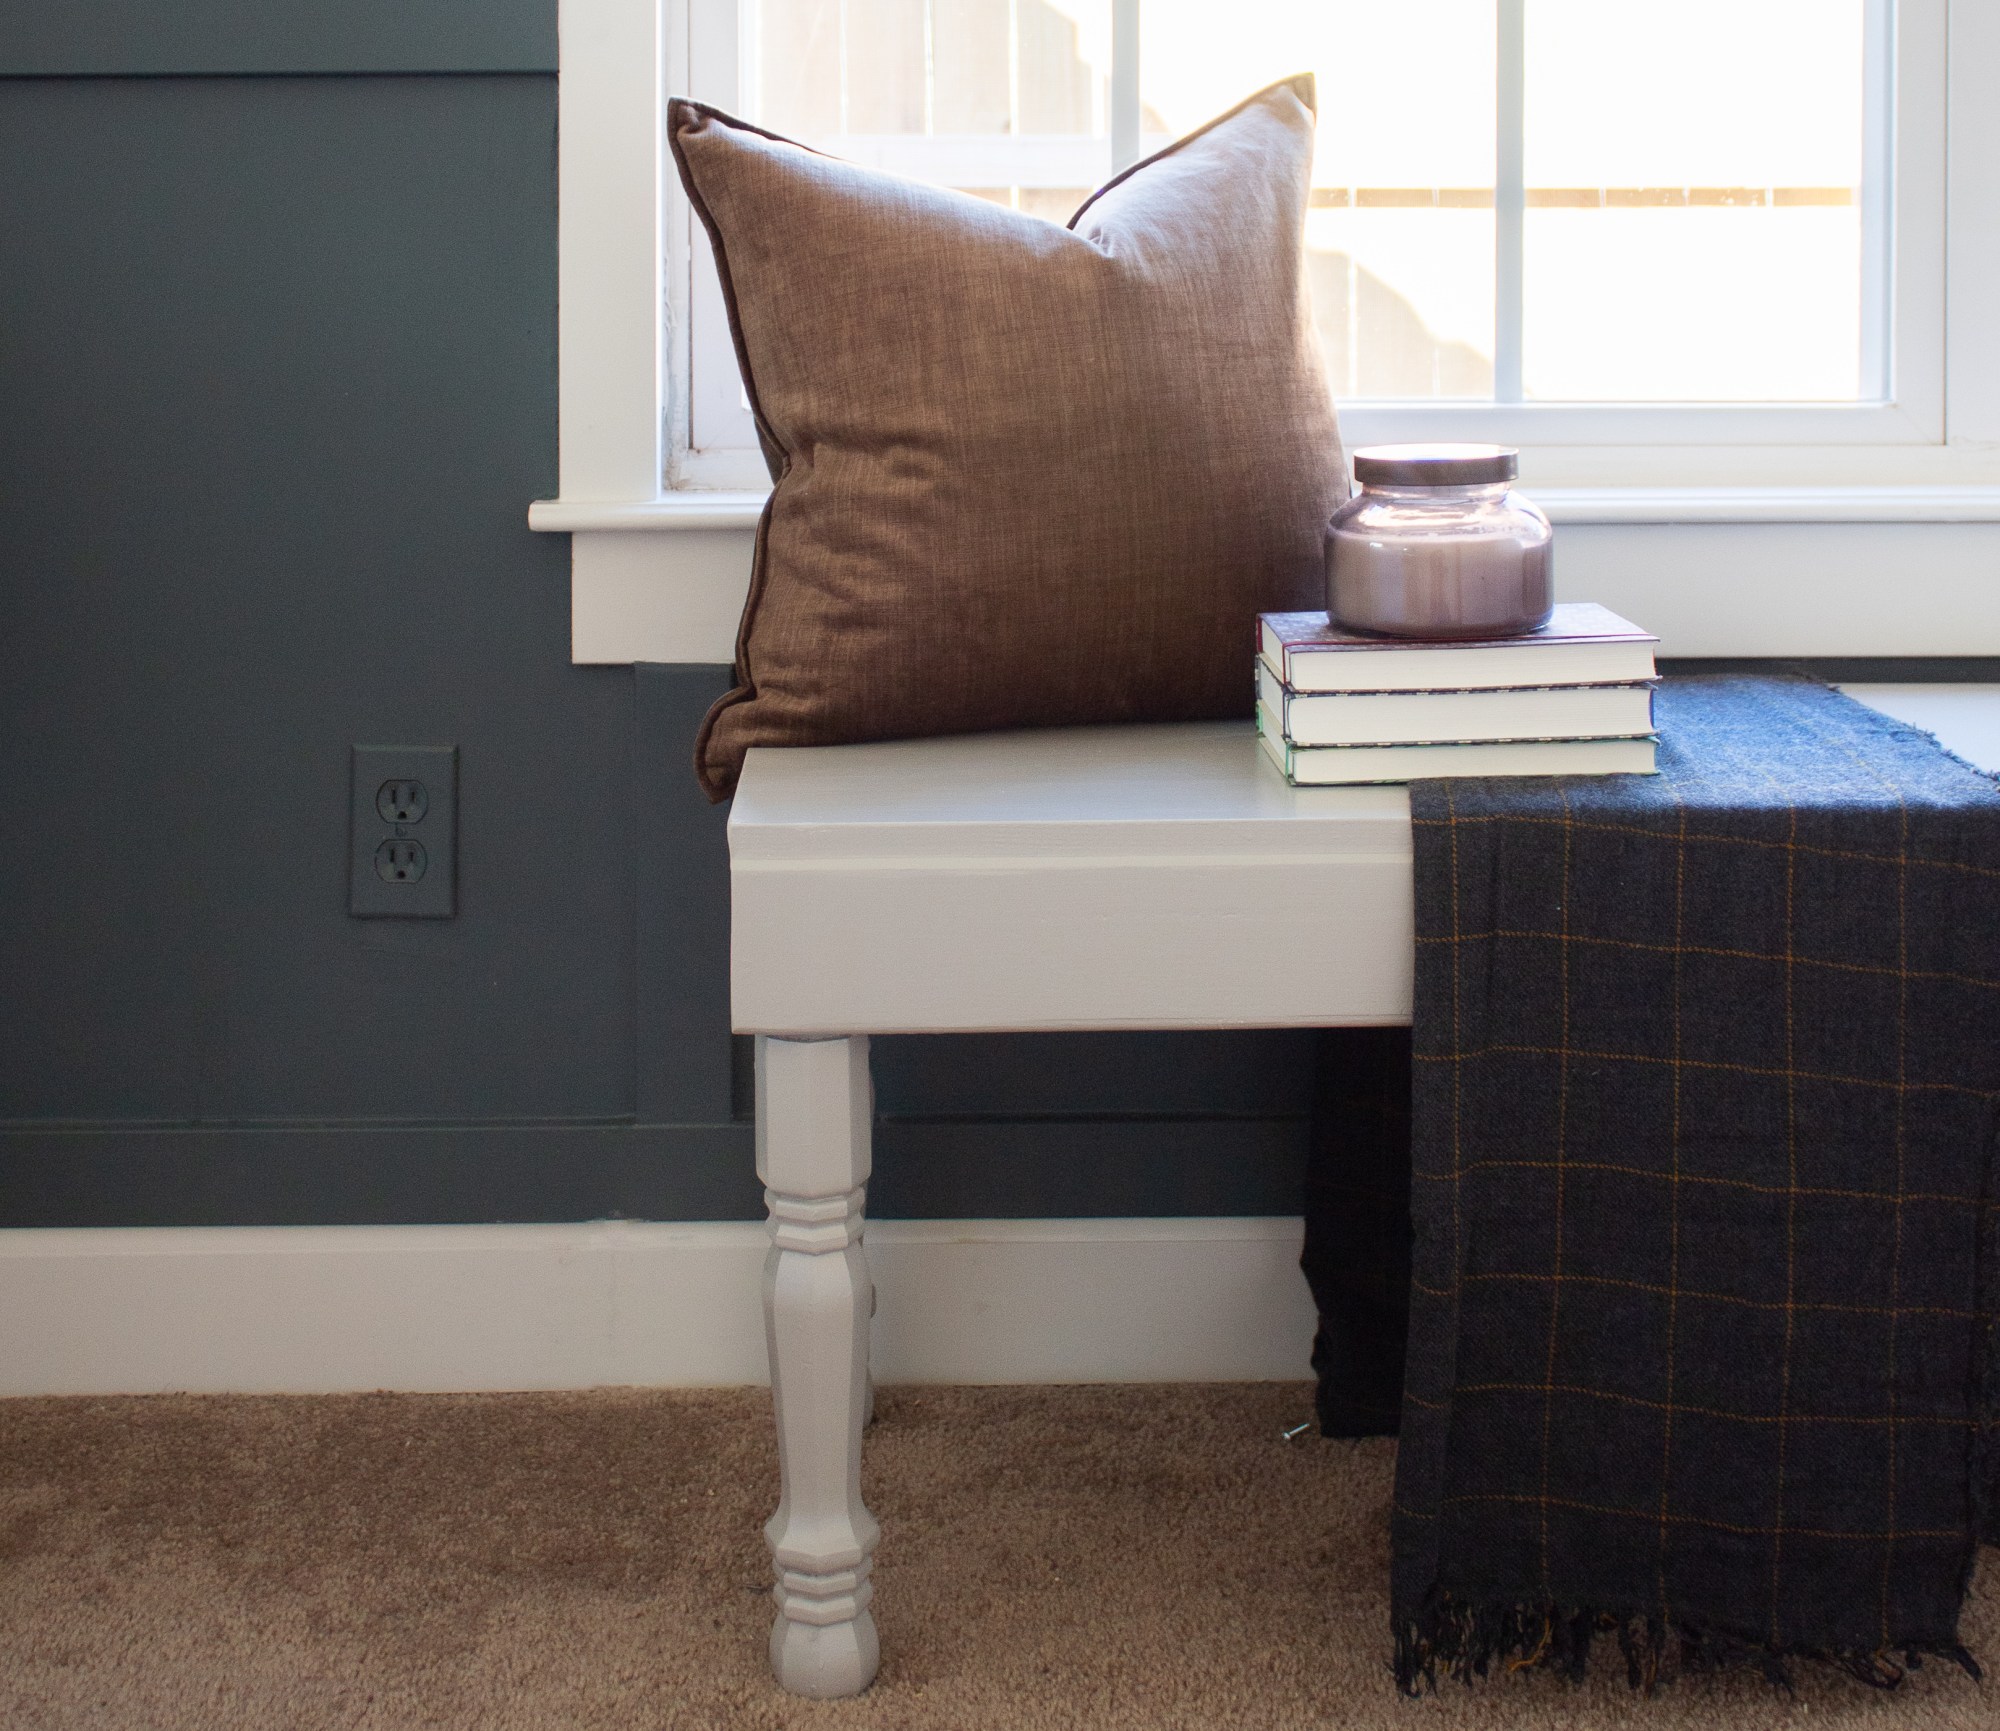
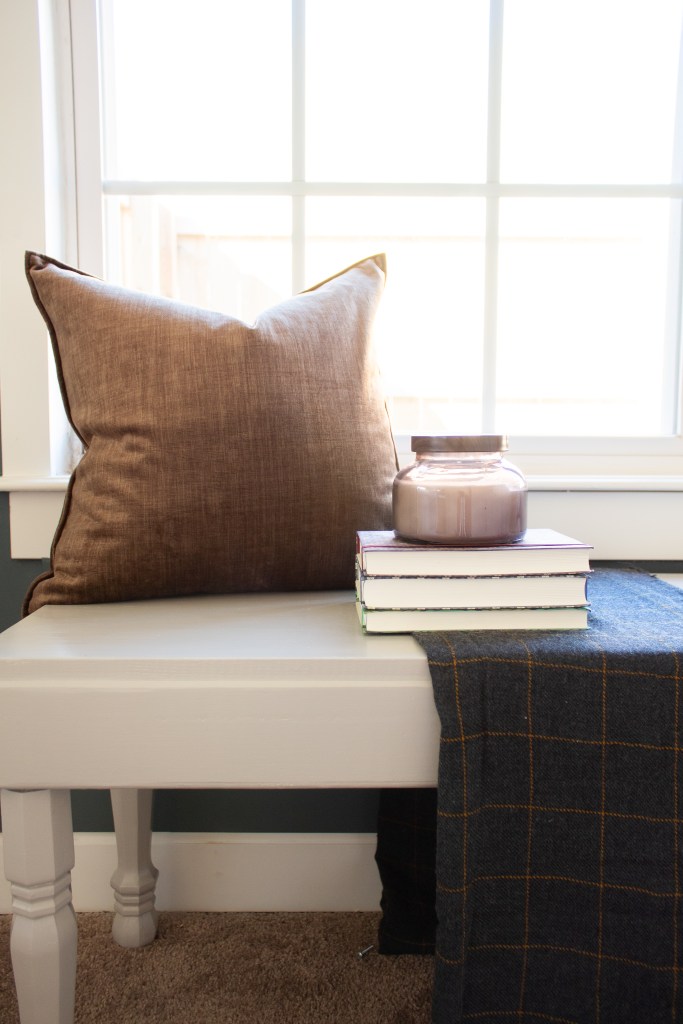
I decided to build a free standing bench that was so easy, it took me about an hour to build. Painting it was another story. It’s not that painting it was hard, just that I couldn’t decide on the color! I originally painted it white, but it felt a little flat to me. Then I thought black would be pretty, but it made it look like a piano bench which wasn’t exactly what I was wanting. Then, I remembered that I had considered (and LOVED) for the board and batten, Benjamin Moore Thunder. I ended up not picking it because it matched my headboard fabric perfectly and I wanted more contrast. I painted the bench this beautifully warm gray and it gave it the exact feel I wanted.

TUTORIAL
Materials required:
- 3 2x4s
- Laminated project panel or 3/4 inch plywood
- 14 inch furniture legs (I used these, but you could use any)
- Hardware to attach legs
- 1-1/4″ and 2-1/2″ pocket hole screws
- 2 inch nails and nail gun or hammer
- Mini Kreg Jig
- Drill
- Screwdriver
- Woodfiller
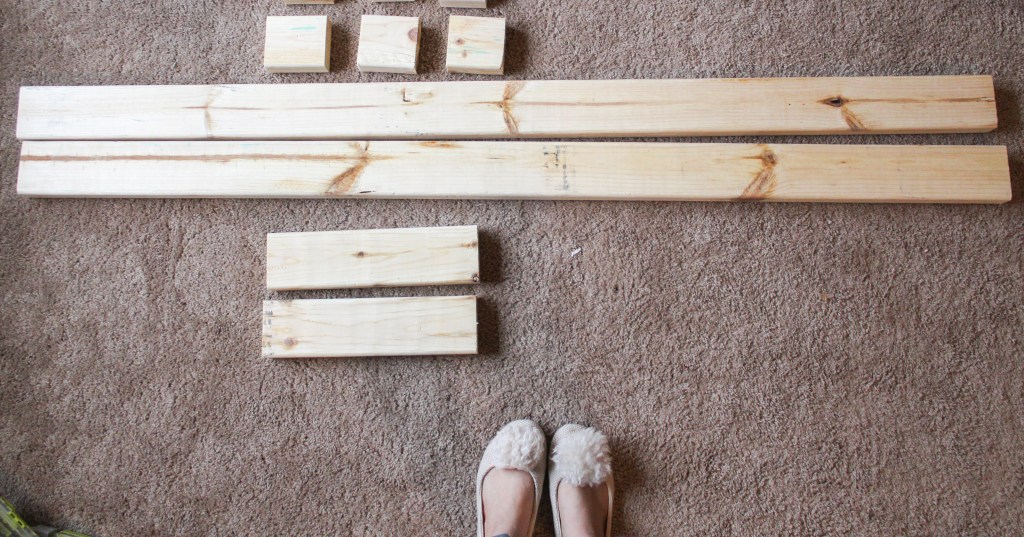
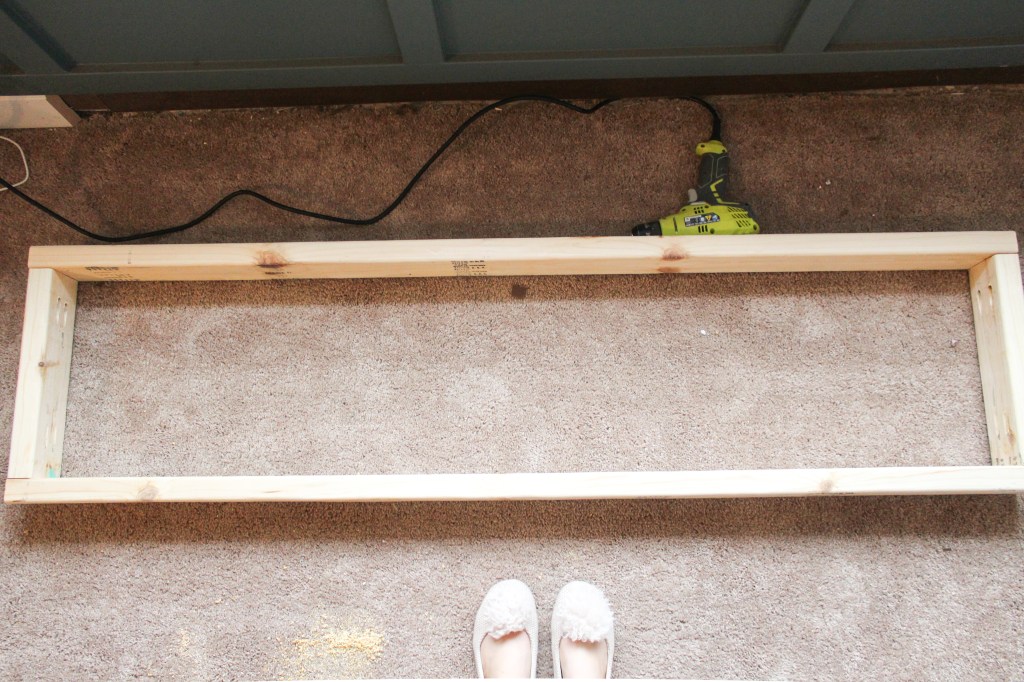
The first thing you need to do is cut your wood. You can do this at home or have a home improvement store do it for you if you don’t have a saw. You need two 2x4s cut to the length of your bench. In my room, I wanted my bench to be 62″ long, but you could make yours longer or shorter. You will also need to cut your other 2×4 into four 13″ pieces as well as 4 scrap pieces.
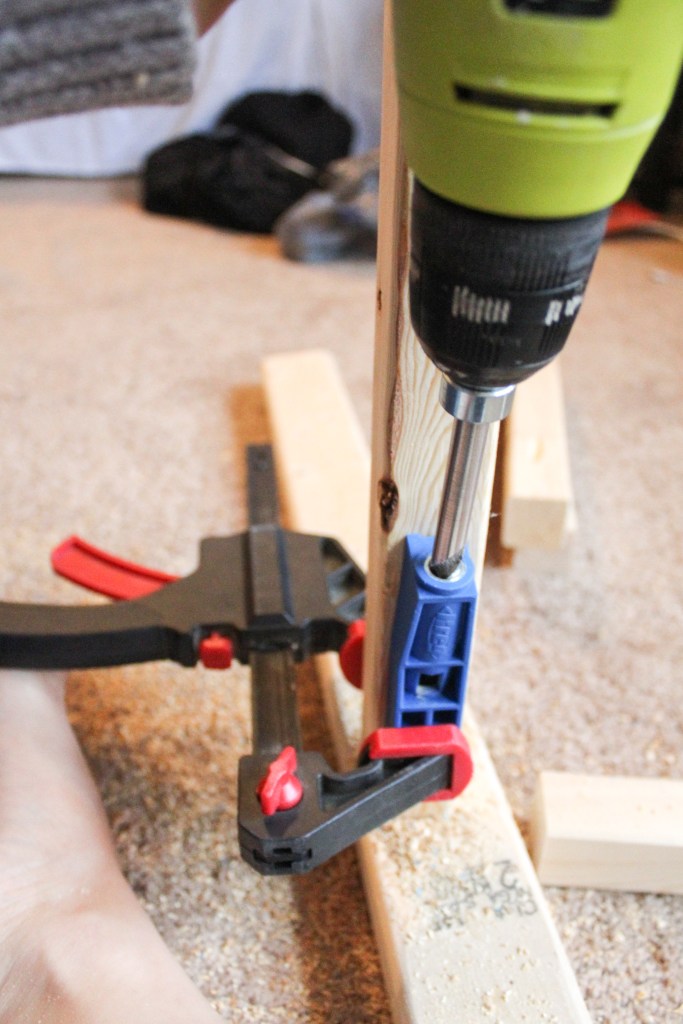
Next, you need to drill your pocket holes. These will allow you to attach your pieces together without having any exposed screws on the outside. You will need this handy little Kreg Mini Jig tool. There is a bigger, more expensive version that does all the math for you, but I’ve found this works for me just fine.

The instructions for the tool will have the different distances that you need to set the jig at. For example, if the board you’re screwing into is a 3/4″ board, then you set the jig flush with the edge. If it’s a 1-1/2″ board (which is the actual thickness of a 2×4), then you need to set it 1-1/4″ from the edge of the board. It also comes with a special drill bit that you adjust for different thicknesses according to the instructions.
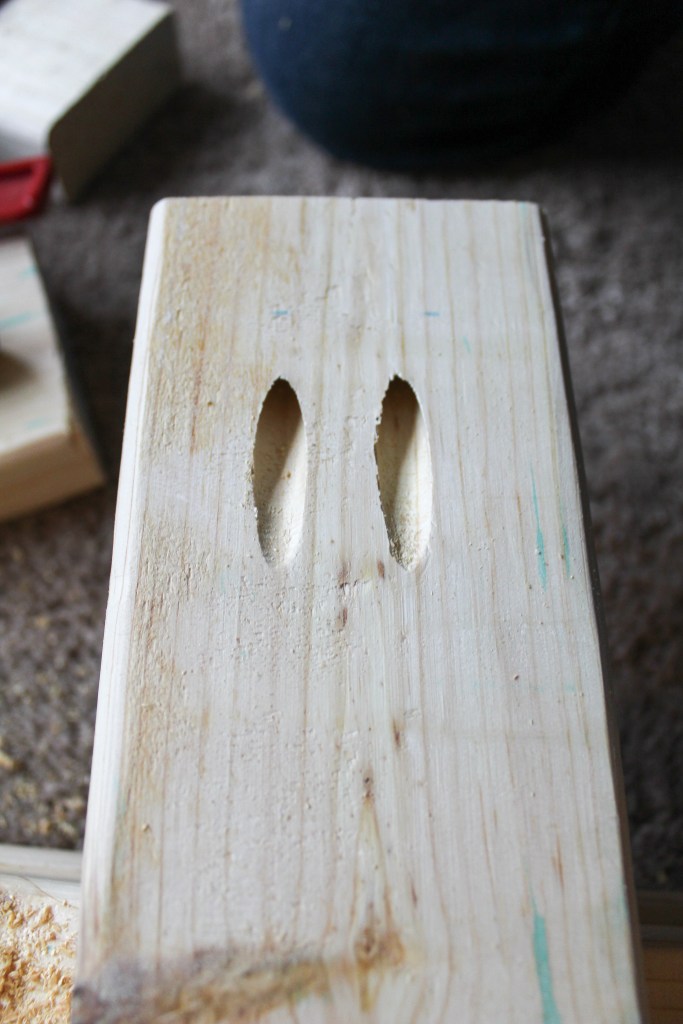
To attach your cut 2x4s together, drill 2 pocket holes (using the settings that correspond with a 1-1/2″ thickness) on each short edge your 13″ pieces.
Once your holes are drilled, line up 2 of your shorter pieces with your longer piece and use 2-1/2″ pocket hole screws to attach them, creating a box. Save the other 13″ pieces for later.
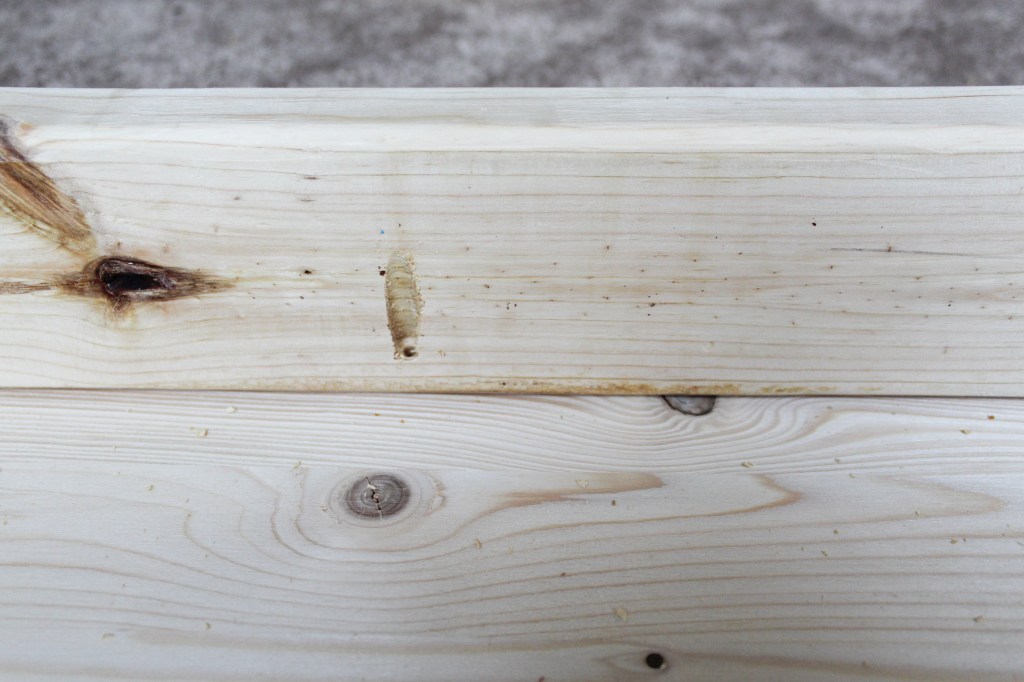
Now you’re going to attach the top. I used a Craft Master Laminated Project Panel that was 16″ wide, but you could also use 3/4″ plywood. I cut the panel down to 62″ long. I wanted to use pocket holes again to attach it, but I needed to adjust the setting of the drill bit and the placement of the jig to match a 3/4″ thickness, since that’s what the top is.
Drill 4 pocket holes on each long side of your box and 2 on each short side. If your bench is shorter, you could get away with fewer screws. Set your bench top on the ground with your box on top of it, then screw the pieces together using 1-1/4″ pocket hole screws.
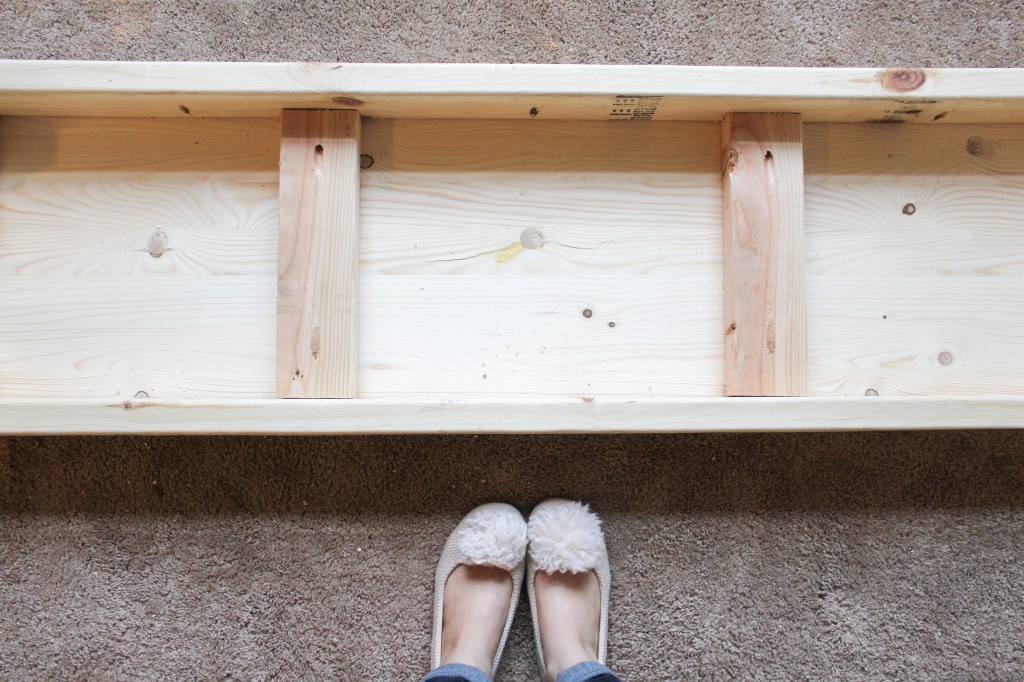
Space out the other 13″ pieces and lay them as support in the middle of the underside of your box (where they will be hidden) and attach them to the existing 2x4s using 2-1/2″ pocket hole screws. I only used 1 screw on each edge, but if I did it again I would use two.
Now, you just need to attach the legs! Use your small cuts of scrap wood from the 2x4s to beef up the corners a little bit so that they would be able to hold the leg hardware. Their length doesn’t matter, as long as it will support the hardware. I used my nail gun to nail these in, but you could use a hammer and nails instead.
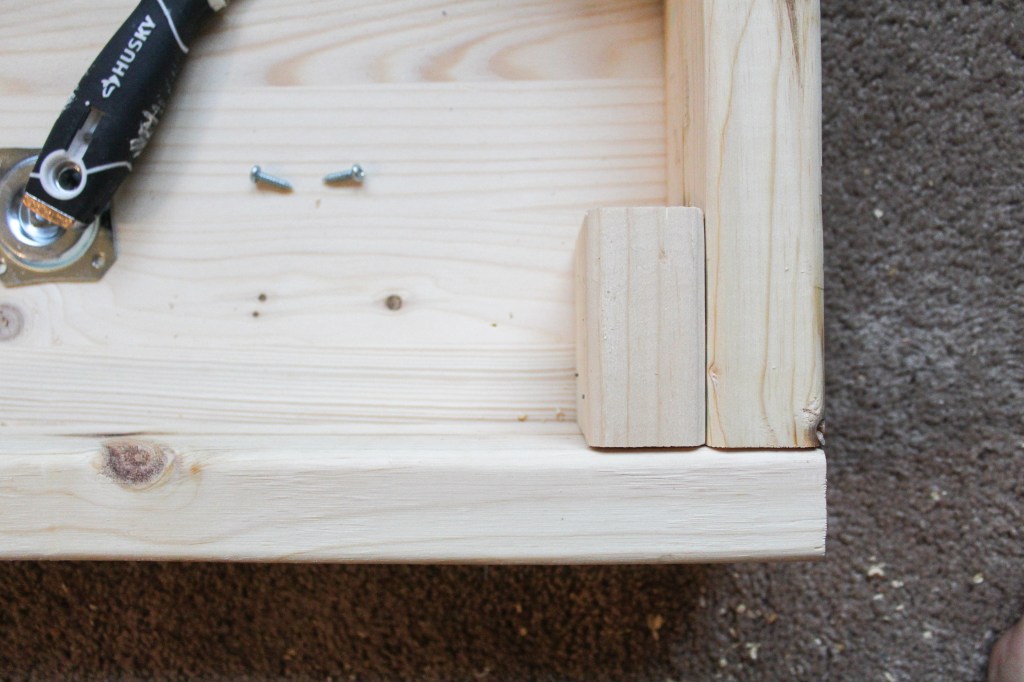
Attach the hardware that matches your legs by setting the plate where you want it and then screwing it in. I originally set mine a little too far in, so I repositioned them to be closer to the edges.

Once the hardware is attached, all you need to do is screw the legs into the plate. This hardware is the best because it makes it so easy.

Next, fill any uneven spots (including any seams) with wood filler. Wait for it to dry and then sand it smooth.
I used Zinsser’s 1-2-3 primer to prime and then Benjamin Moore Advance paint (color: Thunder, finish: semi-gloss). You could add a few layers of polyurethane on top for durability if your bench is going to be used a lot, but one of the things that I love about Benjamin Moore’s Advance paint is how durable it is, even without a top coat.

That’s it! A super easy and simple bench that you could use anywhere.
With love,
Mercedes ♥
