
Brewster Home Fashions supplied the wallpaper for this project. As always, all opinions are my own.
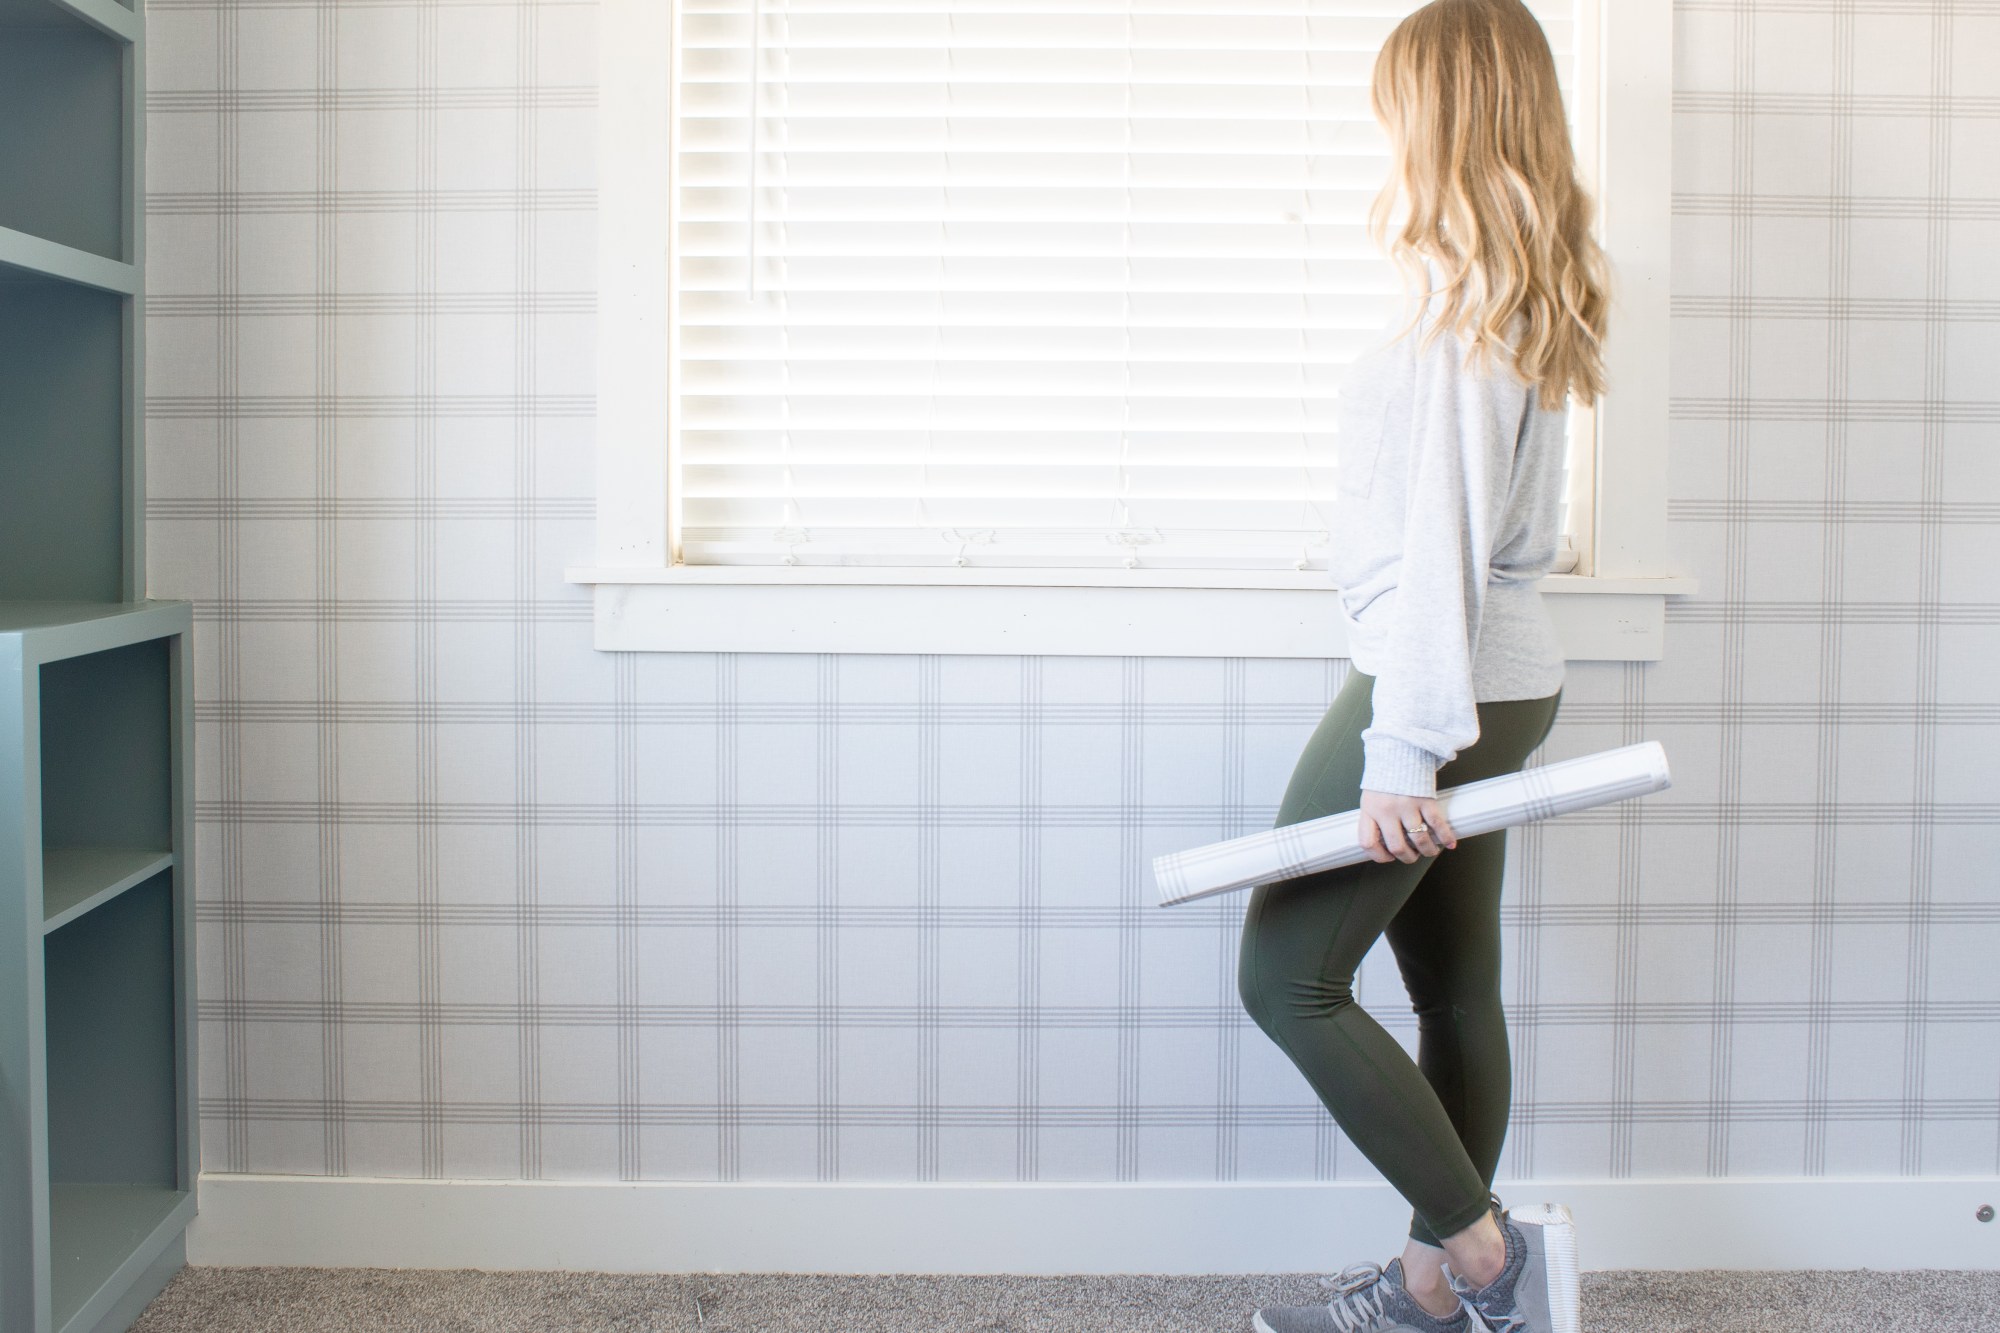
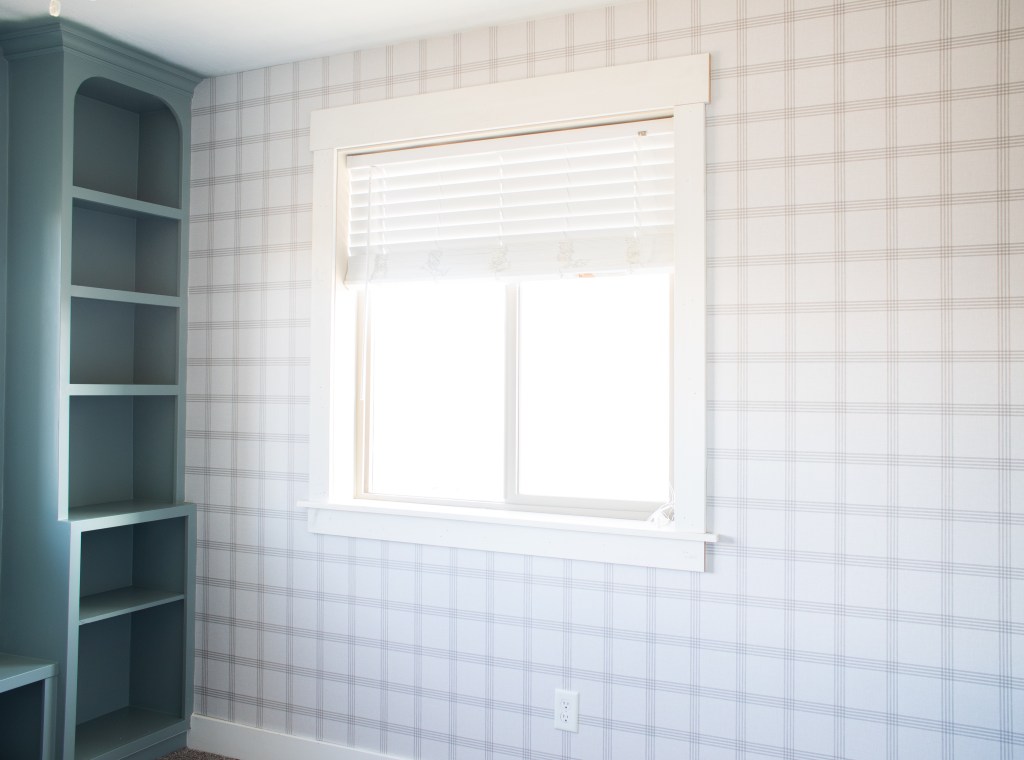
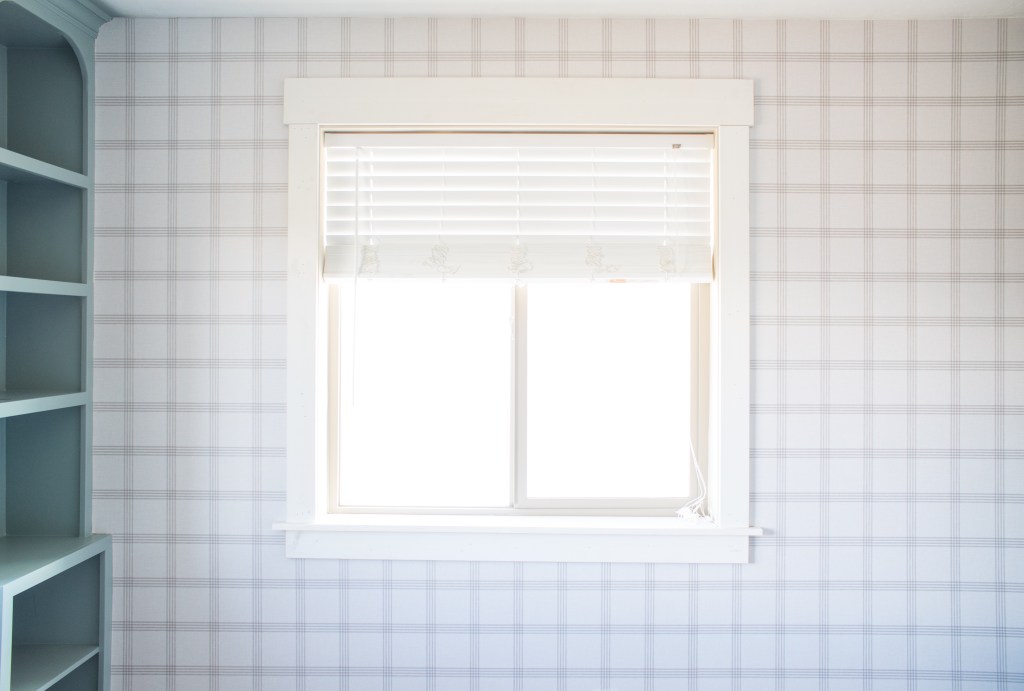
When I created the mood board for Elliott’s room, it was anchored on two elements – blue paint (by his request) and modern plaid wallpaper. Well, the wallpaper is installed and exactly what I was hoping for! Doesn’t it just scream preppy toddler to you?
Want to see what projects I’m working on now? Follow me on Instagram!
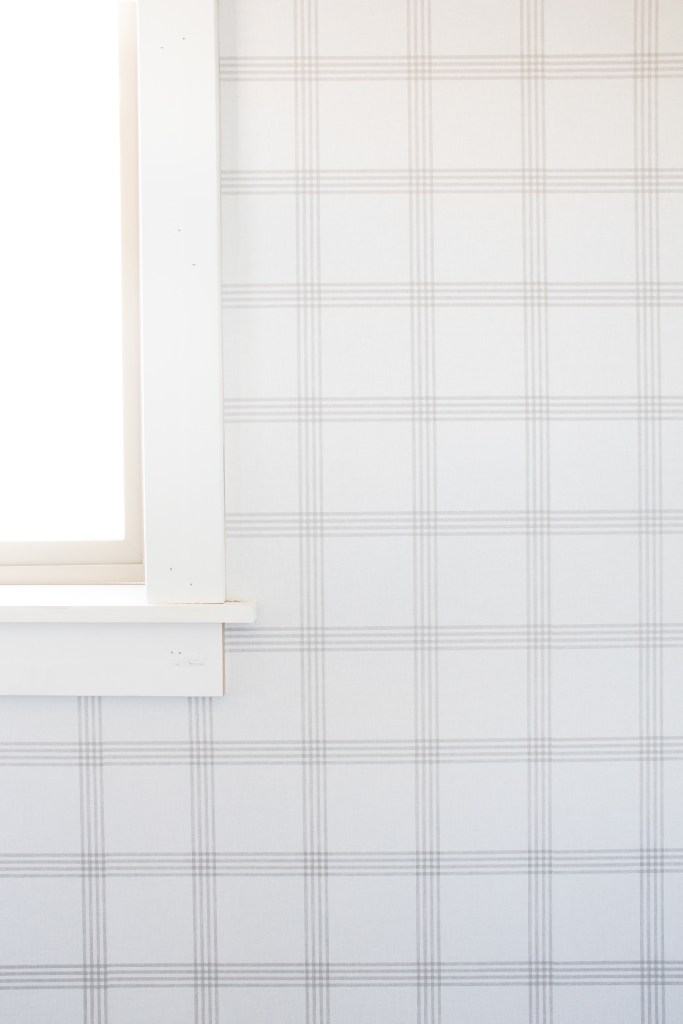
After searching for the perfect, clean plaid pattern, I found this paper at Brewster Home Fashions and I fell in love with it! It is clean and modern while still being fun and adding the perfect amount of pattern. I have installed wallpaper in a water closet and in Theia’s nursery with pre-pasted paper. This one, though, is traditional, unpasted paper so I needed to learn a new skill. I was nervous that it would be difficult, but I am happy to report that I actually found it easier than pre-pasted paper.
MATERIALS
Disclosure: Some of the links provided are affiliate links, which simply means I may earn a small commission (at no additional cost to you) if you shop through one of my links.
- Brewster Home Fashions wallpaper
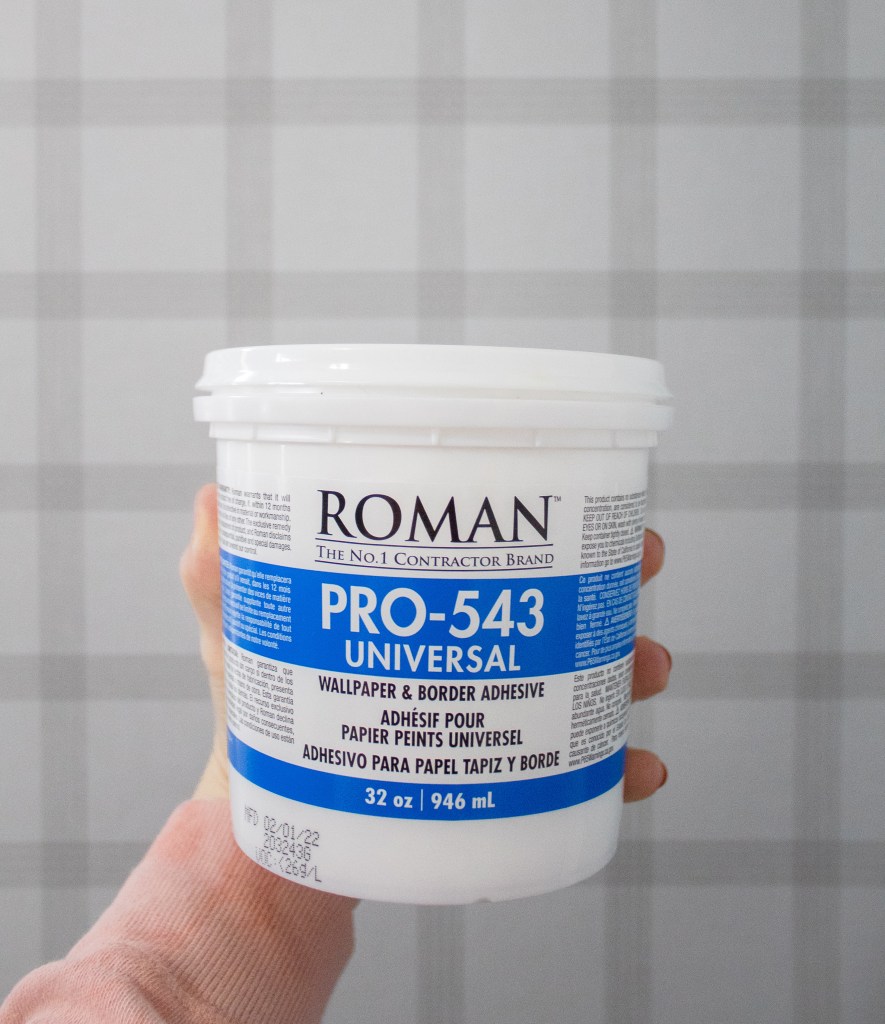
- Wallpaper paste
- Roller and roller cover
- Paint tray
- Foam brush
- Wallpaper smoothing tool
- Seam roller
- Drywall taping knife
- Utility knife (with a fresh blade)
- Scissors
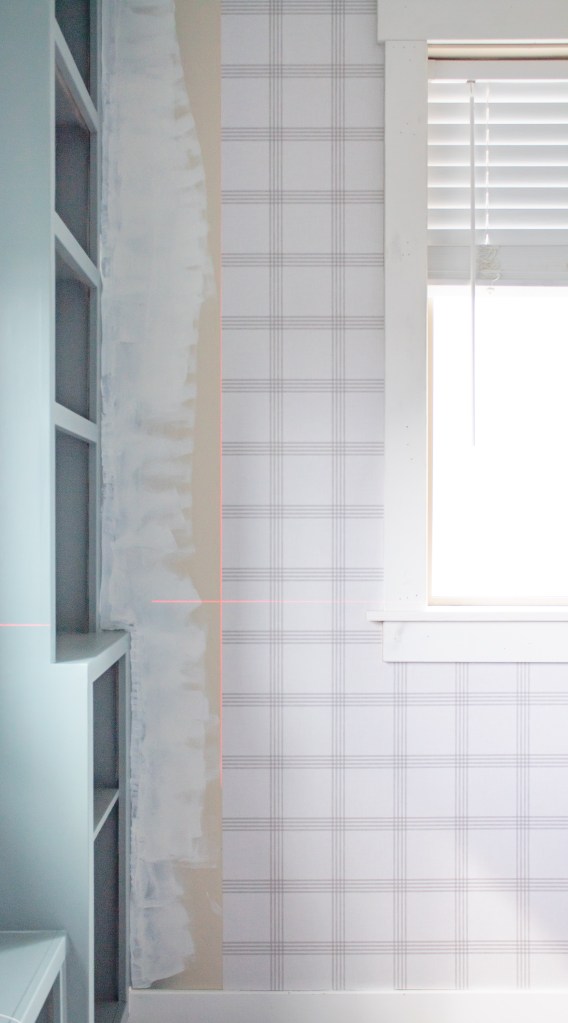
- Laser level
- Wet wipes for clean up
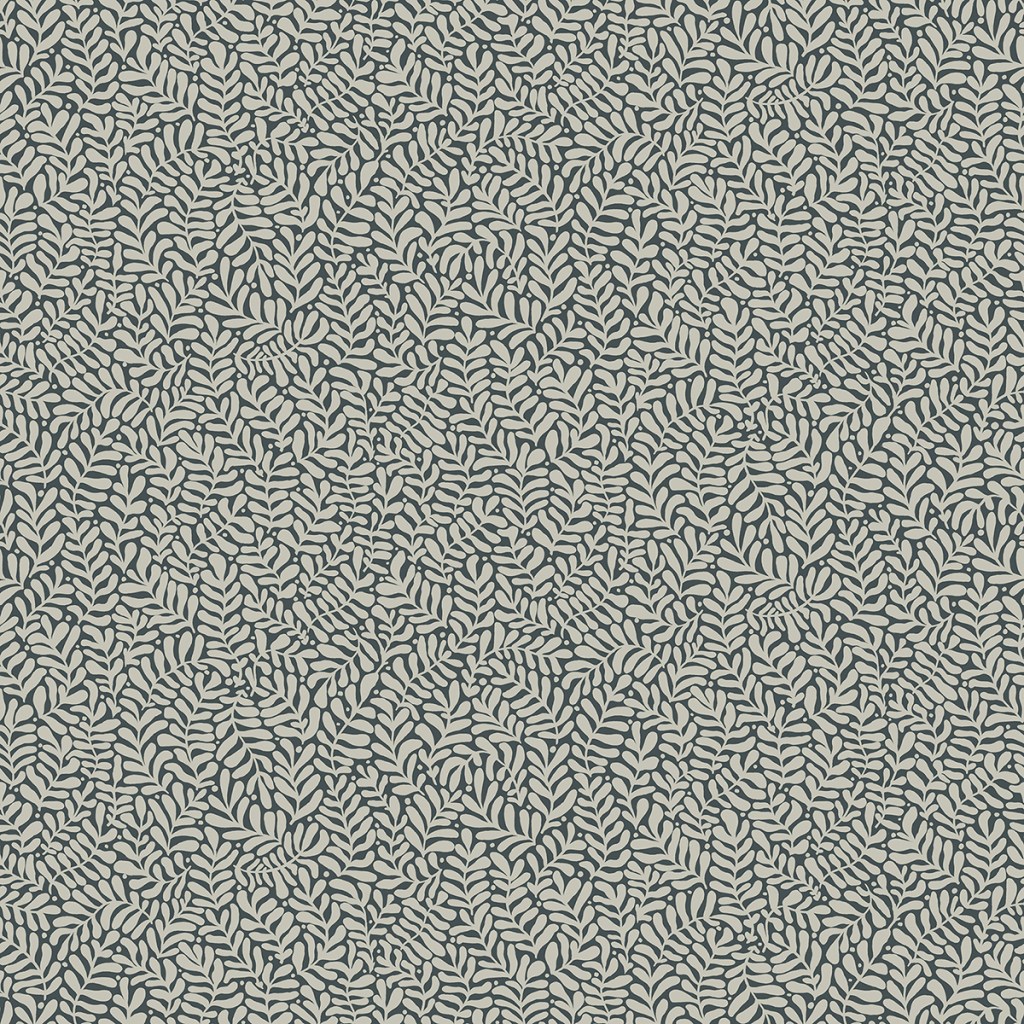
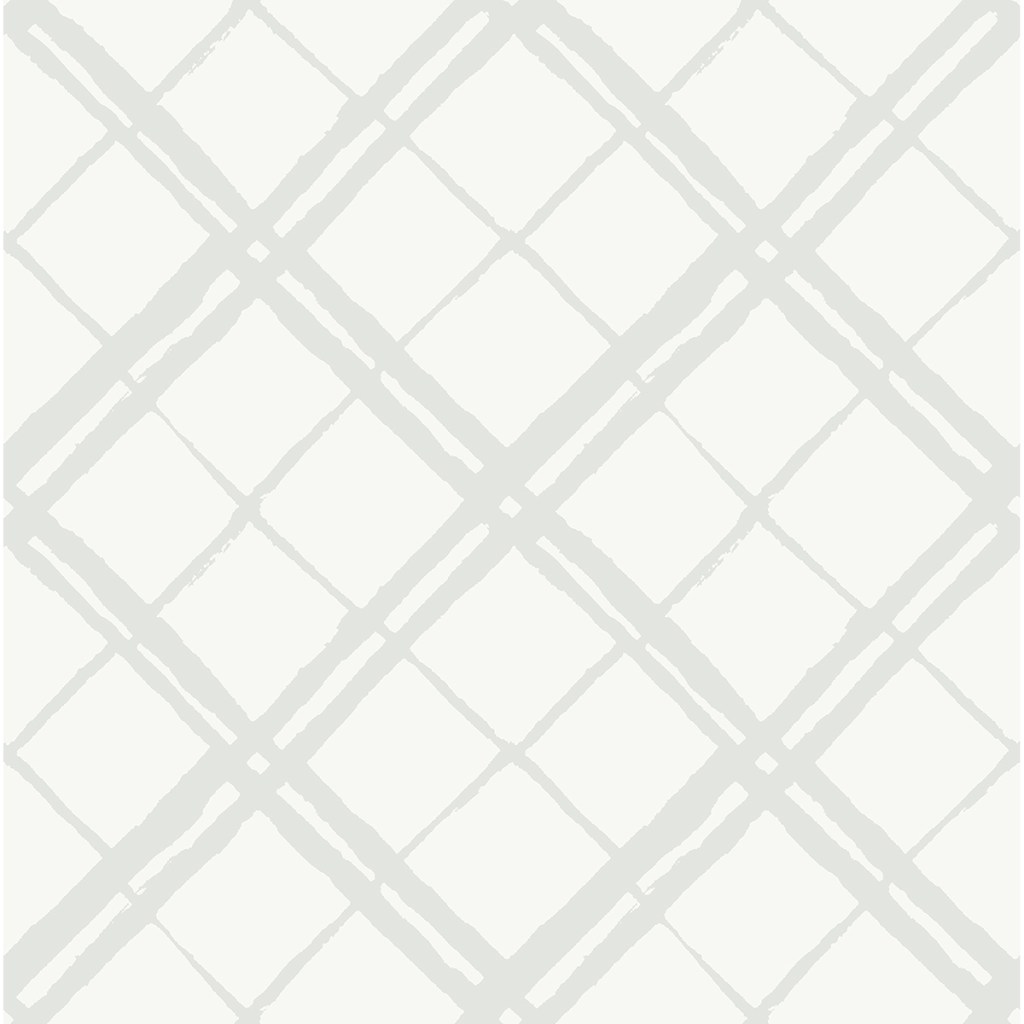
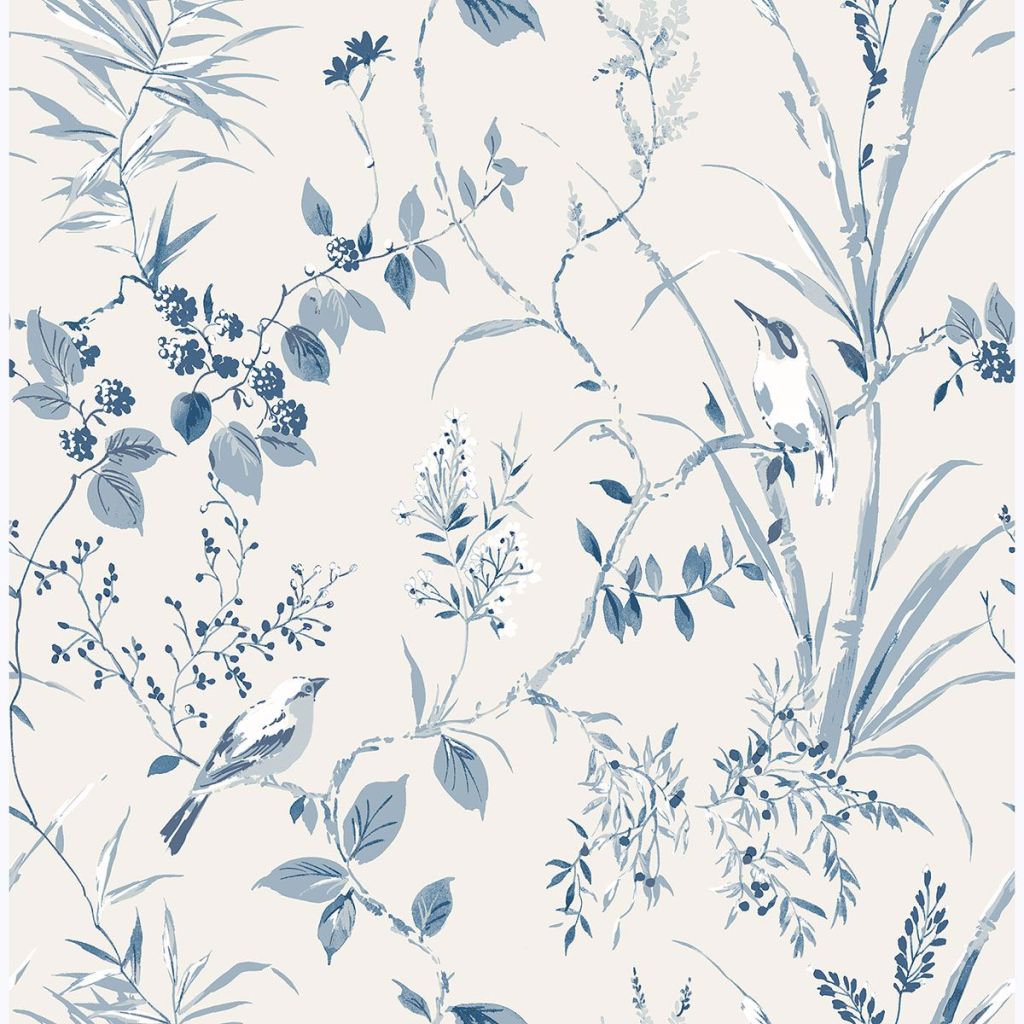
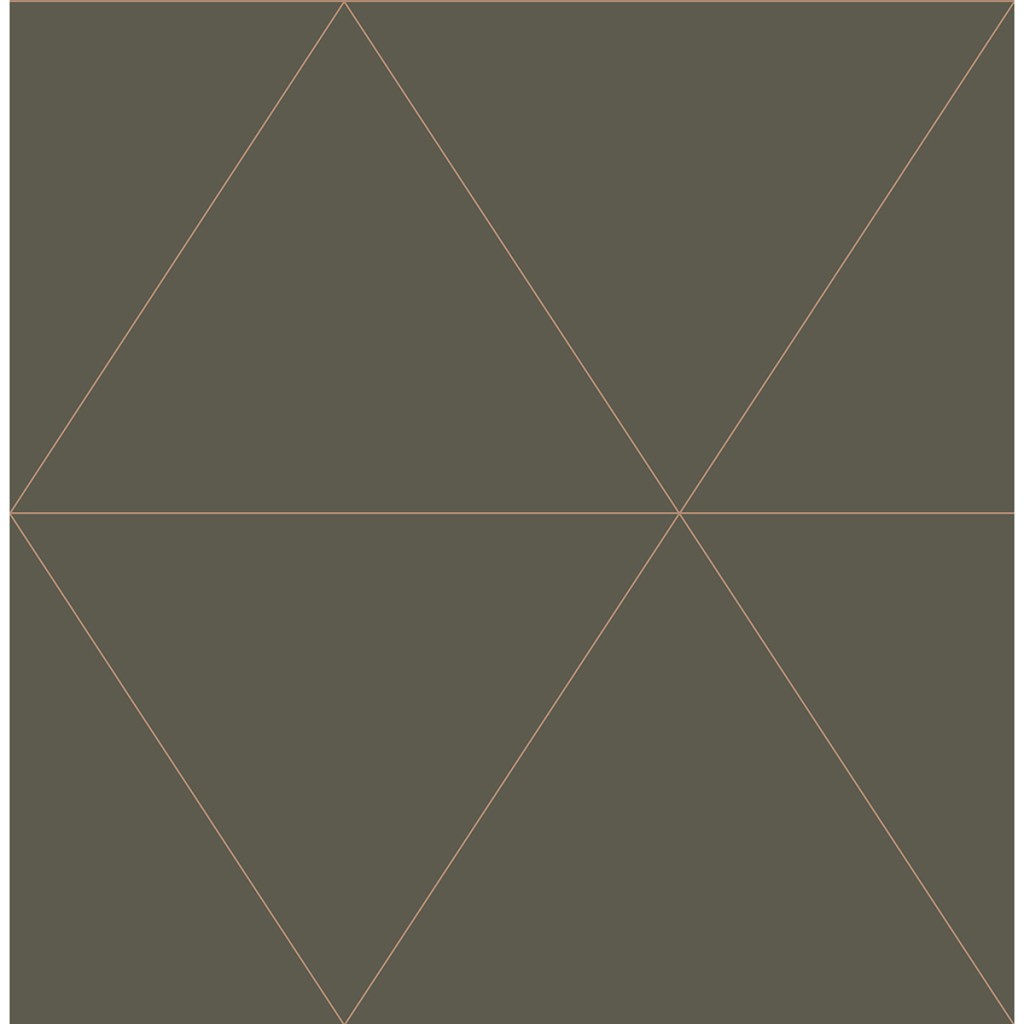
Here are some of my favorite wallpaper prints from Brewster Home Fashions! In order : Zorya Silver Embellished Stripe, Anna Dark Blue Fern Trail, Gray Espalier Geometric, Mariko Blue Botanical, Twilight Gray Geometric, Twain Wheat Plaid, Soleil Silver Petite Floral, Dwell Navy Brushtrokes.


TUTORIAL
For the best results, you need to start with a clean and sound surface. Repair any holes and wipe down the walls to clean up any dust. Follow any other manufacturer instructions for prepping your walls.
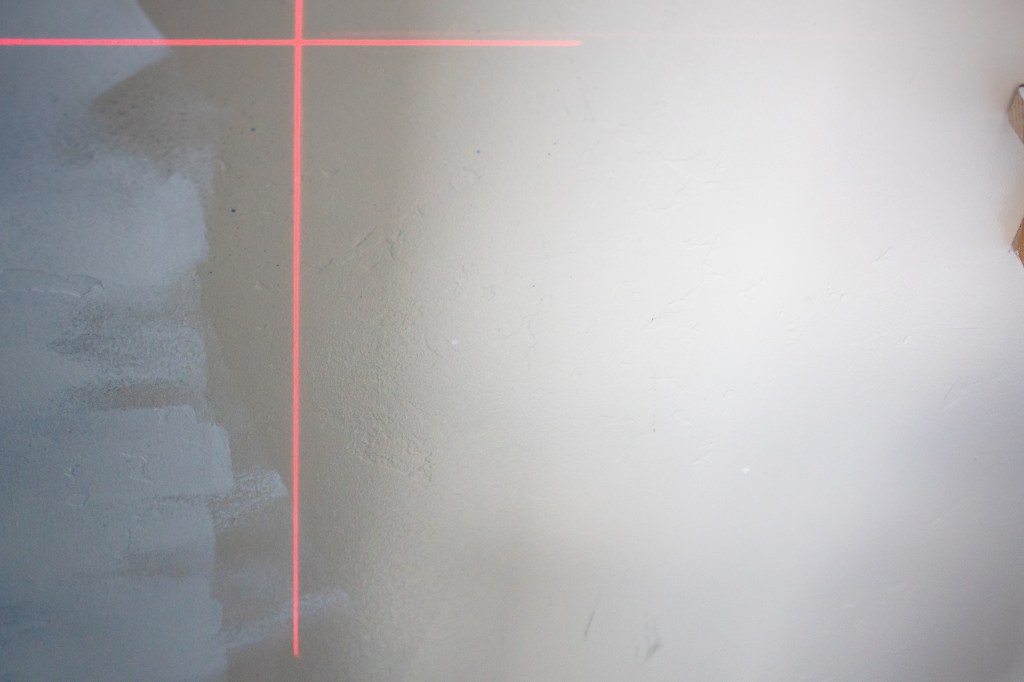
Now you need to decide where you begin. Unfortunately, walls are almost never plumb (straight), so you’ll want to line up your first panel to a level line and not the wall. Since my pattern is very geometric, I wanted to center it on the window so I laid out the rolls and figured out where I should start based on that and then backfilled the last panel. If you don’t have a geometric pattern, you can simply start so that a few inches overlap the corner of the adjacent wall and cut off the excess. I highly recommend using a laser level here to line up your first panel! But you can also use a regular level and draw a straight line on your wall.

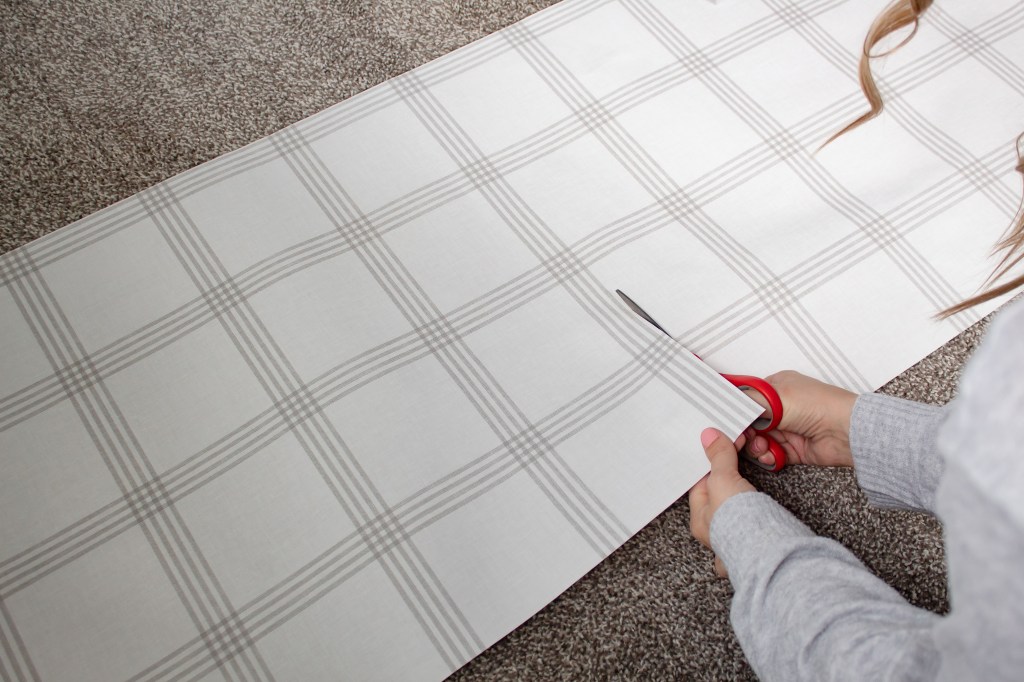
With your placement determined, cut your first panel. Hold your paper up to the height of the ceiling and then pull it up a few extra inches. Lay the paper on the floor without letting the roll pull it back in. Unroll the bottom an extra inch or two and then cut in a straight line. There’s your first panel! You need the extra few inches on either end to allow for fluctuations in the level-ness of the ceiling and baseboard. You’ll cut off the extra soon.
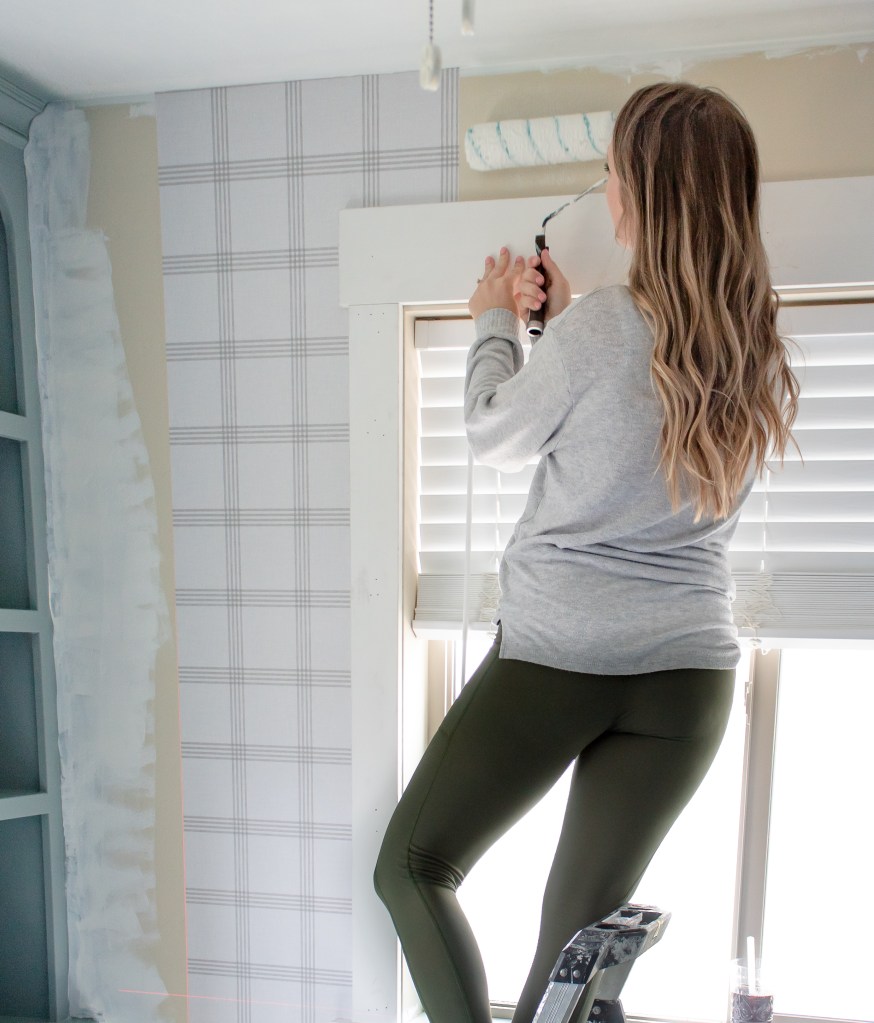
Here comes the messy part: time for the paste! Dump the paste into the paint tray and use the roller to paint it onto the wall. You want a little bit more than just a light coat, but too much and you’ll end up with a bunch squeezing out the sides that you’ll have to wipe up. Only apply paste to the section that you’ll be working on because it dries out kind of quickly. You can use a foam brush or if you’re a rebel like me, you can finger paint… to get into any edges and tight corners.

Tip: For full length panels, I found it convenient to apply paste to the top half of the wall first and then add it to the bottom half after I got the top positioned so that the bottom wasn’t sticking to the wall in places I didn’t want it to.
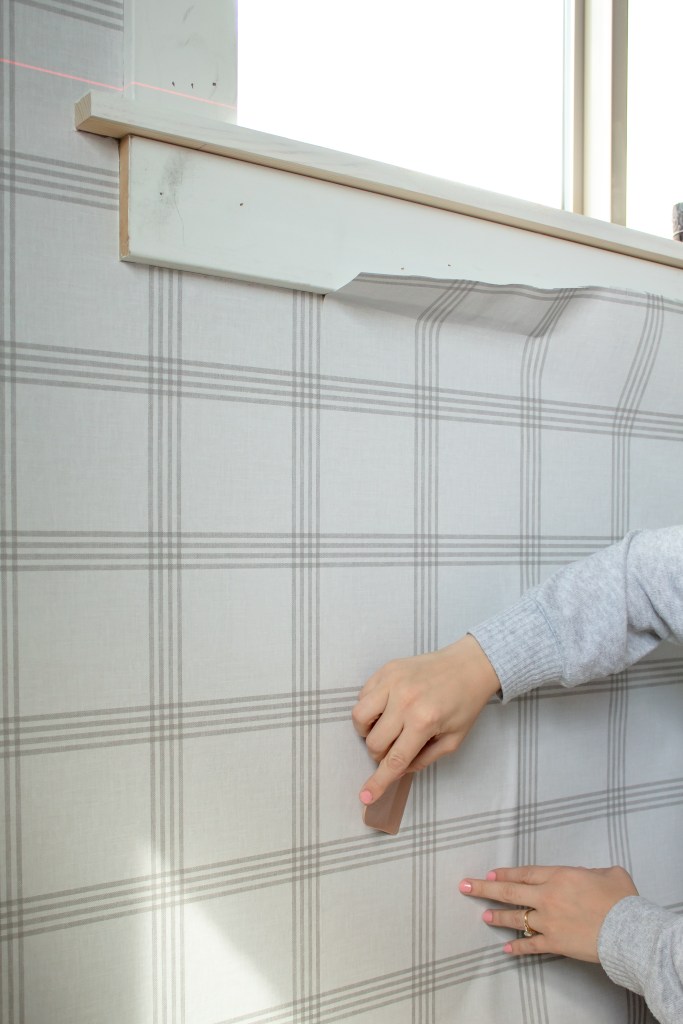
Position your first panel against your laser level (or level line) and get the entire left edge lined up, then smooth the rest of the panel down. Start in the middle and work your way up and down, alternating so that you slowly smooth the entire panel. Move with a slight sweeping motion (right and slightly up, then right and slightly down). Run your hand over your panel to make sure there are no bubbles. I thought pre-pasted wallpaper was relatively easy to smooth out compared to what I’ve heard of peel and stick, but this unpasted paper was even easier than pre-pasted!

Tip: If at any point it seems super wonky, you can peel it off – the whole thing or just a section – and restart the smoothing process. And if you come across a section that isn’t sticking super well, just add a little more paste.

To cut off the excess, run the drywall taping knife along the corner to provide a straight edge for the utility knife to run along. Then use the utility knife to cut right against the drywall knife. When you get to the end of the drywall knife, leave the utility knife down and slide the drywall knife over then continue the cut until you reach the end of the panel. Make sure you have a fresh blade on your utility knife or you run the risk of tearing the paper instead of slicing it.

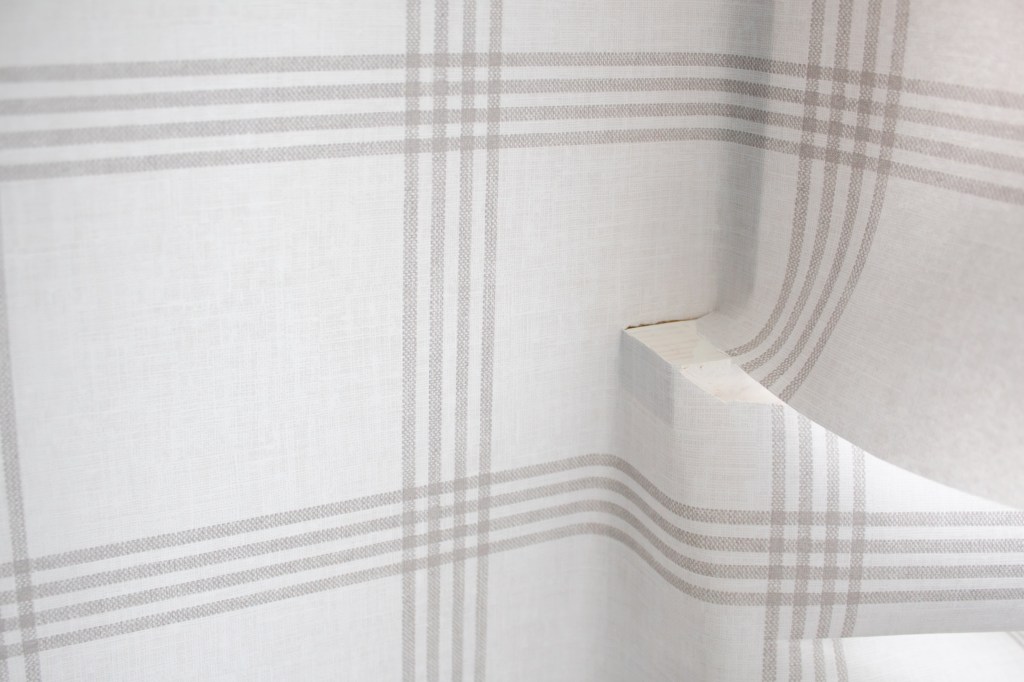
Now that you’ve gotten the hang of it, repeat with the rest of the wall! Take time to line your seams up well, matching the pattern, then roll a seam roller over them to make them disappear. Being a little extra detail oriented here will pay off, I promise you!

Use a combination of your scissors and utility knife to cut slits in your paper when you come across windows or other trim work you need to work around. Trim the excess off the sides just as you do along the ceiling and baseboard, with the utility knife and drywall taping knife.
So there you go – now go install some in your house! I promise it is so much easier than you’d expect. And as always, please feel free to leave any questions you may have below.
Don’t forget to subscribe to the blog and follow me on Instagram so you don’t miss the reveal of this awesome room!
With love,
Mercedes ♥

2 thoughts on “Elliott’s Wallpaper is Up and I’m in Love”