

Disclosure: Some of the links provided are affiliate links, which simply means I may earn a small commission (at no additional cost to you) if you shop through one of my links.

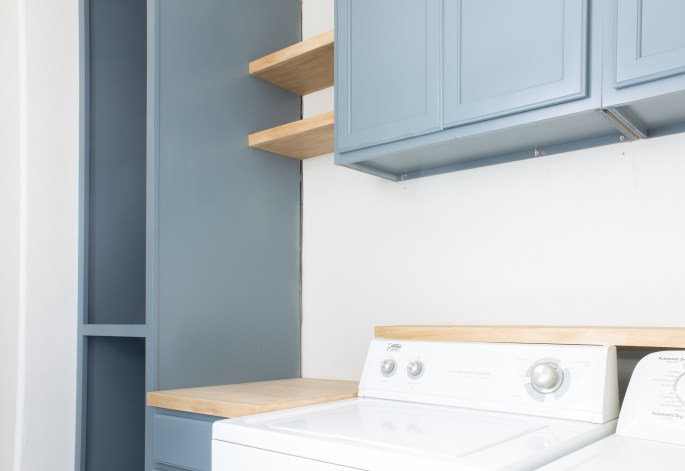
If you (1) have a top loader and (2) are looking at your laundry room feeling… meh… about it, stop what you are doing and build this ledge! It is really straightforward and quick to build, so it’s pretty instant gratification. You can also check out some other easy DIYs in this room by visiting this post.
Want to see what projects I’m working on now? Follow me on Instagram!

MATERIALS
- 1x2s (# will vary based on your space)
- 1/2″ or 3/4″ plywood
- Kreg pocket hole jig
- Pocket hole screws
- Clamp
- Wood glue
- 3″ screws
- Level
- Select pine 1×2
- Wood stain
- General Finishes polyurethane
- Brad nailer
- Circular saw
- Miter saw
- Electric sander
- Drill
TUTORIAL
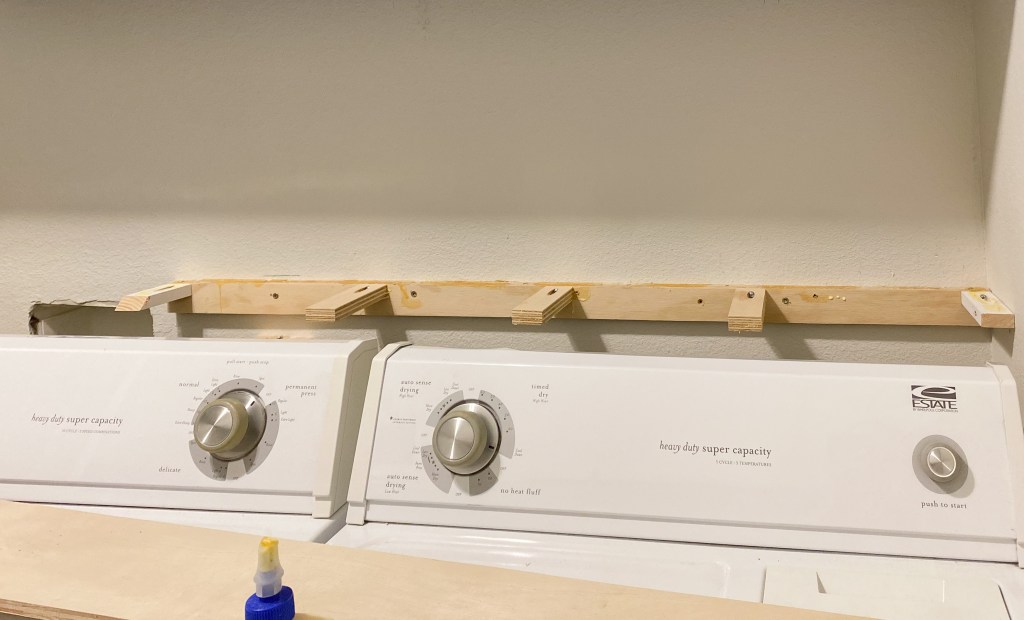
First, you’re going to build the bracket that the ledge will sit on. The bracket will be made of two different types of boards. Both 1x2s, but one will be the length of your shelf and run along the wall whereas the other ones will be the pieces that jut out from the wall. If you don’t have an open end, meaning that both ends of the wall will be capped off with a cabinet or wall, then you can install your back piece like I installed mine. If you do have an open end, then I recommend turning the back piece on its side so that the skinnier part is against the wall.
Measure how long your ledge needs to be and mark the studs in your wall. Using 3″ screws, screw the back piece into the studs, making sure that it is installed level. If your plumbing is set up like mine is, you can end your bracket a little early to avoid running anything over your water hookups. To figure out what height to install the back piece at, mark where you want the top of your ledge to sit, then subtract 1/2″ (or 3/4″ depending on the thickness of your plywood) and make a second mark below the first. The top of your back board should hit the second mark.
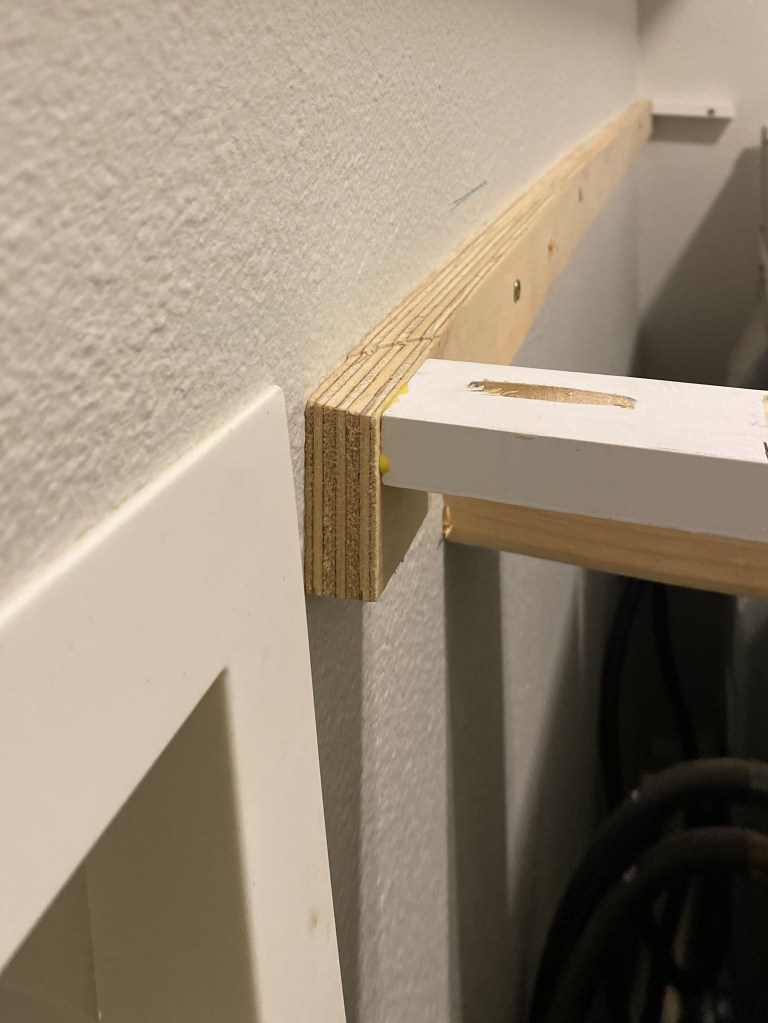
Once that is up, measure how long your support pieces need to be. To get this length, take the width you want the ledge to be, then subtract 0.75″ for the front 1×2 and 0.75″ or 1.5″ for the back piece, depending on how you oriented it. Cut enough of these to place one about every 6-8″ along the back bracket.
Drill one pocket hole into each of the support pieces. Clamp the support piece onto the back bracket after adding a little wood glue on the support piece edge, then screw the boards together with pocket screws.
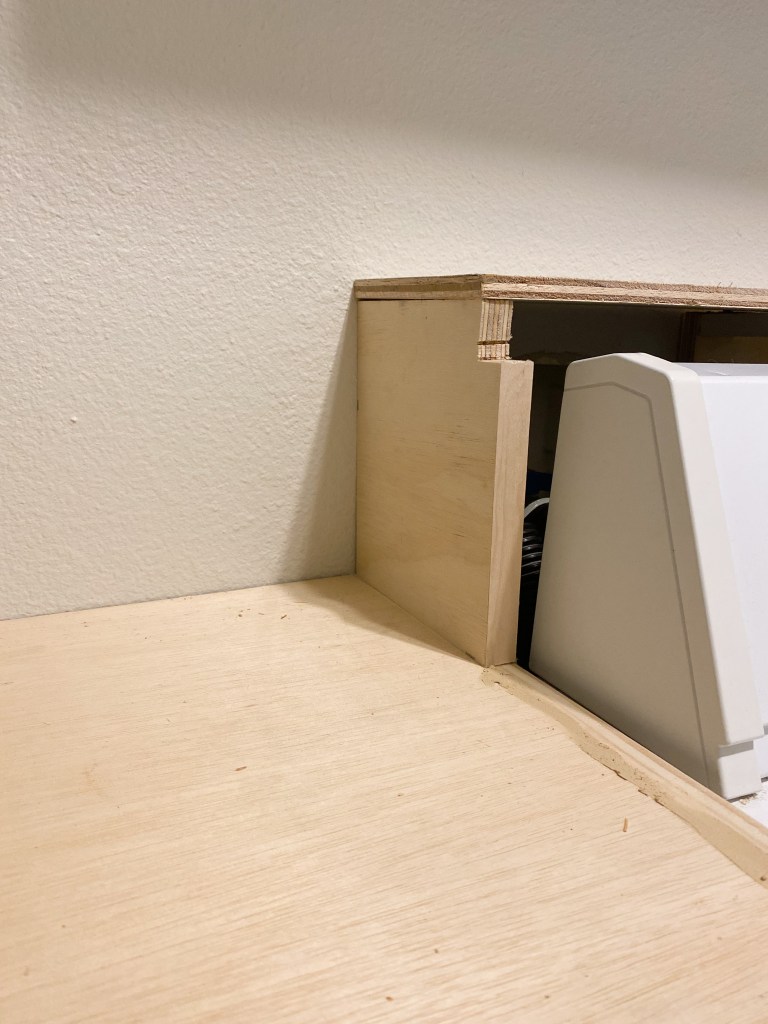
Cut your plywood to fit the bracket. Mine was about 6.5″ wide and 60″ long. Add wood glue to the top of your bracket and set your plywood on top. Using clamps (and heavy things if you’re like me and only have two clamps), keep the board tight to the bracket while the glue sets.

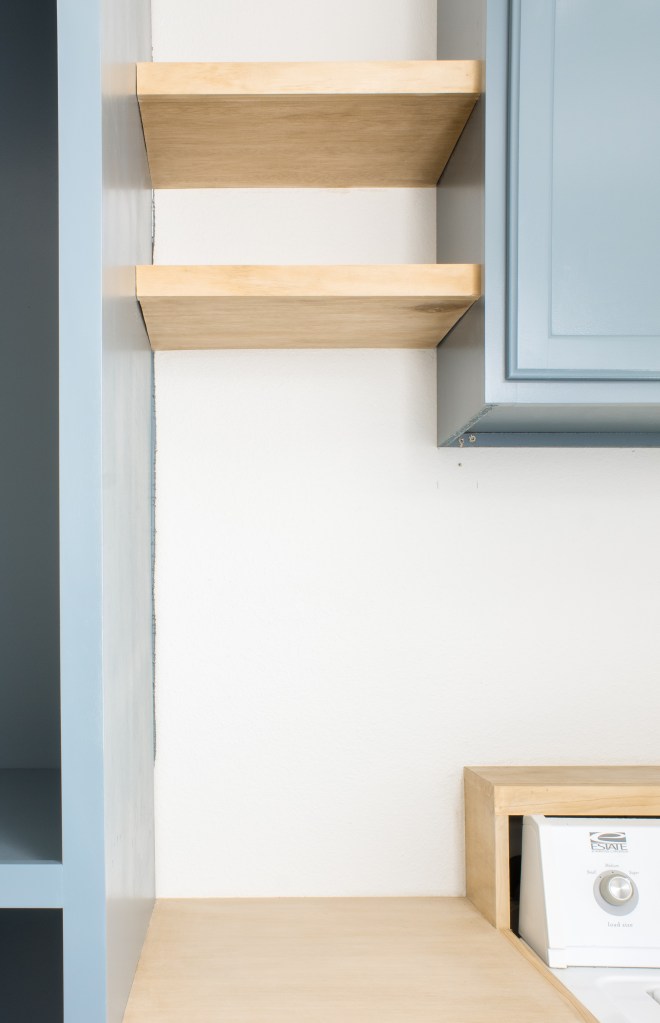
Once that has had time to cure (I left mine overnight), cut the select pine 1×2 to fit the front edge. Select pine is nice and smooth without knots or imperfections, so it’s perfect for finishing work like this. Carefully line the board up with the top of the plywood and attach it using the brad nailer.
If you need to run a 1×2 along the edge of your ledge, miter the corners. I ran a piece of plywood down along the edge of mine to waterfall into the countertop. I just attached it with wood glue and added edge banding to the raw edges.
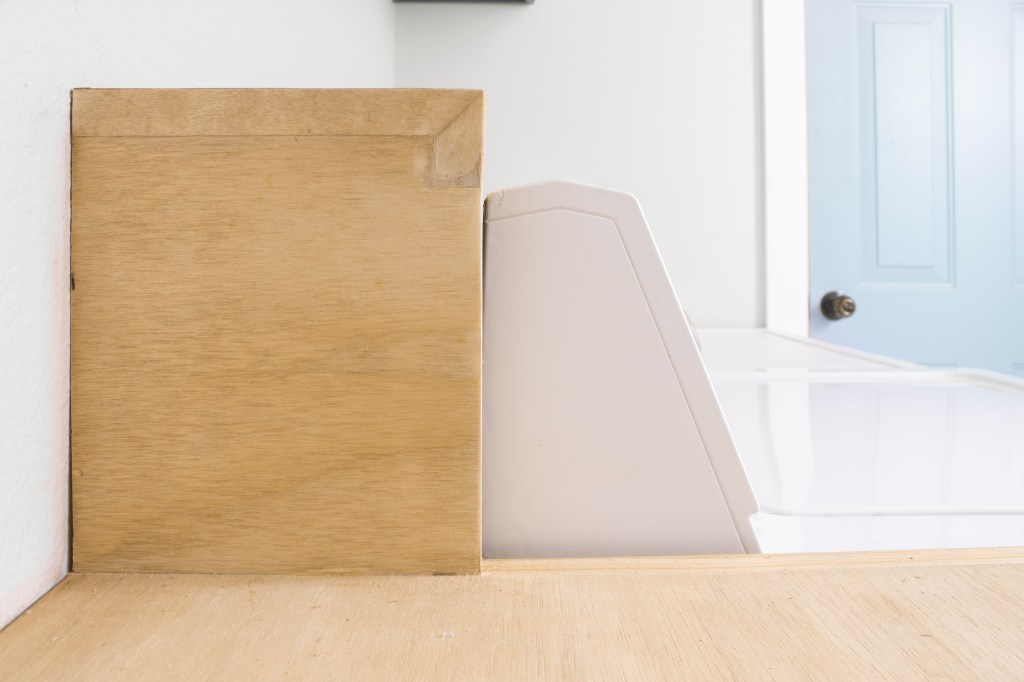
Fill any nail holes with wood filler or a wood glue/sawdust combination, then use wood conditioner and stain it to your liking! I used Weathered Oak, then a super light coat of Early American, followed by another round of Weathered Oak. I’ll be adding 3 coats of my favorite polyurethane, but I haven’t gotten around to that yet – whoops!

So there you go! A beautiful ledge to elevate your laundry room. If you try this yourself, be sure to tag me on Instagram (@with.love.mercedes) so that I can see your work!
With love,
Mercedes ♥

One thought on “The Best Washer/Dryer Laundry Ledge”