

Disclosure: Some of the links provided are affiliate links, which simply means I may earn a small commission (at no additional cost to you) if you shop through one of my links.
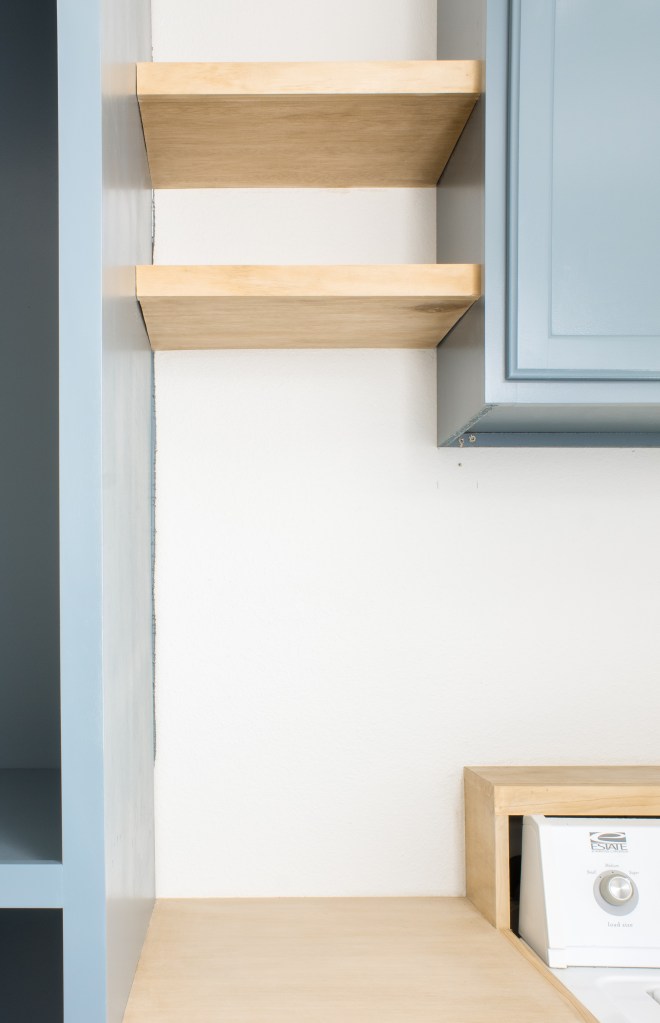
I am trying to keep my laundry room reno on a pretty tight budget, so I needed to take cost into consideration when deciding what countertops I wanted to install. That, plus the fact that I don’t have a sink (so no water concerns) lead me to use plywood in here. I wouldn’t install this in a kitchen or a bathroom, but it’s a great option for low traffic spaces. You can also check out some other easy DIYs in this room by visiting this post.
Want to see what projects I’m working on now? Follow me on Instagram!
MATERIALS
- OSB
- 3/4″ plywood (high quality)
- Wood glue
- Select pine 1×2
- Brad Nailer
- Circular Saw
- Jigsaw
- Wood Stain
- General Finishes Polyurethane
TUTORIAL
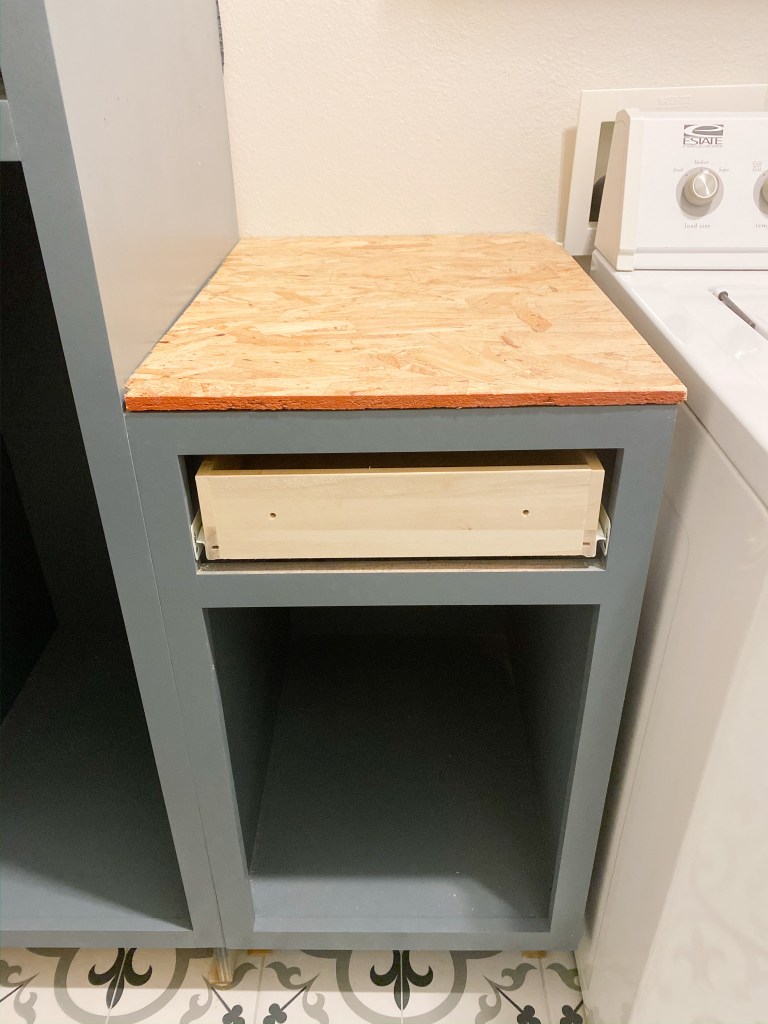
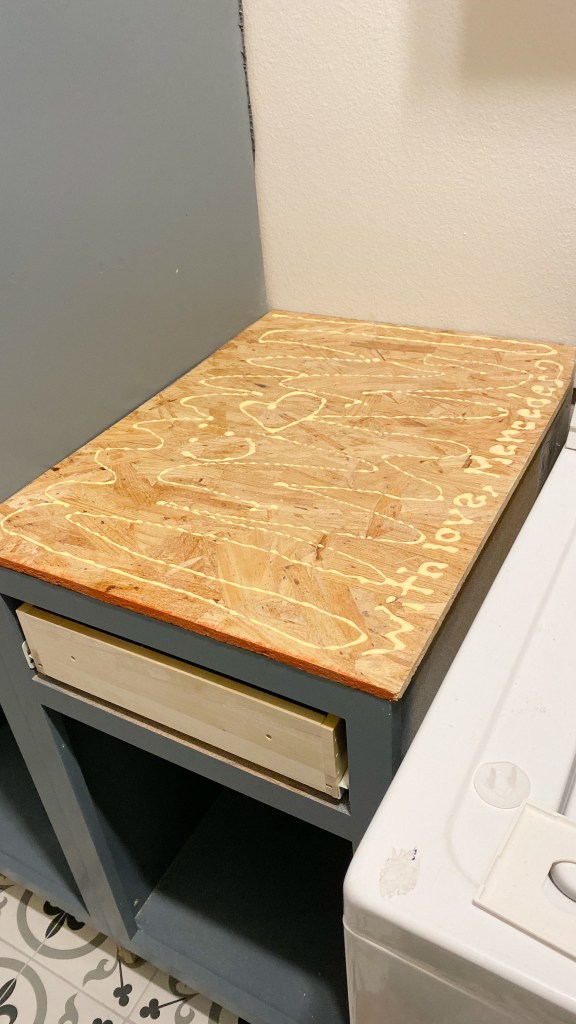
In order to mimic the thickness of a more expensive counter material, you want to use two layers of wood. Because the first layer will never be seen, you can use OSB or inexpensive plywood (or expensive plywood if you’re rolling in the dough). Cut the OSB to match the measurements of the cabinet using my circular saw and then the jigsaw to cut any specific notches you might need. Of course do a good job cutting, but don’t worry too much about getting the OSB cut perfectly since the plywood will cover it up.
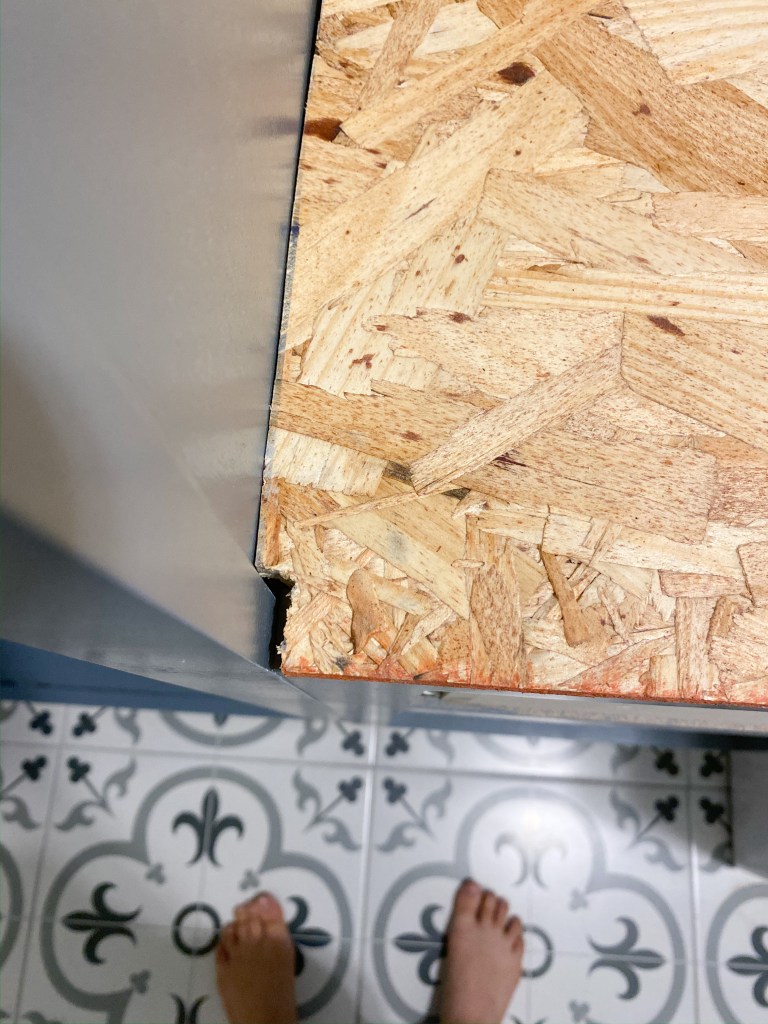
Once you’re satisfied with the OSB, use it as a template to mark where to cut the plywood. Clamp a straight board to my plywood and run the saw’s guard along that edge to make sure that your cut is perfectly straight. Then quickly sand the plywood with 120 grit sandpaper so that it’ll be ready to stain.
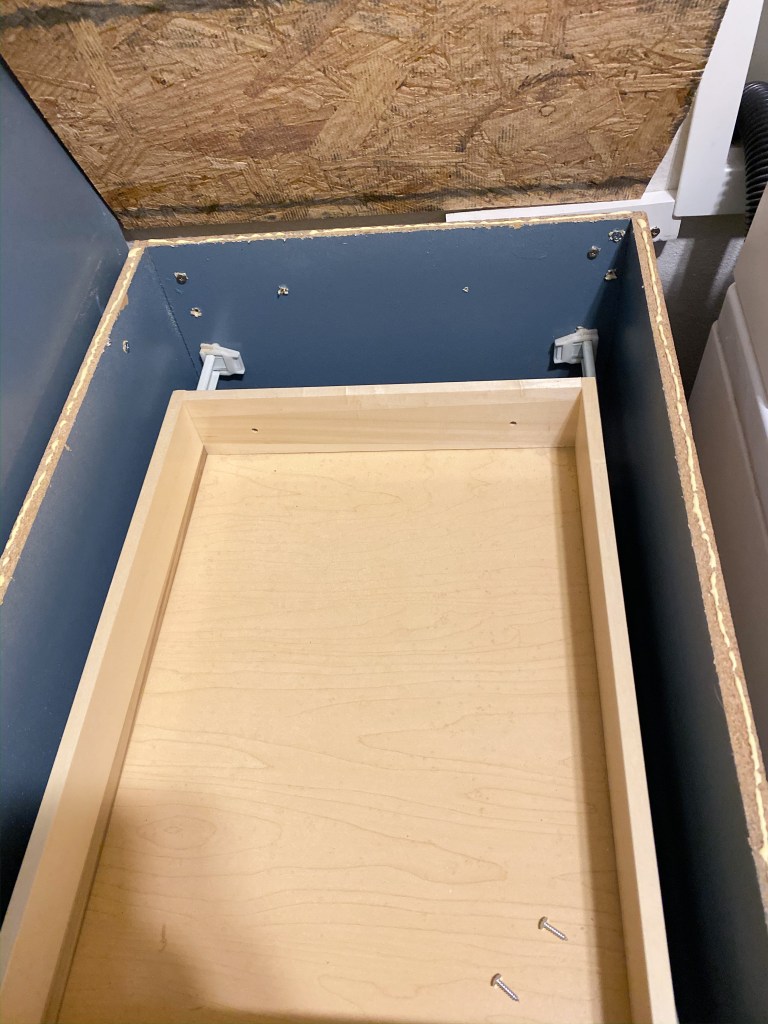
Put both the OSB and plywood on the counter and double check all your seams, making sure the wall and adjoining cabinets lined up how you want them to. Then use wood glue to attach the OSB to the cabinet frame and again between the OSB and the plywood. I put a bunch of paint cans on the counter overnight so that the weight would hold the boards together while the glue dried.
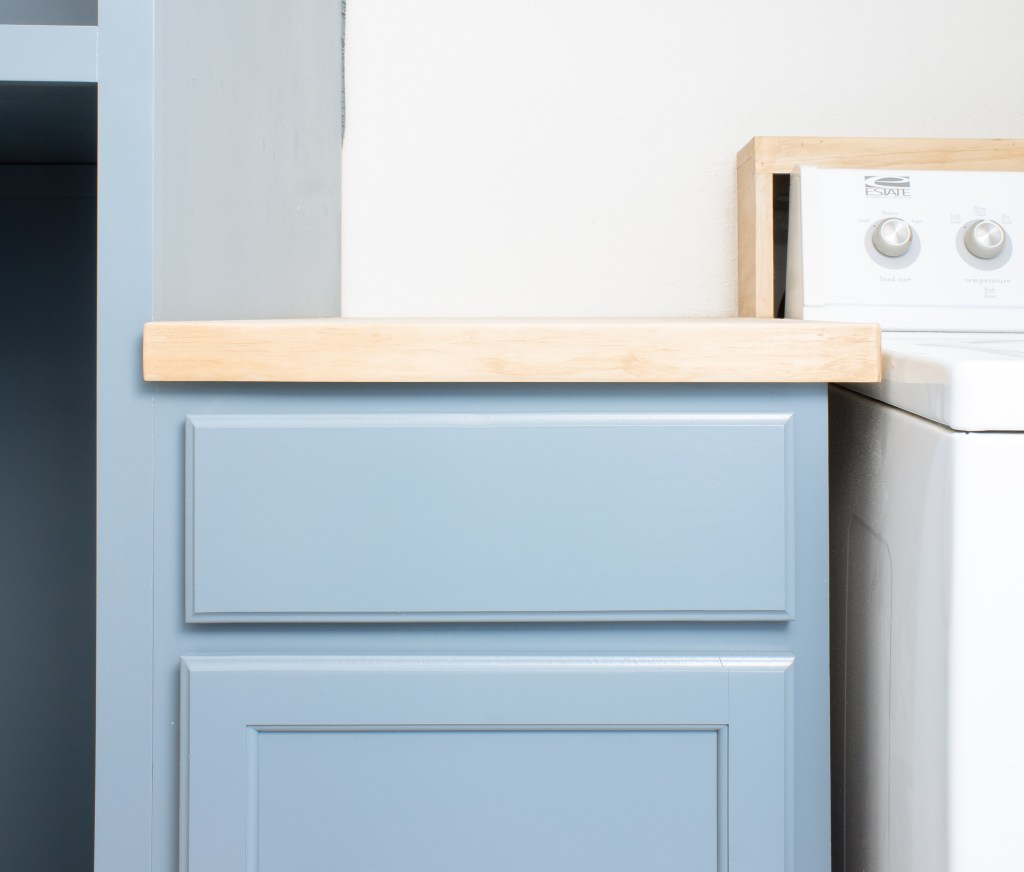
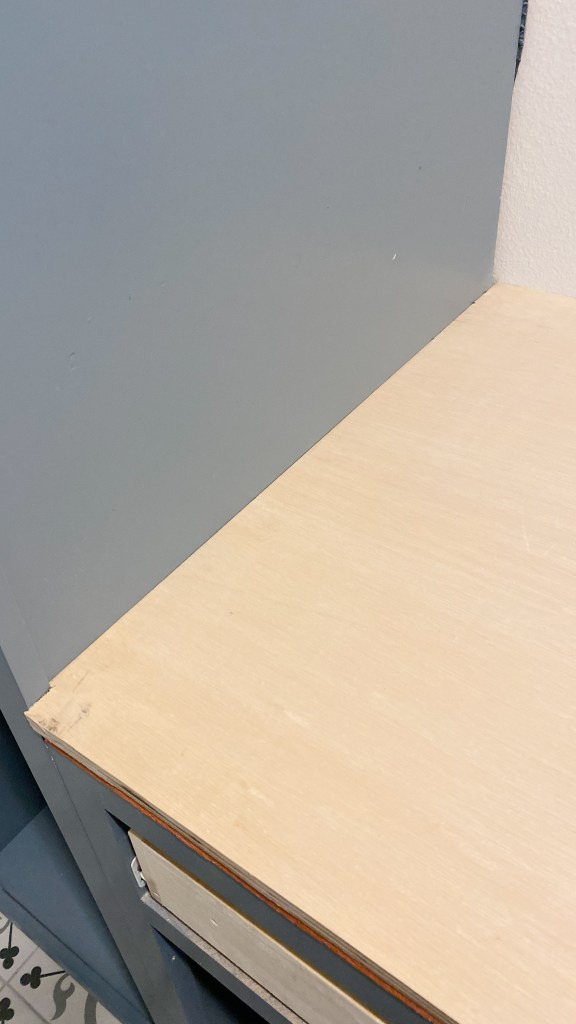
After the counter is glued on, add the front piece to finish it off, a 1×2 piece of select pine. Common pine is a little cheaper but has knots and imperfections, so the select pine is the way to go for finishing pieces! I needed a piece along the front and the right sides, so I mitered that corner and I sanded the edges so that they are rounded to protect any little noggins from injury.

Carefully line the 1×2 up with the top edge of the plywood and use the nail gun to attach it. Fill the nail holes with wood filler or a mixture of sawdust and wood glue.
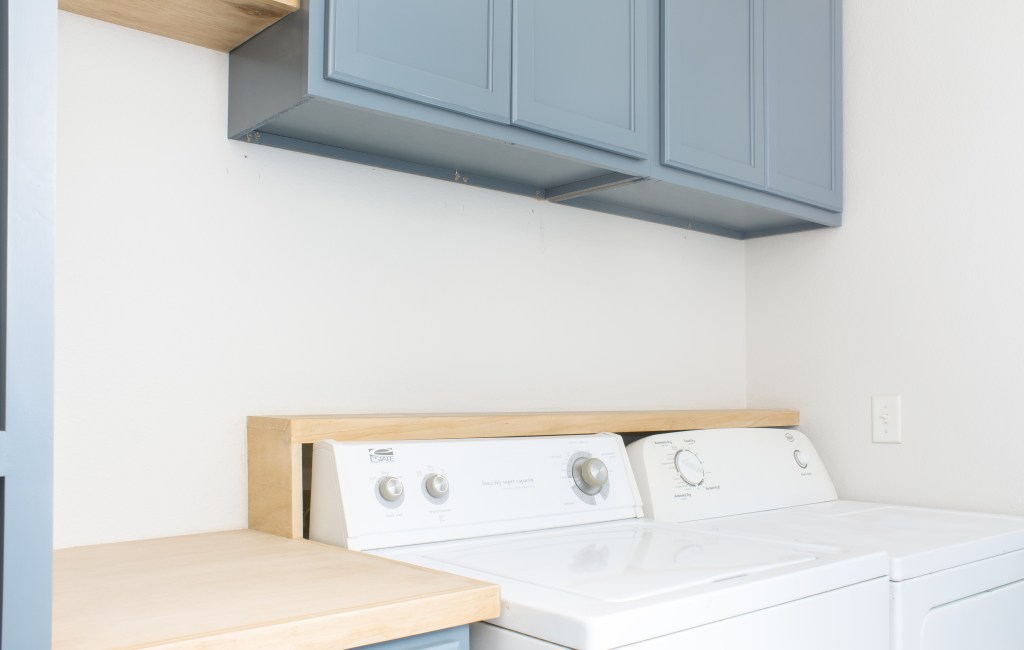
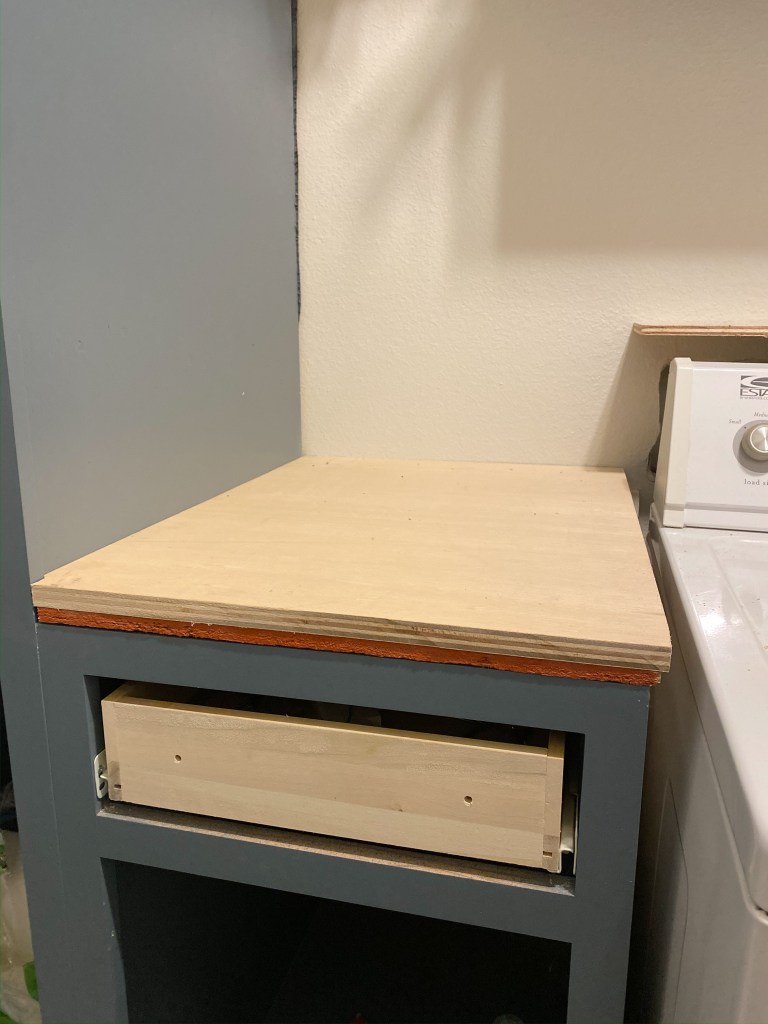
Use wood conditioner and stain it to your liking! I used Weathered Oak, then a super light coat of Early American, followed by another round of Weathered Oak. I’ll be adding 3 coats of my favorite polyurethane, but I haven’t gotten around to that yet – that 95% done club is my jam.

So there you go! Super easy countertops. If you try this yourself, be sure to tag me on Instagram (@with.love.mercedes) so that I can see your work!
With love,
Mercedes ♥

Amazing ! You are so very talented.
LikeLike
What polyurethane did you use? And could you post a photo of the final project stained and poly’d?
LikeLike
What polyurethane did you use? And could you post a photo of the final project stained and poly’d?
LikeLike
I always use General Finishes poly, you can see the finished project here! https://withlovemercedes.com/2020/06/24/the-reveal-one-room-challenge-week-8/
LikeLike