
Disclosure: Some of the links provided are affiliate links, which simply means I may earn a small commission (at no additional cost to you) if you shop through one of my links.
Are we there yet? When I took on the closet project, I mapped out what I thought the timeline would look like. 3 weeks maximum is what I came up with. Do you know how long it has been? I’m currently sitting at 5 weeks, but I’m not finished yet. Good ol’ DIY timelines, right?!? When people ask me to help them estimate how long a project will take, I tell them to take how long they honestly think a project will take and multiply that number by three. That usually gets pretty close (but by that logic I still have 4 more weeks – let’s hope not)!
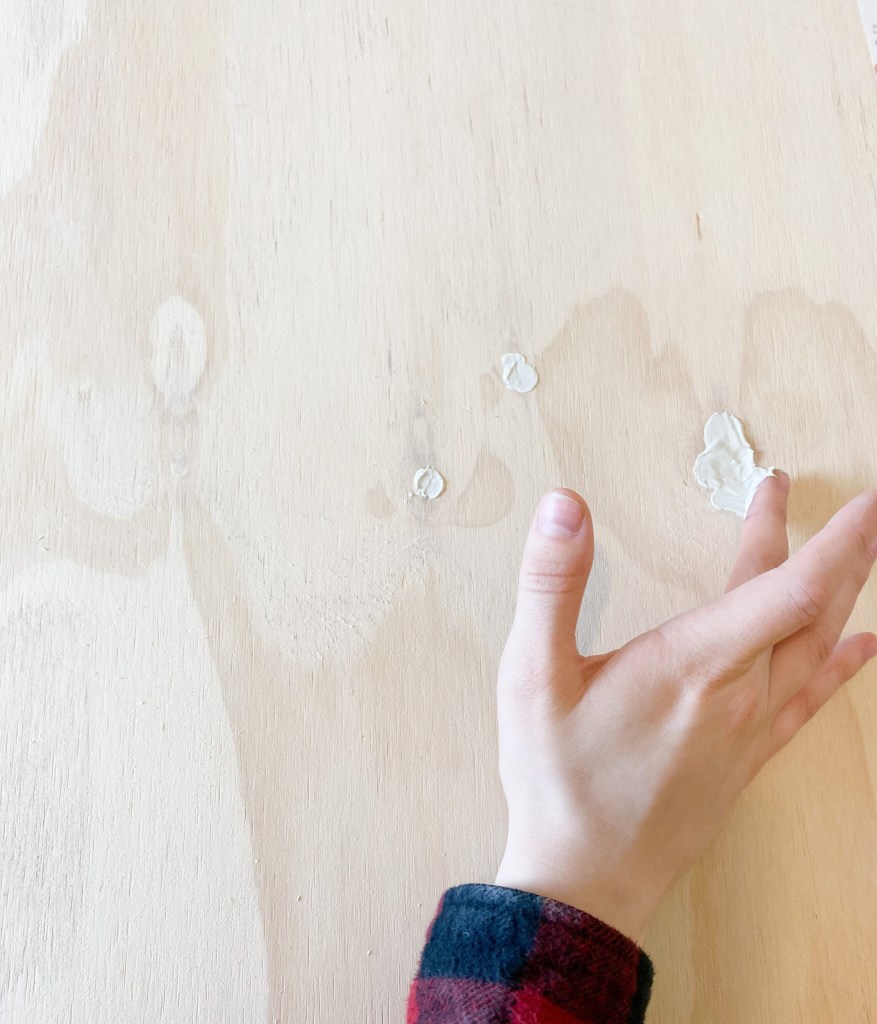
This week was full of a lot of progress, though! I filled all large knots with wood filler. I like this filler by DAP, but I’ve also used Minwax and like that just as much. I overfilled the knots and let it sit overnight to dry, then sanded it smooth. When I fill nail holes, I let it dry for just a couple of minutes and then wipe it smooth with a barely damp cloth.
Want to see what projects I’m working on now? Follow me on Instagram!
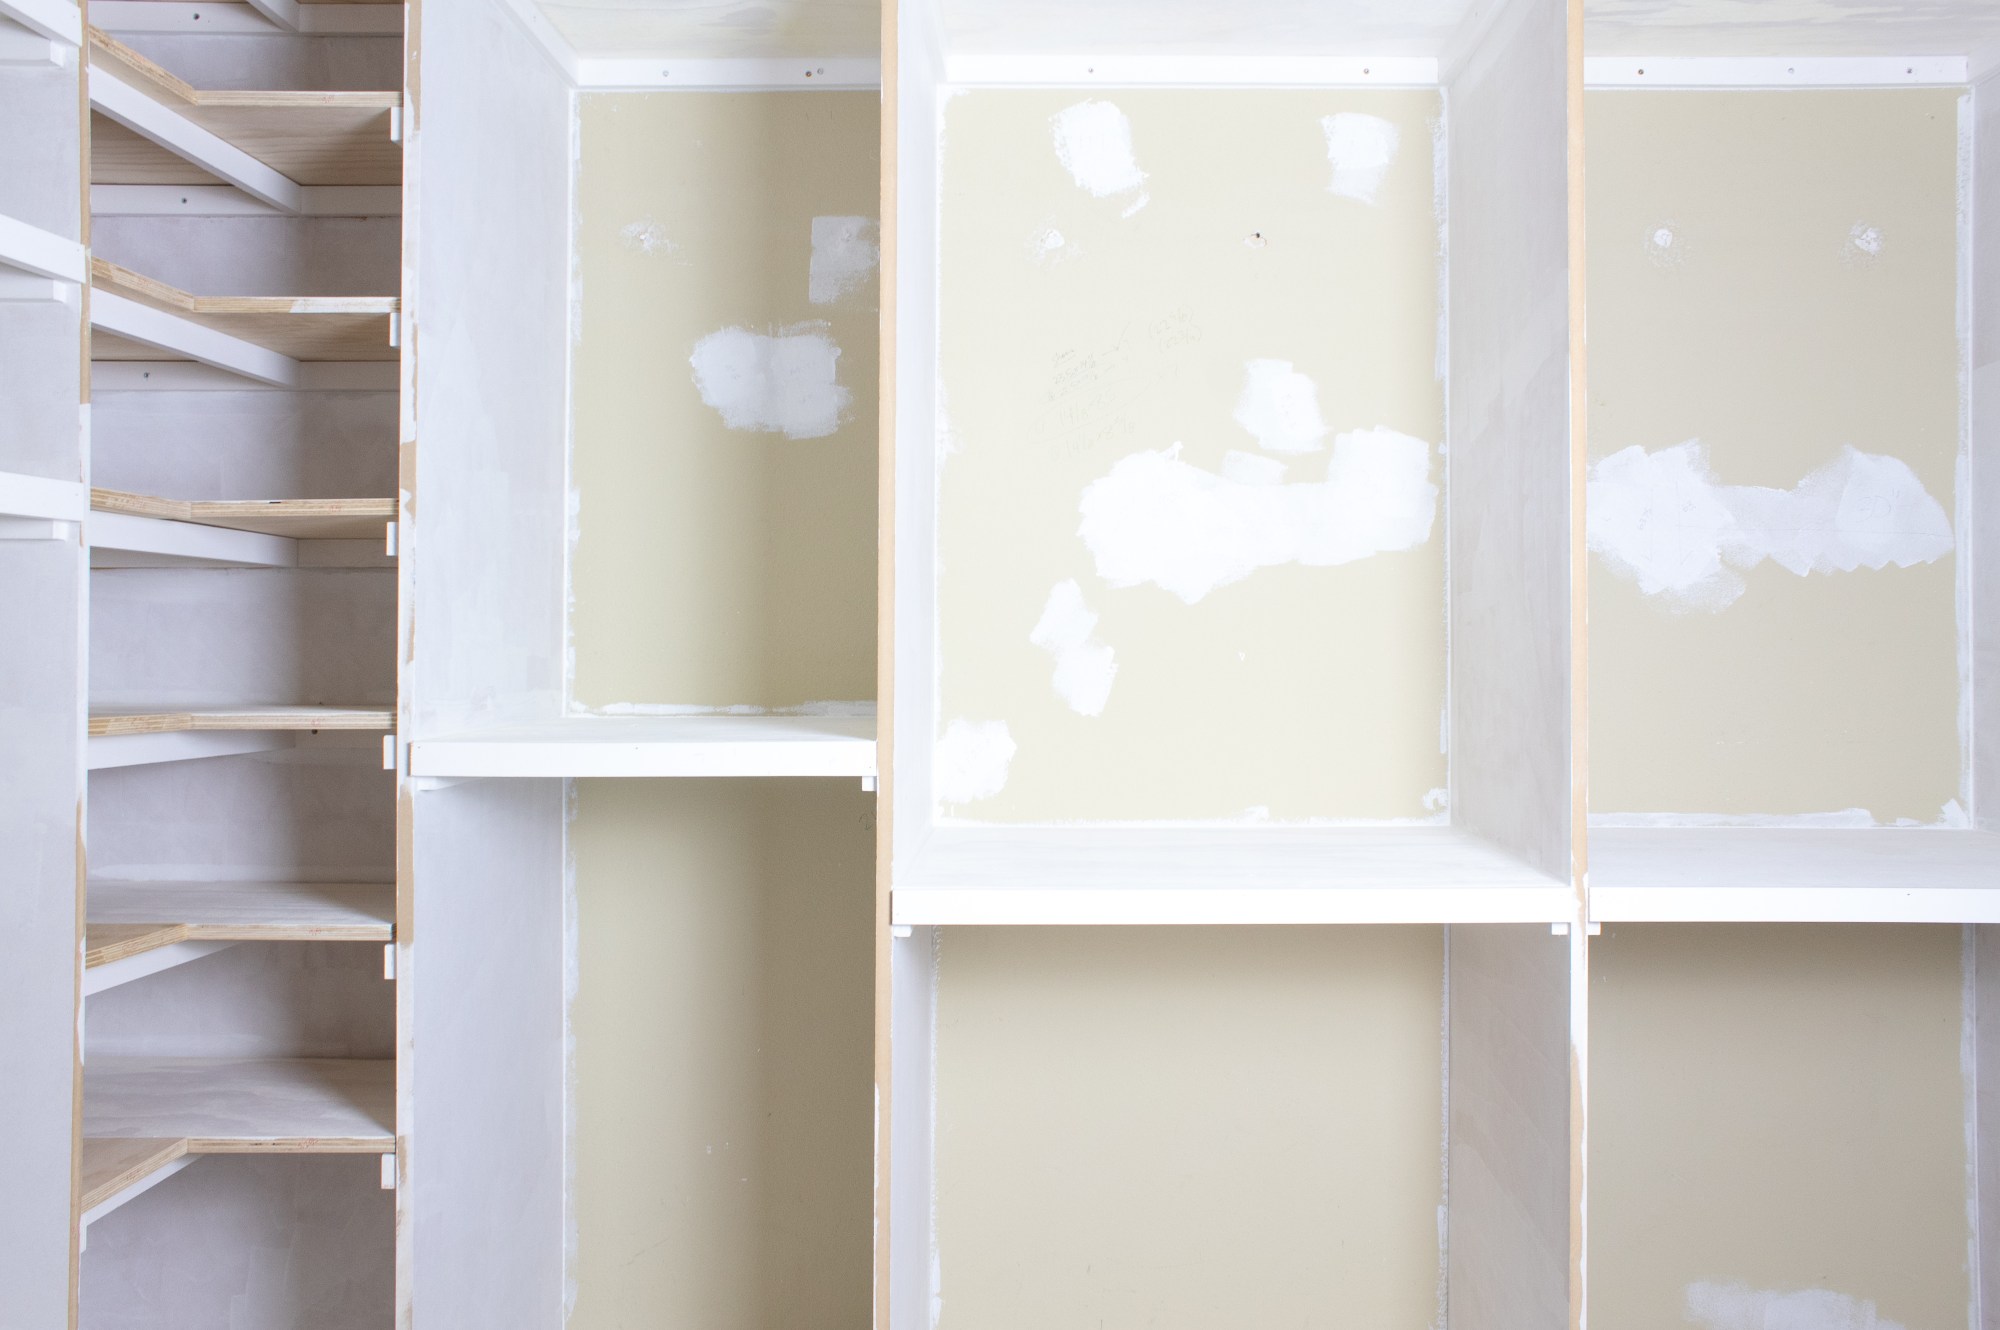
Then I added on this great faux crown molding. I used a 1×4 piece of MDF with this 3/4″ trim piece on top to create some depth. All you need to do is miter the corners, which is significantly less work than figuring out the mysterious angles you need to cut for crown molding – haha!

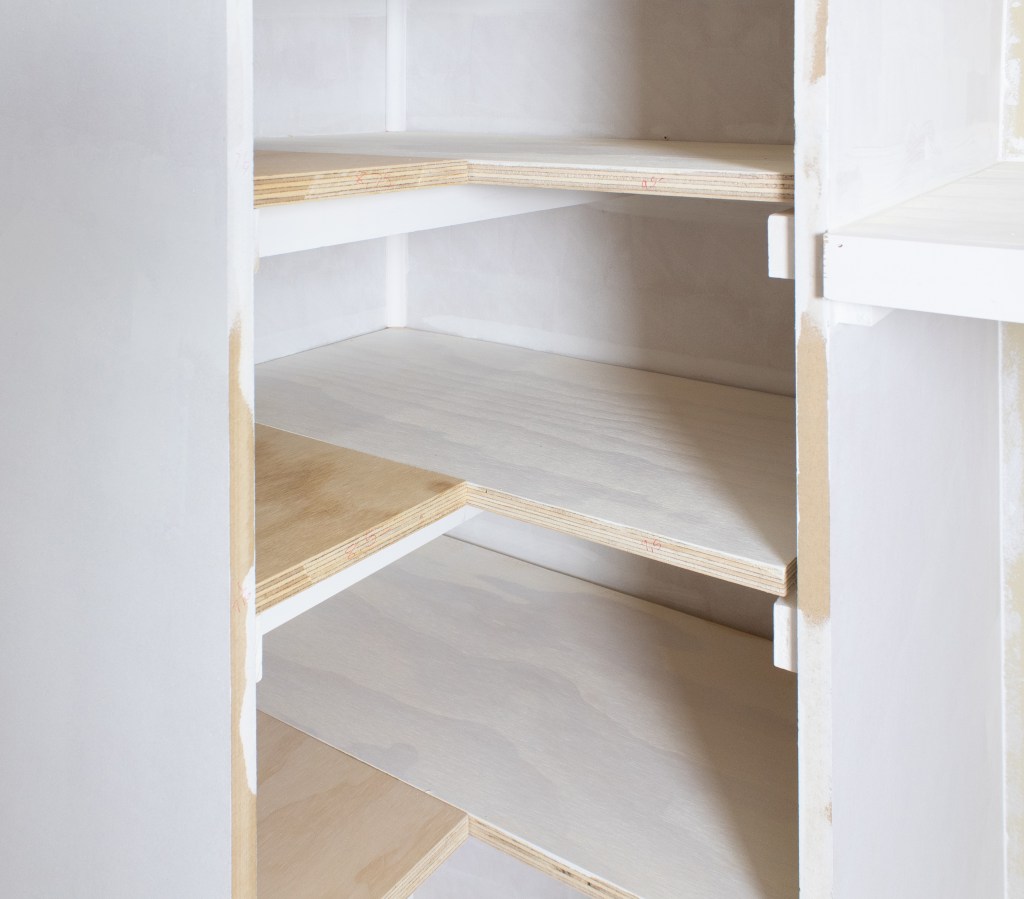
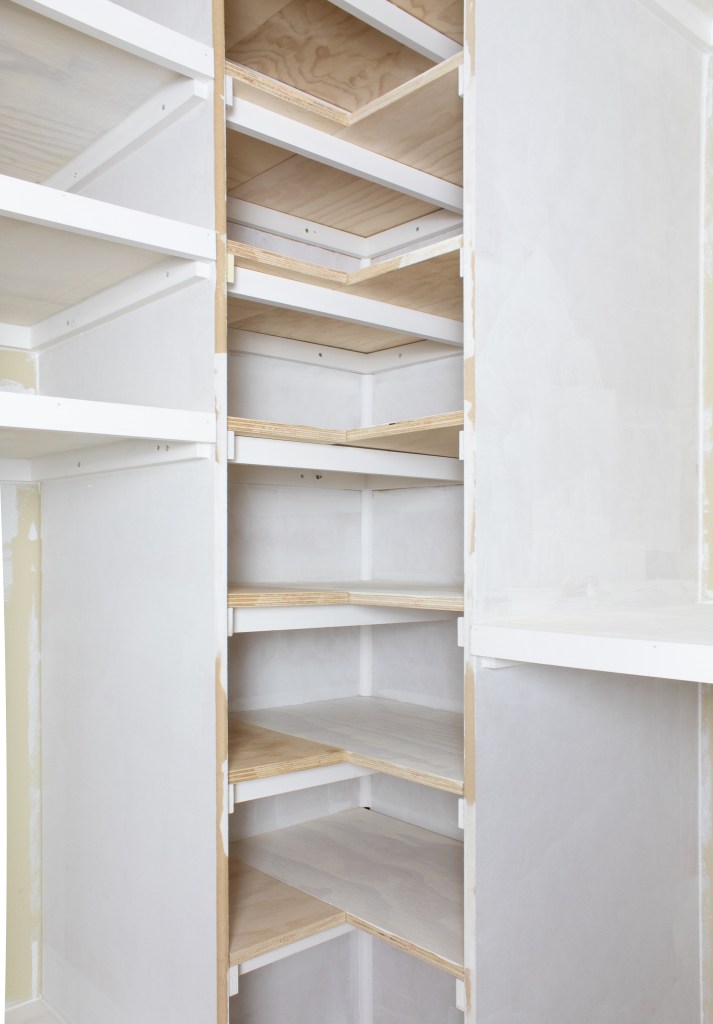
I also got the shoe shelves put together and I love them just as much as I thought I would. Their brackets needed an extra support piece running down the middle (I attached it with pocket holes) because instead of cutting a solid, L-shaped shelf, I decided to save myself a headache and cut two different pieces and put them together. I attached these (and all the other shelves) with some heavy duty liquid nails. Soon I’ll get around to filling the seams with some wood filler and they’ll look like one fluid piece.
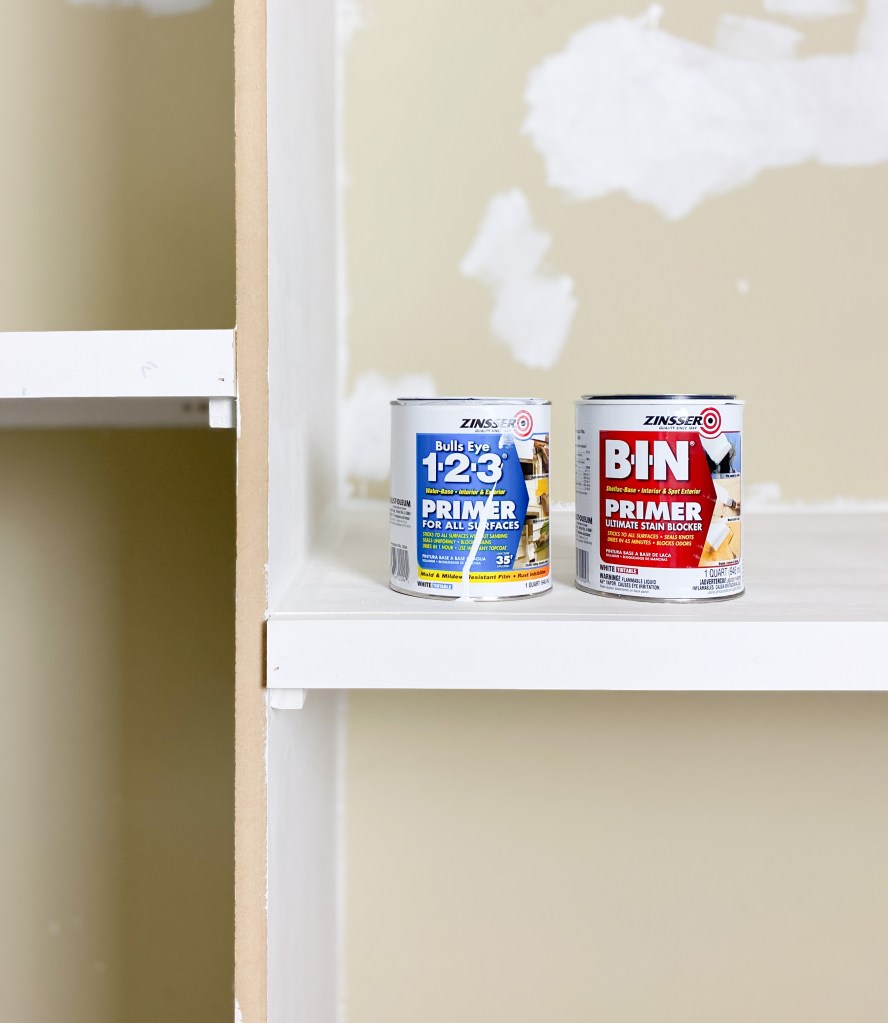
Then I primed almost everything (I still have a couple shelves to finish up). My tried and true primer is this one by Zinsser’s, but the same company makes a shellac-based primer that I decided to try out because, well, why not! It was seriously so stinky that when I ran out, I decided to go back to my usual primer for the rest of the project. But here is what I didn’t realize – because I was working on wood, my usual water based primer raised the grain on my shelves! I don’t know how I have not noticed this before, but it raised it enough that I ended up having to go through and and sand down the grain with 180 grit paper. The shellac based primer didn’t raise the grain at all, so those shelves are perfectly smooth. There are benefits to both of them, but if you’re wanting a perfectly smooth surface I say buy a good mask and go with the shellac based!
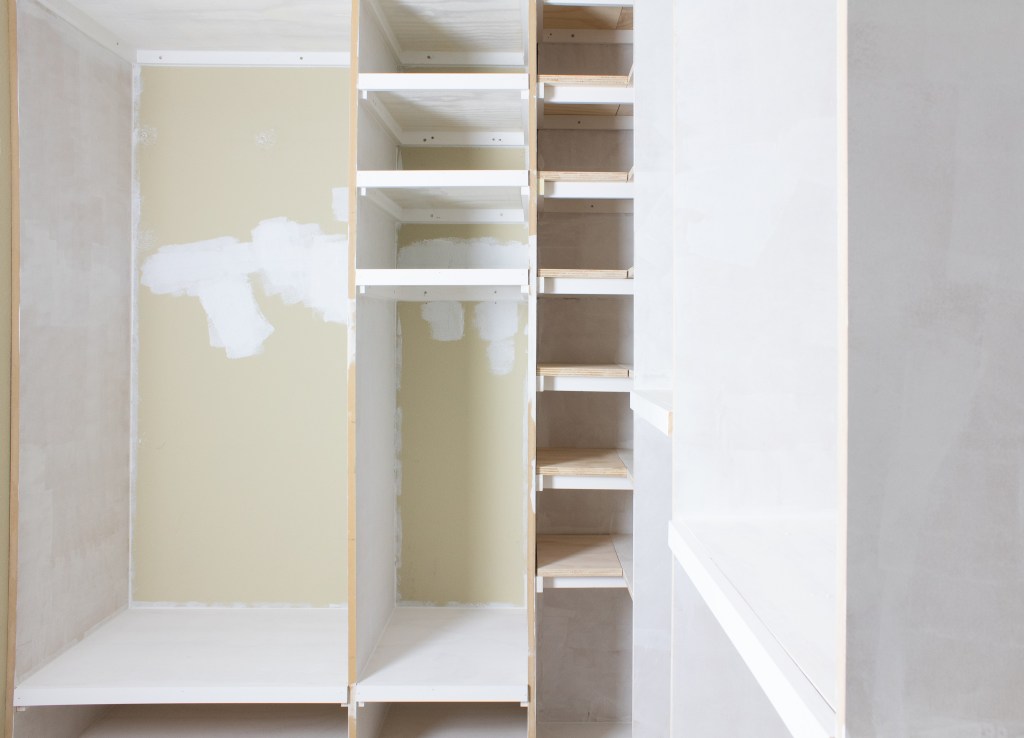
After priming, I added on the shelf fronts – they’re so pretty, right? In an Instagram poll, I asked my followers to weigh in on the decision to cover the fronts or not. Here was my dilemma: I liked the thinness of the shelves that I would get by leaving them without a shelf face, but they looked a little unfinished. Adding on a face would finish them off, but in order to cover the bracket I needed a 1×3 and that was going to be too thick. So I decided to add a 1×2 as a face, which still leaves some of the bracket visible, but looks finished. I think it’s a good happy medium.


Then I caulked all 5,237 seams. Okay, probably not that many but it sure felt that way. I have gone through 7 tubes of caulk and I still haven’t finished the shoe shelf caulking.

Next up on my list for this beast of a project is to finish up the shoe shelves, add the trim to the front of the dividers, paint (eek!), install the floors, build drawers, install rods, and change out the light. That can’t be 4 weeks worth of work…right?
With love,
Mercedes ♥
← DIY Closet Builtins : Part 2
DIY Closet Builtins : Part 4 →
MY FAVS
Are you wanting to tackle this yourself? Here are links to some of my favorite tools/materials used in this project.
- Ryobi Drill
- Ryobi Airstrike Brad Nailer
- Dewalt Miter Saw
- Detail Sander
- Zinsser’s 1-2-3 Primer (water-based)
- Zinsser’s BIN Primer (shellac-based)
- Kreg Pocket Hole Jig
- Pocket hole screws
- Level
- Clamp
Disclosure: Some of the links provided are affiliate links, which simply means I may earn a small commission (at no additional cost to you) if you shop through one of my links.

4 thoughts on “DIY Closet Built-ins : Part 3”