

I can’t believe that we are going into the last week of the One Room Challenge. Five weeks to completely makeover a space feels like running a marathon… if marathons involved zero running and a lot of power tools. I am very task oriented, so I always have some sort of project in the works. The quick pace of this challenge has fostered exactly the type of environment that I thrive off of and it has been so exhausting yet so enjoyable!
This week was fun because I am finally starting to see the light at the end of the tunnel, which is good considering this space needs to be DONE in 7 days. Last week I talked about how the large empty wall in our bedroom had me stumped for a while, but another space that I had to grapple with was this awkward empty area near the entrance to our bathroom.
A BENCH
Here is how our bedroom is laid out. The circled part is the section I was struggling with. If I were to redesign this bedroom, I would definitely do something different here because while it does add square footage to the room, it almost feels like useless space because you can’t really do anything with it.

I came up with the idea of building a cute bench that could sit under the window and now I like the space so much more! Adding some furniture here actually makes the room feel bigger because this area no longer feels wasted.
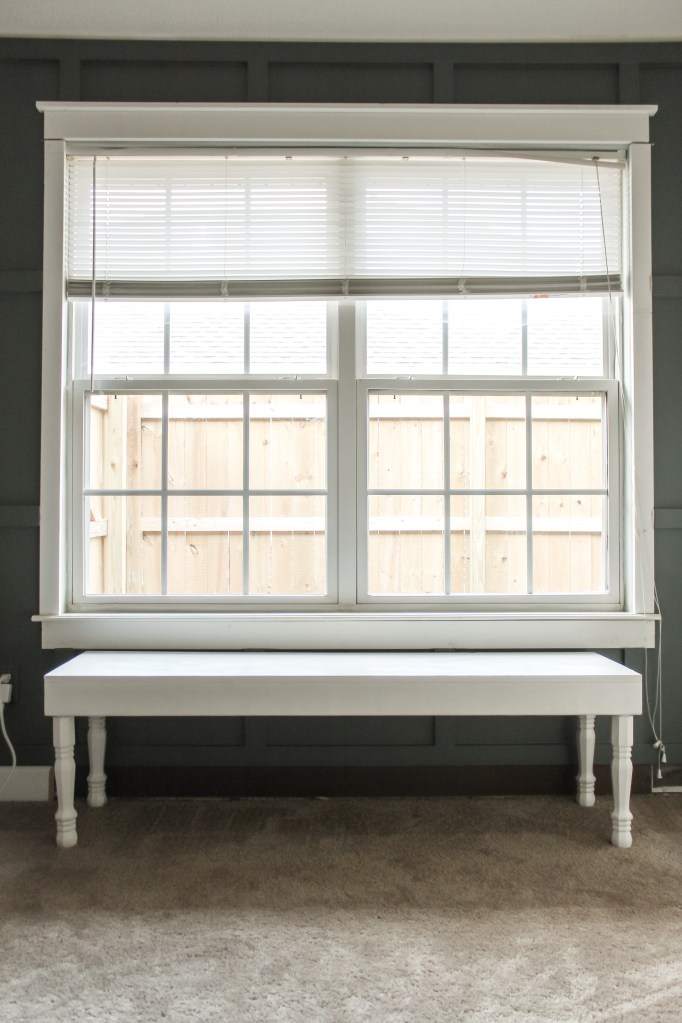
Ideally, I would love to leave it a natural wood color and just seal it, but between the dresser and our nightstands, I didn’t want to add in a third wood tone. I polled my Instagram followers as to whether or not the top should be stained or painted and even though the majority ruled in favor of a stain, I was too worried about trying to match one of the existing wood tones and I opted for a painted look.
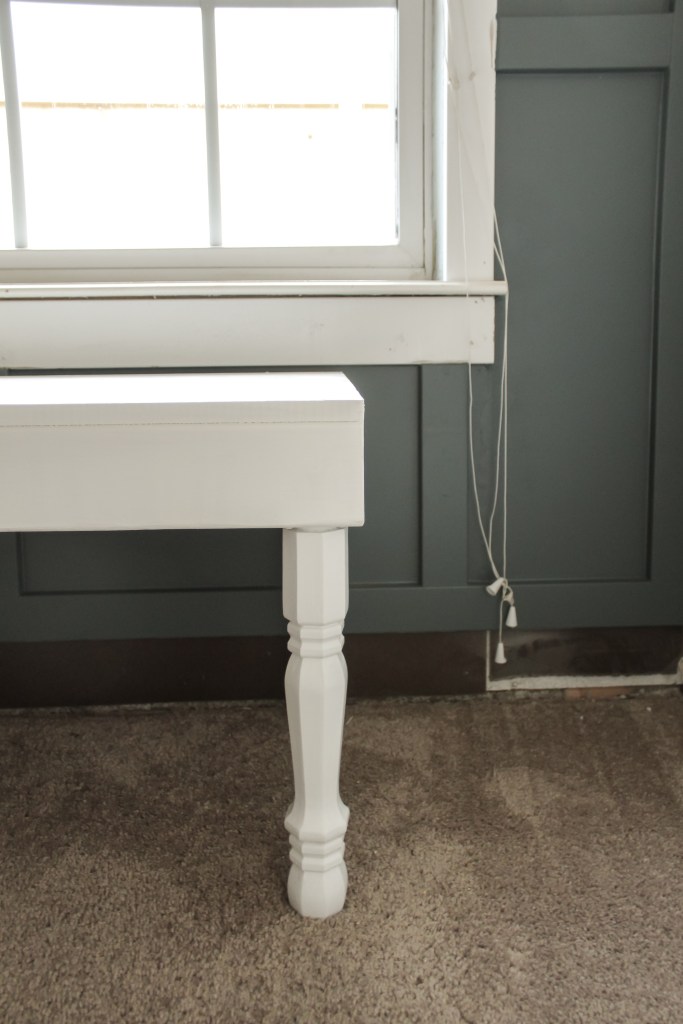
It definitely needs a little more depth, which I’ll add with some fun, textured pillows. It has an elegant, understated look that doesn’t compete with the board and batten or the window behind it. The bench took me less than an hour to build and I promise I will have a tutorial up for you guys in the next couple of weeks!
A LADDER
I must have been feeling ambitious because on the same day I built the bench, I also threw together this blanket ladder (again, tutorial coming soon)! I’ll be honest, I’m super excited to throw some Christmas blankets on here to bring some holiday cheer into this space.

But then…. I have a dilemma. Our dresser sits right across from the bed and I’m creating a cozy reading (blogging?) nook in the corner to the right of it. The chair and the lamp came for that this week and I have all the feels about that because I’ve been dreaming of this corner for ages. To balance it out, I was planning to put the blanket ladder to the left of the dresser, but I found this gorgeous antique mirror that looks so pretty on the dresser and now I don’t know if it will all flow together. The mirror is definitely staying, so the blanket ladder may need to find a new home.

Side note : I accidentally dyed the tips of my blonde hair dark walnut while staining this ladder. In case you are ever in the same situation as I am, you don’t need to cut your hair! Mineral spirits will get it out.
two gallons of paint
This week the one thing I knew I had to get done was getting some paint on my other three walls. Since I installed the board and batten wall, the preexisting blue color really didn’t jive with the Knoxville Gray. I grabbed a bunch of samples of my favorite light greiges and slapped them on each wall so I could see them in every possible light. I looked at SW Agreeable Gray (at full strength, 75%, and 50%), BM Pale Oak, BM Balboa Mist, and BM Wind’s Breath.

After a lot of back and forth between colors, I decided on BM Balboa Mist. I wanted a nice, warm light gray and it seemed perfect! So I grabbed a gallon and painted half of my bedroom and then… I decided I hated it. Hated is maybe too strong of a word, but it definitely wasn’t tickling my fancy. It was leaning just a touch too cool and coming off a bit purple (not what I was going for).

I called J at work and tried to show him through the camera to get his take on it, but the color didn’t really come through, so that wasn’t much help. I decided to go with my gut and sheepishly went back to the paint store and asked them to mix me up a new gallon of paint, this time Pale Oak.
Honestly, in pictures it hardly looks different, but the second new color is so much better to me. I don’t create beautiful spaces to look good through a camera lens, I create them so that they make me happy in real life, so I’m pleased with my decision to jump ship on that paint color.

I shared my frustrations of working with painters tape on Instagram and one of my followers gave me an awesome suggestion. I almost never tape because I find it doesn’t work very well anyway and since I’m decent with a brush, I just cut in without tape and all is well. This tip is so awesome though and it totally works.
- Tape your edge with painters tape. The color you’re taping over (want to protect) is color A. On my walls, color A was the dark, Knoxville Gray.
- Paint color A along the edge over your tape. I tried to kind of push the paint into the edge of the tape as much as possible. Let this dry.
- Paint your second color (color B – Pale Oak) on top of that, then peel the tape away.

The idea is that when you paint color A over the tape first and let it dry a little, it seals all the little cracks where color B may have seeped through. It worked really well for me, so who knows. Maybe I’ll be a tape user now!
If you haven’t checked out the other ORC Guest Participants, head over and see all the awesome spaces being transformed. And of course, stay tuned because next week will be the big reveal!
With love,
Mercedes ♥


I can feel your happy energy in this post. I smiled big when I read “christmas blankets” . I know you are ready for Christmas decorations!!!! You are inspiring me to try really hard to find Joy this holiday season instead of missing our sweet Ryan. Love you girl. You rock.
LikeLike
Aw, thank you!!
LikeLike