
Disclosure: Some of the links provided are affiliate links, which simply means I may earn a small commission (at no additional cost to you) if you shop through one of my links.
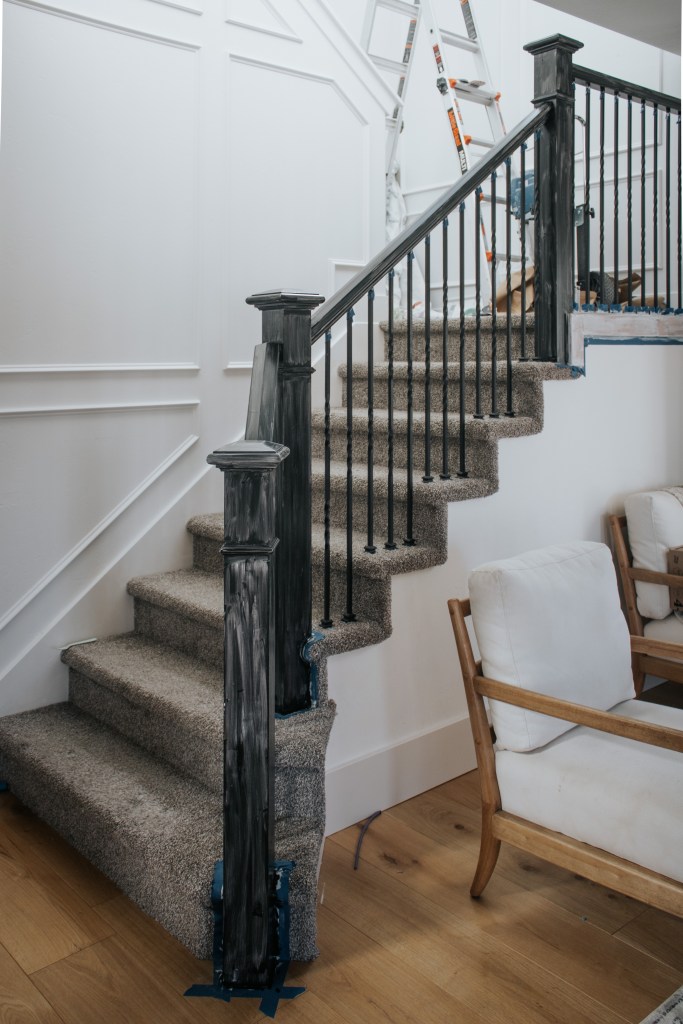
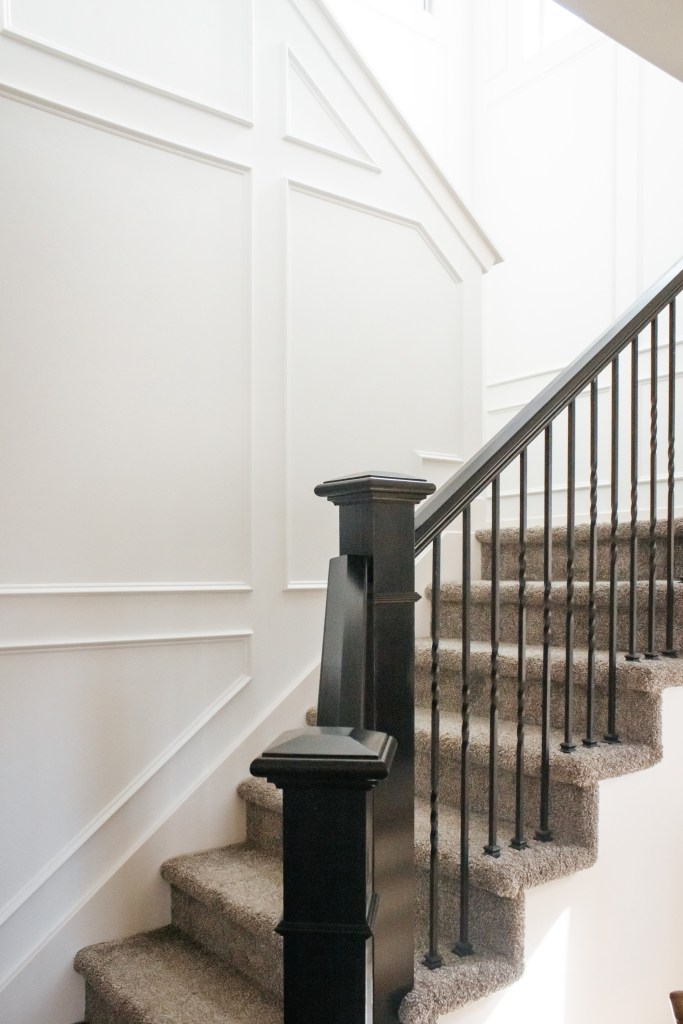
As part of my staircase makeover, I made a last minute decision to paint the banister. The orange tone in the wood didn’t bother me until we updated our flooring a few years ago. Ever since then, the tones have clashed with all of the other wood tones throughout our house and changing that felt like breathing new life into the stairs!


Disclosure: Some of the links provided are affiliate links, which simply means I may earn a small commission (at no additional cost to you) if you shop through one of my links.
Materials
- Krud Kutter
- Sanding sponge
- BIN primer
- Foam brushes
- Trim brush
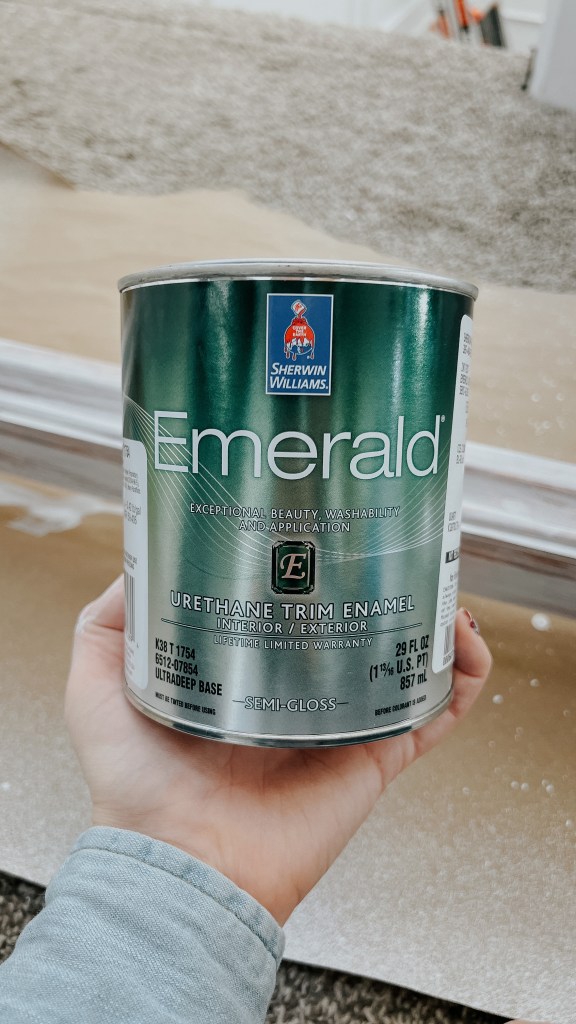
- SW Emerald Urethane (I used semi-gloss tinted to SW Tricorn Black) or BM Advance

Tutorial
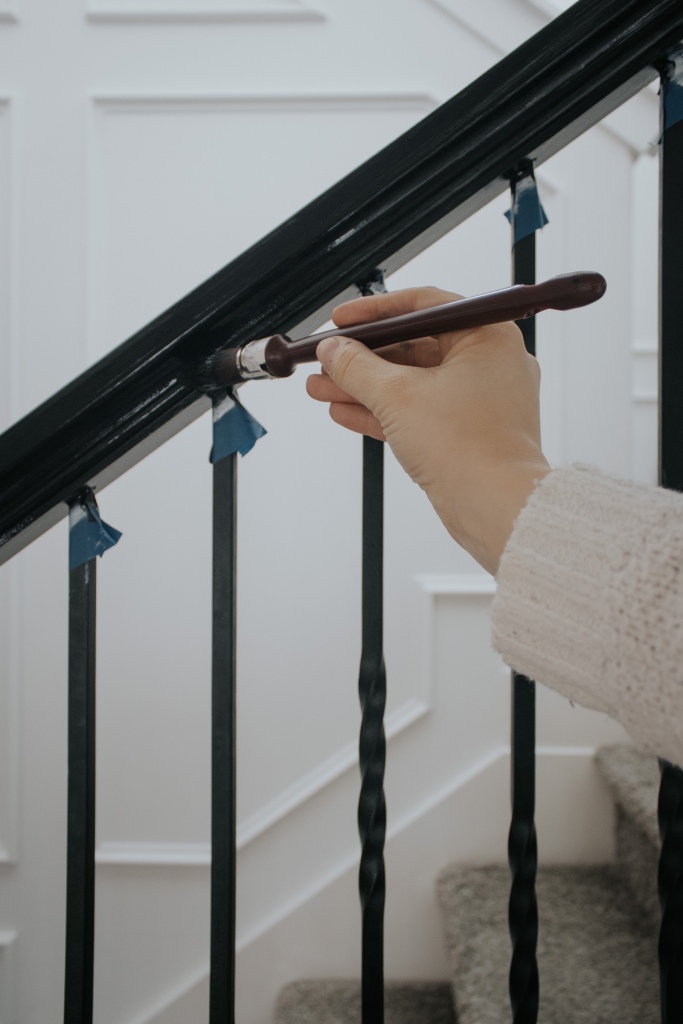
Hand railings can get really nasty! Even though I clean ours regularly, I knew I wanted to give it a super deep clean before painting. I used my favorite pre paint cleaner – Krud Kutter – to get it all prepped.

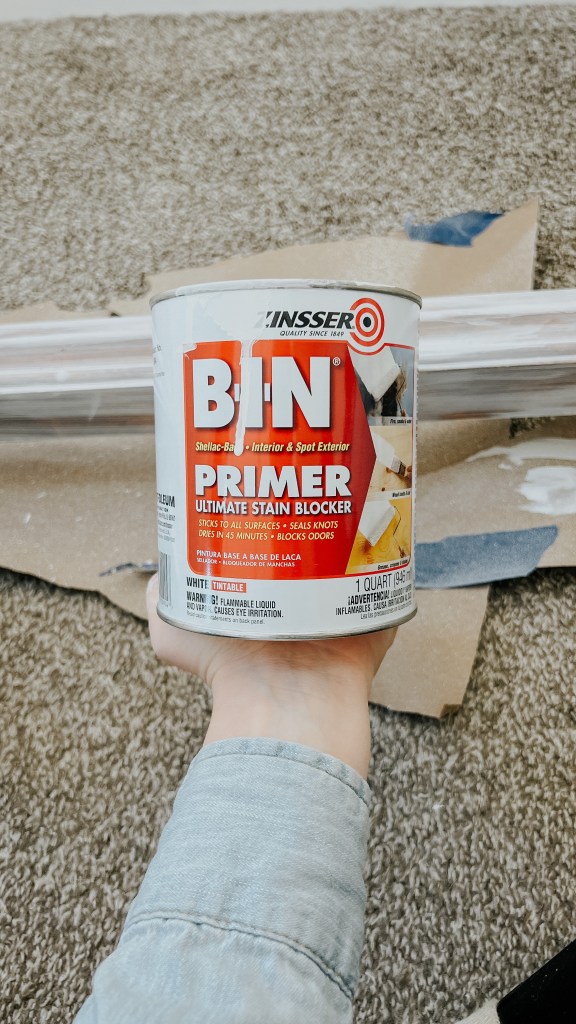
I primed with BIN primer. It’s a shellac based primer and doesn’t require any sanding before hand – yippee! I used a foam brush so that I could throw it away afterwards since shellac based primers do not clean up with water. Once the primer was dry, I used a sanding sponge to lightly sand and knock down any high points.


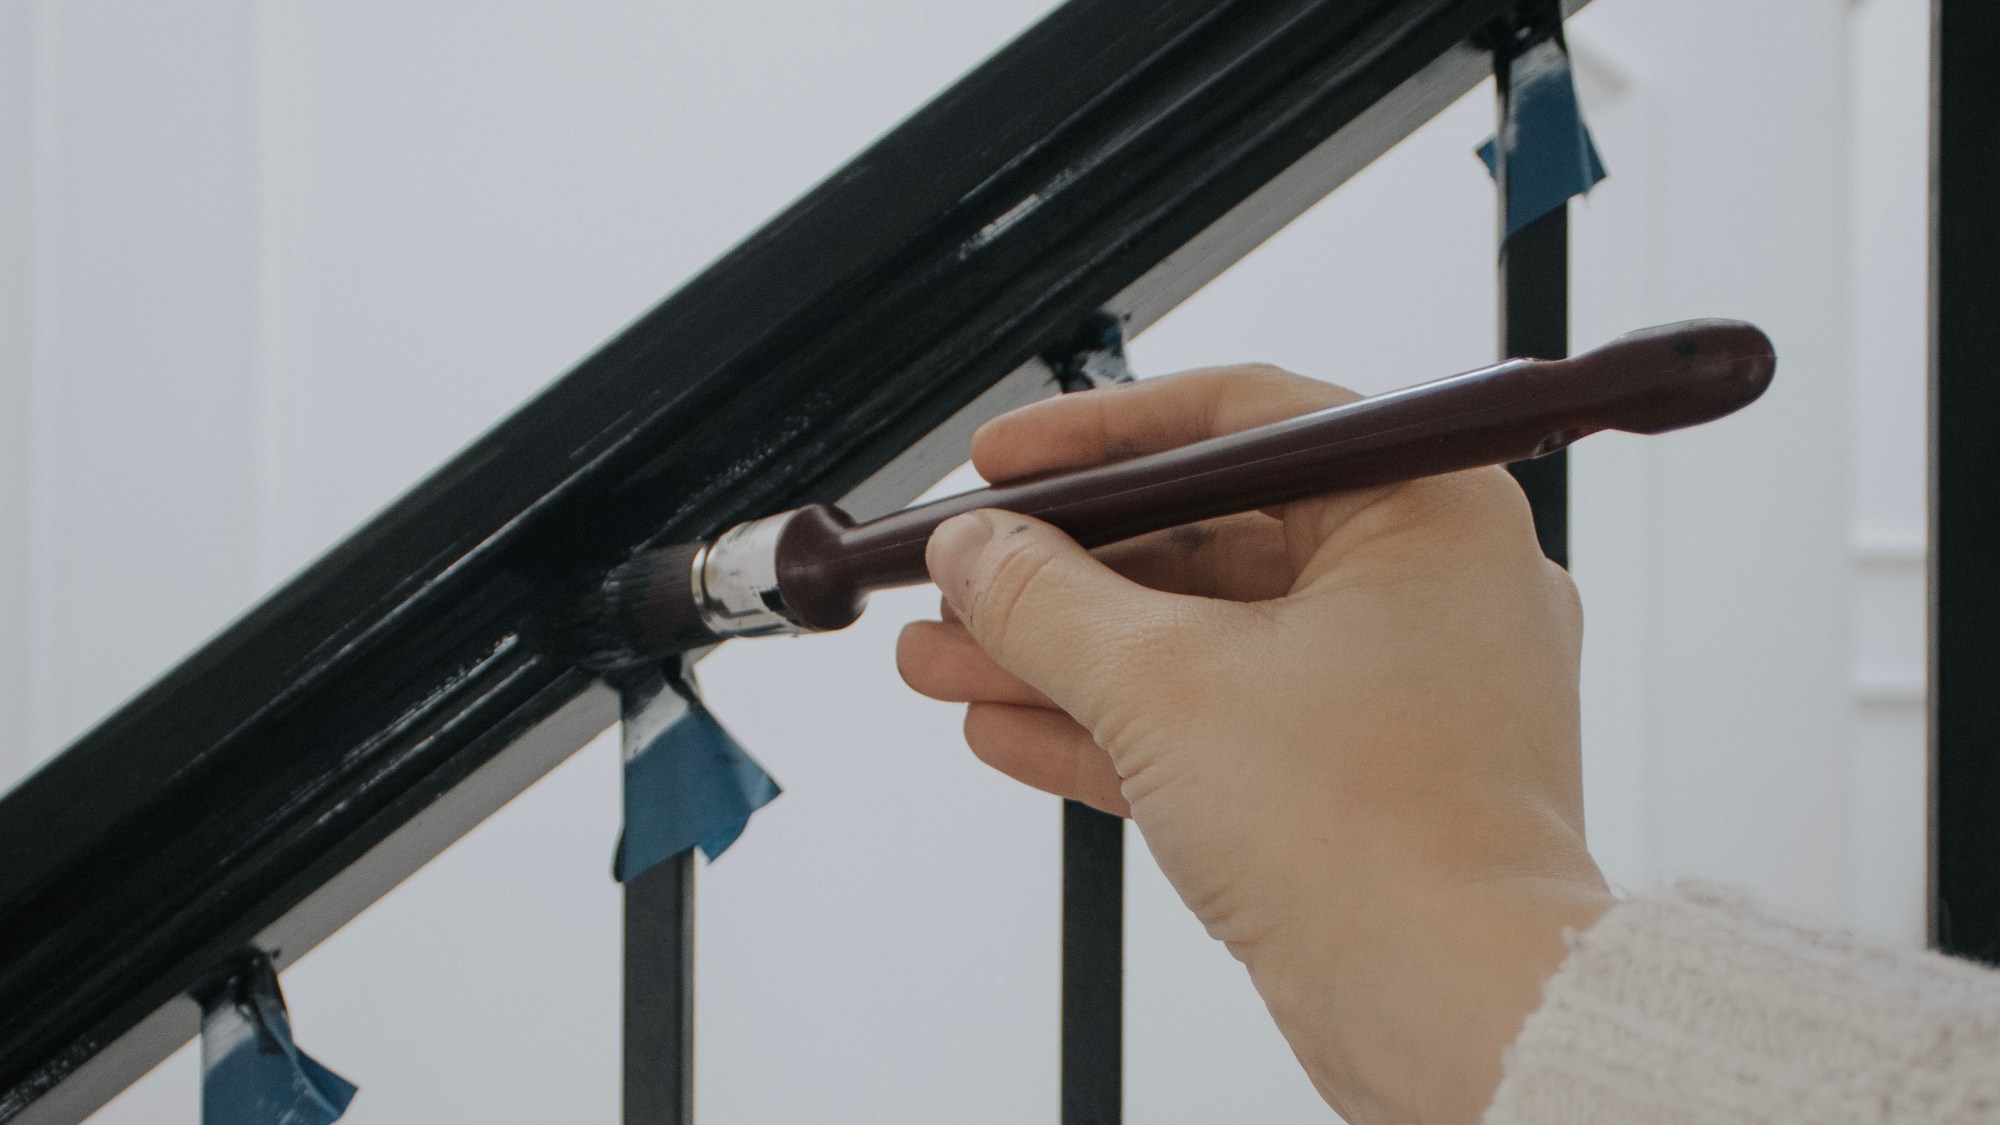
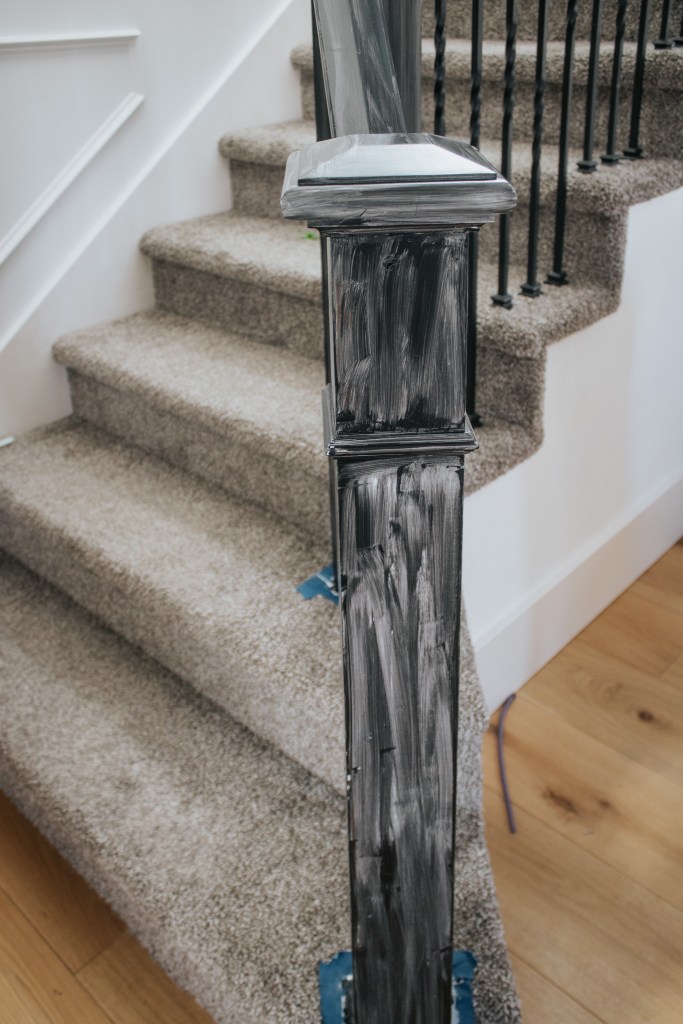
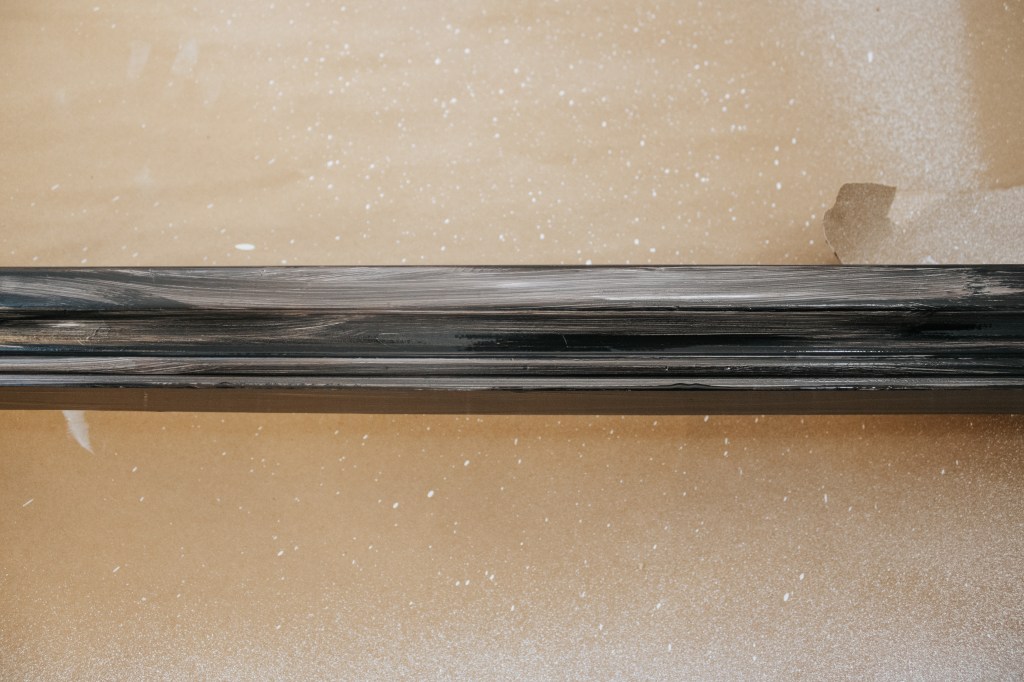
After wiping any dust down, I started painting! I used a foam brush for most of it and a smaller trim brush to get in the nooks and crannies. While I prefer Benjamin Moore Advance paint, I used Sherwin Williams Emerald Urethane this time since I wanted to use a Sherwin Williams color – Tricorn Black. You can get these colors color matched, but I always have better success with getting the true color if it’s mixed by the same manufacturer.
The trick with both of these paints is not to overwork them. Work in long, smooth strokes and try not to fuss over one area for too long. I did try to work quickly since I had really long sections and I did a big, light “swipe” of my brush over those long sections once I had them painted.
I did 3-4 very light coats, sanding lightly between each coat. The first coat will look super streaky – don’t freak out!
I didn’t seal them with poly since Emerald (and Advance!) dry to a super hard finish. It does take a few weeks for them to fully cure, so if you replicate this be sure to be cautious with them while they are hardening.
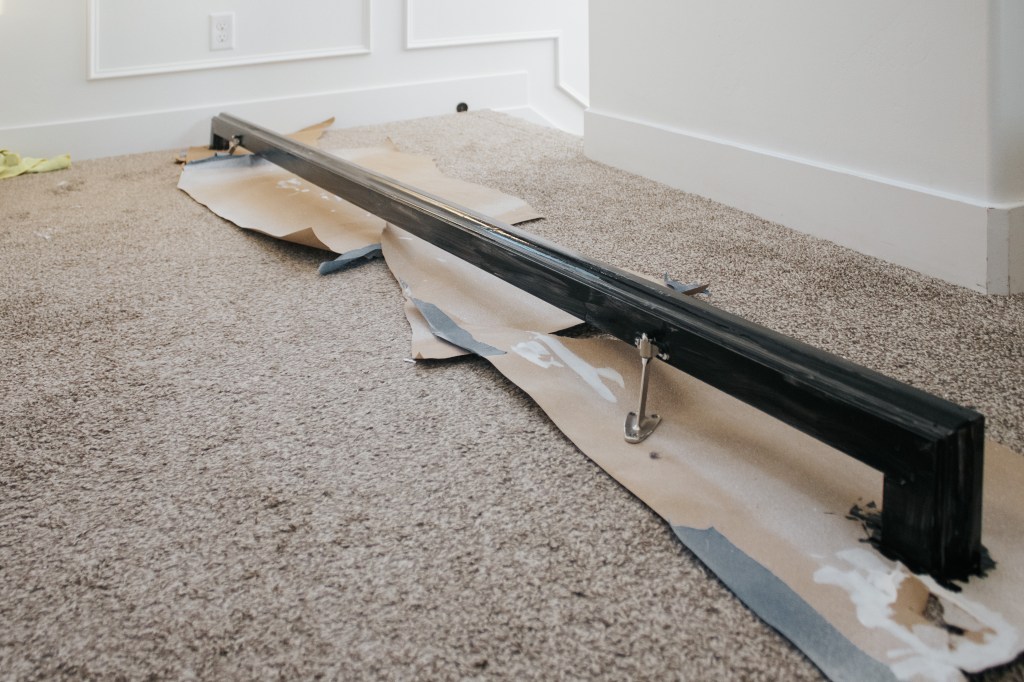
I replaced the old nickel hardware on the railing with these black ones. They almost didn’t fit, but I was able to make it work!

While not too complicated, this was a more tedious task than I expected since the banisters have a lot of detail work. But let me know – would you do this? Let me know in the comments! And if you missed it, check out the full staircase reveal here.
With love,
Mercedes
