
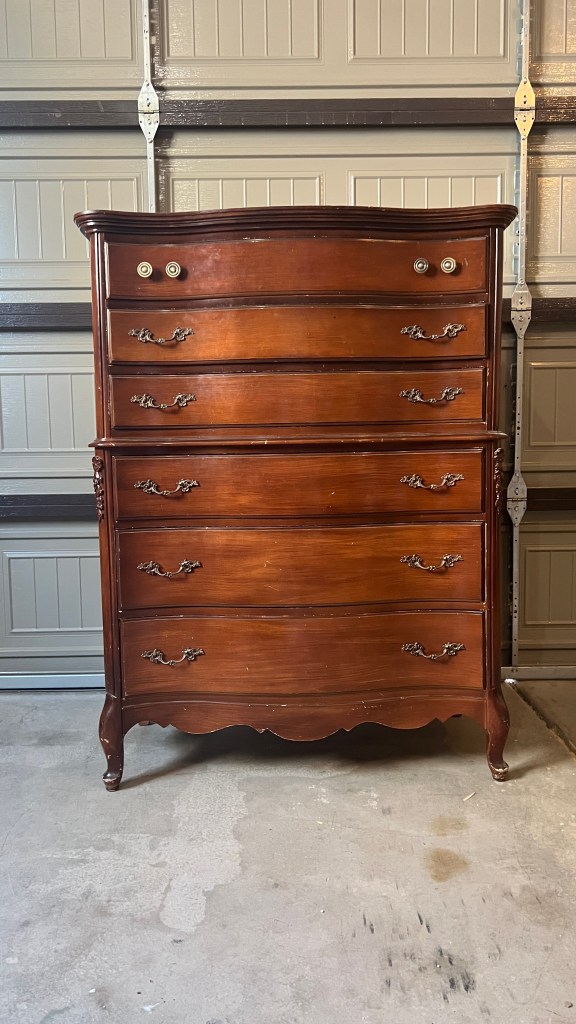
And by flip I mean makeover, we’re not actually flipping tables over here, haha! Over the last few weeks I’ve had several of you reach out to me and ask me how to paint furniture. So whether you want to paint a piece to make it work in your home or so you can sell it, use this as your reference guide.
Want to see what I’m working on right now? Head over to my Instagram!
Comparing Materials
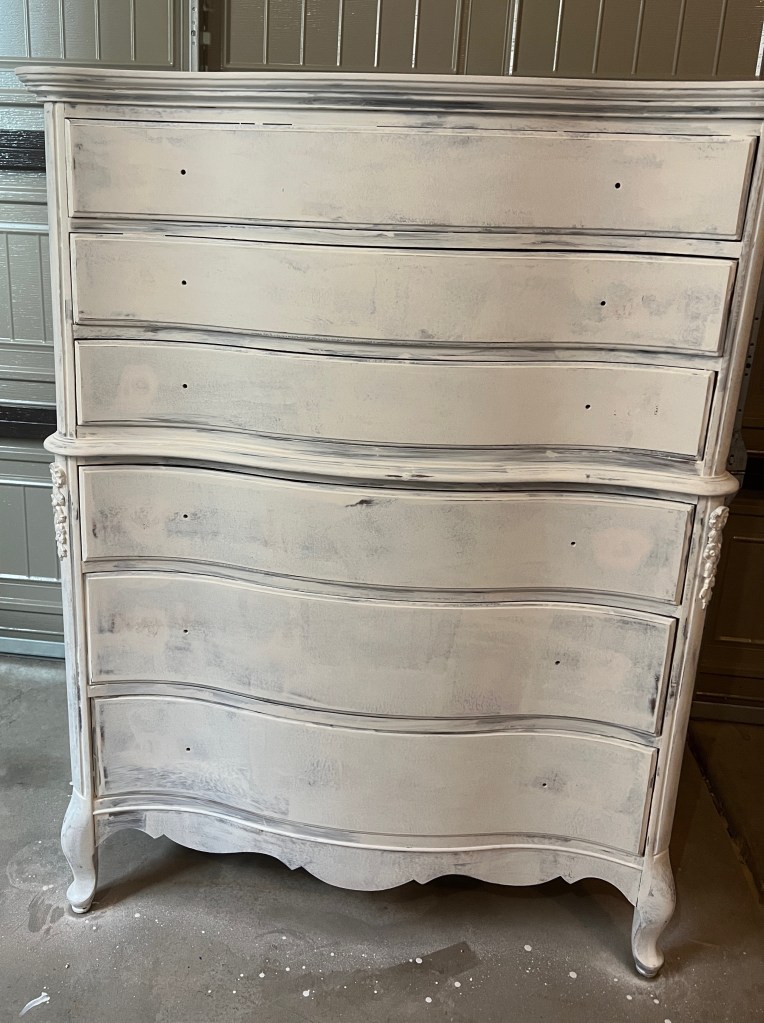
The first thing you need to figure out is what your piece is made of.
Solid wood is heavy and high quality. It can be refinished multiple times and is the easiest to work with, in my opinion.
Wood veneer means that the core construction is MDF or plywood and then has a thin piece of nicer quality wood on top of it. These pieces are not quite as heavy and you need to be a little more careful with sanding because you don’t want to sand all the way through that thin veneer.
Then you have laminated furniture. This is similar to wood veneer, except the veneer is made of a plasticy material instead of wood. A lot of IKEA furniture falls into this category. With laminated furniture, the primer you use is extra important. Most primers won’t stick but BIN will! Keep reading for more on that.
Prep Work
Can we all agree this is the worst part? Okay, great. Now that we’re on the same page, it’s actually not that bad. I always psych myself out thinking that the prep is going to take me ages but then I’m pleasantly surprised when it goes faster than I was expecting.
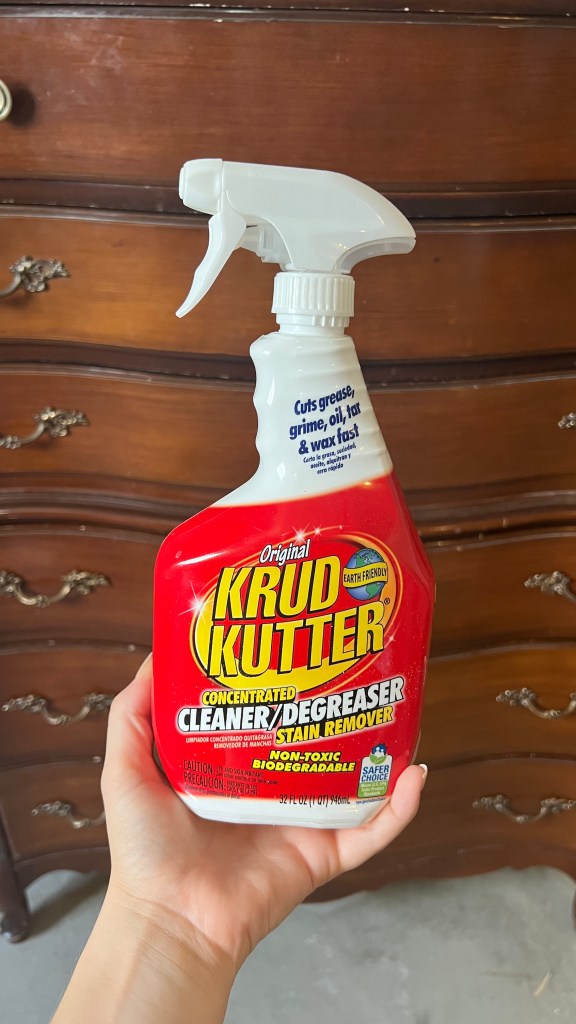
Clean your piece really well. Get all the nasty dirt and grime (that you probably don’t even notice ) off with Krud Kutter. Hands down my favorite thing to clean furniture I’m about to paint with. Don’t use this for regular cleaning because it can mess with the finish!
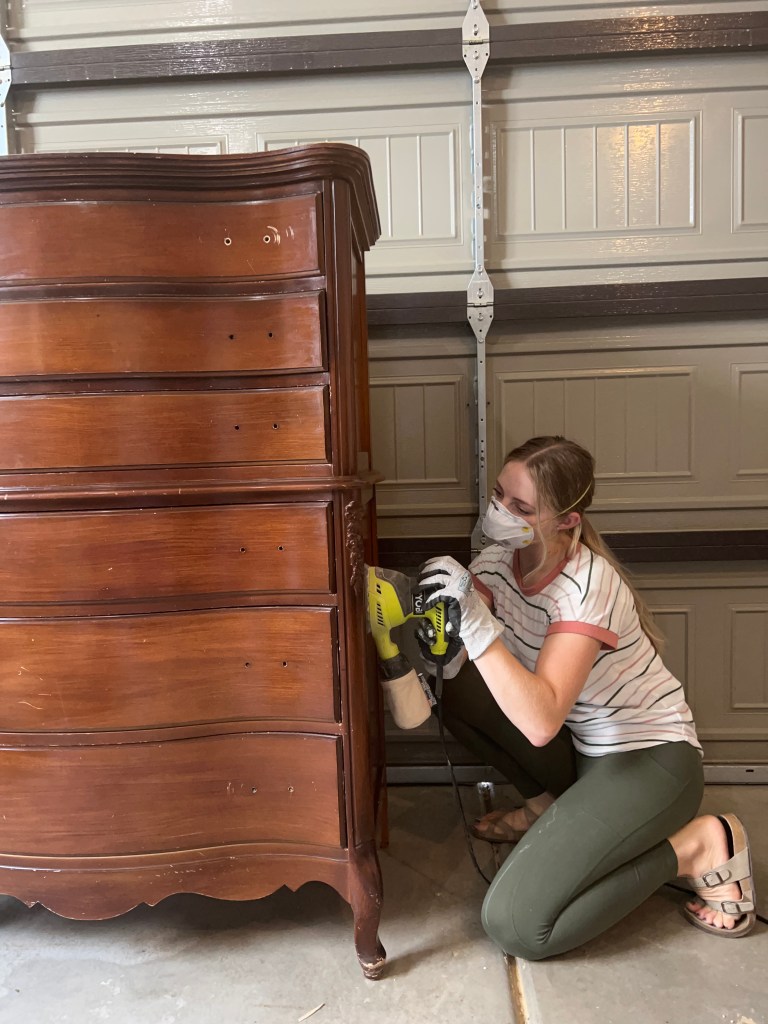
Then you need to sand. One option is a liquid sandpaper/deglosser. This is a great option, but it for me sometimes it feels a little more tedious/time consuming than sanding, just depending on the size of the piece.
Using an orbital sander to quickly scuff sand – lightly sanding with 120-180 grit paper just to scuff up the finish – can often be a quicker option than a chemical sander. So it just really depends on your piece and your preference! With laminate furniture, I wouldn’t recommend using a liquid sandpaper. Stick with the orbital sander!
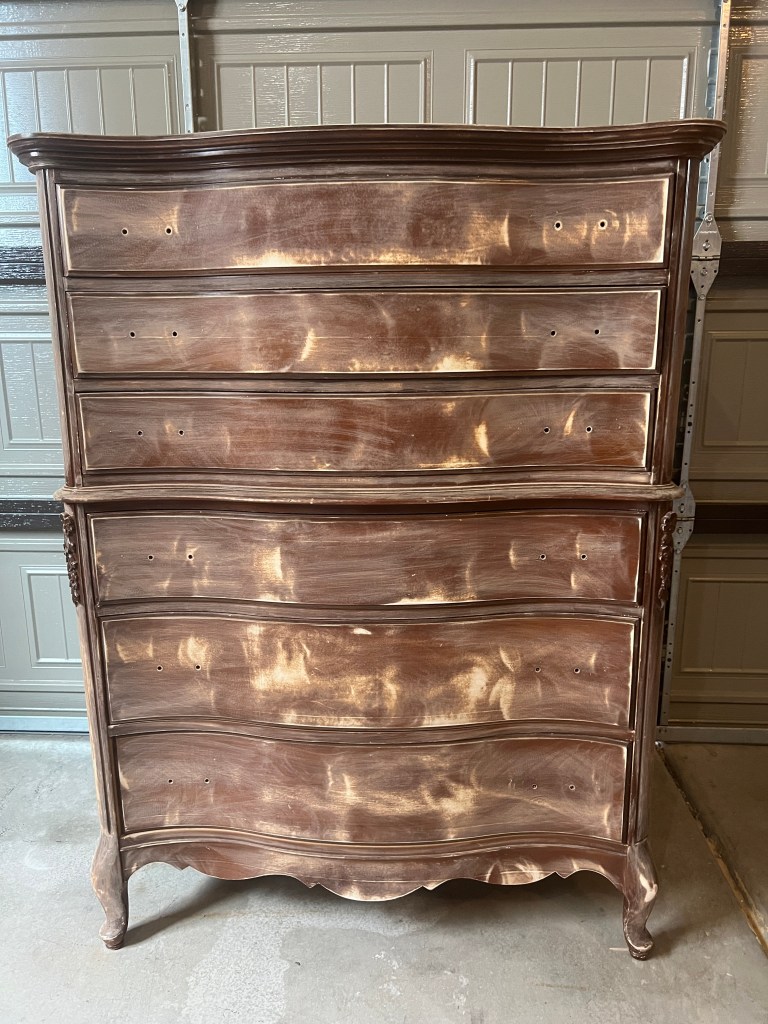
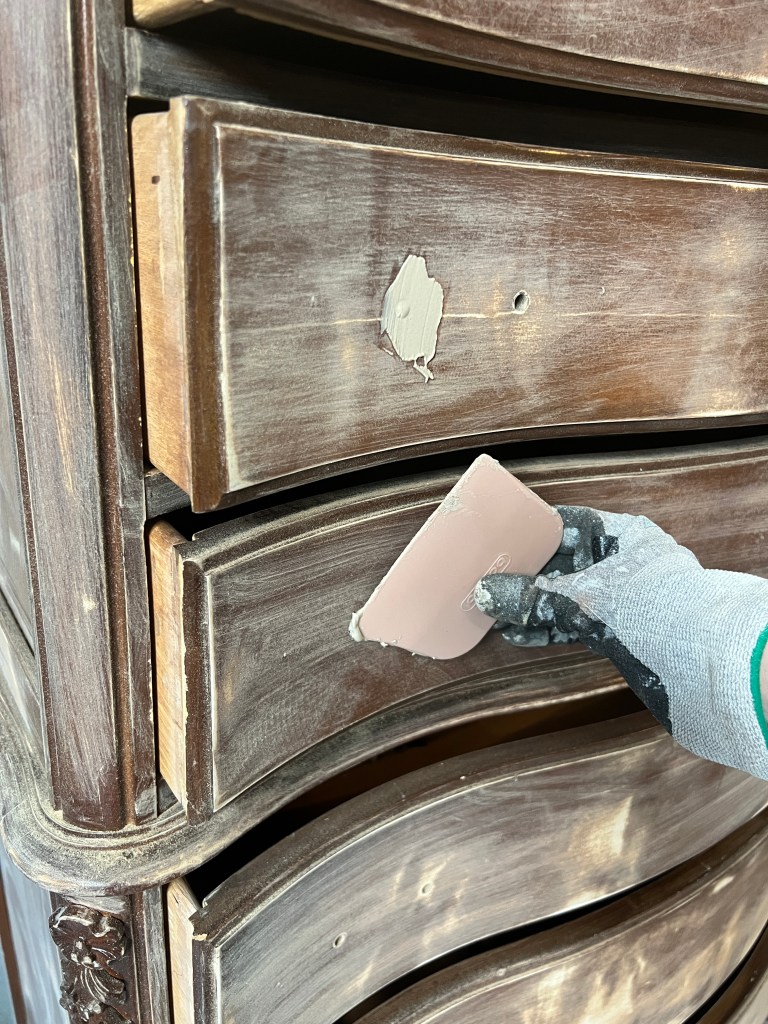
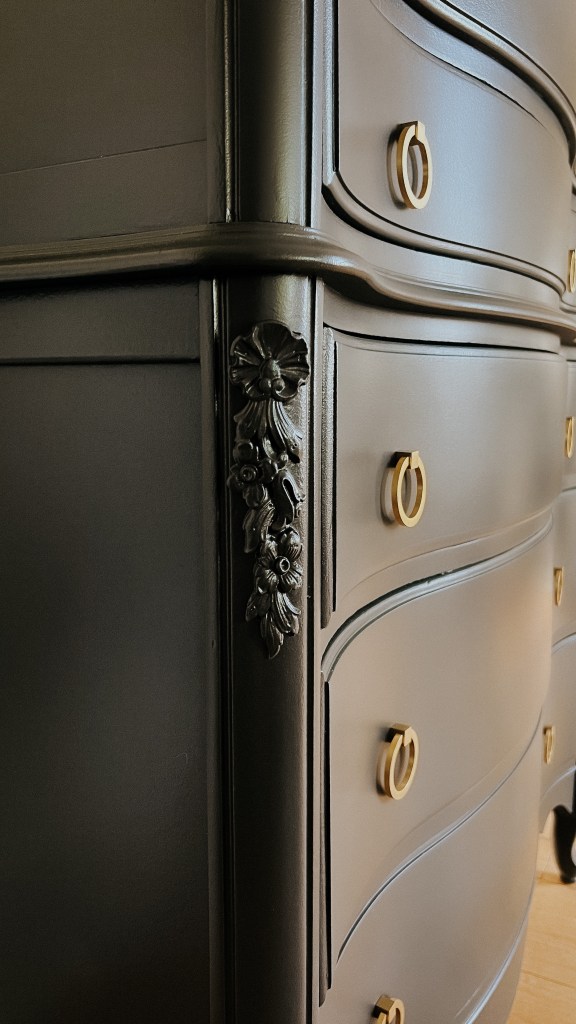
I always like to wait until after my first sanding pass to fix imperfections, so here’s where I do that. Use this high performance wood filler (it’s like Bondo) for a super durable filler. It dries really quickly but it is a beast to sand because of how hard it dries, so make sure you’ve got an electric sander to use. Overfill any imperfections and then come back through to sand them down.
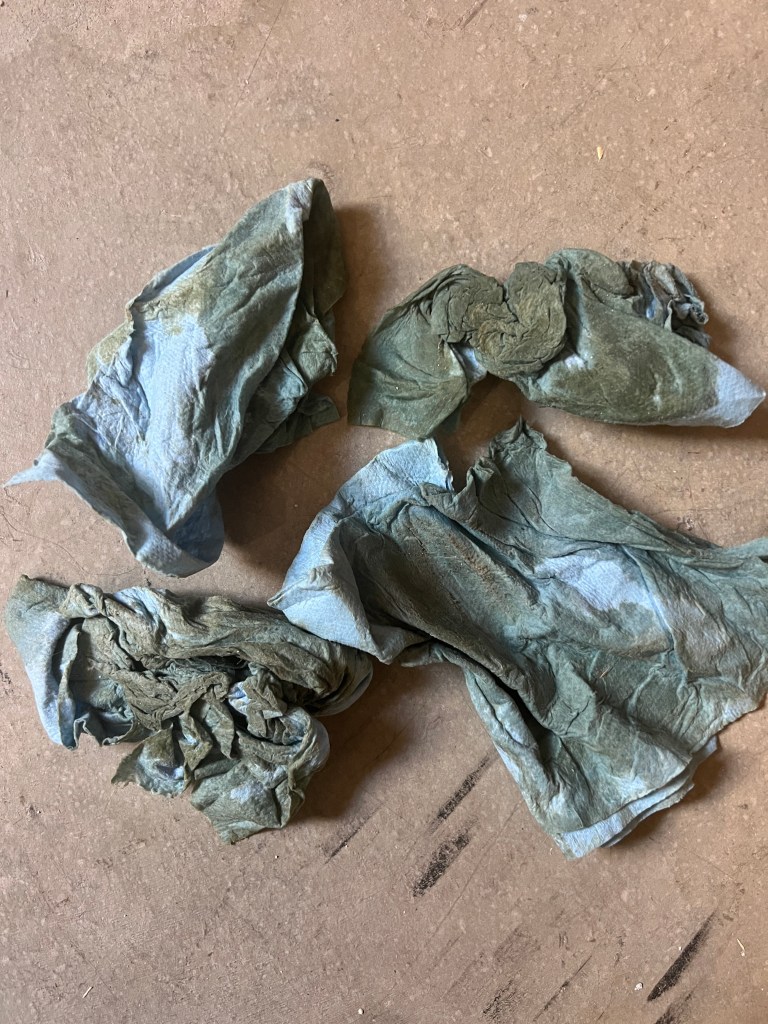
After sanding, wipe everything down with a tack cloth. We don’t want any dust to end up in your finish!
Time to Paint!
The best and most satisfying part, IMO, is painting! But before that, you need to prime.

By far my favorite primer to use is BIN primer. It’s a shellac based, which means it will seal in any odors, keep tannins from seeping through, and it sticks to so many surfaces really well. Remember how I talked about laminate furniture? BIN primer is the best option for priming on top of it. It is thinner than most primers and it lays out really nicely. I would recommend wearing a mask and working in a ventilated space with this.
I don’t usually spray BIN (unless I’m doing kitchen cabinets) because it’s such a paint to clean out of a sprayer. You have to use mineral spirits or denatured alcohol. Since it’s shellac based and not water based, it won’t clean up with water.
After priming, go through with a 220 grit sanding sponge to knock down any high points and get rid of any accidental drips. Be sure to wipe everything down with a tack cloth after every round of sanding.
Ok, now it’s really time to paint. Just like I have a favorite primer, I have a favorite paint. Benjamin Moore Advance paint is such a great product, I really prefer it for painting furniture (as well as cabinets). It is self leveling, so even if you don’t have a sprayer you can still get a good finish and it dries to a really hard finish and you don’t have to use a top coat.
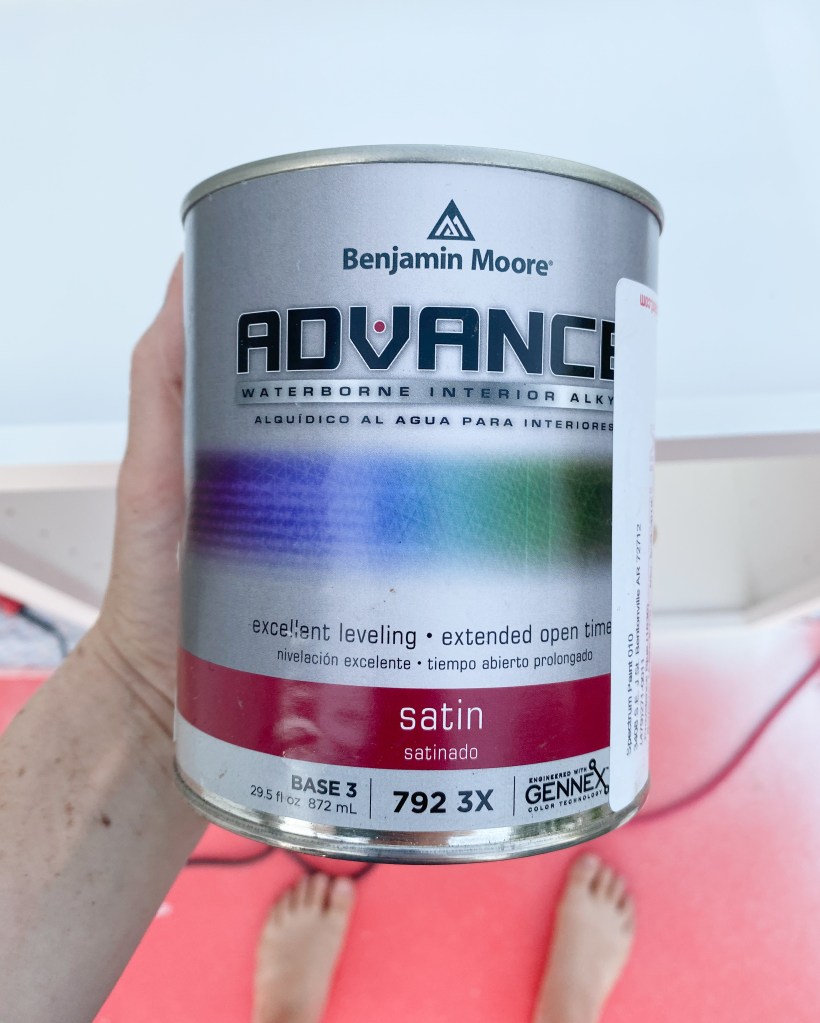
But if you can’t find it in stock near you, you can add some Floetrol to a more generic (but still high quality) paint to help it self level. I find that this method does a good job, but not quite up to the same level as Advance.
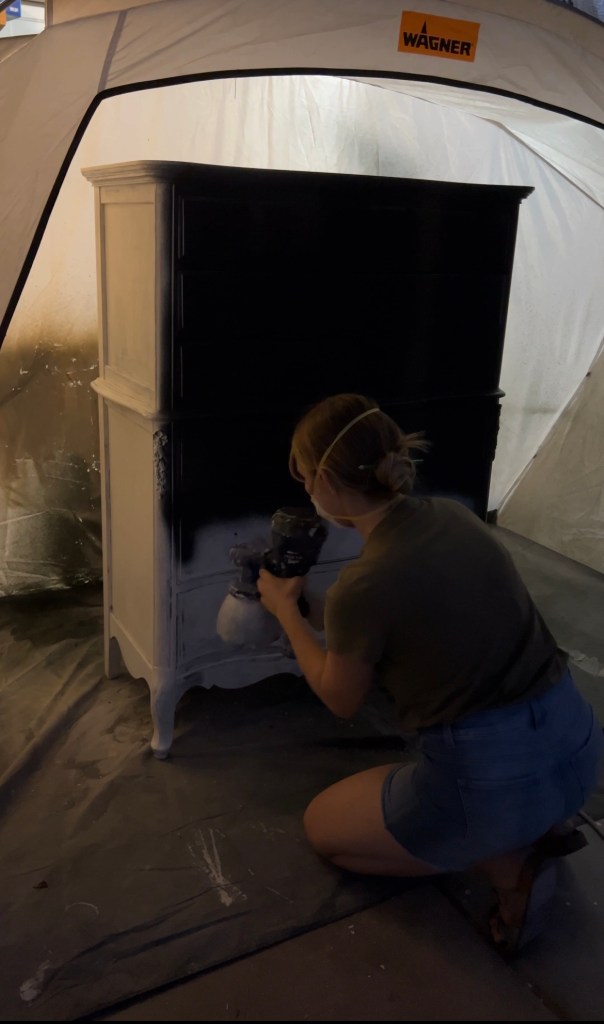
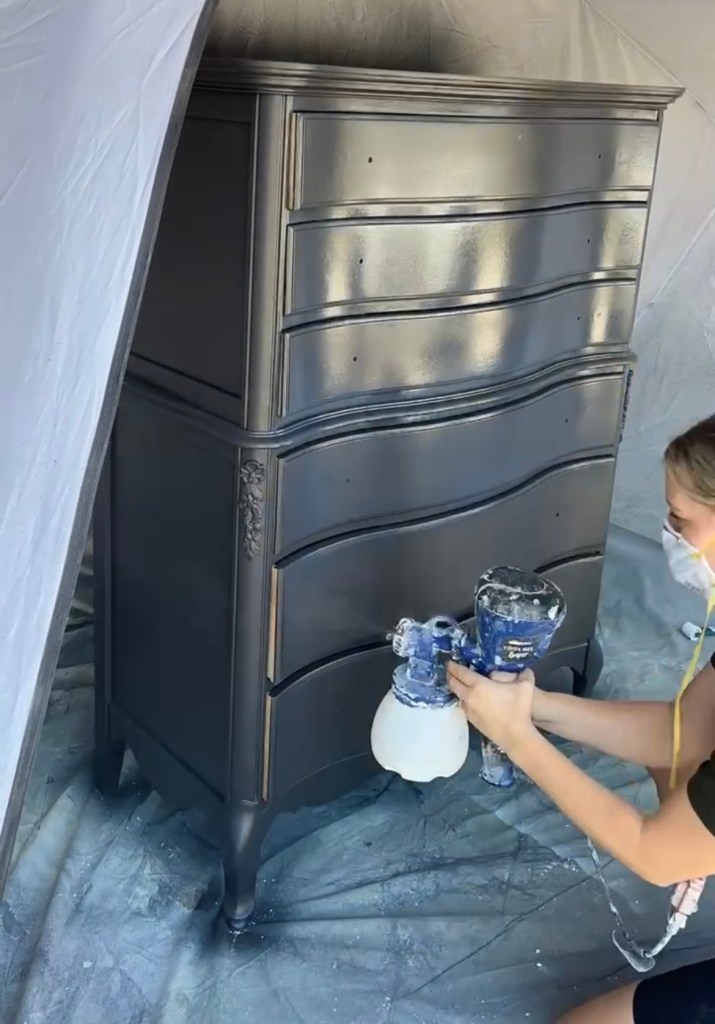
You can use a brush and a foam roller to paint, but if you can swing it I highly recommend this paint sprayer. You’ll get a much nicer finish and it’s worth it to me. You can also grab this spray shelter5 to make it even easier to spray. I always thin my paint by 10% (water with Advance, Floetrol with other paint) before spraying.
Set your sprayer so that the paint is coming out (duh), but not so high that it’s splattering. You want it to look like spray paint. Nice and fine. Then take your time and spray your whole piece. Overlapping the spray pattern by about 30% to get good coverage.
Let that first coat dry, then sand with a 220 or 320 grit sponge, wipe, and paint again. You may need a third coat or you might be fine at two.
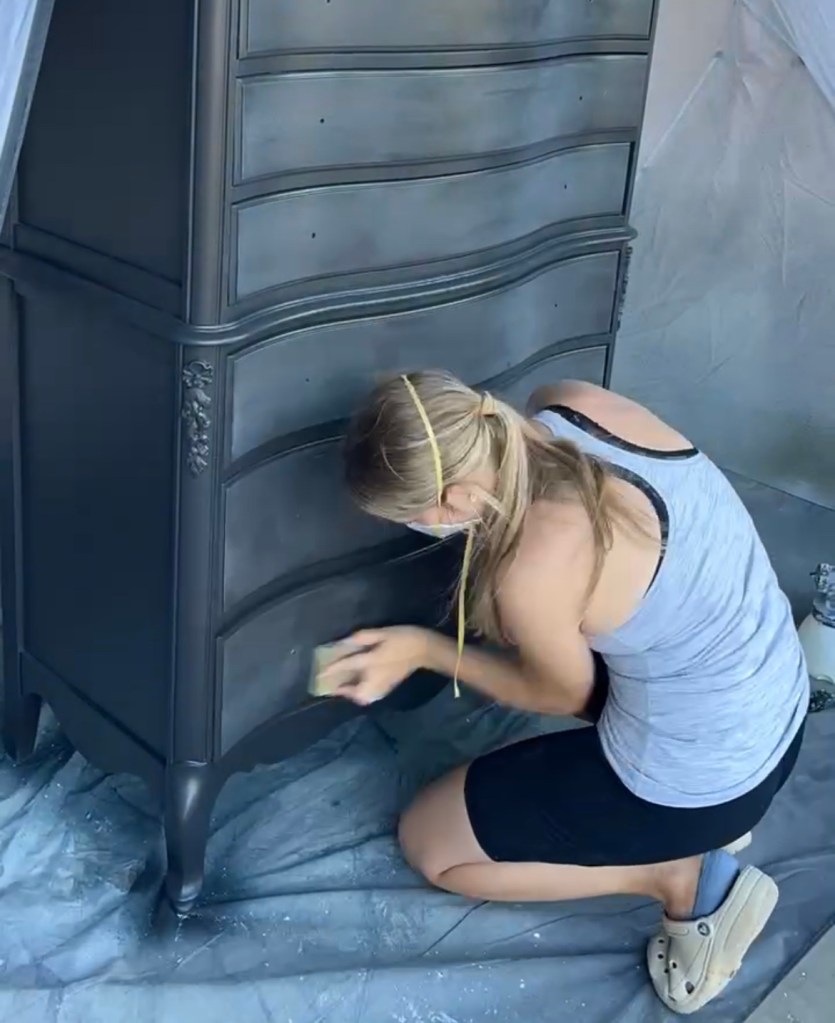
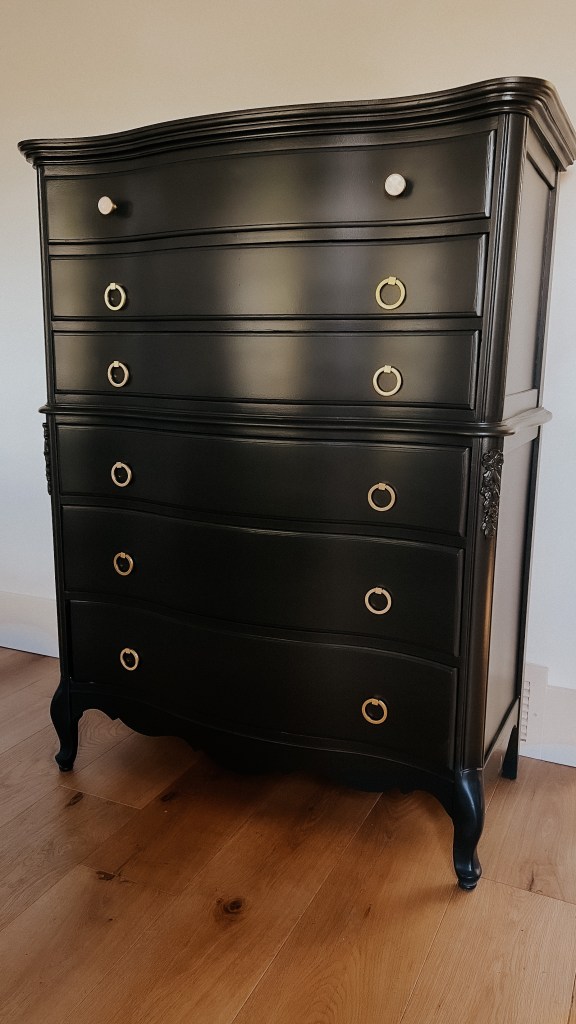
If you’re using Advance, you’re done painting! You’ll need to let your piece cure for a full two weeks in order for it to reach its full durability.
If you’re using another type of paint, you need to apply a top coat. Do this the same way you painted, by spraying! Top coats can be fussy, so spraying them is a game changer. Such a good finish! This is my favorite top coat. I used it on our dining room chairs three years ago and one of them has one scratch that happened in the move. They have held up so well! Do two to three coats and be sure to sand (and wipe) in between coats.
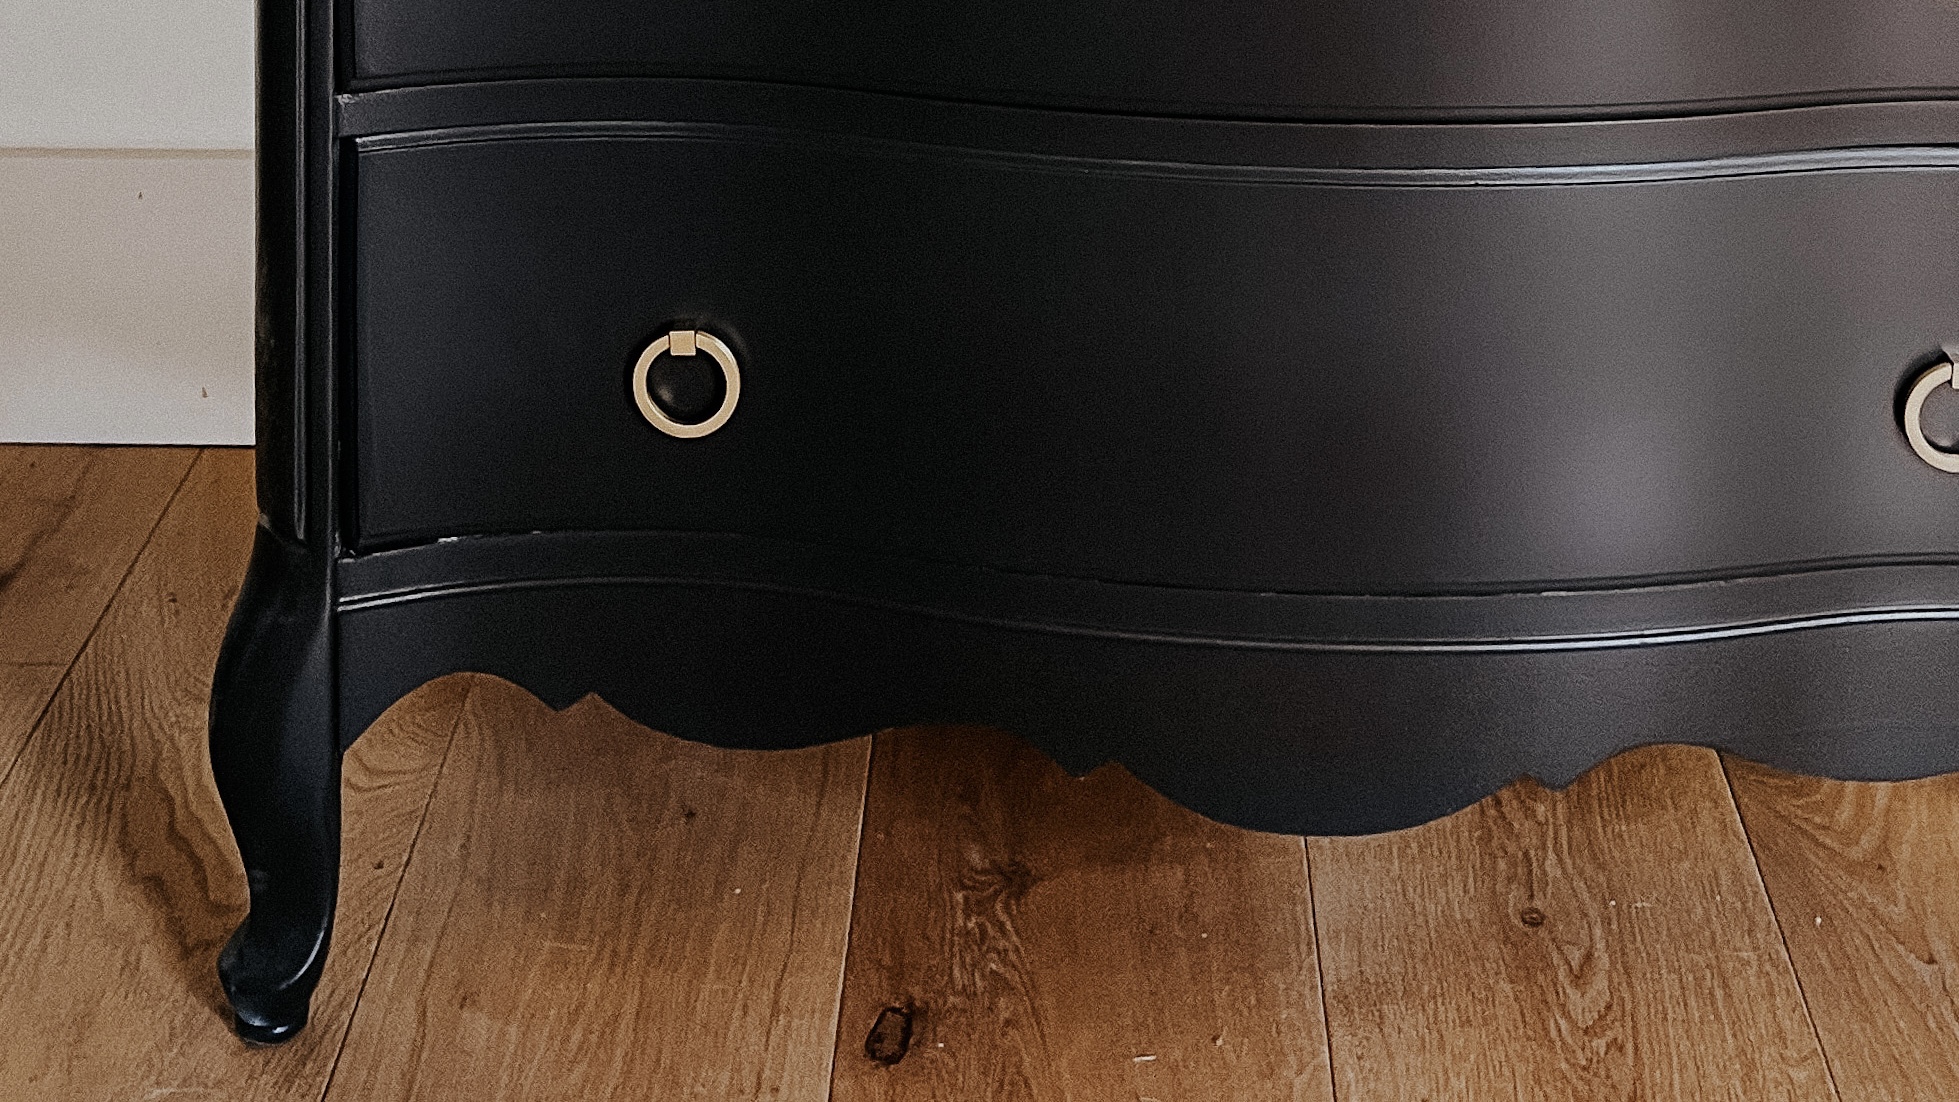
Add Hardware
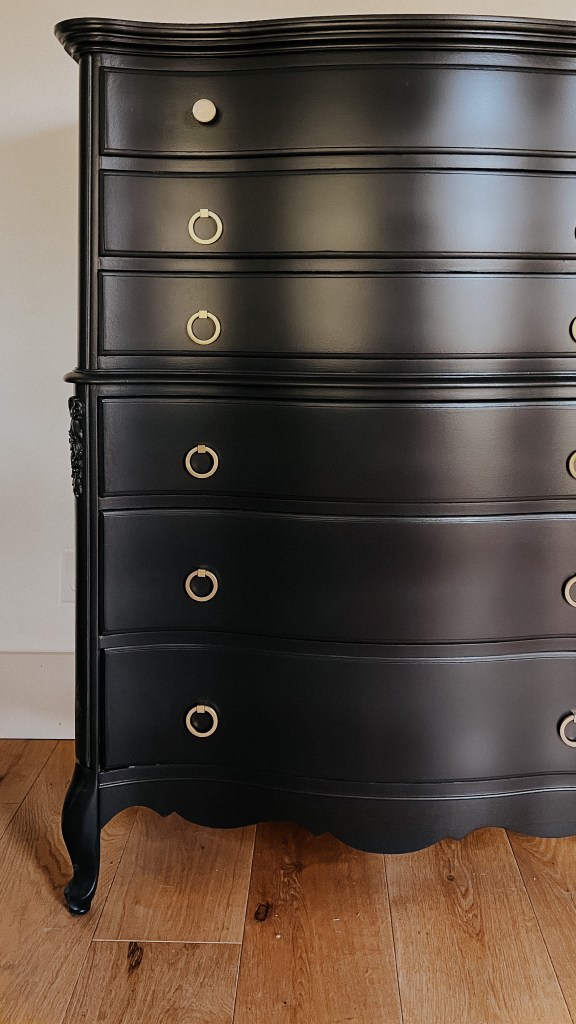
What furniture flip is complete without new hardware? Replacing hardware is such an easy way to elevate a piece. There are so many good (and affordable) choices on Amazon. For this dresser, I used these knobs and these pulls.

Photography
If your goal is to sell your piece, your photos are going to make such a big difference! Put it somewhere with good natural light and against a blank (or at least not busy) wall. Your gallery wall is beautiful, but the focus of your image should be the furniture not the decor.
Then stage your piece (which I definitely didn’t do for this dresser – yet haha). If its a nightstand, put a lamp and a few books on top. A shorter dresser – how about a mirror? Bringing in plants – real or fake – can bring life to an image and be very eye catching.

There you go! Hopefully this is helpful to you. If you use this to flip something, send me a photo (you can DM me on Instagram)! I’d love to see it.
With love,
Mercedes
