

Disclosure: Some of the links provided are affiliate links, which simply means I may earn a small commission (at no additional cost to you) if you shop through one of my links.
Wow it has been a minute since I’ve had a blog post for all of you! Last I wrote we had just (finally) finished the master bathroom in preparation for selling our beloved Arkansas home so we could move to Utah for Jordan’s job. We sold our home, moved to Utah, and found another great house. I was aout halfway through my pregnancy with our sweet baby girl (24 weeks) when I was put on bedrest for 12 weeks – 3 months!
Want to see what projects I’m working on now? Follow me on Instagram!

So there I was with a new house, wanting to do all the projects, but instead I watched a lot of Netflix – haha! Now that baby Theia is 2 months old, I’m definitely ready to dive the fun projects I’ve been dreaming up.
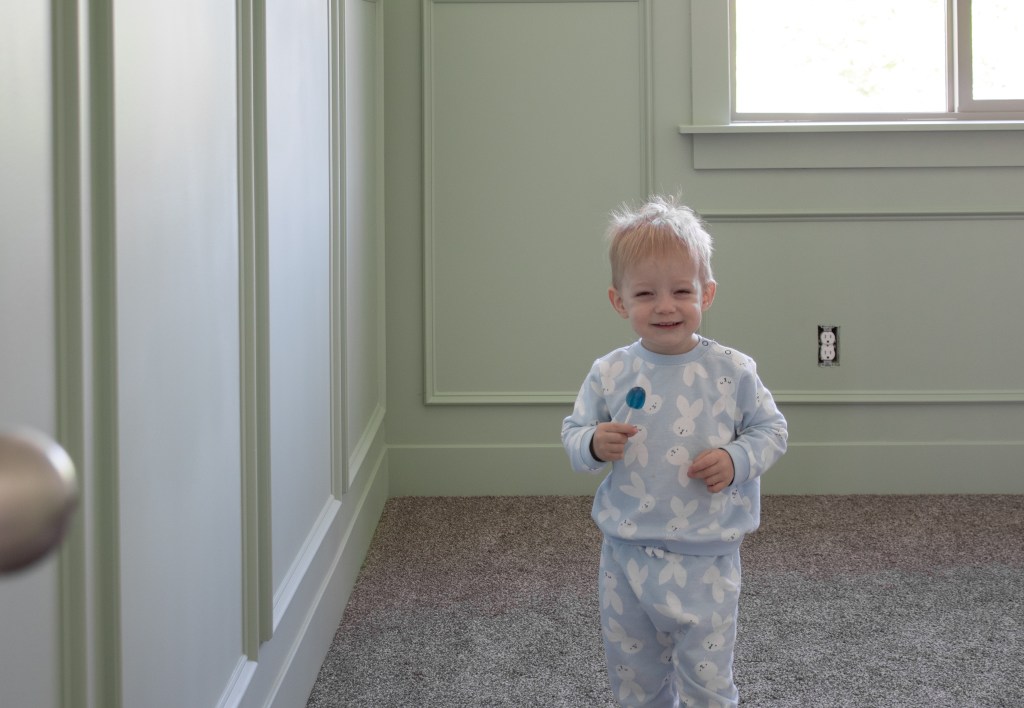
First on my list is, of course, the nursery! Nurseries are so much fun to design and I never feel like I fully finished Elliott’s nursery, so I’ve really been having a blast doing Theia’s.

MATERIALS
Disclosure: Some of the links provided are affiliate links, which simply means I may earn a small commission (at no additional cost to you) if you shop through one of my links.
- Eucaboard (optional)
- Nail gun
- Brad nails
- Chair rail moulding
- PVC trim
- Caulk
- Wood filler
- Sander and sandpaper (120 grit)
- Sanding sponge
- Primer
- Paint
- Paint sprayer or brush and roller
- Miter saw
- Jigsaw
- Level
TUTORIAL
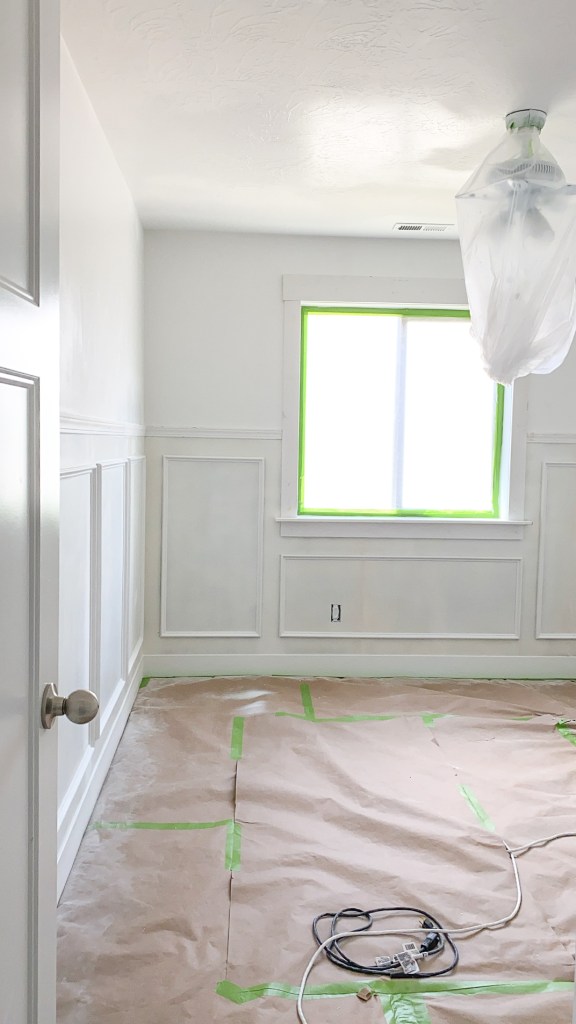
The first step here is really an optional one – putting up eucaboard. I think that having a perfectly smooth wall behind the trim is really what elevates this project and gives it a professional look, but you can absolutely skip this step if you don’t mind your texture showing through. Of course I recommend it, but you do you!
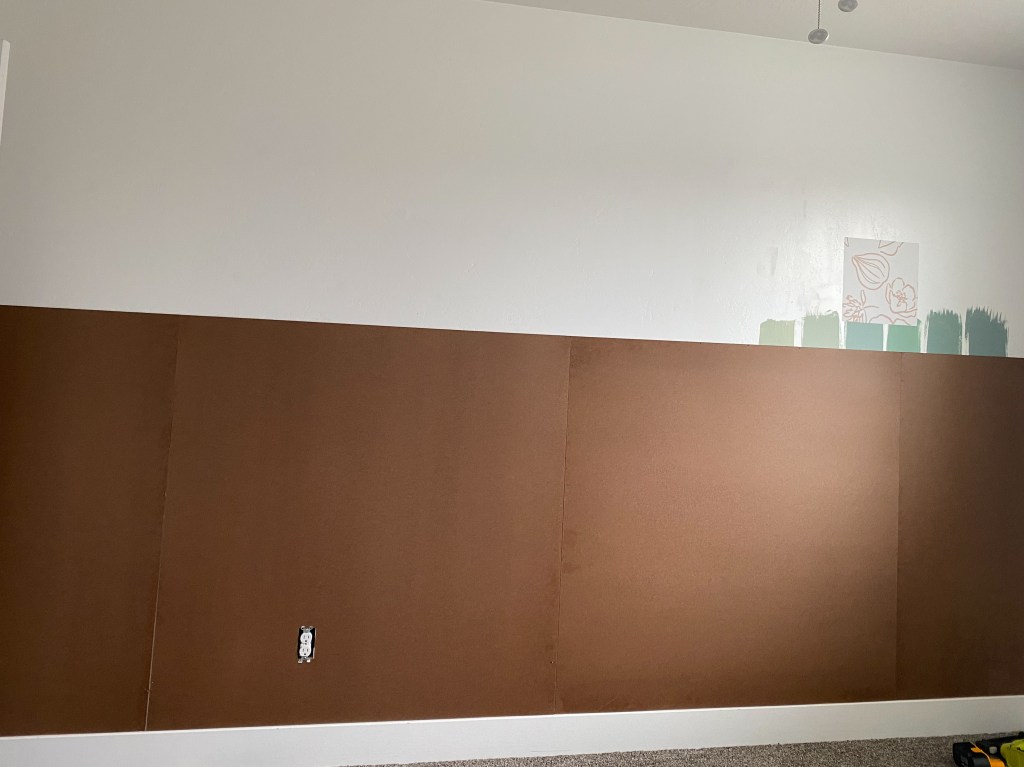
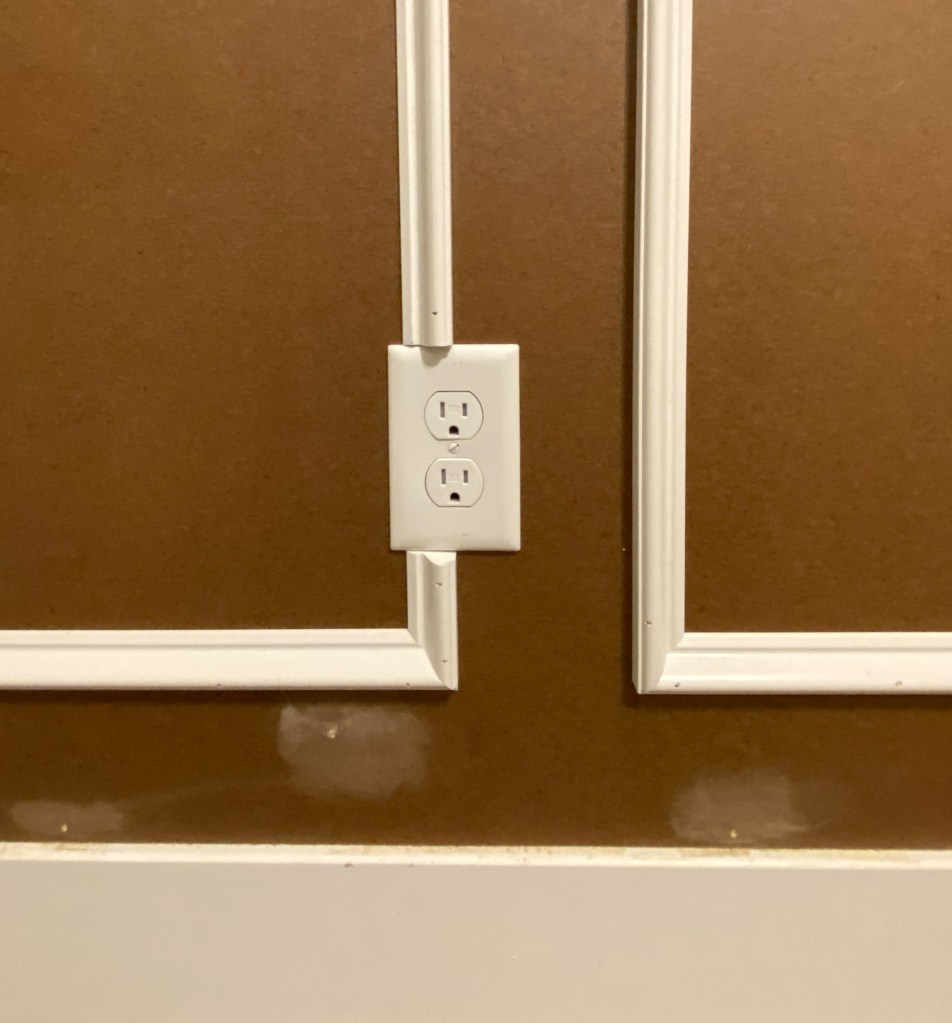
We had Home Depot cut our eucaboard in half (so down to 4’x4′) so it would fit in the car, but if you can leave them as 4’x8′ then do that! The fewer the seams the better. Nail up your eucaboard to create the backdrop for your trim. Make sure to hit studs where you can and if there are any spots that feel a little loose against the wall, throw a few nails in to really secure it. You will have a LOT of nail holes, but that’s okay. Use a jigsaw to make cuts around windows, outlets, and light switches.
Next, cut your chair rail to run along the top of the Eucaboard (not layered on top, more like a hat). Carefully nail it in.

Now onto the trickiest part of this project – figuring out how to space out your boxes. The height of all the boxes will stay consistent. For reference, I left a 4″ space above, below, and between each box, so the height of each box was 40″. I recommend using some painter’s tape to visualize about how wide you want each box to be, then figure out (1) how many boxes will go on each wall and (2) what the actual width will be. Don’t forget to account for the 4″ spaces you’ll want to leave on the edges and between each box.
For example, if your wall is 134″ and you want your boxes to be 28″ wide, here is how you’ll figure out how wide they will actually be. Take 134″ and subtract 8″ for the left and right edges to get 126″. If you put 4 boxes on the wall, then you’ll have 3 more 4″ spaces between the boxes (a total of 12″), so take 126″ and subtract 12″ to get 114″. Now divide 114″ by 4 boxes to get 28.5″. Let’s do one more example. If your wall is 173″ wide and you want to fit 5 boxes on the wall, this is what the math would look like : 173-8=165. 165-(4×4)=149. 149/5=29.8. Round that 29.8 to 29.75 to make it easier.
Do this to each wall individually. Unless your walls are the same size, your boxes will be different sizes and you’ll probably have a different number of boxes on each wall. That’s okay! Just make sure that you’re keeping that 4″ spacing consistent and it will look great. I had 4 on one wall, 5 on another, 3 on the window wall, and one near the door. For the box under the window, I just matched it to the width of the window trim. To make it easy, Cut a scrap piece of wood to 4″ and use it as a spacer.

Use a miter saw to miter the ends of your PVC trim to create the boxes and use the nail gun to attach them to the wall. Use your spacer and a level to make sure that your boxes are nice and straight.
Next use wood filler to fill in all of the nail holes as well as the seams from the eucaboard. Sand the filler smooth once it’s dry. You will probably have to go over the seams several times to get them perfect – it’s annoying, but I still like the smooth wall.
I chose to prime after this step and before I caulked so that I could more easily see where I needed to touch up the wood filler, but you could prime after caulking as well. Either way, you’ll need to caulk every corner and edge (and there are a lot of them). Do the top and bottom of the chair rail, top of the baseboards where they hit the eucaboard, where the eucaboards meet in the corners, the outsides of the boxes, and finally the insides of the boxes.
If you didn’t prime before hand, prime now! If you don’t use eucaboard, you don’t have to prime. This is my favorite primer. Do one coat, sand lightly with a 220 grit sponge (this is how you get the smoothest finish), prime again, then sand again.

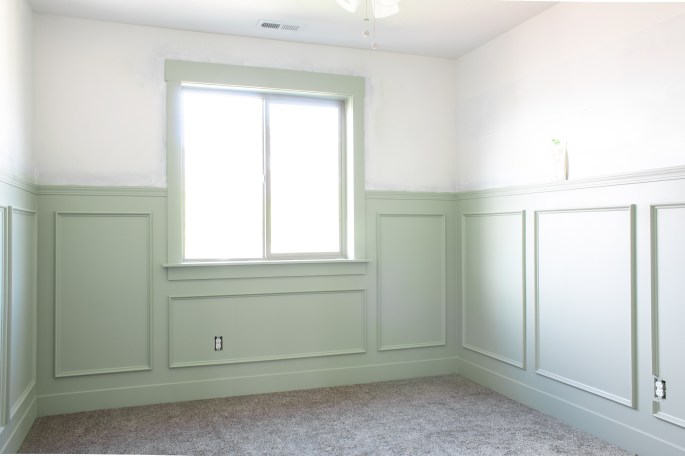
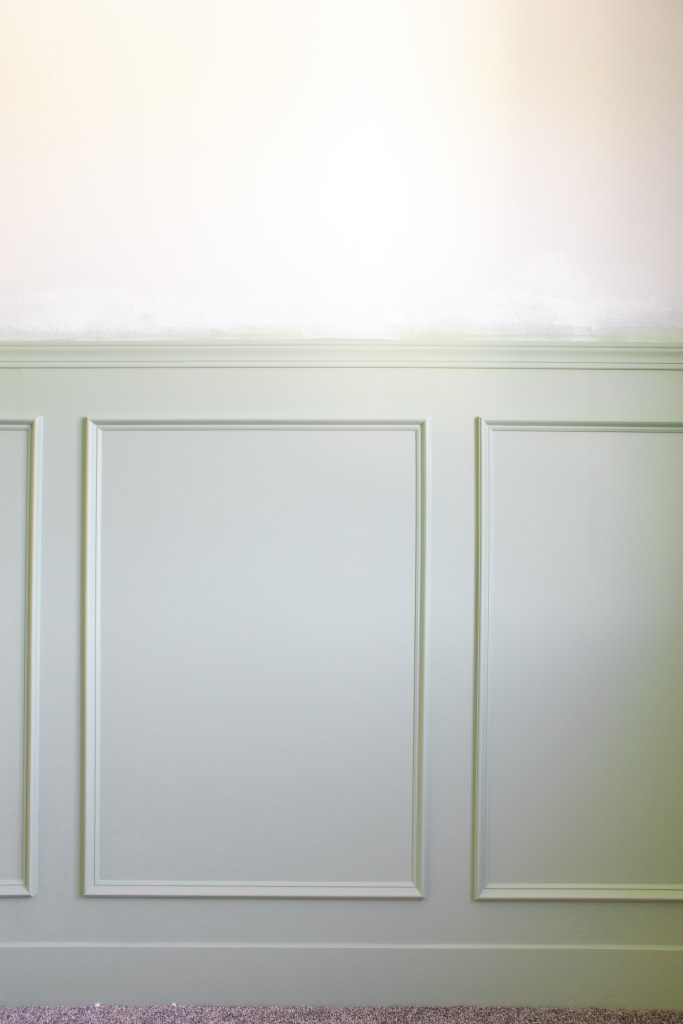
After you’ve primed, you can paint – wahoo! I used Benjamin Moore Regal Select paint in an eggshell sheen and after way too many samples and a few stress dreams, landed on Benjamin Moore Salisbury Green at 75% strength. You’ll want to do two coats and sand with your 220 grit sponge in between coats. Do not sand after your last coat, it will ruin your sheen. I chose to spray because I didn’t want to do all that cutting in, but you can also cut in with a brush and roll with a foam roller.
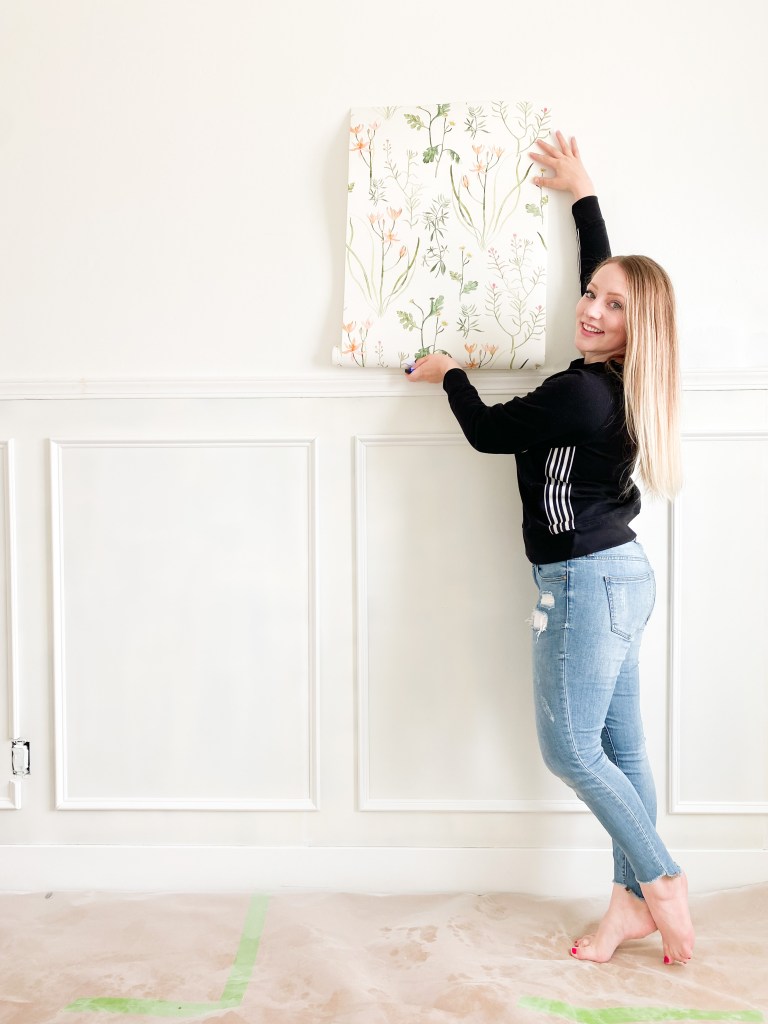
That’s it! Next up in the nursery is the wallpaper to go above the box trim, so stay tuned


SHOP THIS ROOM
MY FAVS
Are you wanting to tackle this yourself? Here are links to some of my favorite tools used in this project.
Disclosure: Some of the links provided are affiliate links, which simply means I may earn a small commission (at no additional cost to you) if you shop through one of my links.

I was at a home improvement store looking for moulding today and I was confused as to which one to buy. It seemed like something called “ply cap” looked the most similar to what you used. Is this the right style of moulding?
LikeLike
Hi! If you click on “PVC trim” in the list of materials, it will take you to the exact trim that I used.
LikeLike
How tall are your ceilings in this room? I am trying to decide if having it go 4ft up my wall like yours will look okay. Thank you for this tutorial! I will be starting it in 3 weeks!
LikeLike
Hi! These are 8’ ceilings.
LikeLike