
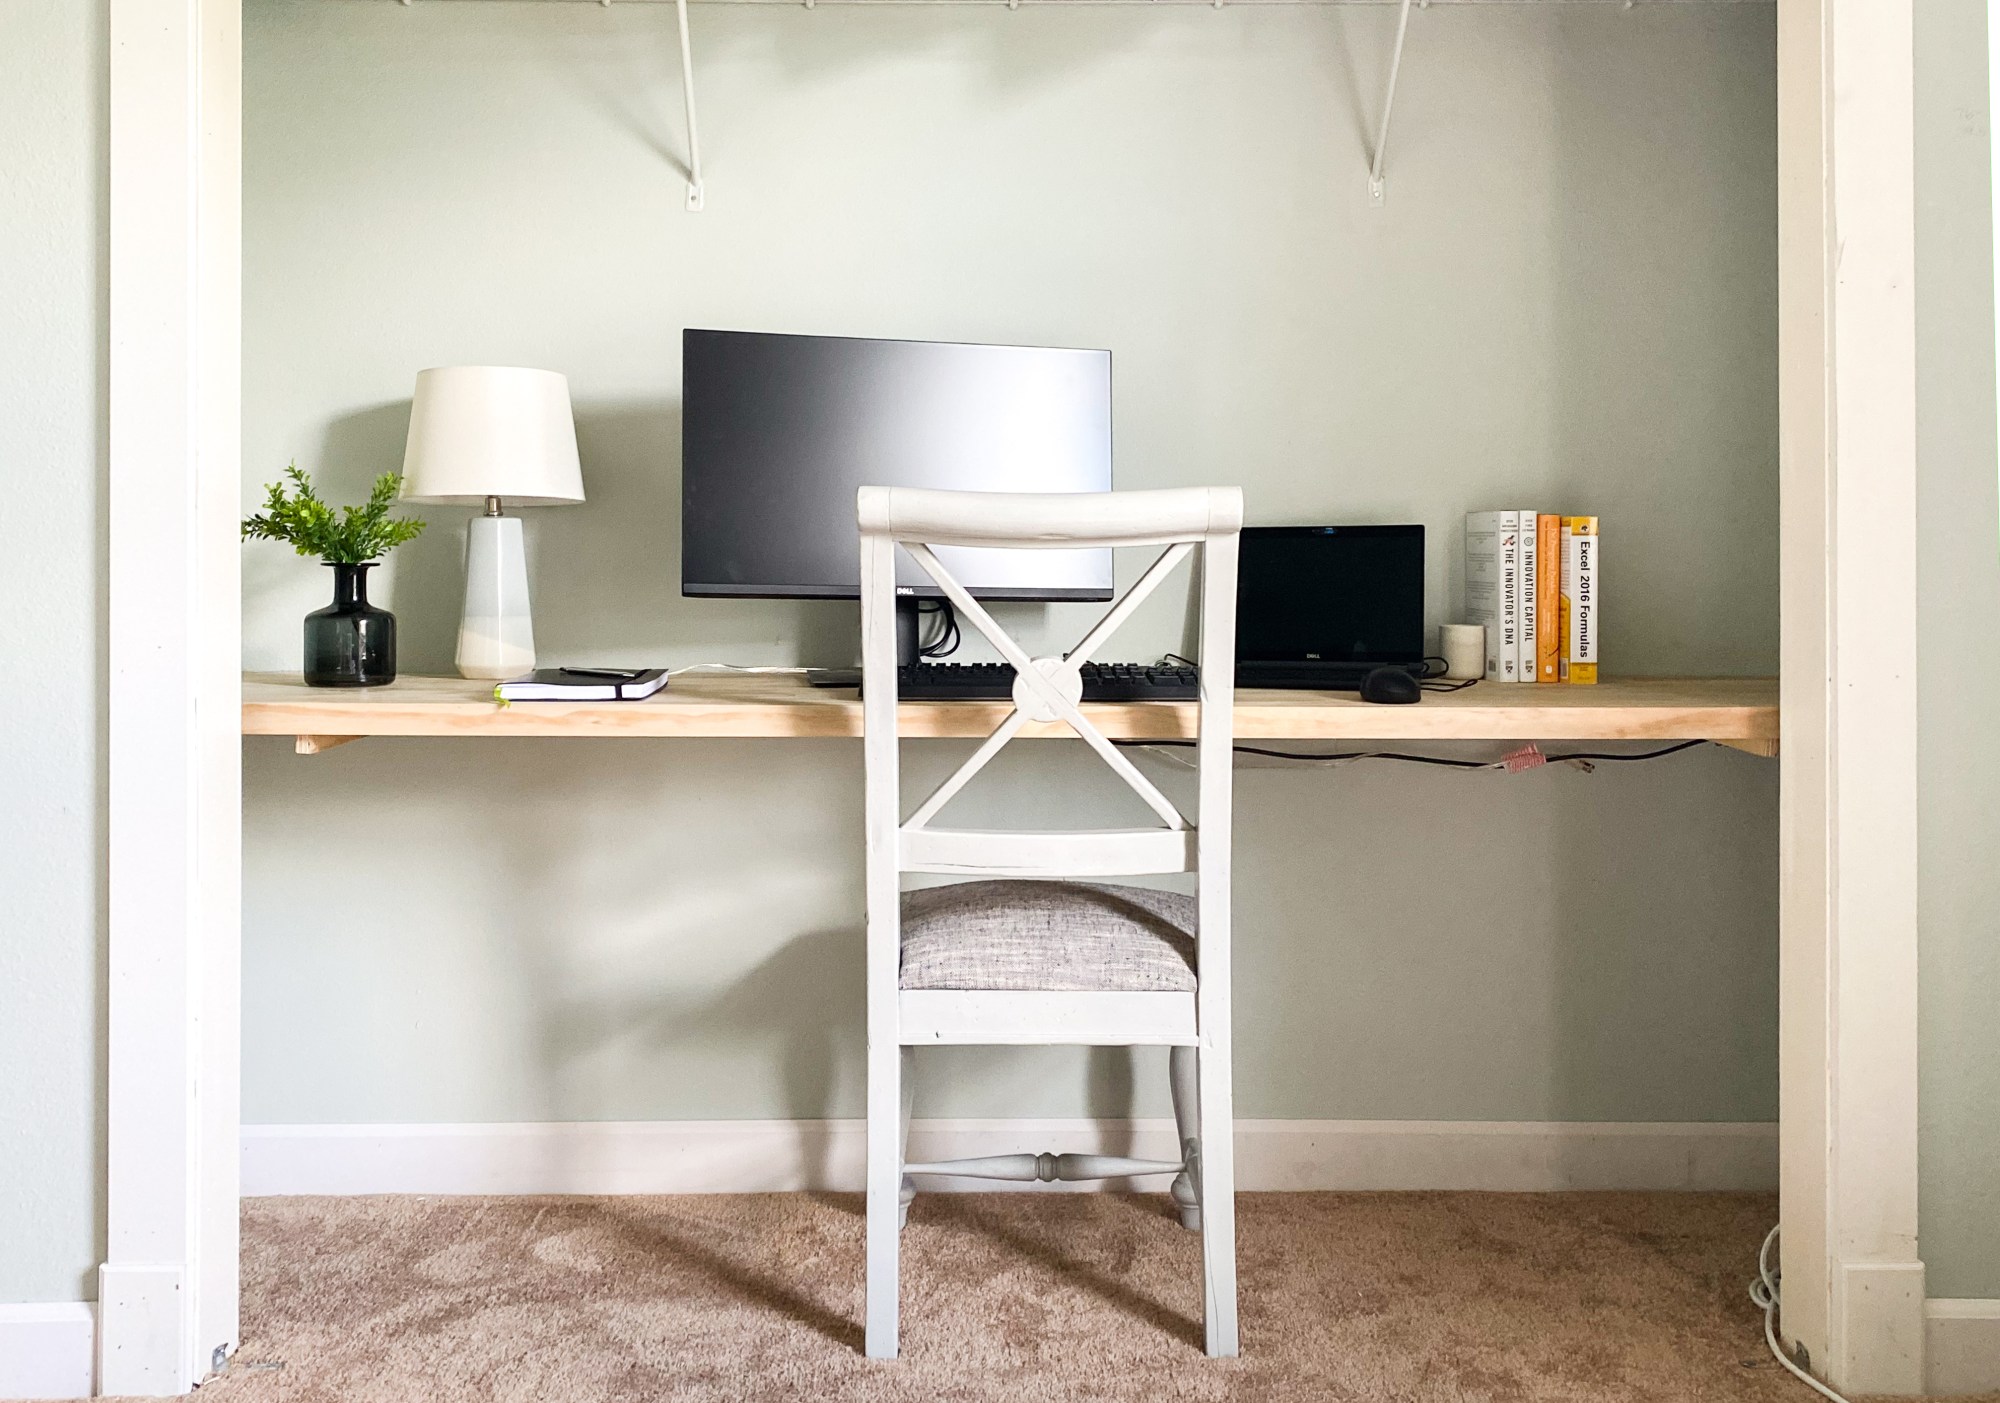
Our guest room is awesome. I love having it. We live pretty far from family, so when they come to visit it’s great that they always have a place to say! But since the craziness of this pandemic has meant that Jordan has been working from home for over four months (and will continue that for the forseeable future), he really needed a dedicated office space that wasn’t the chair in our bedroom with only his laptop. I didn’t want to completely give up the guest room, so this was my solution! A floating desk in the closet.
Want to see what projects I’m working on now? Follow me on Instagram!
I cleared everything out and took the closet doors off, then I basically made a massive floating shelf. It turned out super well and I feel like I get major kudos and deserve a Best Wife of the Year award.
TUTORIAL
- 1×3 common pine (the amount will be dependent on your space)
- 1×2 select pine
- 2 Project panels
- Pocket hole screws
- 3″ screws
- Wood glue
- Stud finder
- Kreg Mini Pocket Hole Jig
- Circular saw
- Drill
- Miter saw
- Stain
- Polyurethane
A standard desk is 28″-30″ off the ground, so decide your height and make a mark on your wall. I went with 30″. Next, mark the studs using a stud finder along the back and side walls a few inches under your finished height mark.

My closet is just a hair longer than 8′, so I was able to use a full 1×3 along the back wall (okay, I actually used scrap plywood, but if I were building this again I would go ahead and use pine just because it’s a little more rigid). If your closet is shorter than this, you’ll need to use a miter saw to trim a 1×3 down. Go about 3/4″ under where your mark on the wall is and screw the 1×3 into the studs, making sure it’s level as you go. Repeat this with the side walls. Don’t worry if there’s a little gap between your back and side supports.

Now, determine how wide you want your desk to be. I built mine to be 21″ wide. To figure out how long to make your supports, take that number and subtracted 1.5″ (0.75″ for the 1×3 along the back and another 0.75″ for the 1×2 you’ll run along the front). 21-1.5 = 19.5, so my supports needed to be 19.5″ long. I cut 4 supports to this length (I recommend using 1x3s again) but you could add more.
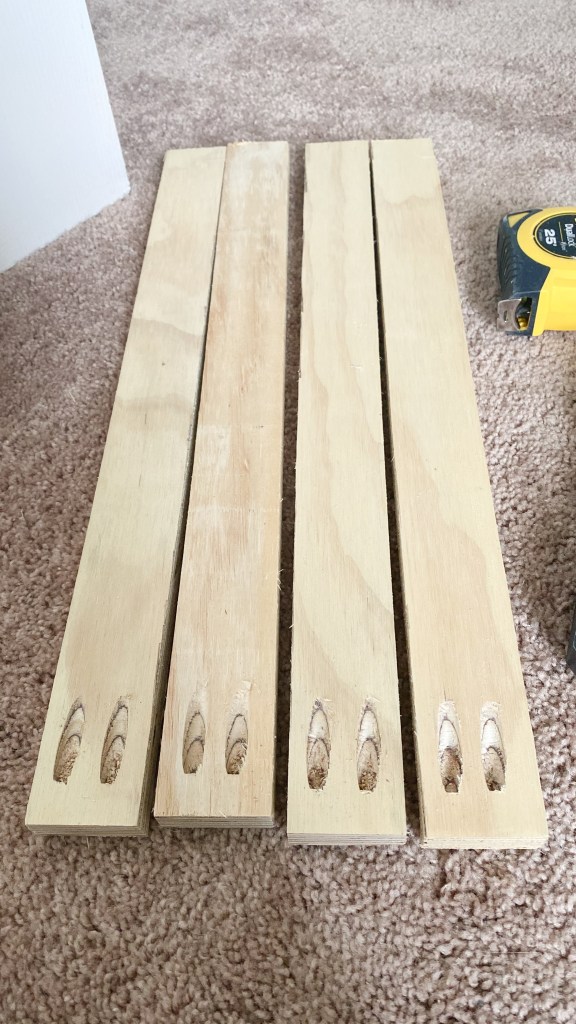
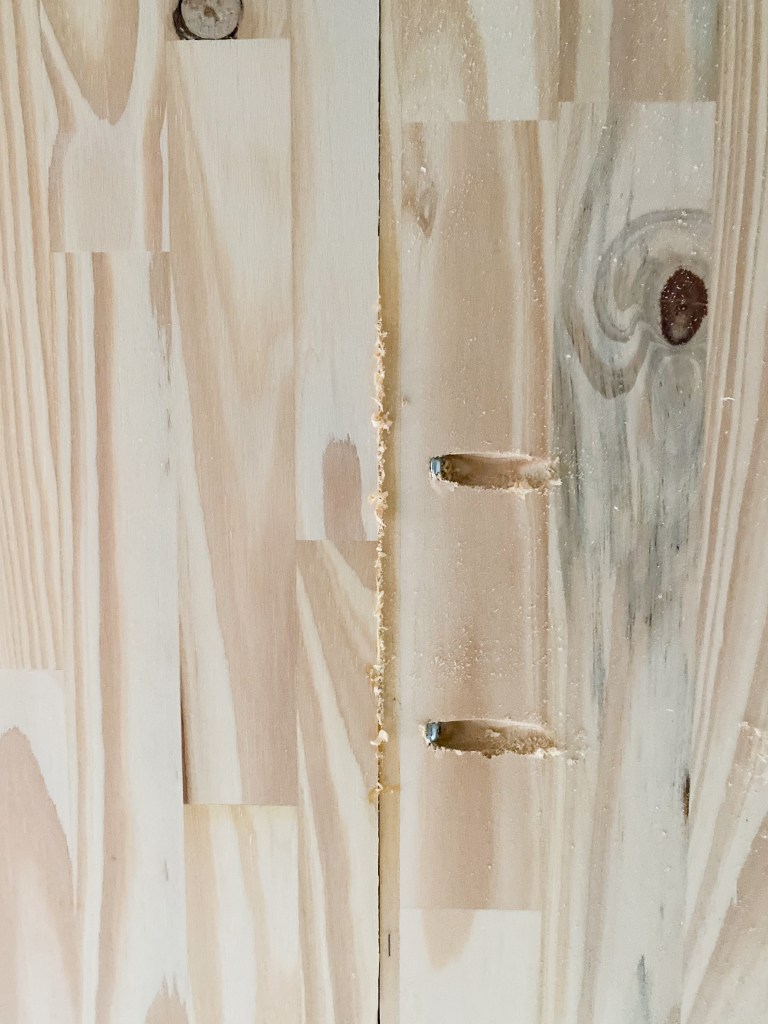
I drilled two pocket hole screws on one end of each of the supports. Then I attached them to the back support piece with wood glue and pocket hole screws. I attached the middle two horizontally so that the 1×2 would cover it and the two on the sides vertically for extra support. The goal was to have the vertical ones be hidden by the edges of the closet but I accidentally attached the left one a little too close to the middle. Oh well, haha!

Now that the support is done, you’re actually really close to being done! Since the project panels come in 12″ widths and I wanted the desk to be 21″ wide, I needed to rip one of them down a little. So I cut one down to 8.25″ (21″ – 12″ [width of first panel] – 1.5″ [width of 1×2 that will go on front] = 8.25″) with my circular saw. Then I put both panels on the support I had just made, but I placed them upside down. I drilled 6 pocket holes (it could have used a few more) and screwed them together. Don’t forget to also put wood glue in that seam!
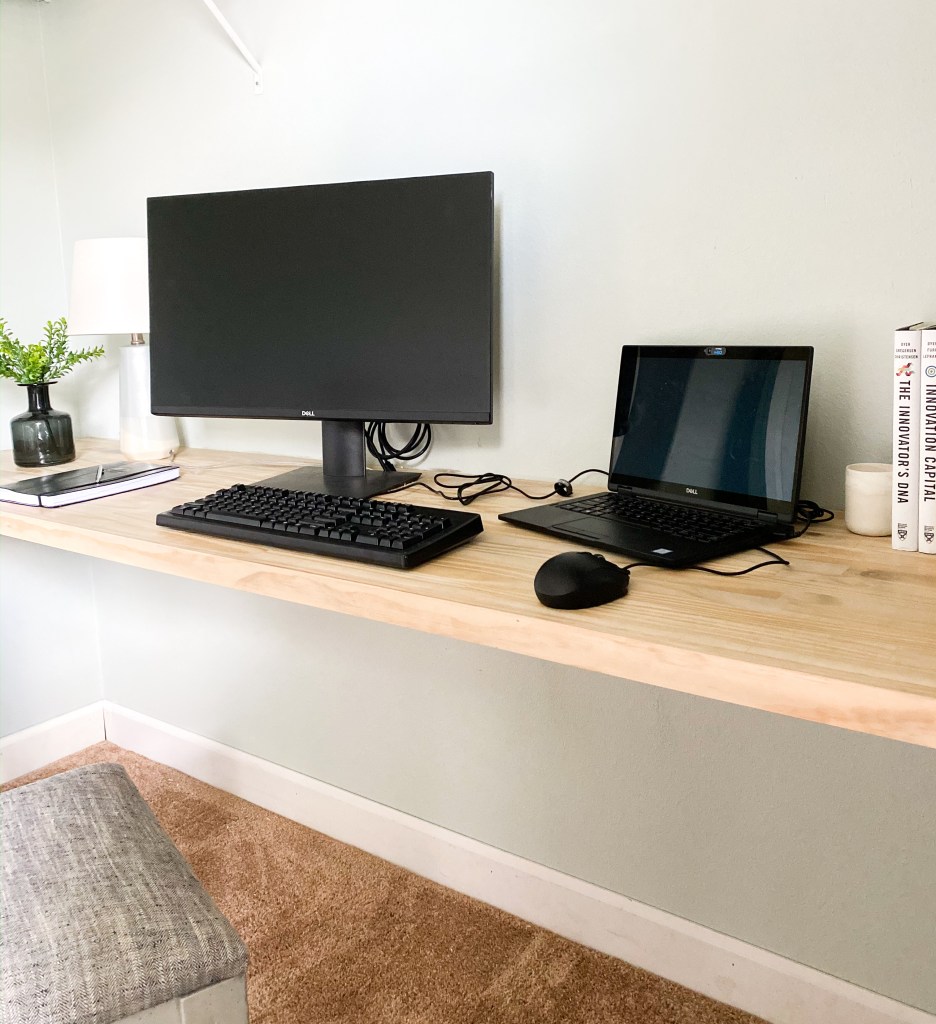
Once the wood glue was dry, I flipped it over. Ta-da! A desktop. I screwed the corners into the support brackets underneath for some extra stability.

To finish off the front edge, so I took the 1×2 and nailed it in, making sure that the top was flush as I went.


Then you can finish it however you’d like! I chose to stain it with weathered oak to give it a grayish tint, but you could also paint it if you’d like. However you finish it, seal it with this polyurethane! It is the absolute best. I painted my dining room chairs (one of which is now the office chair) with chalk paint 2 years ago and sealed it with this liquid gold and there isn’t a single scratch. Amazing!

So there you go. You could definitely do this in one day if you could commit the whole day, but it took me 3 naptimes. Oh, and it only cost me $42 (I only needed to purchase the desktop and the 1×2)! Let me know if you try this out yourself. I love to see all your projects!

With love,
Mercedes ♥

Brilliant! This looks great. Thank you
LikeLike