

Who else is getting excited that the One Room Challenge is almost over? I’m excited because I’m right on track (actually I’m ahead of schedule, which never happens), but also because I can’t wait to see all the beautiful spaces revealed! It’ll be awesome, I’m sure. Follow along with everyone’s progress here.
Want to see what projects I’m working on now? Follow me on Instagram!

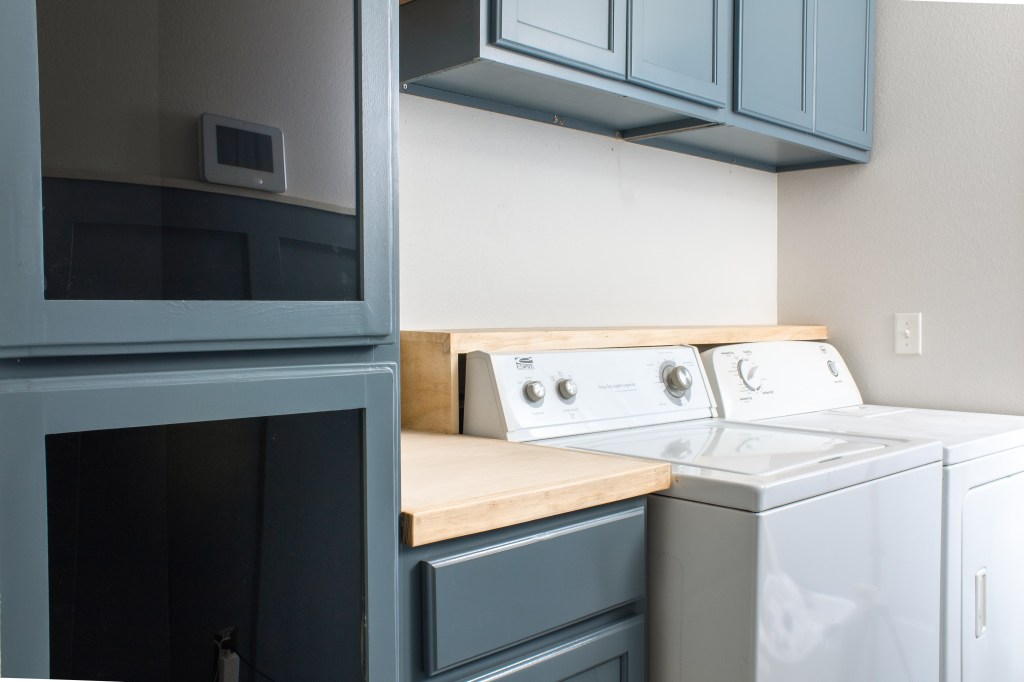
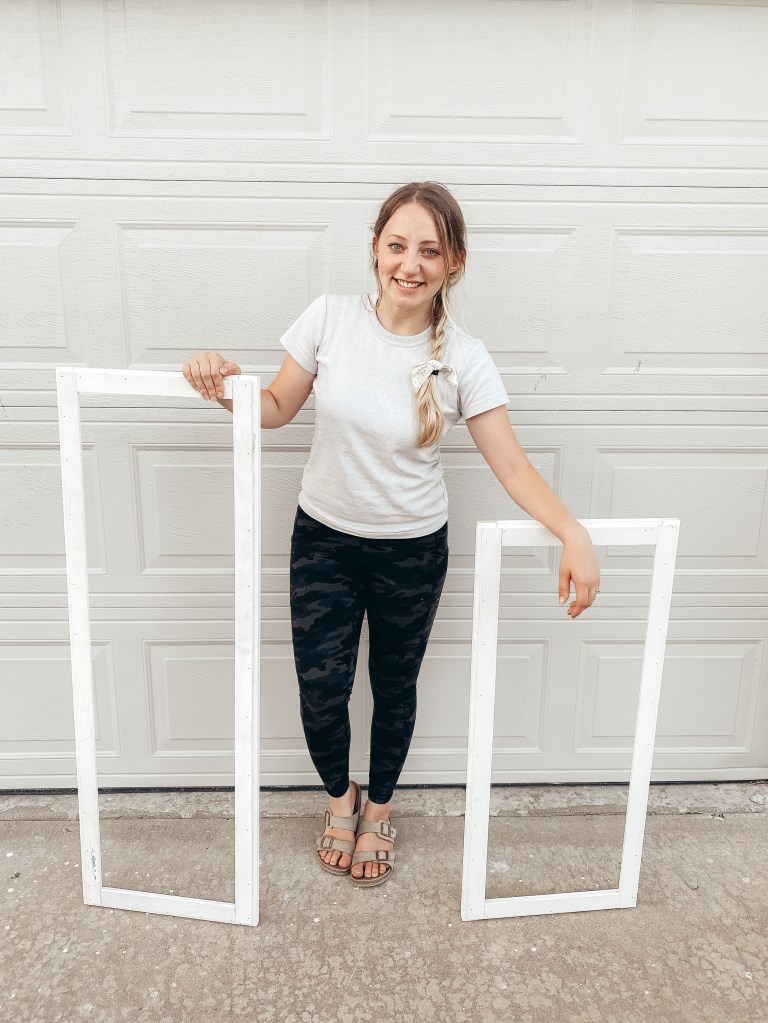
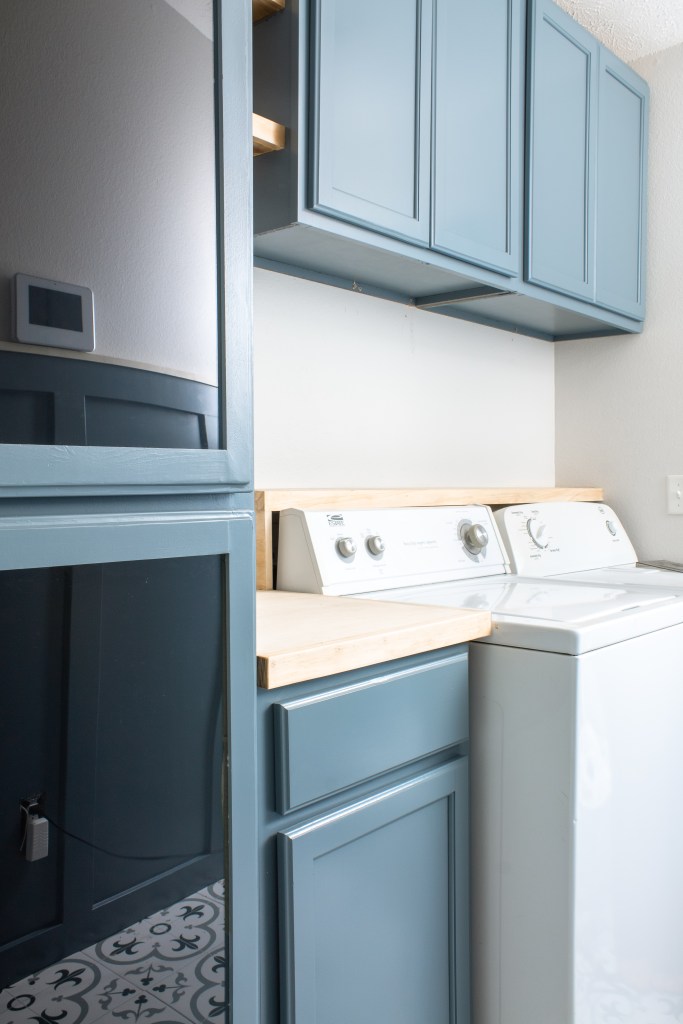
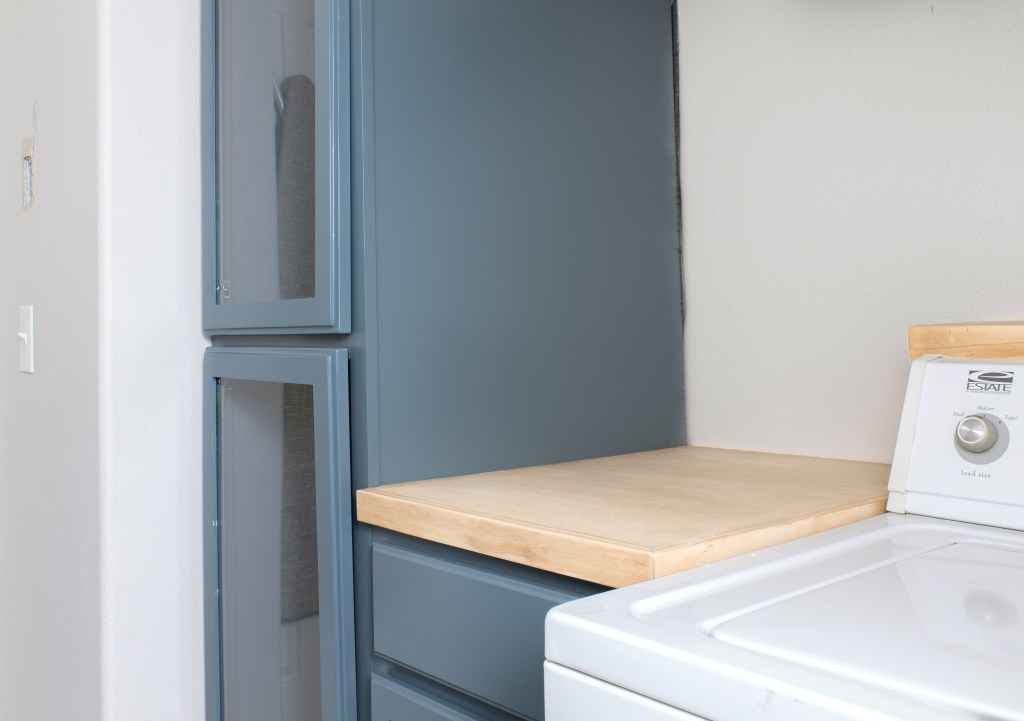
This week I wanted to share with you guys how I built the doors for my linen cabinet. It was by far the most intimidating part of the whole room, so much so that I almost decided to go for an open cabinet look… meaning just totally scrap the doors because building them scared me. But I decided to just try and see if I could do it and guess what? They turned out beautifully! Not perfect, but I’m super pleased with them. And it was 100x easier than I expected.
MATERIALS
- 1×2 pine (I used pre-primed, but if I were doing it again I would choose – higher quality like select pine)
- Lattice molding
- Wood glue
- Kreg pocket hole jig
- Pocket hole screws
- 5/8” brad nails
- Wood filler
- Caulk
- Clamps
- Kreg concealed hinge jig
- Paint
- Plexiglass
- Superglue (at least 2 tubes)
- Miter saw
- Electric sander
- Drill
TUTORIAL
I have to start off this post by saying that I am not a professional cabinet maker. Like at all. I am sure that there is a better, more professional way to build cabinet doors, but this way worked well for me and I was able to use tools that I already have. I’m really happy with how the doors turned out, so I’m calling it a win!
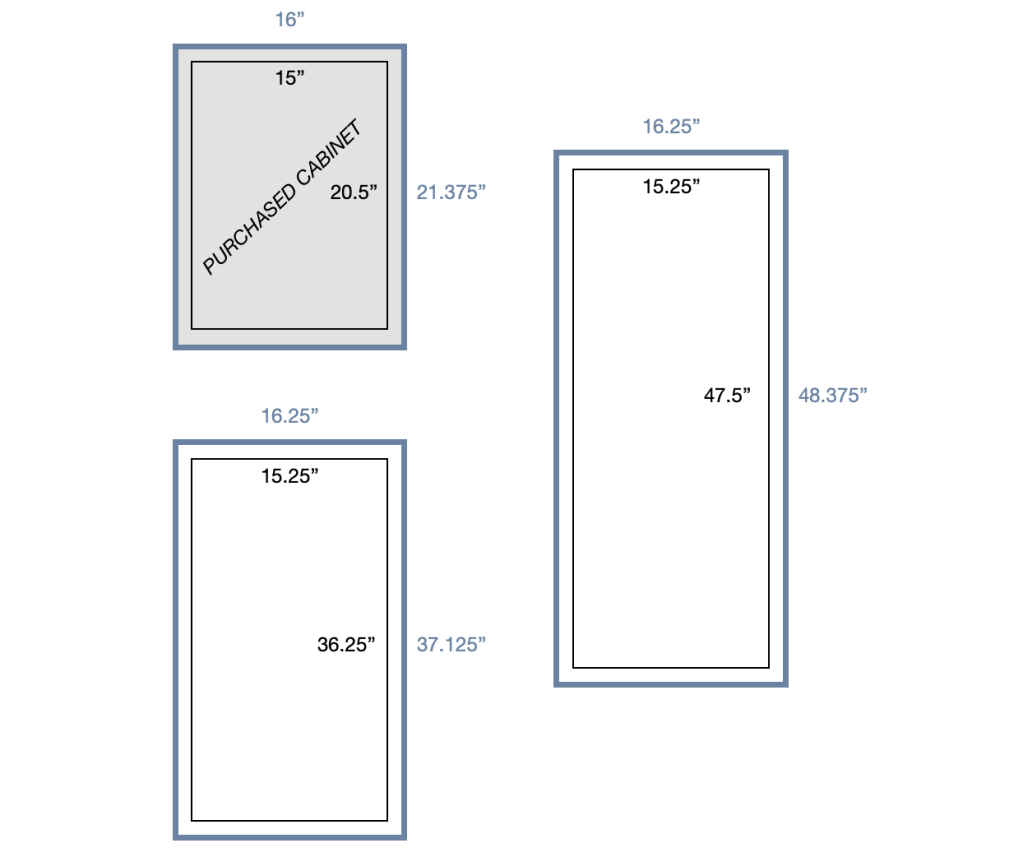
The very first thing you need to figure out is how big your doors should be. I wanted mine to be proportional to the doors on the cabinets I had already purchased, so I started there. I measured the width and height of the cabinet opening and the width and height of the door. The opening was 20.5” tall and 15” wide, and the door was 21.375” tall and 16” wide. So I took the difference, which was 0.875” on the height and 1” on the width and added that to my linen cabinet opening. My linen cabinet measures 15.25” wide, so my doors needed to be 15.25” + 1” = 16.25” wide. The height of the first opening was 47.5”, so 47.5” + 0.875” = 48.375”, so that’s how tall I needed to make that door. The second opening was 36.25” tall, so 36.25” + 0.875” = 37.125” was the height for that one. I know, math is hard.
With my measurements figured out, I could start building. Each door needs two vertical pieces and two horizontal pieces for the frame. I started with the vertical pieces, cutting two pieces per door out of 1x2s to match the height measurement that I decided on.
Then I took the width measurement (16.25”) and subtracted the width of my 1x2s (which is 1.5” twice, since I have a 1×2 on both sides). 16.25” – 1.5” – 1.5” = 13.25”. That is the length of the horizontal pieces, so I cut 2 of those for each door.
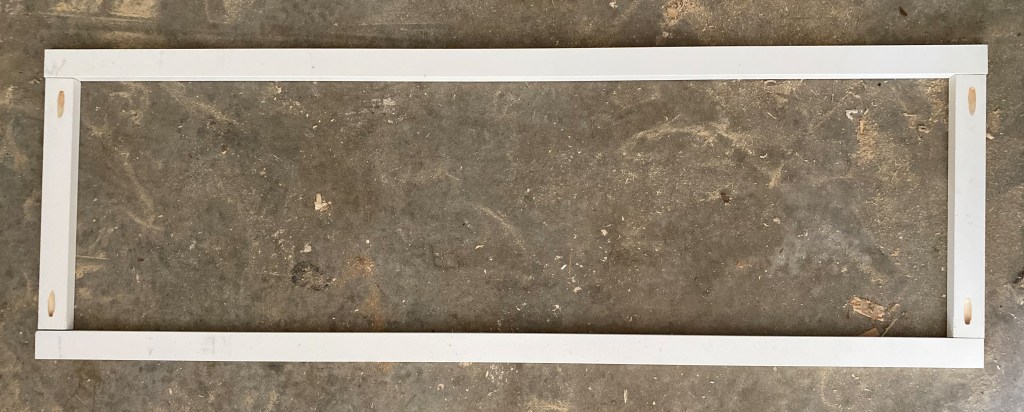
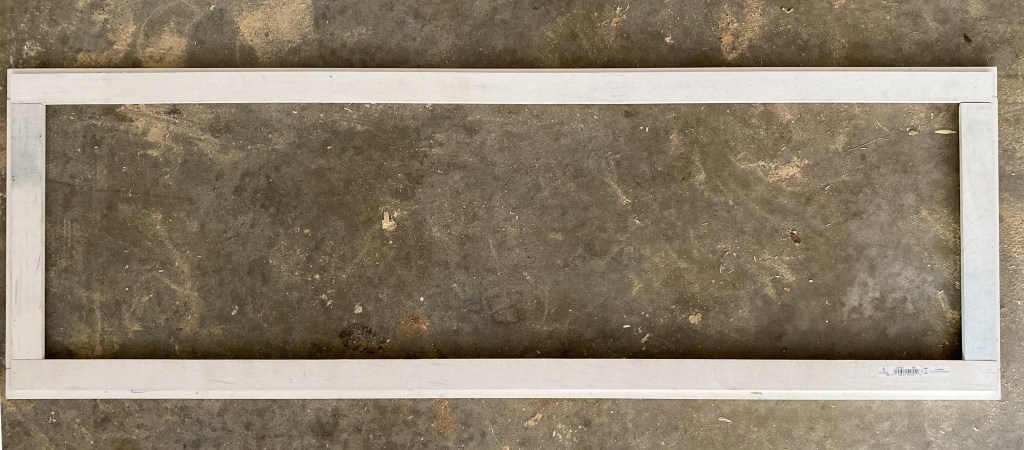
I drilled a pocket hole on each end of the shorter pieces, then used wood glue and pocket hole screws to attach them. Now the basic frame was done!
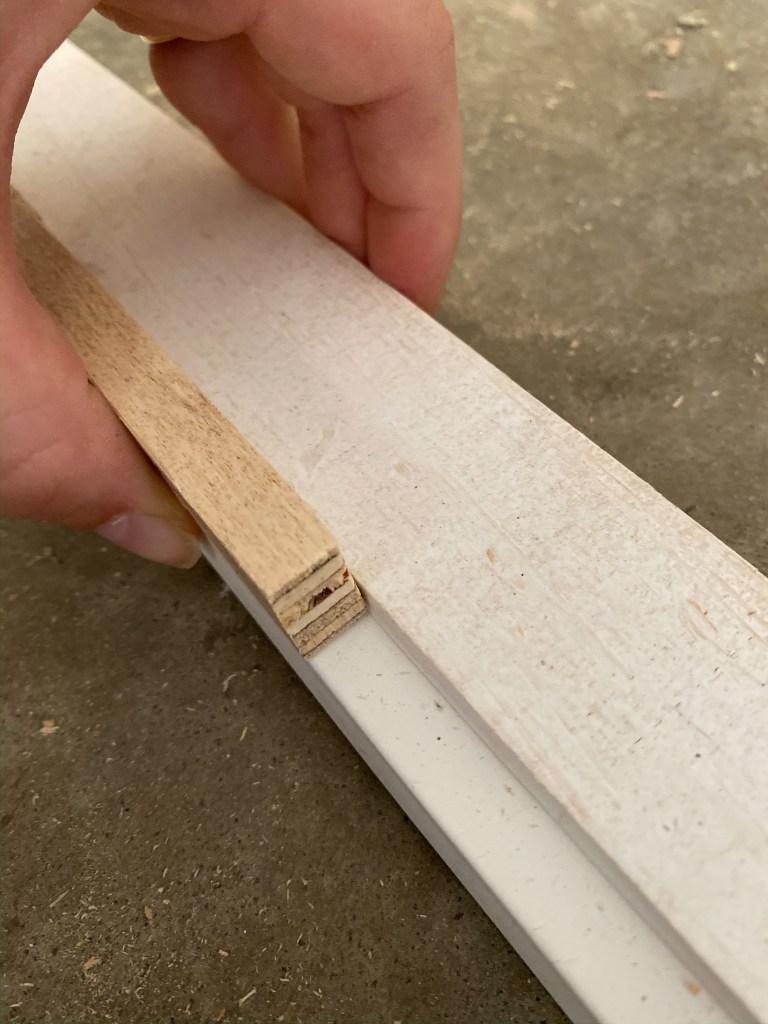
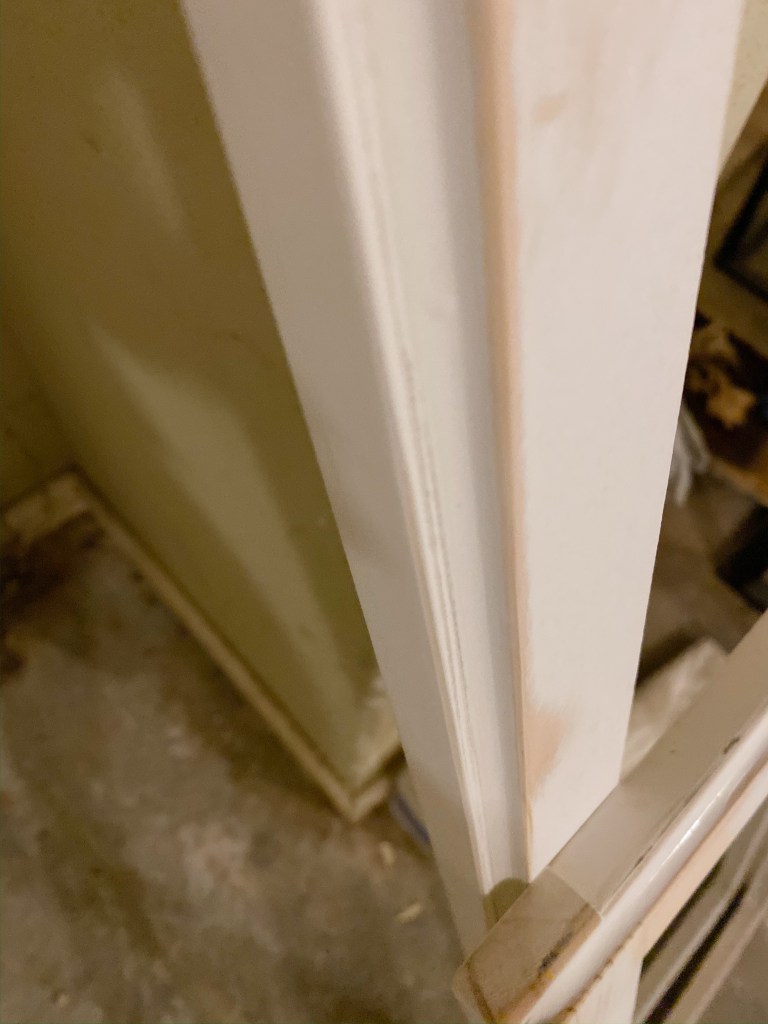
I went back to my purchased cabinets and measured the distance from the edge of the doors to the raised trim section, which is 0.375”. This meant I needed to set my lattice piece in 0.375” from the edge. To figure out my cut length for the lattice, I started by subtracting 0.375” twice from the longer 1×2 lengths (because remember, two sides). Then I cut a scrap piece of wood to 0.375” and used that as a spacer to line up the lattice.
After confirming that it was the right length, I used wood glue and 5/8” brad nails to attach a piece to both the left and right sides of the frame, making sure that the 0.375” spacing was consistent. I attached the lattice on the side without the pocket holes so that the pocket holes will be hidden on the inside of the door.
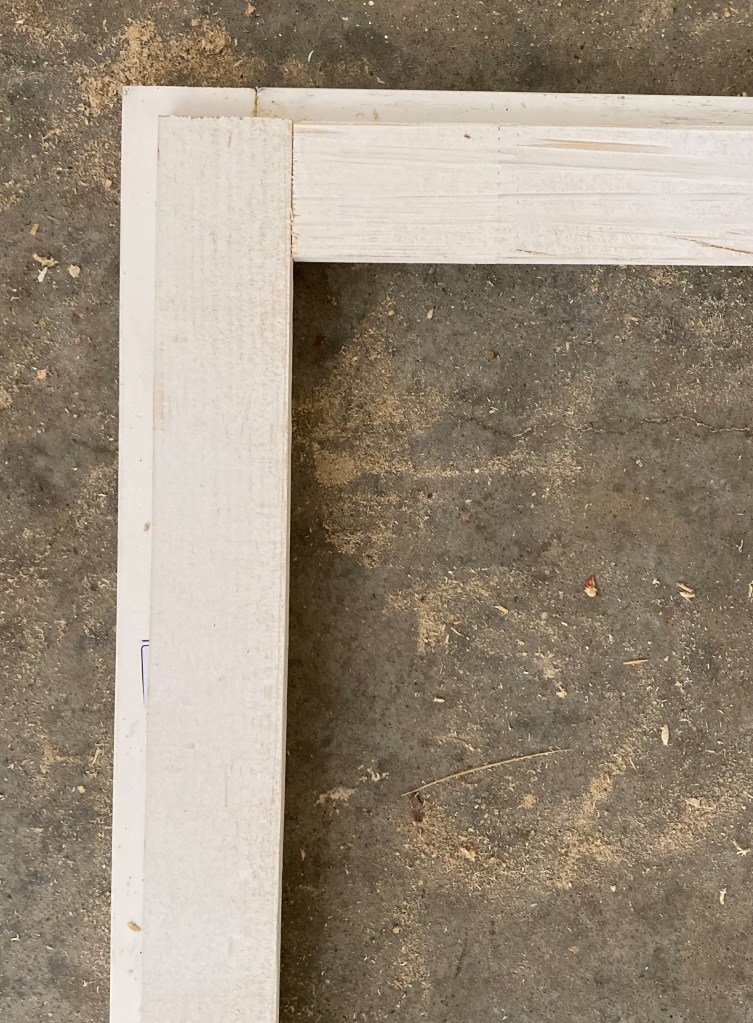
I wanted the horizontal pieces to be a perfect fit because I didn’t want any gaps, so I took the lattice, lined it up where it needed to go, and made a mark where I needed to cut. After I cut it, I attached it just like I did the vertical pieces.
I filled all my nail holes and flat seams with wood glue. I sanded the edges down so there weren’t have any sharp corners. I caulked the seam between the lattice and the frame with a really thick bead of caulk so that it gave it a bit of a beveled look to match my existing doors have.
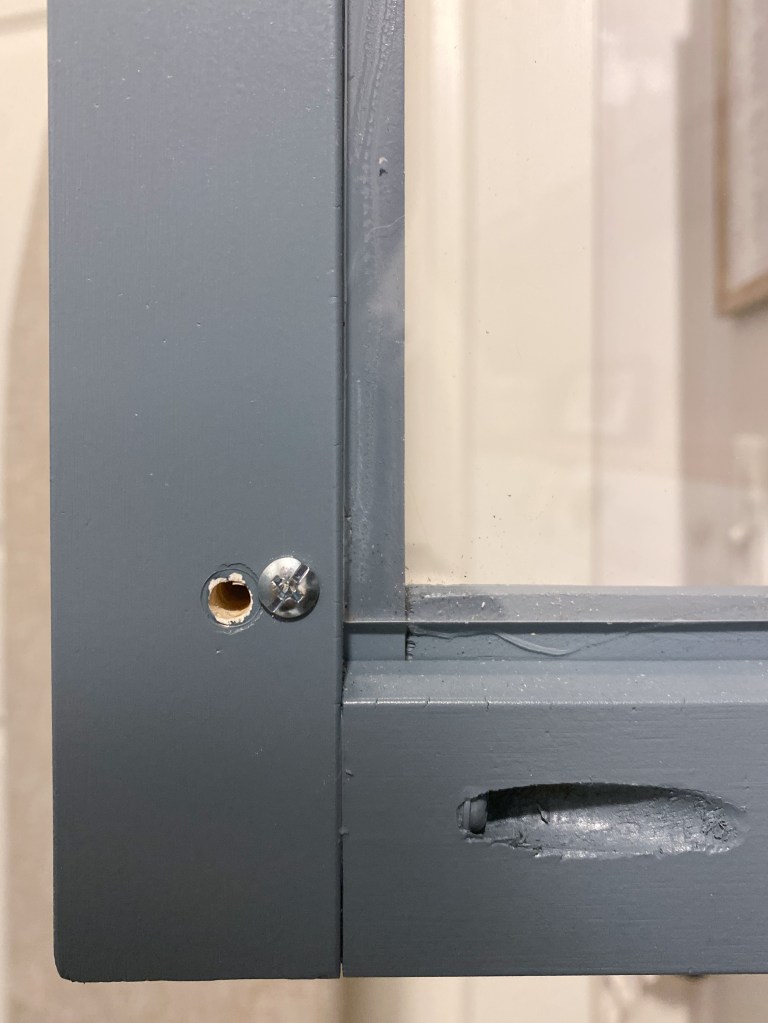
Before I painted, I drilled the holes for the concealed hinges. This was my first time using the Kreg concealed hinge jig and it did not disappoint! It was so satisfying that I was sad I didn’t have more holes to drill when I finished. I matched the spacing of the hinges on these new doors with the spacing the existing doors, since I figure they know what they are doing more than I do, haha.


I used my awesome paint sprayer to paint these, but you could use a brush and roller instead if you don’t have a spray gun.
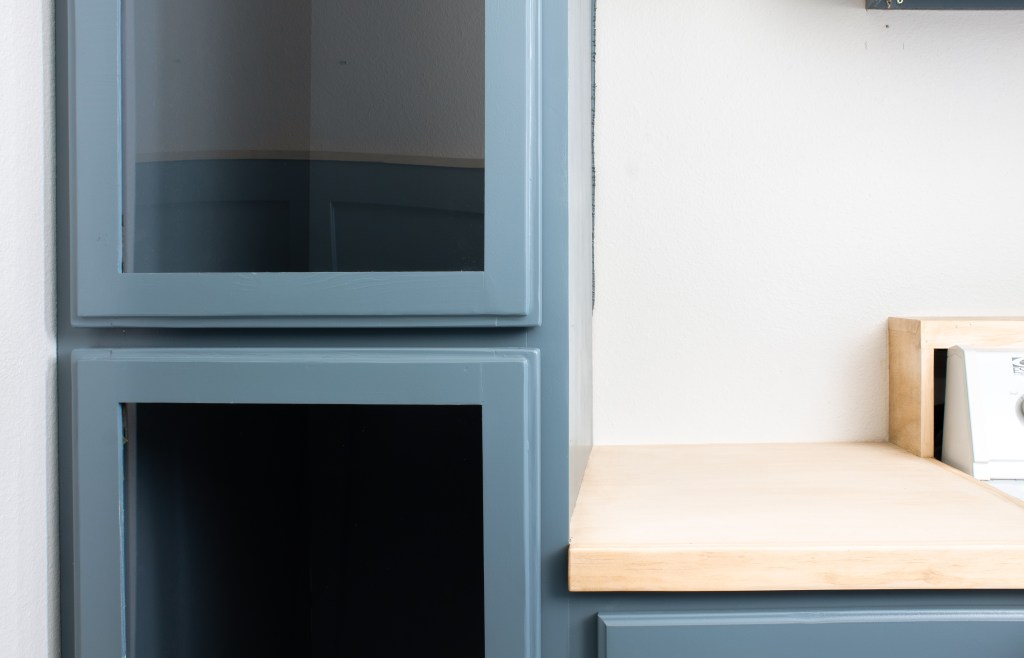
Now we’re at the best part – the plexiglass! I flipped my door over and measured the opening for the glass. I took away about 1/16” on each side so that I could easily fit it in. The lip hides the gap, so I had a little room for error that I could utilize here. I took my measurements to Lowe’s and they cut it for me, which was super convenient. I haven’t tried to cut plexiglass in years, but last time I did I shattered so many pieces – not fun.
To attach the glass, all I did was put superglue on the lip and very carefully set the plexiglass in. I laid the doors flat and left them overnight for the glue to bond.
Attaching the hinges was also a lot simpler than I thought. I just made sure they were square and screwed them into the door. Then I marked where the top/bottom of the door should hit the cabinet frame (using my existing cabinets as a guide) and enlisted the help of my husband to help me hold them at the right height. I don’t know if I just got lucky, but it was as easy as screwing them into the frame and they sat perfectly level!
Stay tuned for the big reveal post next week so you can see the whole room come together!! It’s going to be a-maz-ing!!!
With love,
Mercedes ♥

That blue is soooooo beautiful!
LikeLike
Thank you!!
LikeLike
This is looks great! I love the option of the tinted glass doors..
LikeLike
Thank you! They’re not actually tinted, just clear!!
LikeLike