

Disclosure: Some of the links provided are affiliate links, which simply means I may earn a small commission (at no additional cost to you) if you shop through one of my links.


It’s week 2 of the ORC, which means the first change in the laundry room is in the books! All the other participants are making big changes too, so head over there to see more awesome projects. Because I had a bunch of these materials left over from other projects, this cost me less than $40. I have a more detailed tutorial on how to install board and batten here, but here is a condensed version.
Want to see what projects I’m working on now? Follow me on Instagram!


MATERIALS
Did you know that Home Depot is doing curbside pickup? So you can get all the goodies to do this project while still following social distancing practices!
- Eucaboard
- 1×4 MDF (7)
- 1×2 (2)
- Nail gun
- 1.75″ nails
- Caulk & caulk gun
- Wood filler
- Detail sander
- 120 grit sandpaper
- Miter saw
- Paint
- Paint brush
- Roller & roller cover
- Paint tray
- Frog tape
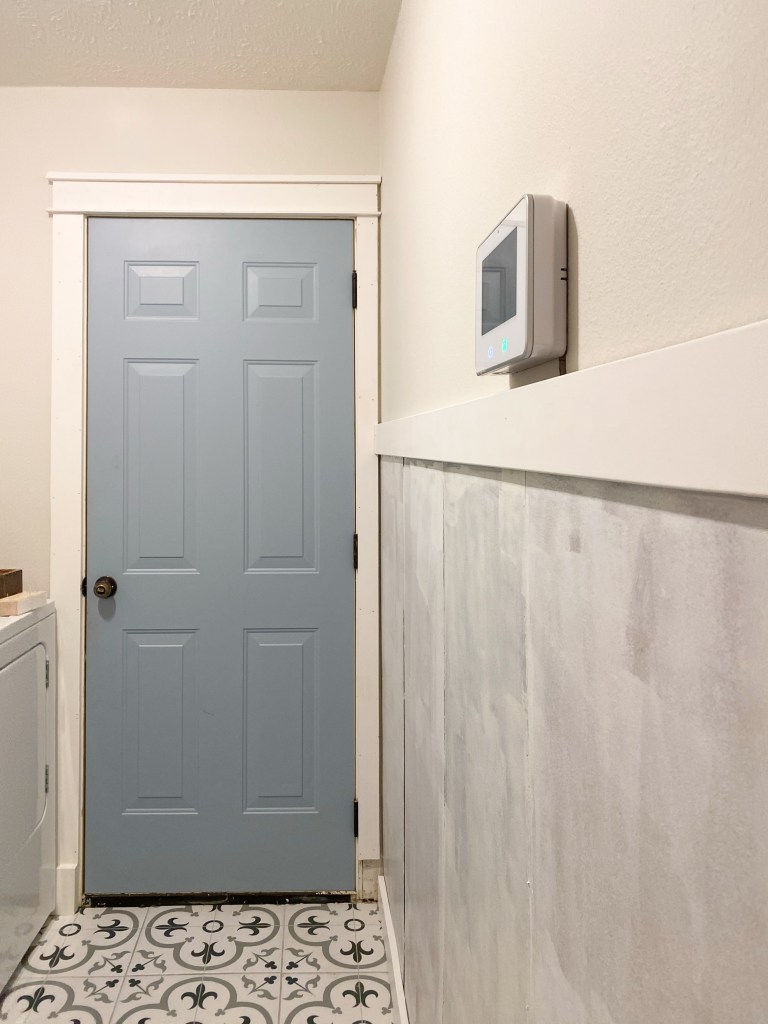
If you have texture on your walls, I recommend installing this thin eucaboard after you’ve removed your baseboards. Line your seams up where they’ll be covered by boards and nail it in along the edges, alternating nails shooting slightly up then slightly down if you’re not over a stud. Nail in any spots that aren’t tight to the wall and fill with wood filler later. If you can’t cover the seams, you can either skim coat the wall or just live with the texture showing through.
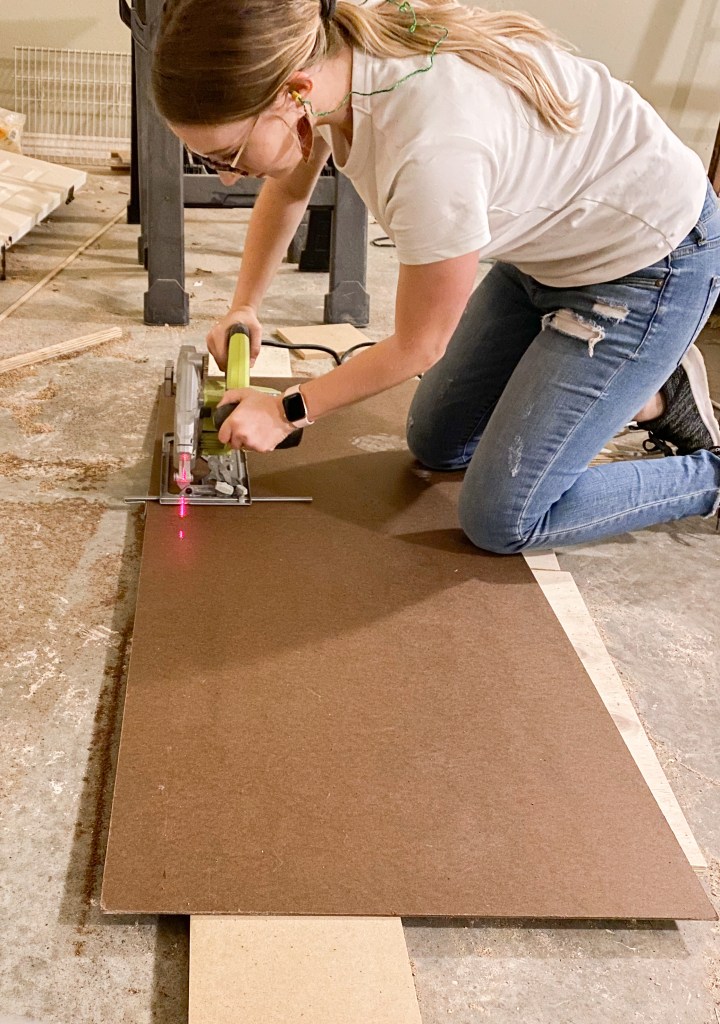

Nail in 1x4s along the top and bottom, mitering any seams if you need to use more than one board. We’ll fill these with wood filler later. You can add a 1×2 as a ledge on top, though I ended up using some spare plywood I had laying around.

Now measure the height of your first board. It’s important to measure as you go since you need to be really precise with your cuts each spot will probably vary, even if you worked hard to get your boards level. Don’t worry unless you’re noticing differences +/- 1/8″.
You should have already decided how far apart you want your boards to be, so now create a spacer to help you line them up easily. In my case, I wanted the boards 20″ apart from center to center. Take that center to center measurement and subtract the width of one board. I was using 1x4s, which are actually 3.5″ wide. 20″ – 3.5″ = 16.5″. Now you’ve found what the space between the boards should be. Take a scrap piece of wood and cut it to that measurement. Now you have a spacer to make lining it up super easy!

Another tip if you’re working by yourself – get your board lined up using that spacer and throw just one nail in using your nail gun. Now bring your level over and you can kind of rotate the board to get it straight and then nail it in the rest of the way.
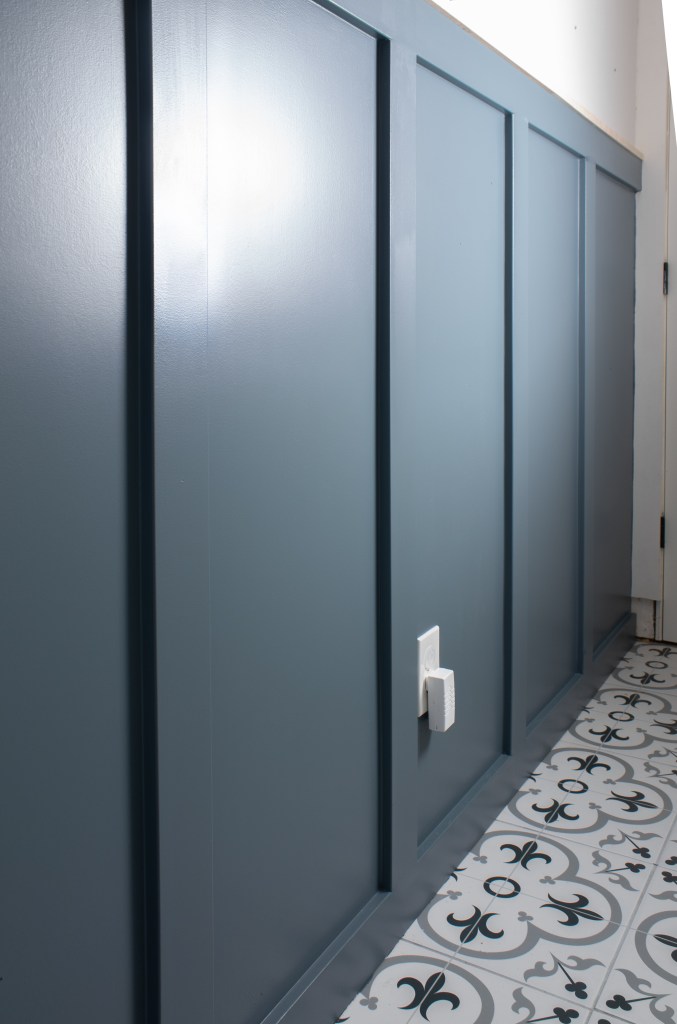
Once you have all your boards up, caulk anywhere where there is an angled seam (like where the boards meet the wall) and use wood filler wherever there is a flat seam. Caulk will shrink down a little so it’s hard to get a perfectly smooth seam with it, but you can overfill and then sand down the wood filler. Your seam will vanish!

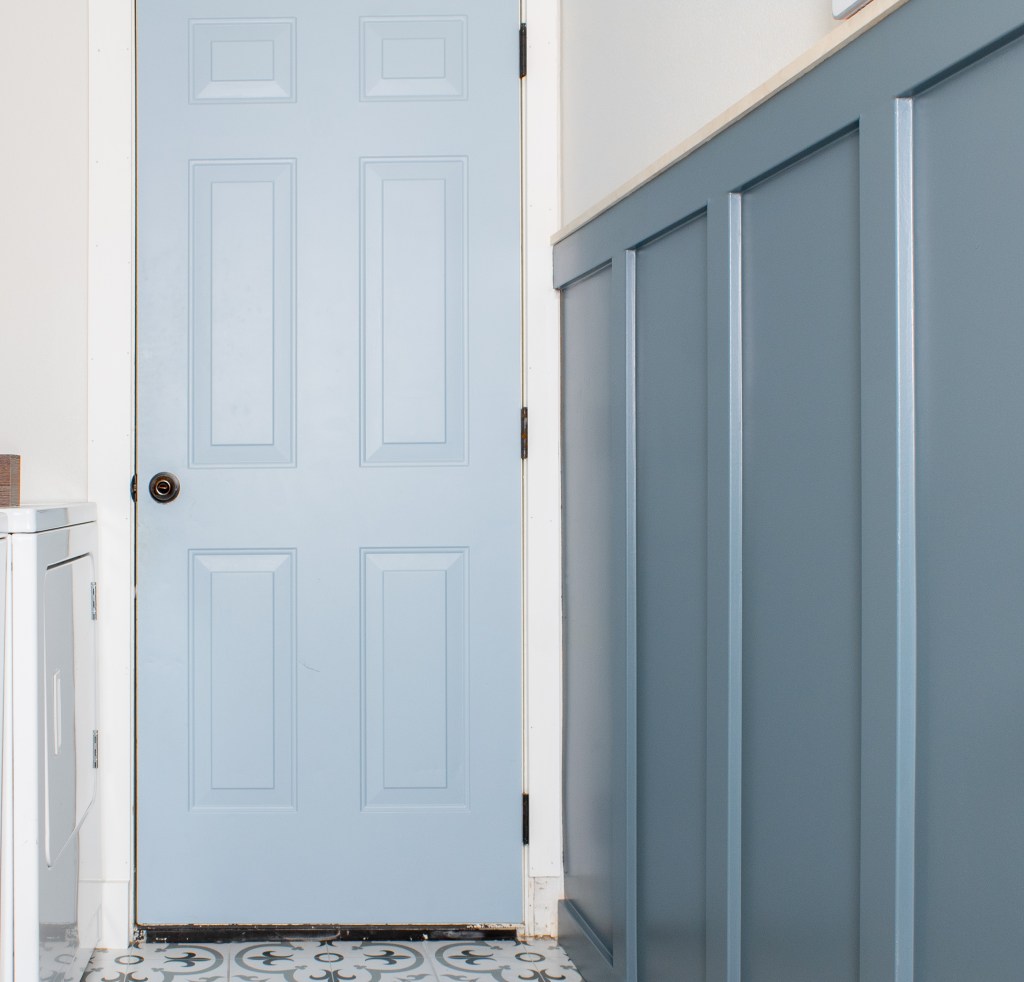
Now paint and you’re done! It’s worth getting a high quality paint here (I used Behr Marquee paint that I had color matched to Benjamin Moore Providence Blue) and I recommend using a satin sheen. If you didn’t cover your texture, choose eggshell or flat to try to hide it a little better. Because this is an ultra smooth surface, you need to be mindful of how you’re painting. Cut in along the edges then use a 1/4″ or 3/8″ nap roller to roll over everything and smooth out brush strokes. Once you’ve got your “box” filled in all the way, go over it again without refilling your roller. Make long, smooth passes up and down (never side to side) to even out the sheen. If you skip this step, you’ll be able to see the path the roller took when the light hits it.
(Since this wall hits the door frame on both sides, I didn’t need to match any baseboard cuts so I chose to remove them completely and replace them with a 1×4. If you do have baseboards, you can easily install the feature wall above them.)

There you have it! Now go make your laundry room fun too 🙂
With love,
Mercedes ♥
SHOP THIS ROOM
MY FAVS
Are you wanting to tackle this yourself? Here are links to some of my favorite tools used in this project.
Disclosure: Some of the links provided are affiliate links, which simply means I may earn a small commission (at no additional cost to you) if you shop through one of my links.

That is a dreamy color blue – it looks fantastic with the floors
LikeLike
Thank you so much!!
LikeLike
Can you share the name of the color?
LikeLike
If you read the tutorial it’s in there ☺️
LikeLike
What color of paint is this??
LikeLike
Benjamin Moore Providence Blue
LikeLike