
Disclosure: Some of the links provided are affiliate links, which simply means I may earn a small commission (at no additional cost to you) if you shop through one of my links.
The whole purpose of this laundry room makeover is to add some storage to this space, and it’s happening! Our house has one coat closet and then a closet in each bedroom, so storage space isn’t exactly in abundance over here.
Want to see what projects I’m working on now? Follow me on Instagram!


I got 2 unfinished wall cabinets and a base cabinet from Home Depot. Since they were unfinished, step one was priming! Okay let’s not get ahead of ourselves, there was a little prep work before I could actually prime. I removed all the doors and hardware and wiped everything down with a microfiber cloth to remove dust. Then I used my brand new fancy (but super budget friendly) paint spray gun and sprayed primer on the boxes. I used both Zinsser’s 1-2-3 primer and Zinsser’s B-I-N primer. The 1-2-3 is water based, so it will raise the grain on wood where as the B-I-N is shellac based, so it won’t! I prefer the B-I-N for cabinets, but it is really stinky and a complete pain to clean out of the sprayer (compared to the 1-2-3 which has hardly any order and is easy to clean) so keep that in mind when you’re making a decision.

I did two coats of primer and sanded with a 220 grit sponge in between coats. For the primer I used the red (biggest) tip on my sprayer and I didn’t have to thin it! I’m super pleased with this sprayer.

For the actual paint, I highly recommend Benjamin Moore Advance Paint. It’s self-levelling and easy to get a really nice finish with (especially if you don’t have a sprayer). I wanted the cabinets to match the board and batten, so I used the same color – Benjamin Moore Providence Blue. I did one coat with the green tip, lightly sanded with the 220 grit sponge, then the second coat.
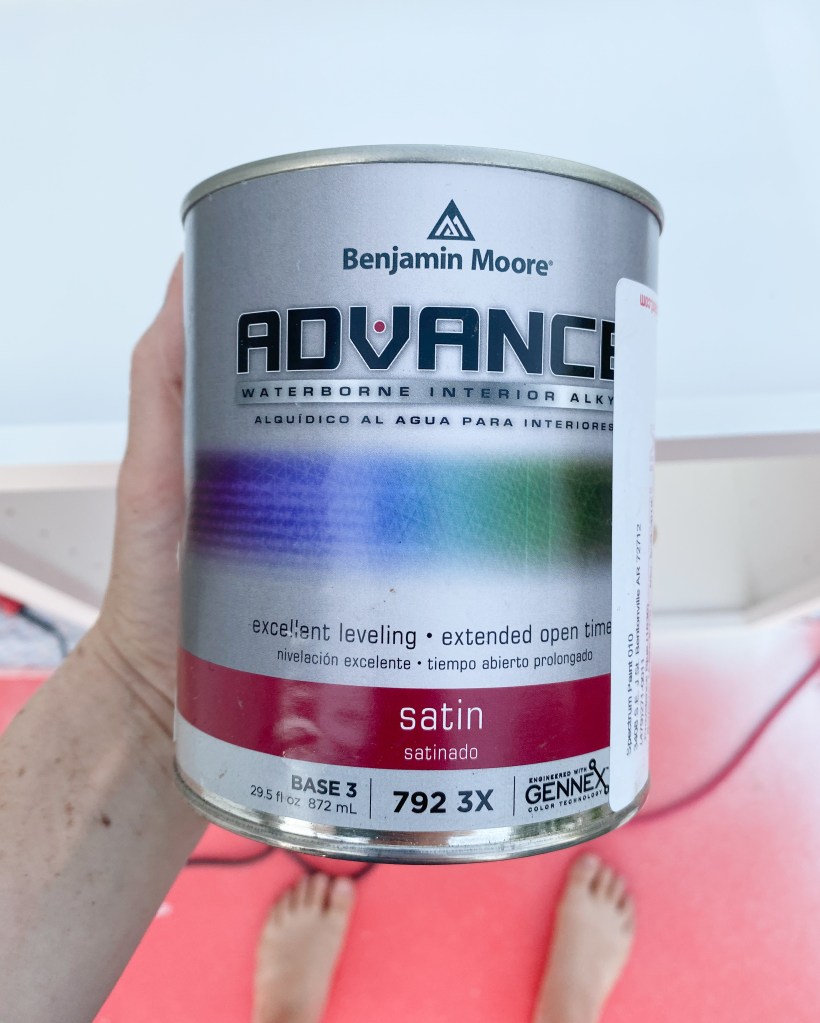
The first coat I put on was perfect. It was so smooth it felt like glass! The paint needs to dry for 12 hours, so of course I needed to clean my gun in between coats and I think while I was cleaning it, I must’ve accidentally adjusted the pressure because the second coat dried with the slightest bit of orange peel texture (sad face). I figured the insides of the boxes would be fine with a hint of texture, but I did not want it on the faces. I sanded them down with my detail sander and 120 grit paper and then did one final coat. It’s almost perfect! To the touch it feels completely smooth, but in the right light you can see just a hint of orange peel still. I probably could have gotten rid of more had I kept sanding, but I’m not worried about it as long as I can get the doors perfect!

Hanging the wall cabinets was actually much simpler than I expected. I marked where I wanted the bottom cabinet to fall and also where all the studs are. Then I screwed a scrap piece of 3/4″ plywood on the wall as my ledger board. I would recommend using a 2×4 if you have one, but I already had this scrap piece in my garage and it did the trick. You need to make sure that you screw this in nice and level. Ours actually ended up being a little off and we fixed it with some shims, but it would’ve been much easier if it had been level to start.
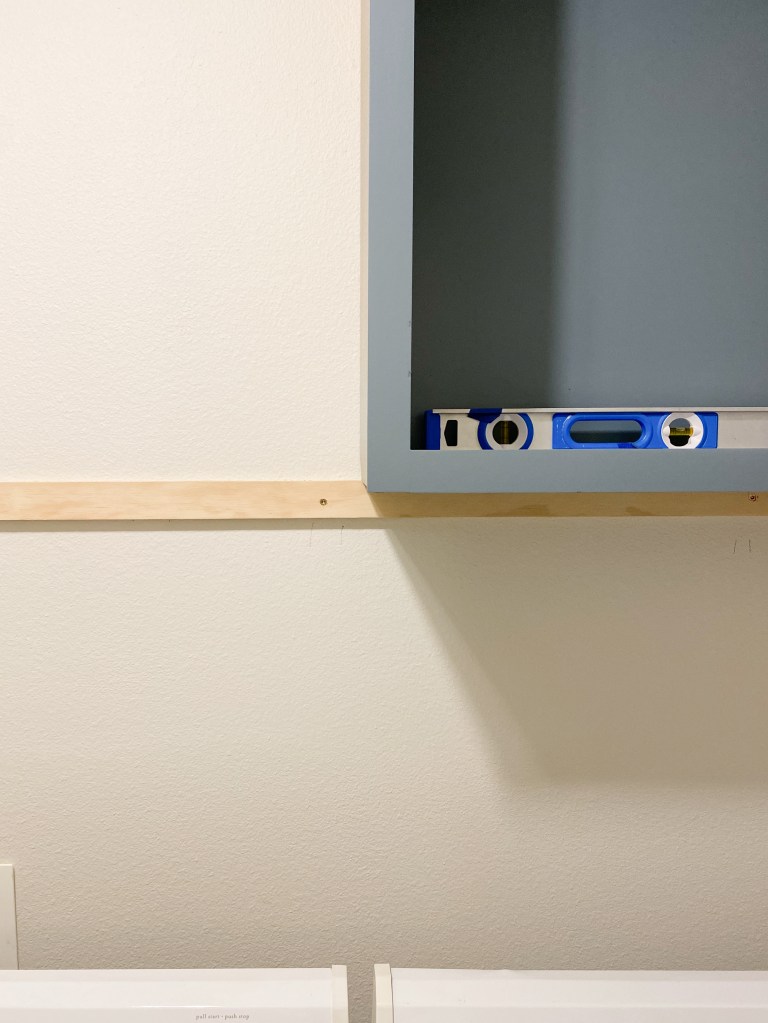
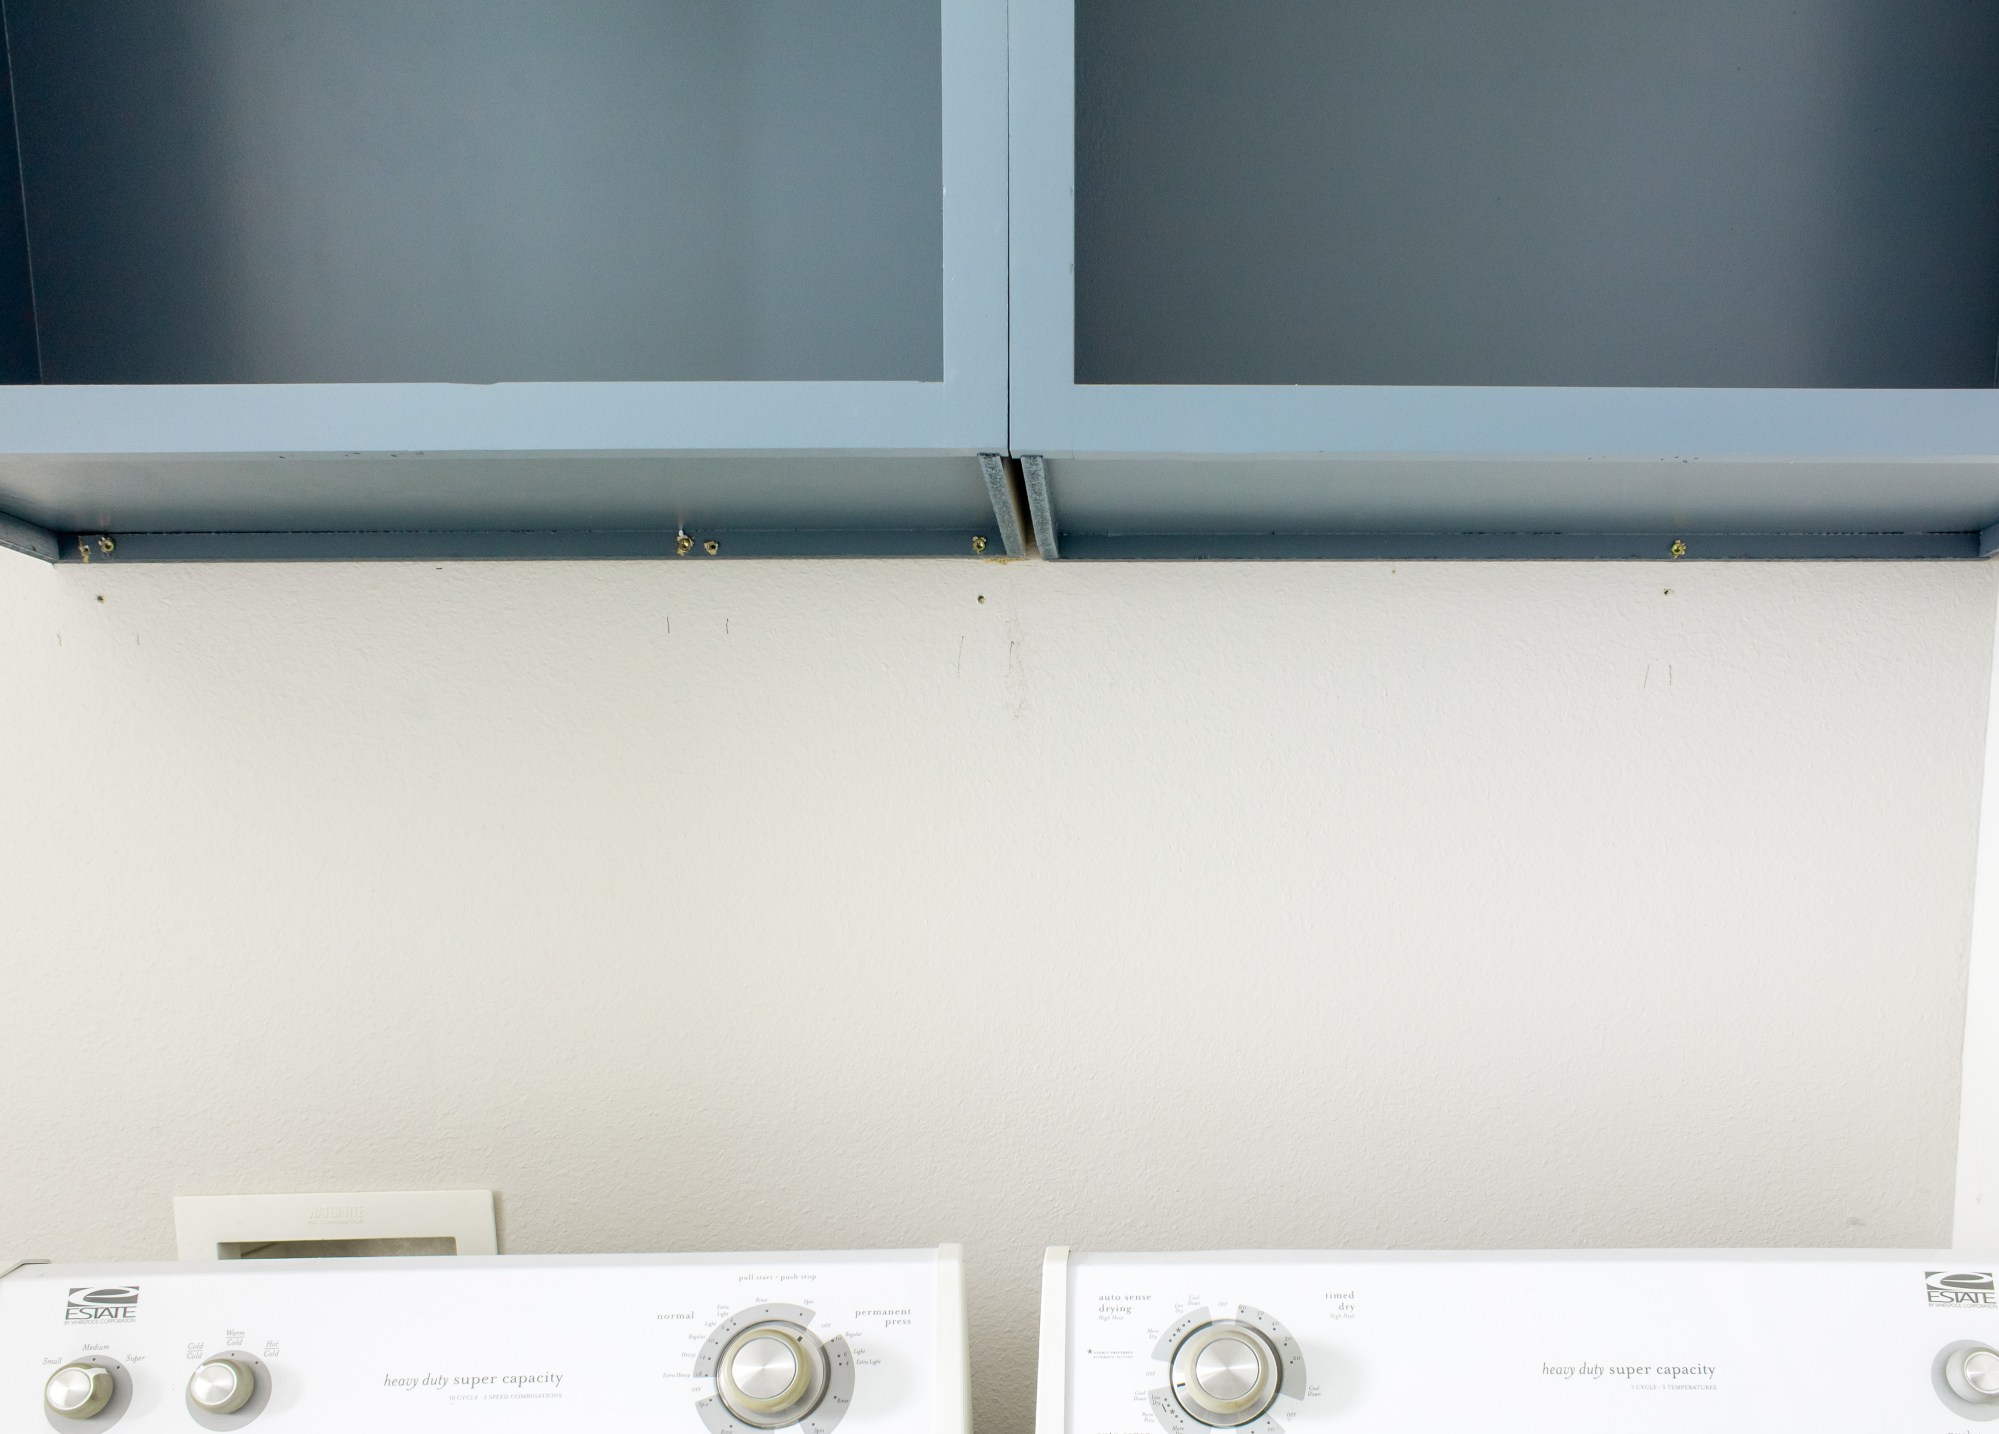
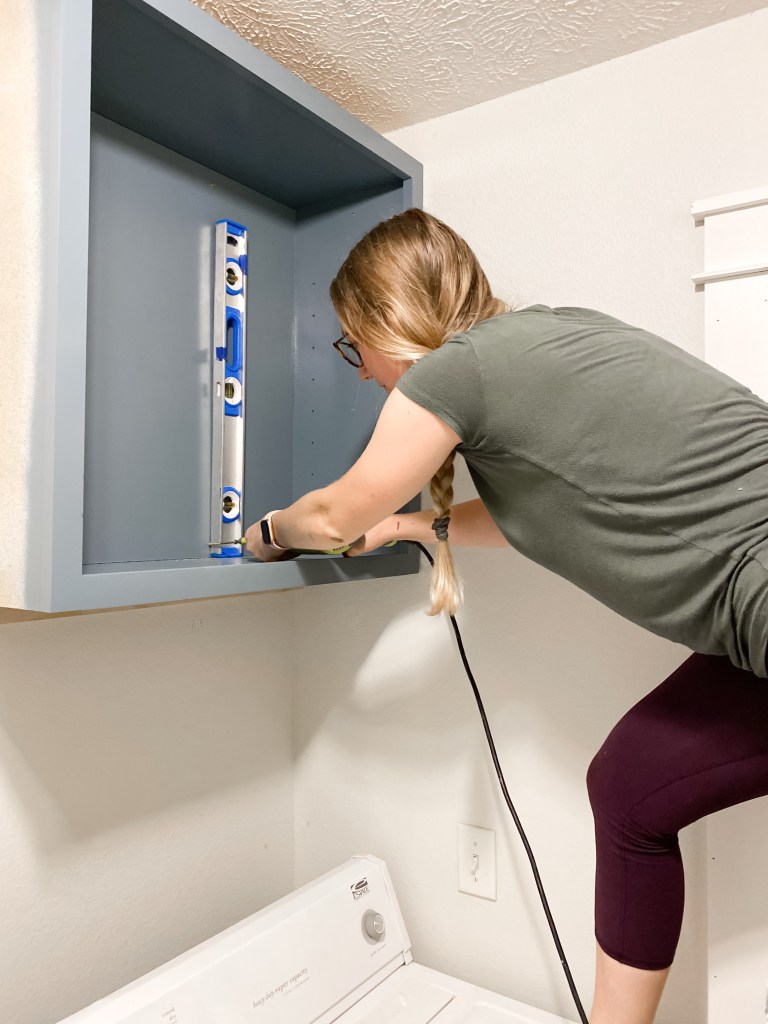
You definitely need a partner here, so together hoist the cabinet up onto the wall and rest it on your ledger board. One person needs to hold the cabinet up while the other screws it into the studs. Use shims where you need to and make sure your cabinets line up well. I screwed into the small lip on the bottom and top of the cabinet, and then I threw a couple into the top corners as well because I’m only slightly terrified that they’re going to come crashing down, haha.
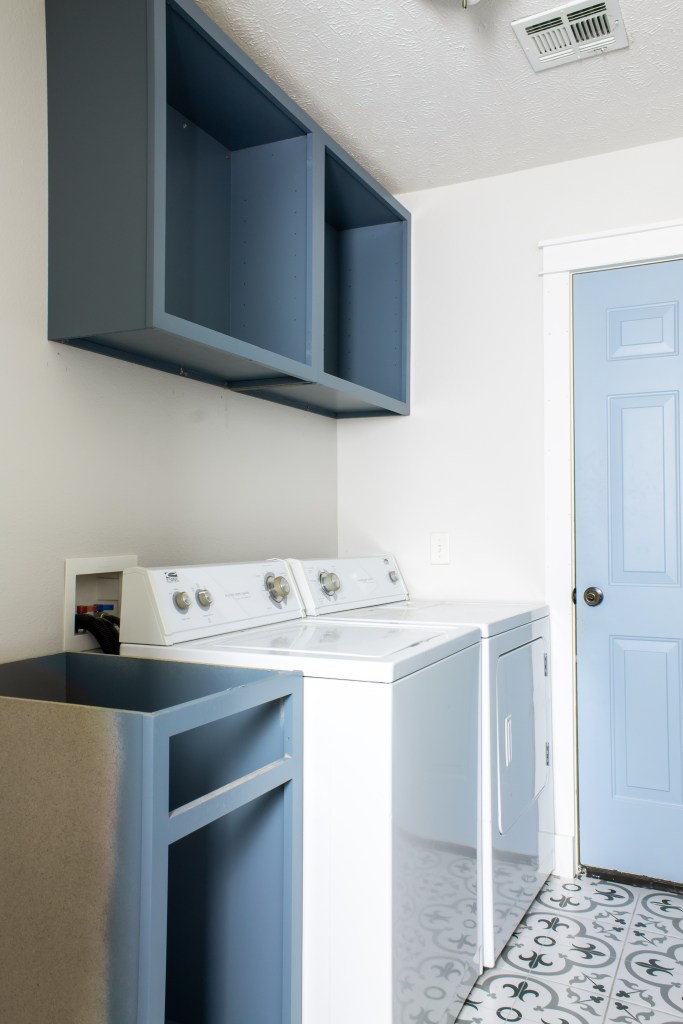
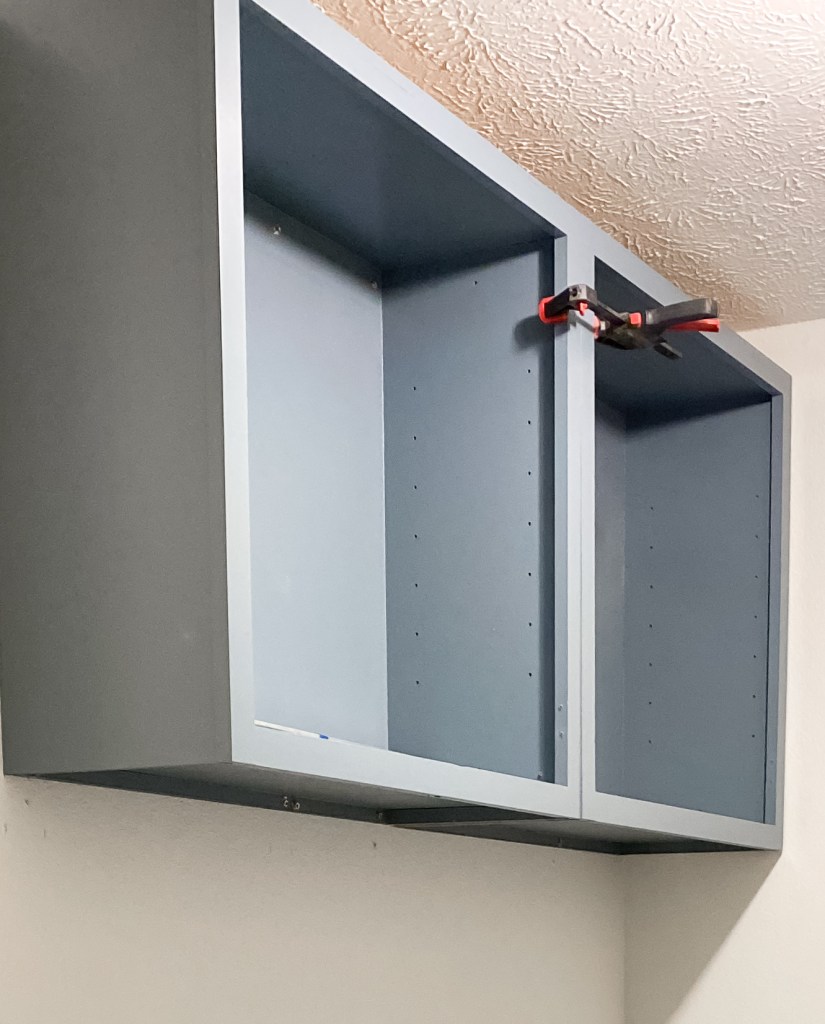
The left cabinet hit three studs while the right one only hit one, so we screwed the two cabinets together as well to give that right one some extra support. I used these awesome 3″ construction screws that are self drilling, but you could use any screw 2″ or longer.
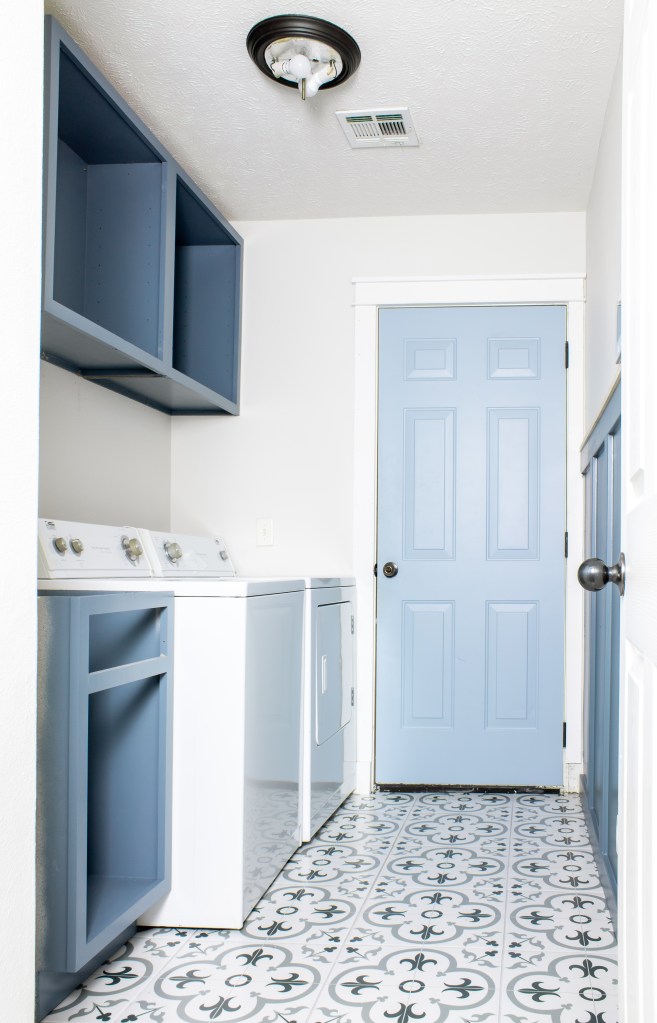
Unscrew your ledger board and ta-da! You did it.
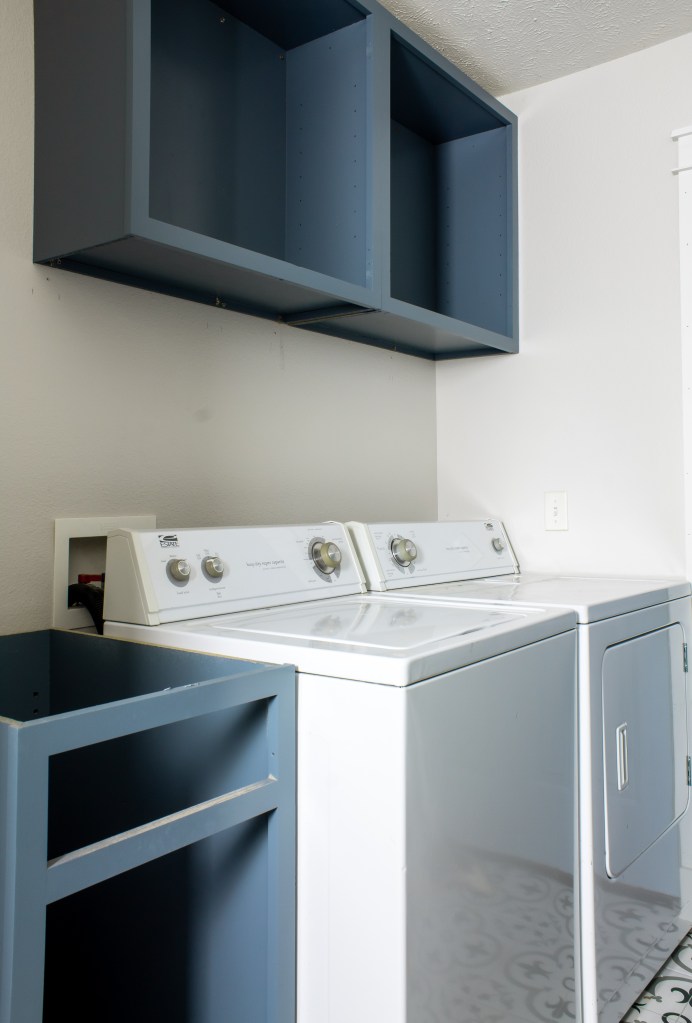
I still have to paint the doors, reattach them, and build the linen cabinet (it will sit to the left of the base cabinet), so look out for more on that next week! And don’t forget to check on where the other ORC participants are at this week.

With love,
Mercedes ♥

I’m having trouble with my cabinets. The sides and inside are the laminent wood whereas the fronts and doors are wood. I used the zinser 1-2-3 but it just “bubbles” up and so now I’m not sure what to do. I read that I may need a bonding primer so I’m wondering if that is what the BIN primer would help with? Help!
LikeLike
The BIN primer is definitely worth a shot! It’s pretty stinky, so just keep that in mind 🙂
LikeLike