
Disclosure: Some of the links provided are affiliate links, which simply means I may earn a small commission (at no additional cost to you) if you shop through one of my links.
I am so excited to share the whole process of our closet makeover with you guys! Having a beautiful closet feels like such a luxury, so I’m seriously pumped to be adding this feature to our home. Hopefully having a drop dead gorgeous closet will help us keep it clean… maybe!
Want to see what projects I’m working on now? Follow me on Instagram!
The first step is, of course, planning. It took me a long time to get the layout right. I started with the Ikea Pax planner because my original plan was to install their completely customizable wardrobe system. It was going to cost me over $1,000 to use a Pax system, which in all honesty is a great price compared to many of the other options available out there, but it was still going to take us some time to set aside that money. I decided to toy with the idea of building them myself and I came to the conclusion that I could for about half the price of the Pax system. Using Ikea’s planner was still helpful to get a general idea of what I could fit in the space.

I tweaked what I had come up with on Ikea’s site until it felt just right. I just used pages and scaled my boxes to the actual dimensions. So a box that was 3″ wide on my computer was 30″ wide in real life. That way I could get a decent idea of where everything was going to land.
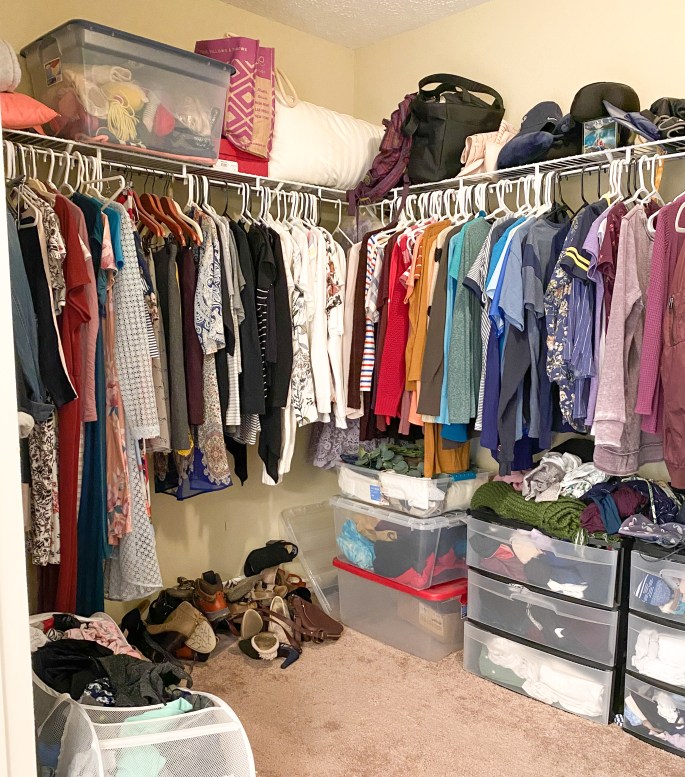
Now that everything was planned, it was time for demo! My mom was in town and in just a couple hours, we cleared everything out of the closet, moved it into the guest room closet, ripped out the old wire shelving, and tore up the carpet.

With a clean slate, I could start the build! First, I built a base out of 2x4s. Basically, I constructed a box and then screwed it into the studs. I also made sure that there was a 2×4 running under where every divider would go.
Then, I added the “floor” of the wardrobes. I used 3/4″ plywood and made sure the seams were also under where dividers will go. This helps to conceal them, but it is also important that the ends are supported by 2x4s, so it has dual purpose (there were 2 seams in the corners that I couldn’t hide with dividers, but they are still supported – I will just have to fill them later). I screwed the plywood into the 2×4 base, also in spots where the dividers will hide the screws.
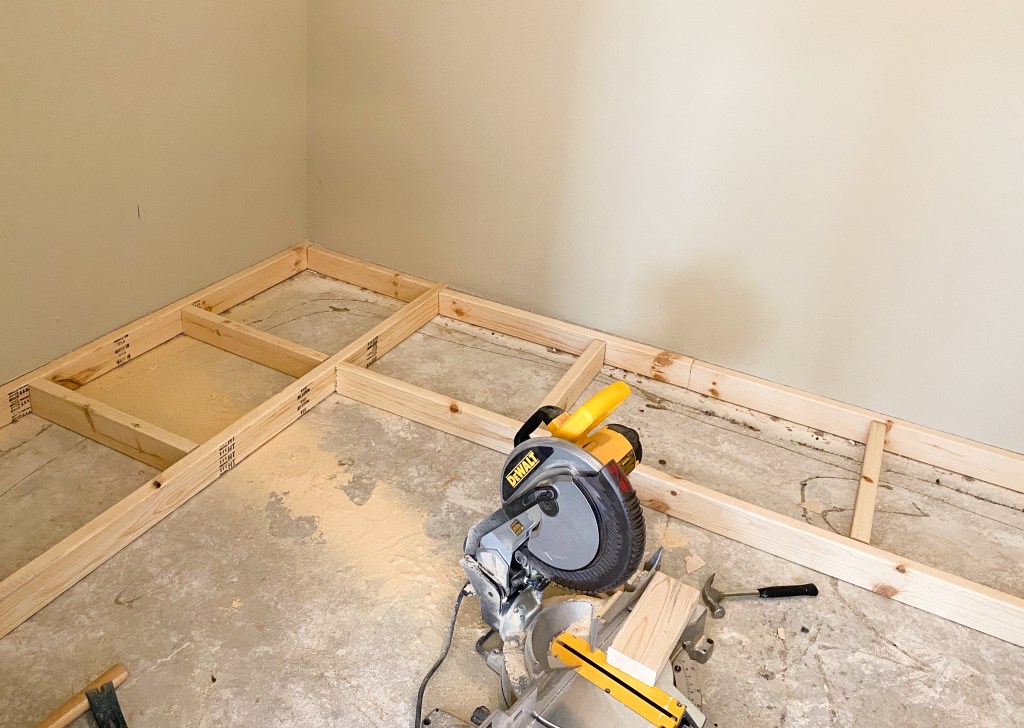
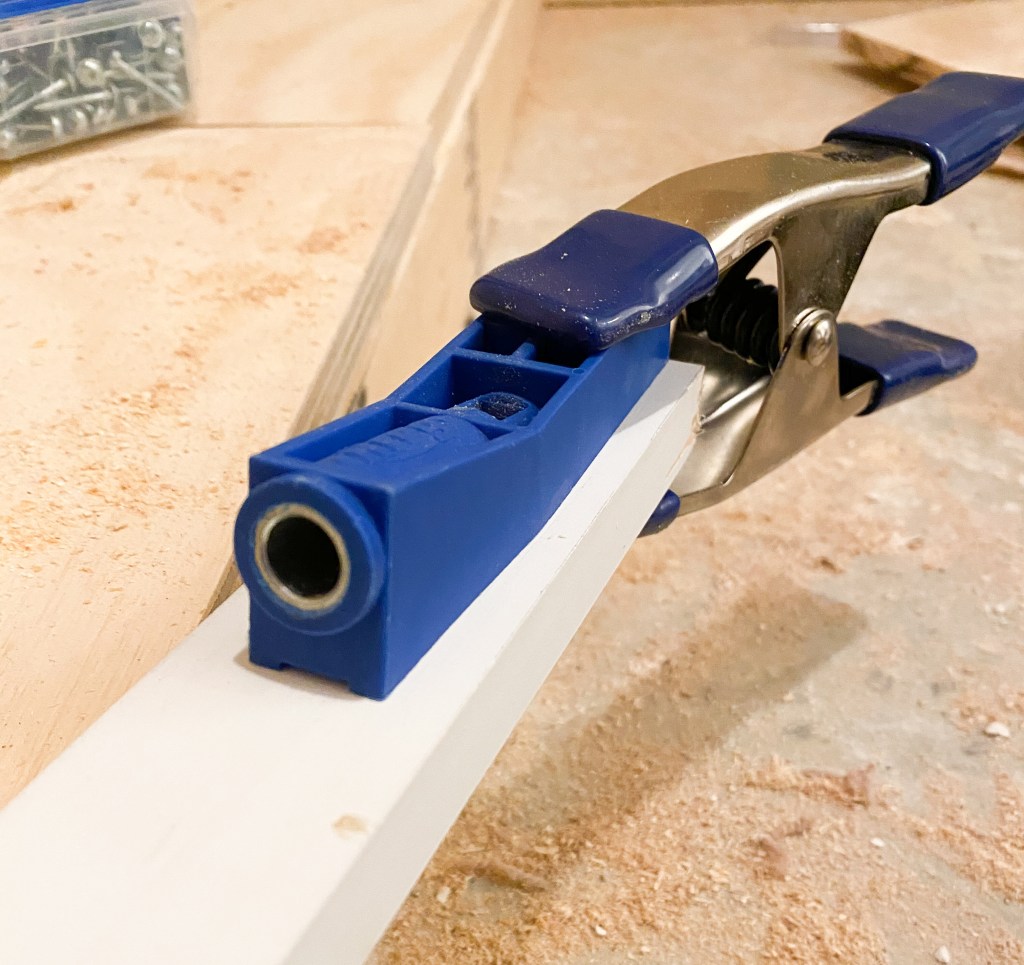
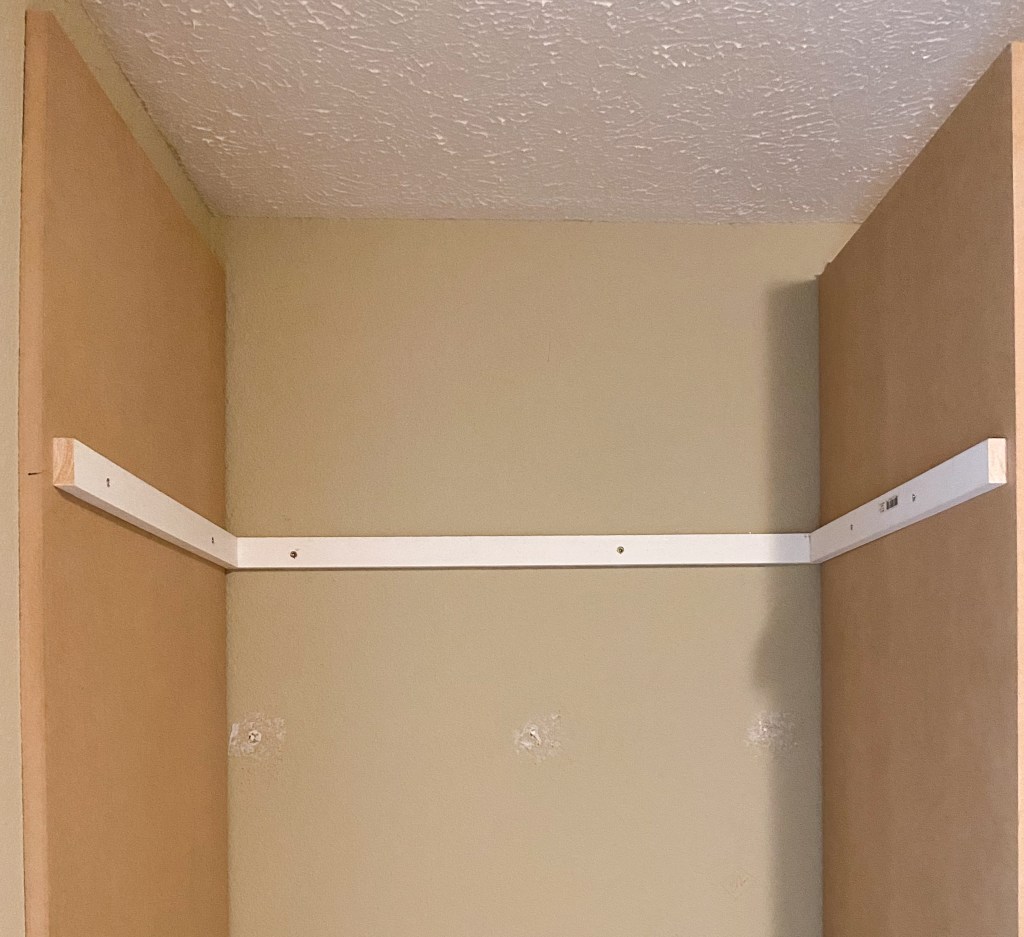
Next I needed to build supports for the dividers. I did this as I went, so that my measurements could be really precise. I used 1×2 pre primed pine and cut one piece to the width of my closet section (the back piece) then I cut two side pieces to 22.25″. Since my built ins are 23.5″ deep, this accounted for the width of the 1×2 that I attached it to and enough space for trim on the front.

I drilled pocket holes into one end of each of my side pieces, added a little bit of wood glue, and screwed them onto the back piece. I love this Kreg jig because it makes pocket holes so easy! They also make a fancier one that makes it even easier (which, if you’re going to be doing a lot of DIY is probably worth the investment), but this less expensive one has worked well for me so far. You do need to use the special pocket hole screws for this part.

My supports needed to be screwed into studs because they are going to be holding the builtins together, so I marked the studs, measured where they would land on my support, and then started my screws (2.5″ self-drilling construction screws). This is helpful if you are working by yourself because holding a board up to the wall and trying to start the screws is really difficult. I marked where I needed it to go and screwed one screw in all the way under that mark, then I made sure it was level and screwed the rest of the screws in.

With a support up, I could attach a divider. I brought the divider over and made sure it was level, then I made sure the side piece of my support was level and clamped it onto the divider. I predrilled a few holes into the support and used 1.25″ wood screws to screw it into my MDF (I decided to use MDF because it was a similar price as plywood, but it doesn’t have a grain).
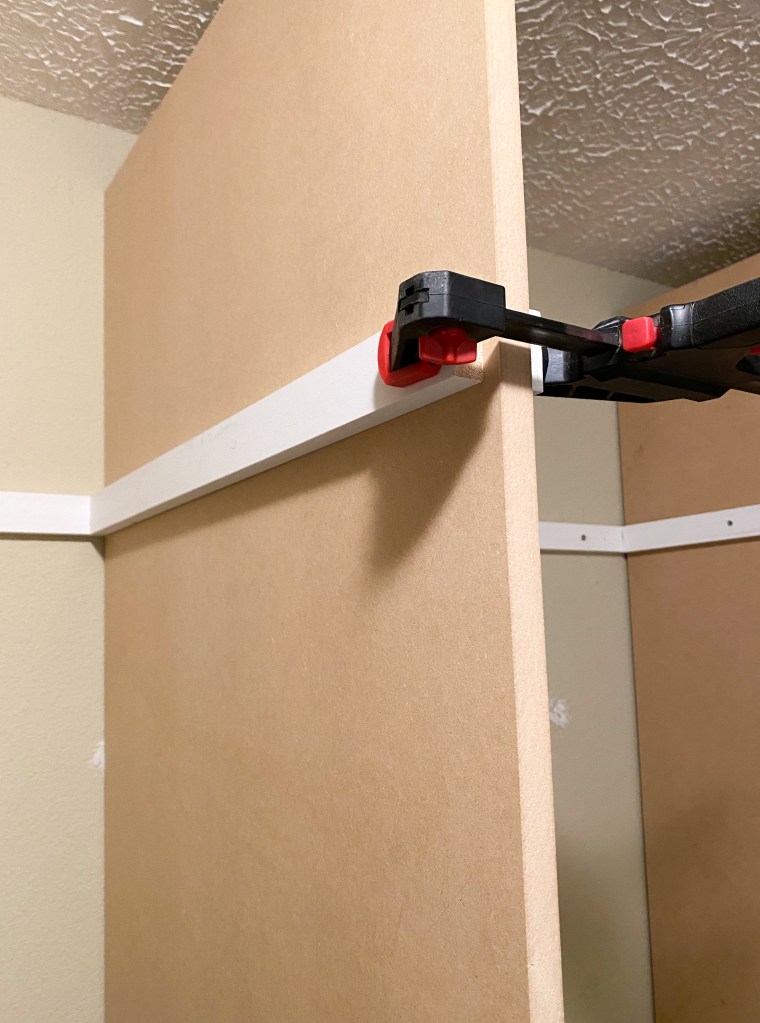
This part was a little tricky because I needed to have some counter pressure on the other side of my divider so the screw didn’t just push it away. I started with the hole closest to the edge where my clamp was and worked my way in with one hand on the other side of the divider providing that counter pressure.

I did this until I had all the dividers up. Once Jordan got home from work he helped me finish them, which was super helpful. You can definitely do this by yourself, but it is faster if you can recruit your husband or a friend to help. We threw on The Bachelor (anyone else disappointed in the pettiness of this season or just me?) and took breaks to eat brownies, so it went pretty quickly.
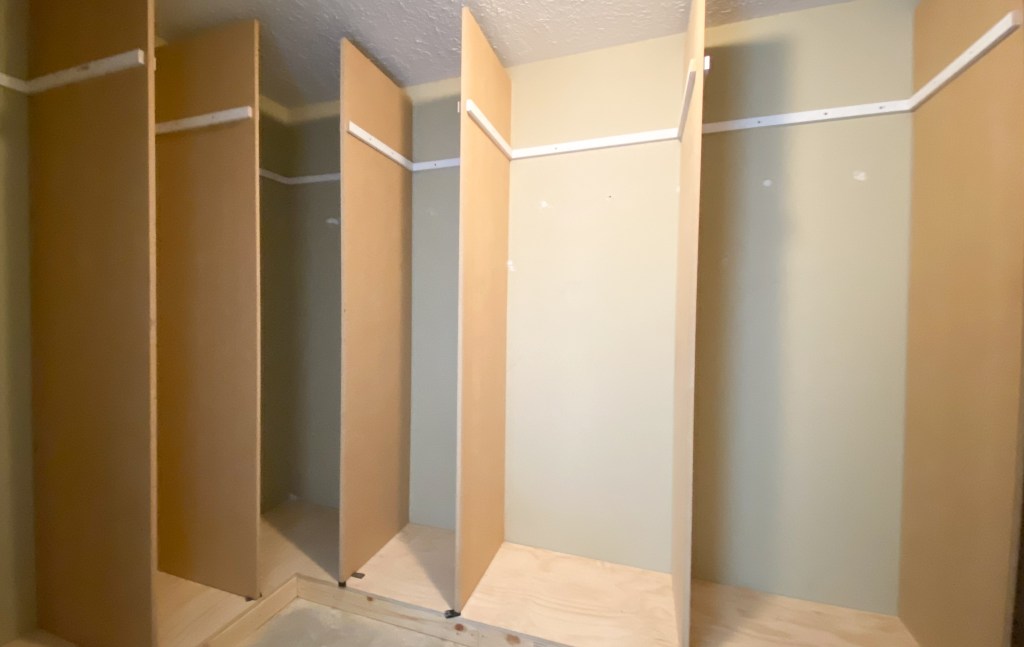

It is finally starting to take shape and I’m so excited to see the final result! Be sure to follow along on Instagram (@with.love.mercedes).
With love,
Mercedes ♥
DIY CLOSET BUILTINS : PART 2 →
My FAVS
Are you wanting to tackle this yourself? Here are links to some of my favorite tools/materials used in this project.
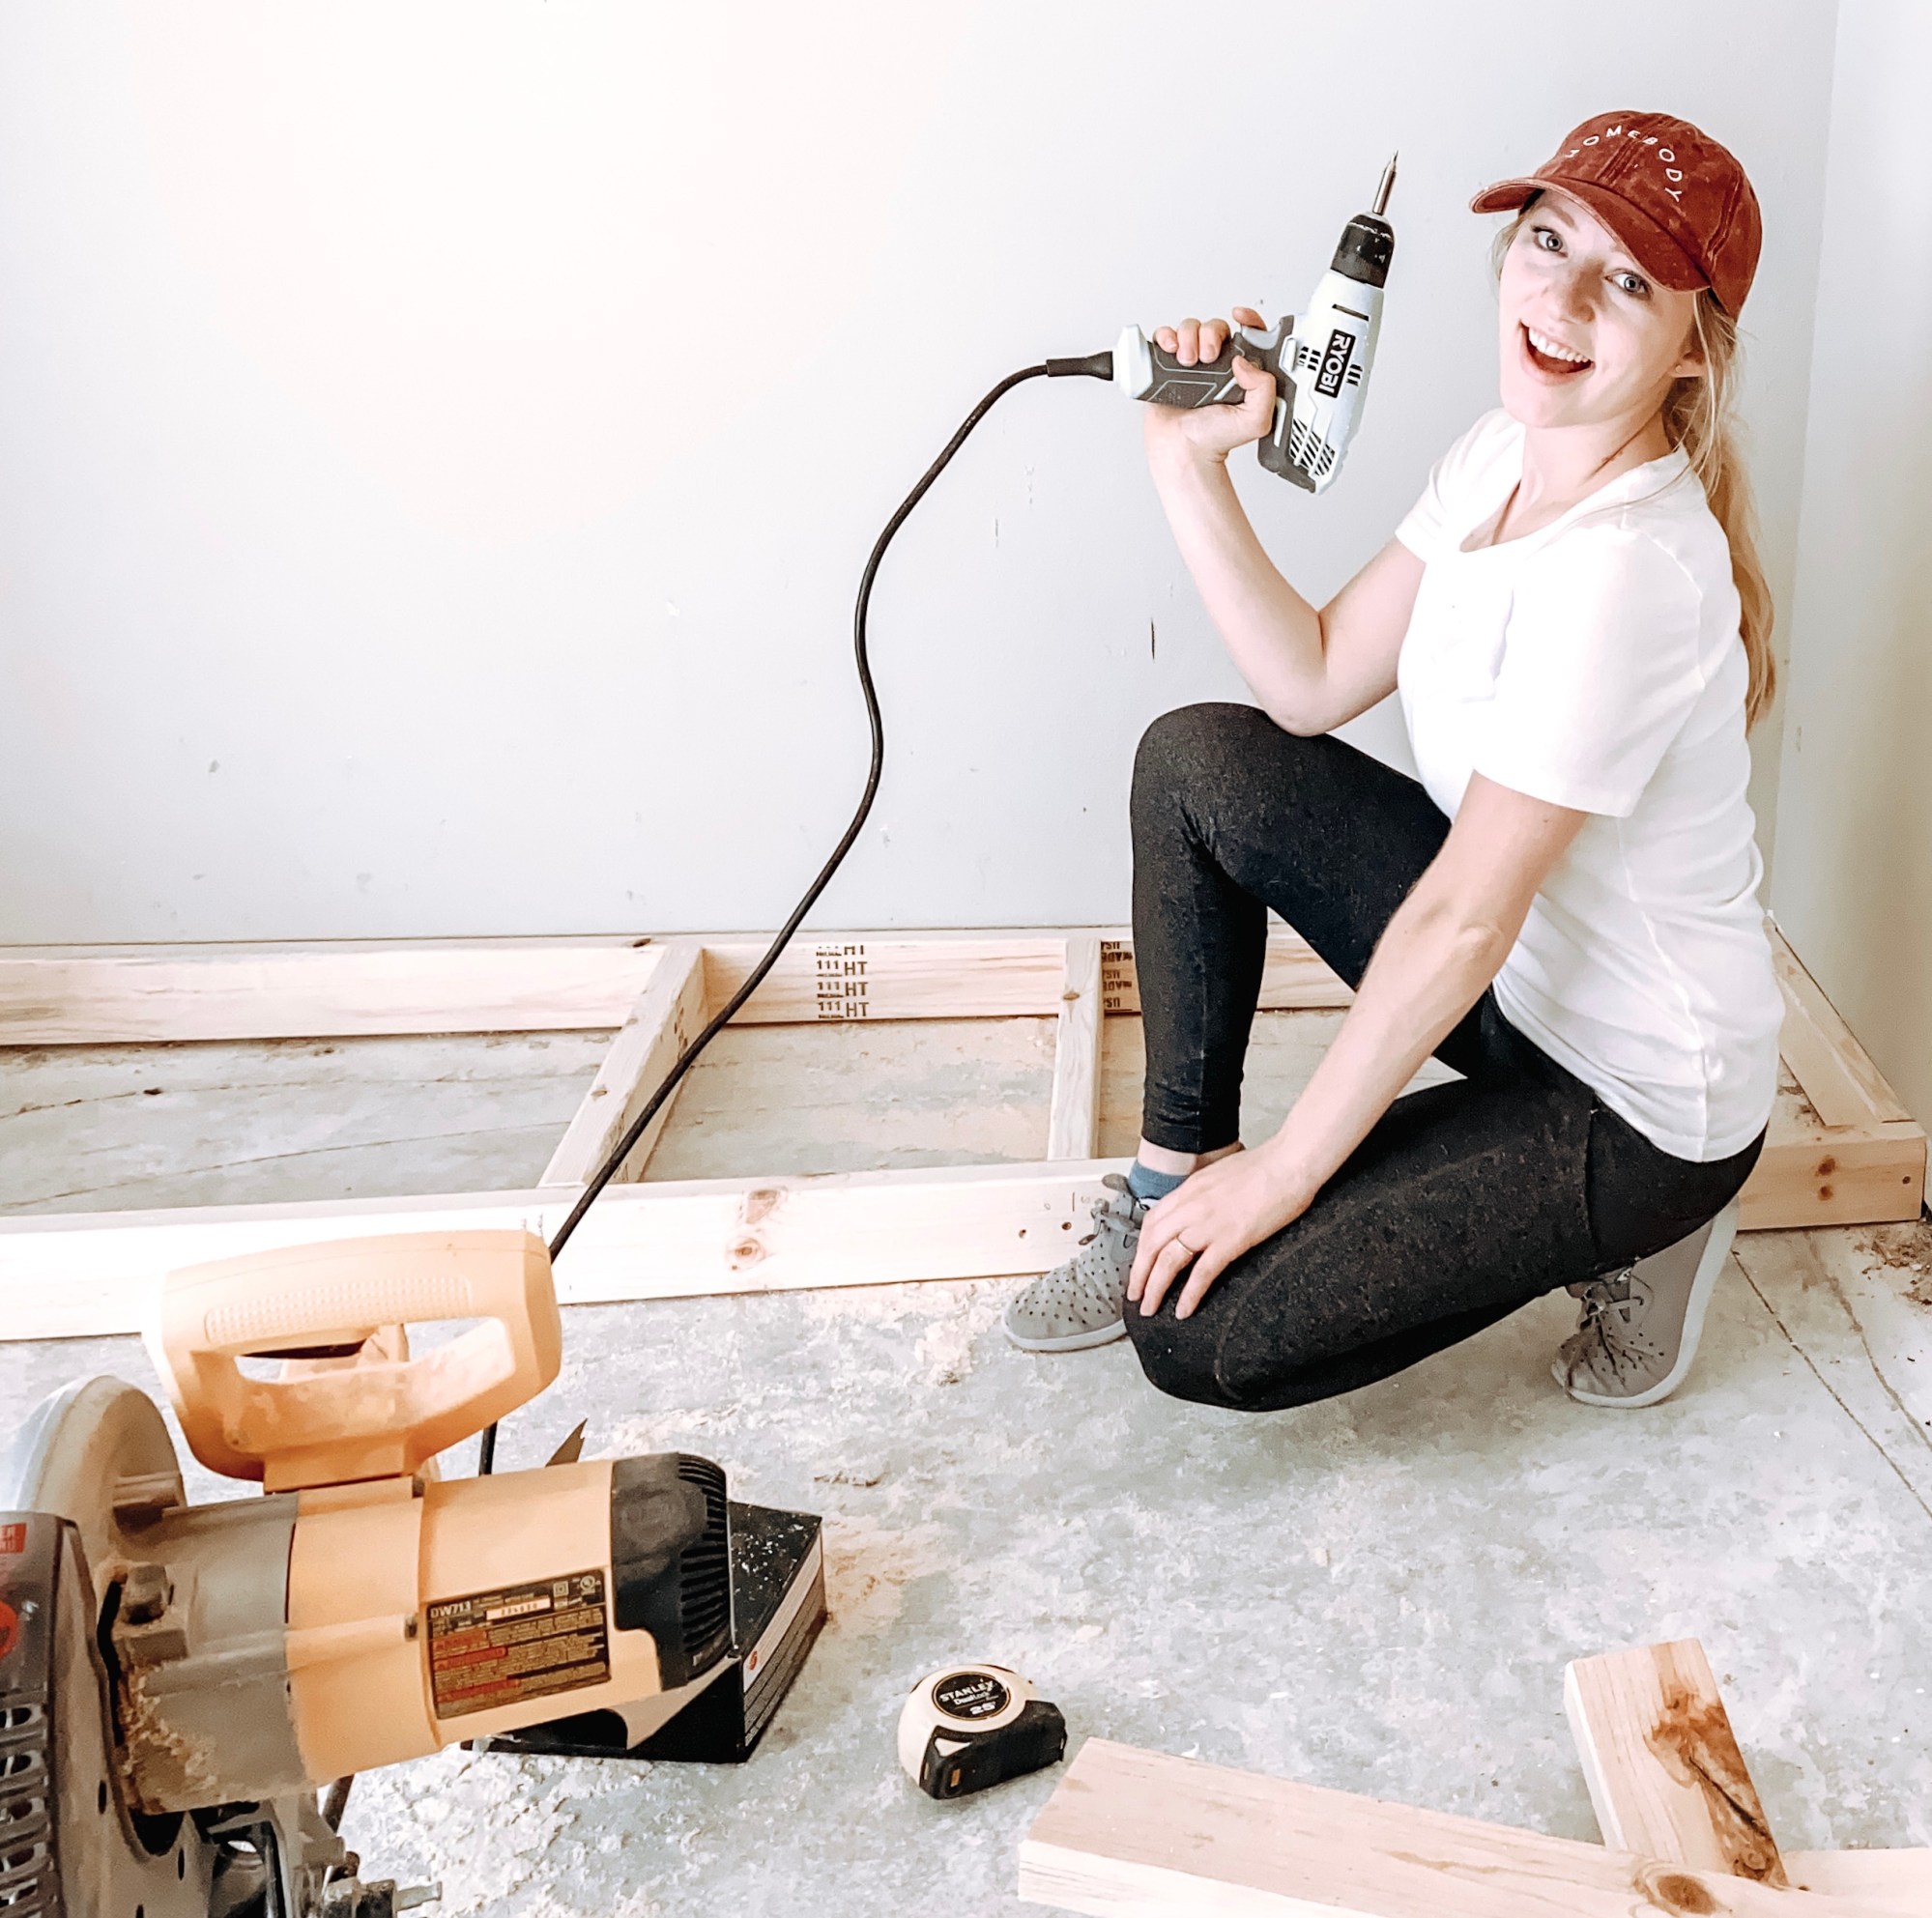
- Ryobi Drill
- Ryobi Circular Saw
- Dewalt Miter Saw
- Level
- Stud Finder
- Clamp
- Kreg Pocket Hole Jig
- Pocket hole screws
- 2.5″ self-drilling screws
Disclosure: Some of the links provided are affiliate links, which simply means I may earn a small commission (at no additional cost to you) if you shop through one of my links.

2 thoughts on “DIY Closet Built-ins : Part 1”