
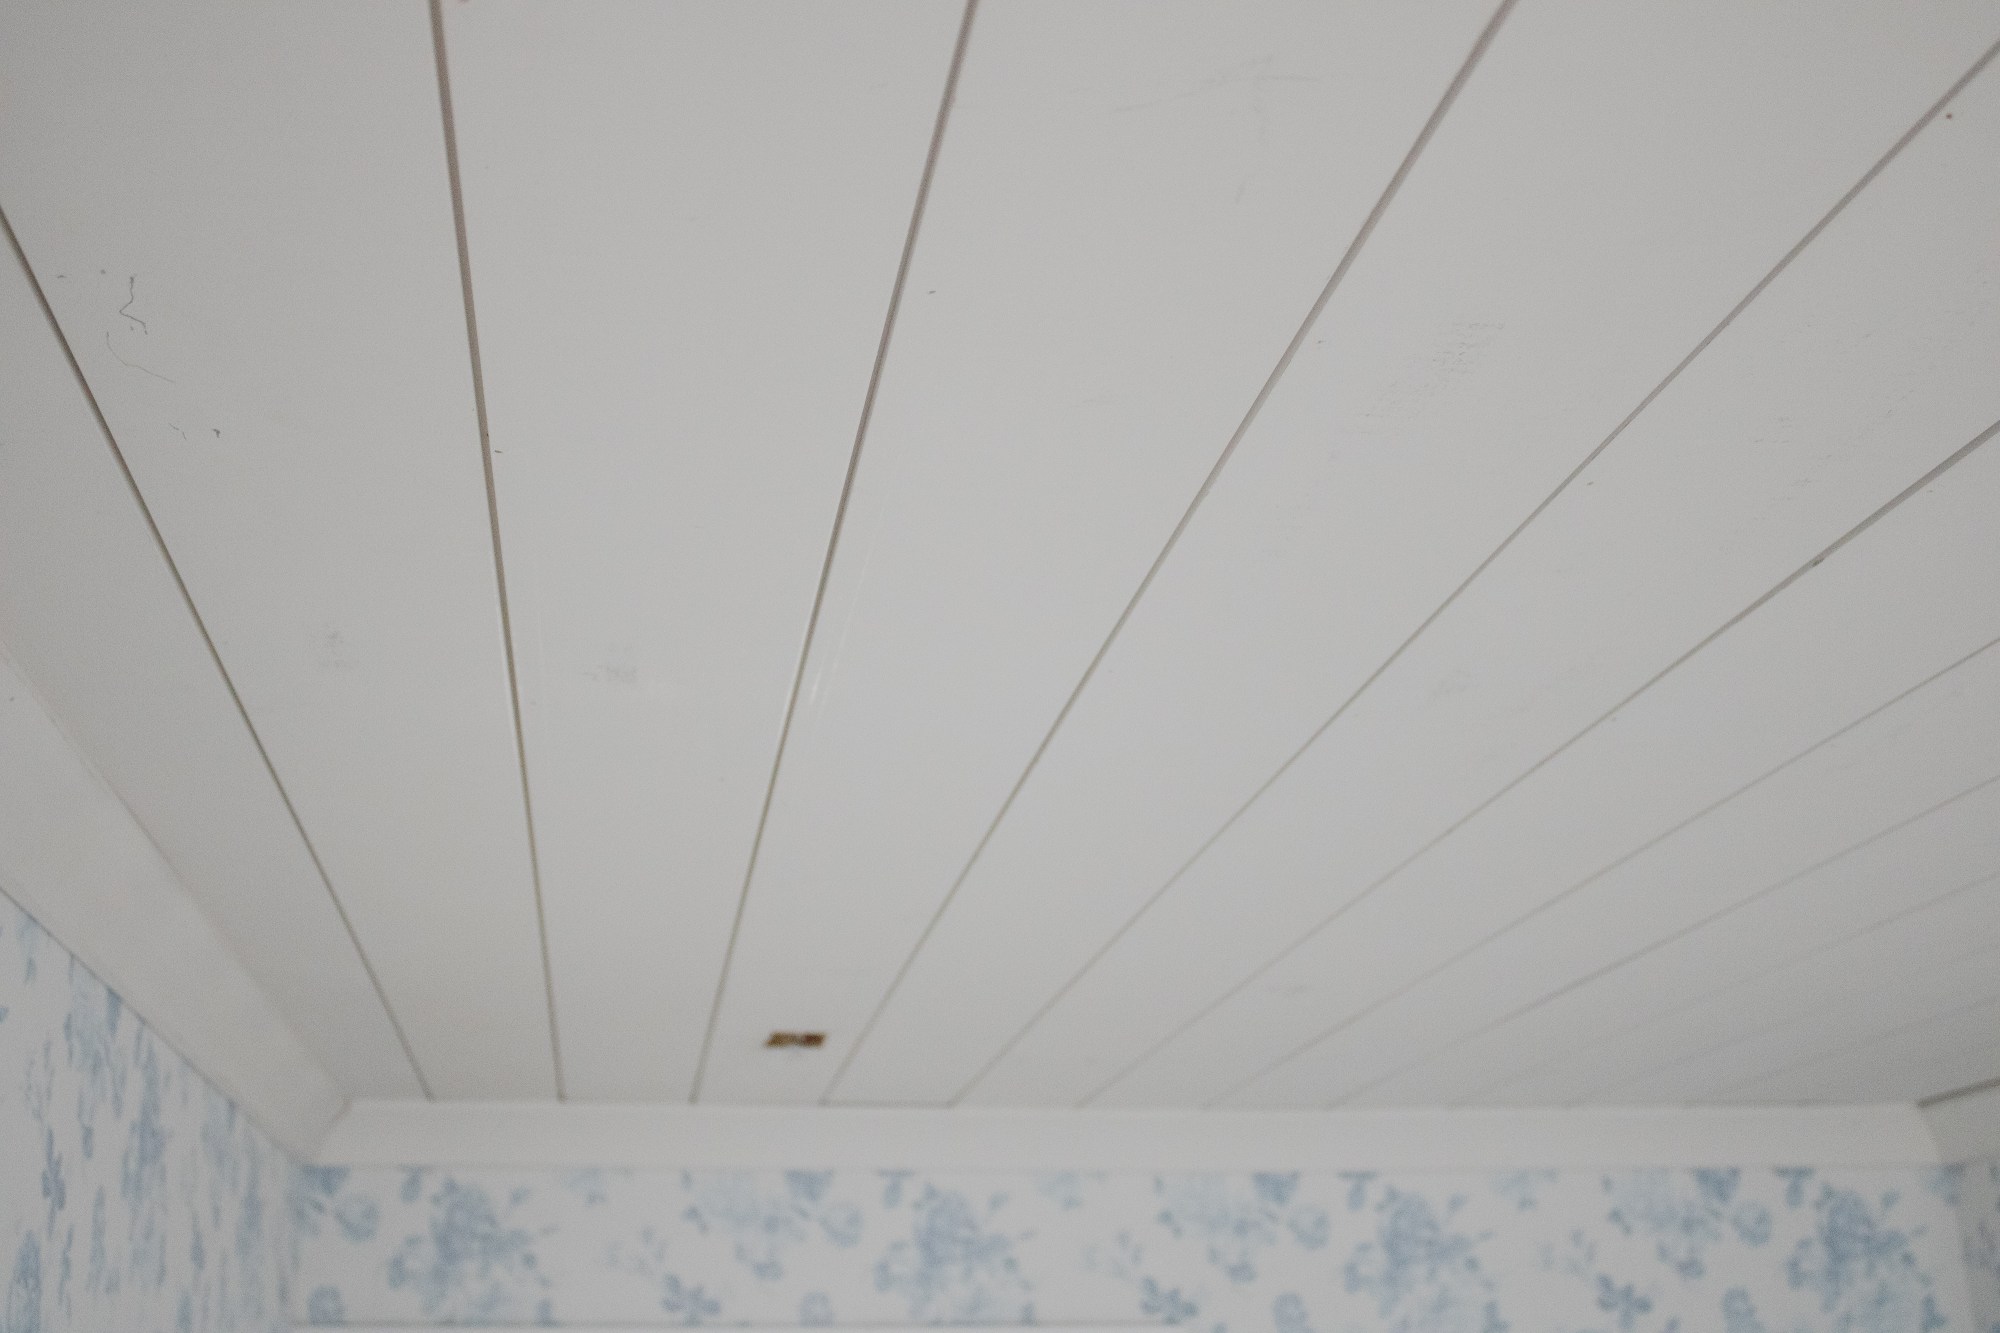
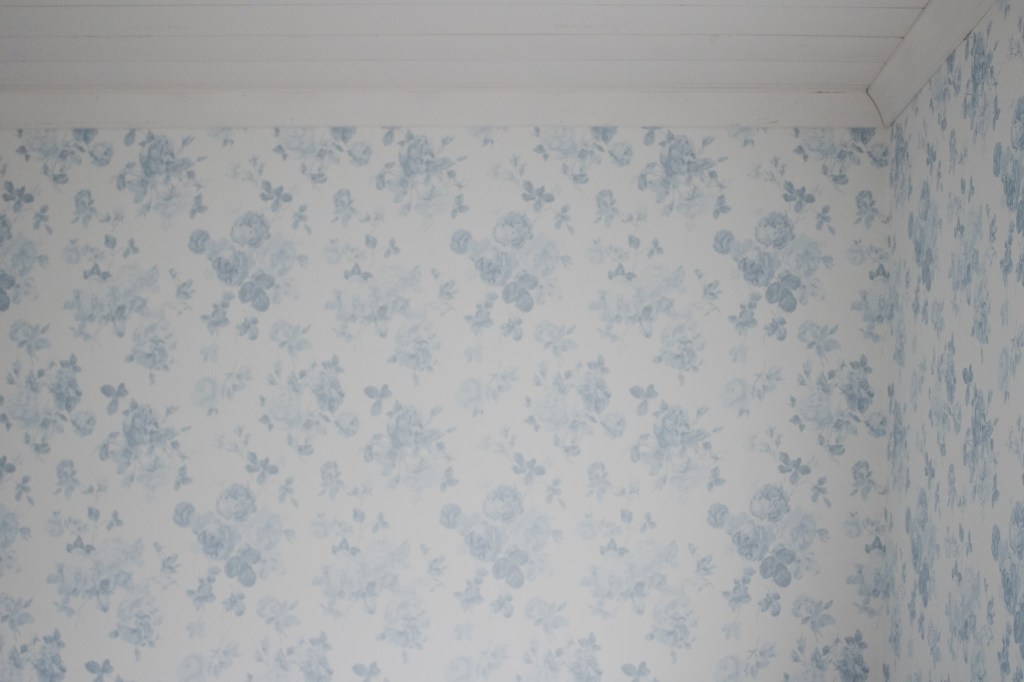
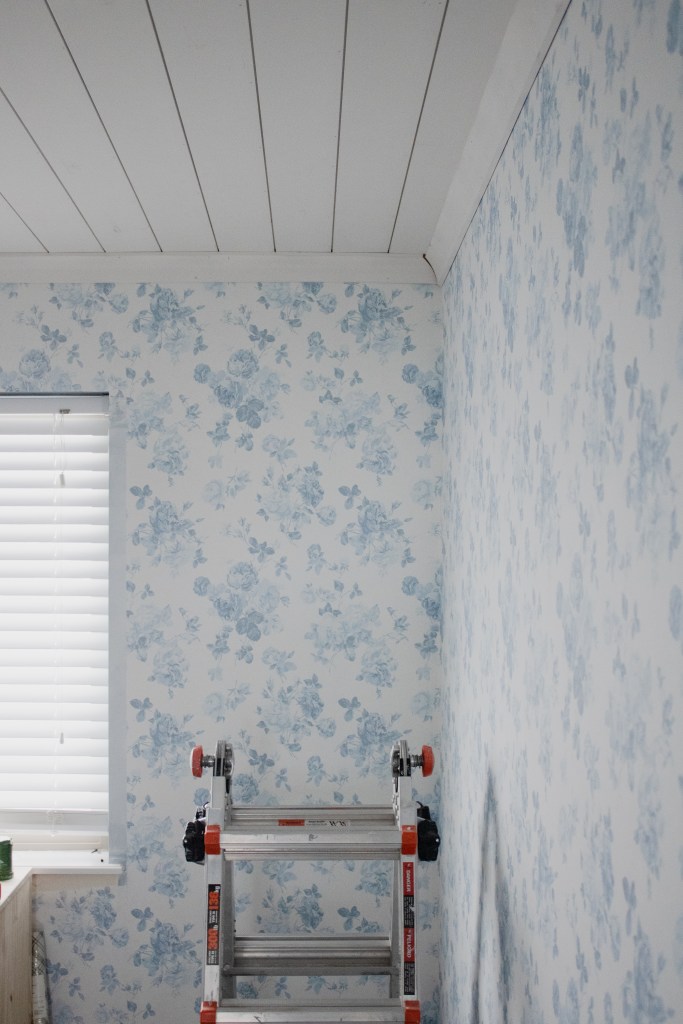
Even when I wasn’t exactly sure what I wanted to do with Violet’s nursery I knew it had to have a shiplap ceiling. For some reason, the room was just begging for it! It is a rather small bedroom and using the ceiling in the design not only makes the room feel bigger, but it gives me yet another surface to bring character in here.
Want to see what projects I’m working on now? Follow me on Instagram!

Several years ago, I installed faux shiplap in the tray ceiling of my friends’ primary bedroom for them. It turned out well and I was pleased with it – I also learned a lot during that project. Getting the thin boards flush against the ceiling and perfectly spaced while working over my head was a task in and of itself.
Because of that experience, when I dove into this project I knew I wanted to use real shiplap boards instead of faux shiplap. In the past, I’ve loved working with faux shiplap (thin plywood ripped into 6″ strips) but the flimsy nature of the thin boards makes working with it on the ceiling difficult. For me, it was definitely worth the added expense of the real boards and I would recommend the sturdier option to anyone wanting to do this.

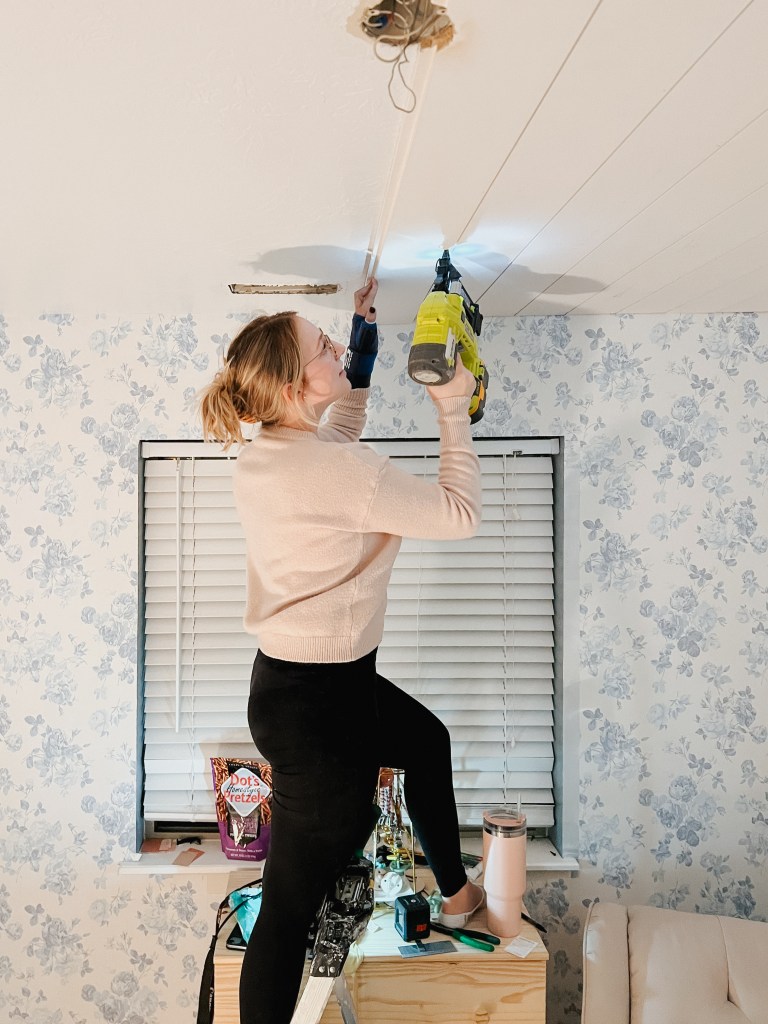
Unfortunately, I broke my wrist a few days before Christmas and this project was scheduled with a few brand deadlines for January. That was a not so fun obstacle to work around! Luckily my awesome husband stepped in and helped a ton. We were able to knock out the install over two nights. One night for the boards and the next night for the crown moulding. Then one additional day for wood filling, caulk, and paint – which I’ll cover in the next post. Be sure to subscribe so you don’t miss it!

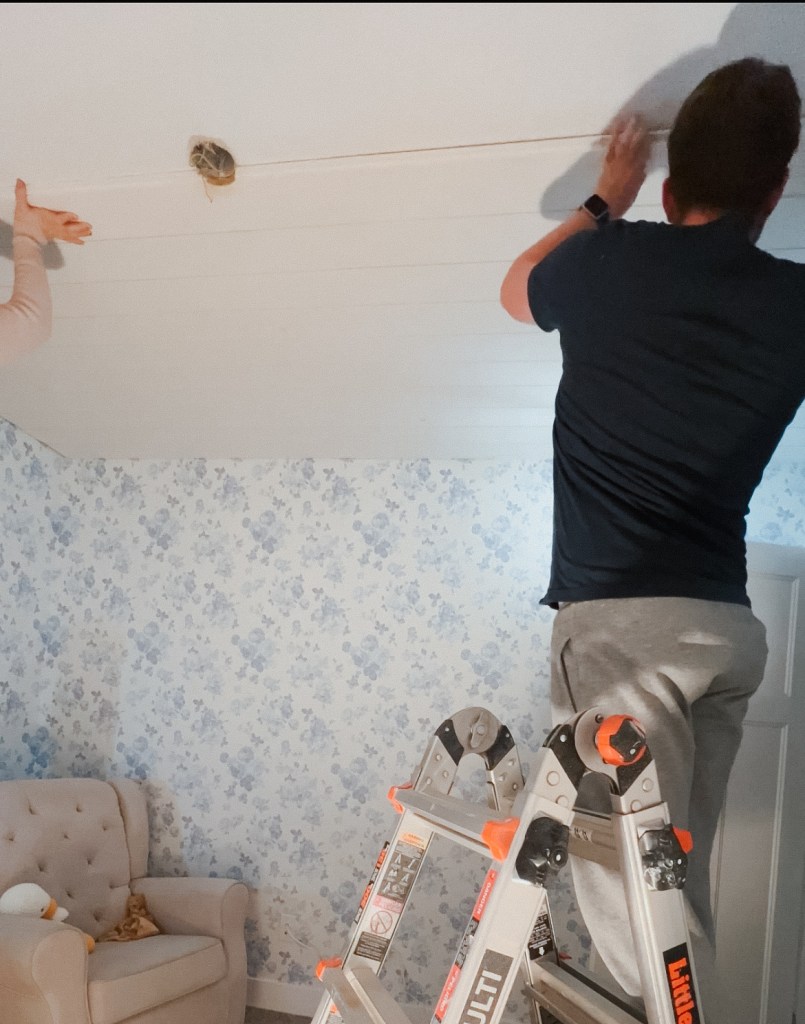
Even without a broken wrist, I would say this is a two person project. There are ways to do this solo (installing a support board to hold the opposite end up would be my plan), but if you can snag a spouse, sister, friend, neighborhood teen in need of a few extra bucks, I would highly recommend it.
Materials & Tools
Disclosure: Some of the links provided are affiliate links, which simply means I may earn a small commission (at no additional cost to you) if you shop through one of my links.
- Tape measure
- Miter saw
- Circular saw with rip guard or table saw
- Jig saw for weird cuts
- Nail gun
- Caulk gun
- Step ladder
- Multitool (optional)
Tutorial
To make things go faster, I started by cutting all of the boards to size. This is pretty straightforward – just measure your ceiling and cut the boards to that length with your miter saw. You can also use a circular saw instead if you don’t have a miter saw, especially since all of your end cuts will eventually be covered by crown moulding.
Cut your board 1″ shorter than your measurements. This will give you 1/2″ gap on either side to account for expansion/contraction with temperature changes and it will be covered by the crown moulding.

If your ceiling is not a simple square – mine has an outcropping where the closet is – you’ll need to cut at least two different lengths. When you’re calculating how many boards you’ll need for each section, don’t forget that the shiplap overlaps and will leave you with less than 6″ of coverage per board! I made this mistake and had to grab two additional boards from what I first calculated.
I chose to run the boards parallel to the entrance. I started with a full board and then used my circular saw and rip guide to trim the last board to the right width. One day I’ll face my fears and get a table saw! When you’re doing your calculations, you’ll want to make sure your last board is not going to be a tiny piece. If that is the case, then split the difference and rip down both your first and last boards.

You can use a combination of glue and nails to install the boards, but I try to avoid gluing things to walls/ceilings. If I ever want to change this, the glue would destroy the ceiling and require a lot of drywall repair. I like to use nails installed at varying angles. Switching up the angles and not shooting the nails in straight locks the board into the drywall and keeps it plenty secure.

We worked from one wall to the other nailing the boards in as we went. We were sure to alternate angles and tap the boards to listen for any loose spots that needed an extra nail.


The trickiest part of this was cutting out holes for the light, vent, and fire alarm. This is where measure twice (or three times) and cut once is super important. Since the boards have the classic shiplap gap built into them, there is a right and a wrong direction. You’re also working on the ceiling, so everything feels a little turned around. Measure the distance from the wall, how wide, and how far from the edge of the previous board the opening should be. Draw it onto your board and hold up the board to confirm that it looks right. You don’t want to go through all the work of measuring it just to cut it on the wrong side!

I used my jigsaw for most of the awkward cuts, but my multitool came in handy a few times as well. You could definitely get away with just a jigsaw, though.

After the first night, all the boards (except the two I had to go to the store to recut) were up, so the next night we tackled the crown moulding. Crown moulding always makes my head spin a little, but I follow this tutorial and it has never led me astray! I’ve used this simple, modern crown throughout my house in the living room and Elliott’s room, so I used it in here as well. I love its sleek design!
I caulked between the crown and the shiplap, making sure to dig out excess caulk in the shiplap gaps. Then I taped the wallpaper off and caulked between the crown and then paper. Make sure to remove the tape quickly after caulking and do so very carefully if it’s coming off wallpaper! I used my nail setter to set any proud nails, then wood filler to fill in all the holes. After lightly sanding the filler away it was ready for paint!

If you follow me on Instagram, then you already know what color I chose. It’s sooooo pretty in here – I can’t wait to share it! Be sure to subscribe so you don’t miss it.
With love,
Mercedes ♥

2 thoughts on “DIY Shiplap Ceiling in the Nursery”