

Disclosure: Some of the links provided are affiliate links, which simply means I may earn a small commission (at no additional cost to you) if you shop through one of my links.
This is the last she-shed progress update you’ll see from me – next week is reveal week! I can’t wait for you to see everything all put together, and I can’t wait to finally have a functioning and organized workshop space.
Want to see what projects I’m working on now? Follow me on Instagram!

It was the perfect week to focus on the exterior of the shed because the weather has been gorgeous! I started off by power washing everywhere I was planning to paint. It doesn’t matter how strong of a primer you use, it won’t adhere well if there is a layer of dirt in between the paint and the surface. I grabbed a Ryobi electric power washer and have been very pleased. It does what it is supposed to and is very budget friendly – I highly recommend it.

With everything clean, it was time to prime! I debated on whether or not I needed to prime because the existing paint was in great condition (no peeling or chipping), but I decided that since it’s an exterior paint job the primer was necessary to achieve maximum durability. I used Zinsser’s 1-2-3 primer because it’s rated for exterior applications and is water based, so it’s easy to clean out of the sprayer. It took about 1.5 gallons, but my shed is pretty big so keep that in mind when planning for your own.

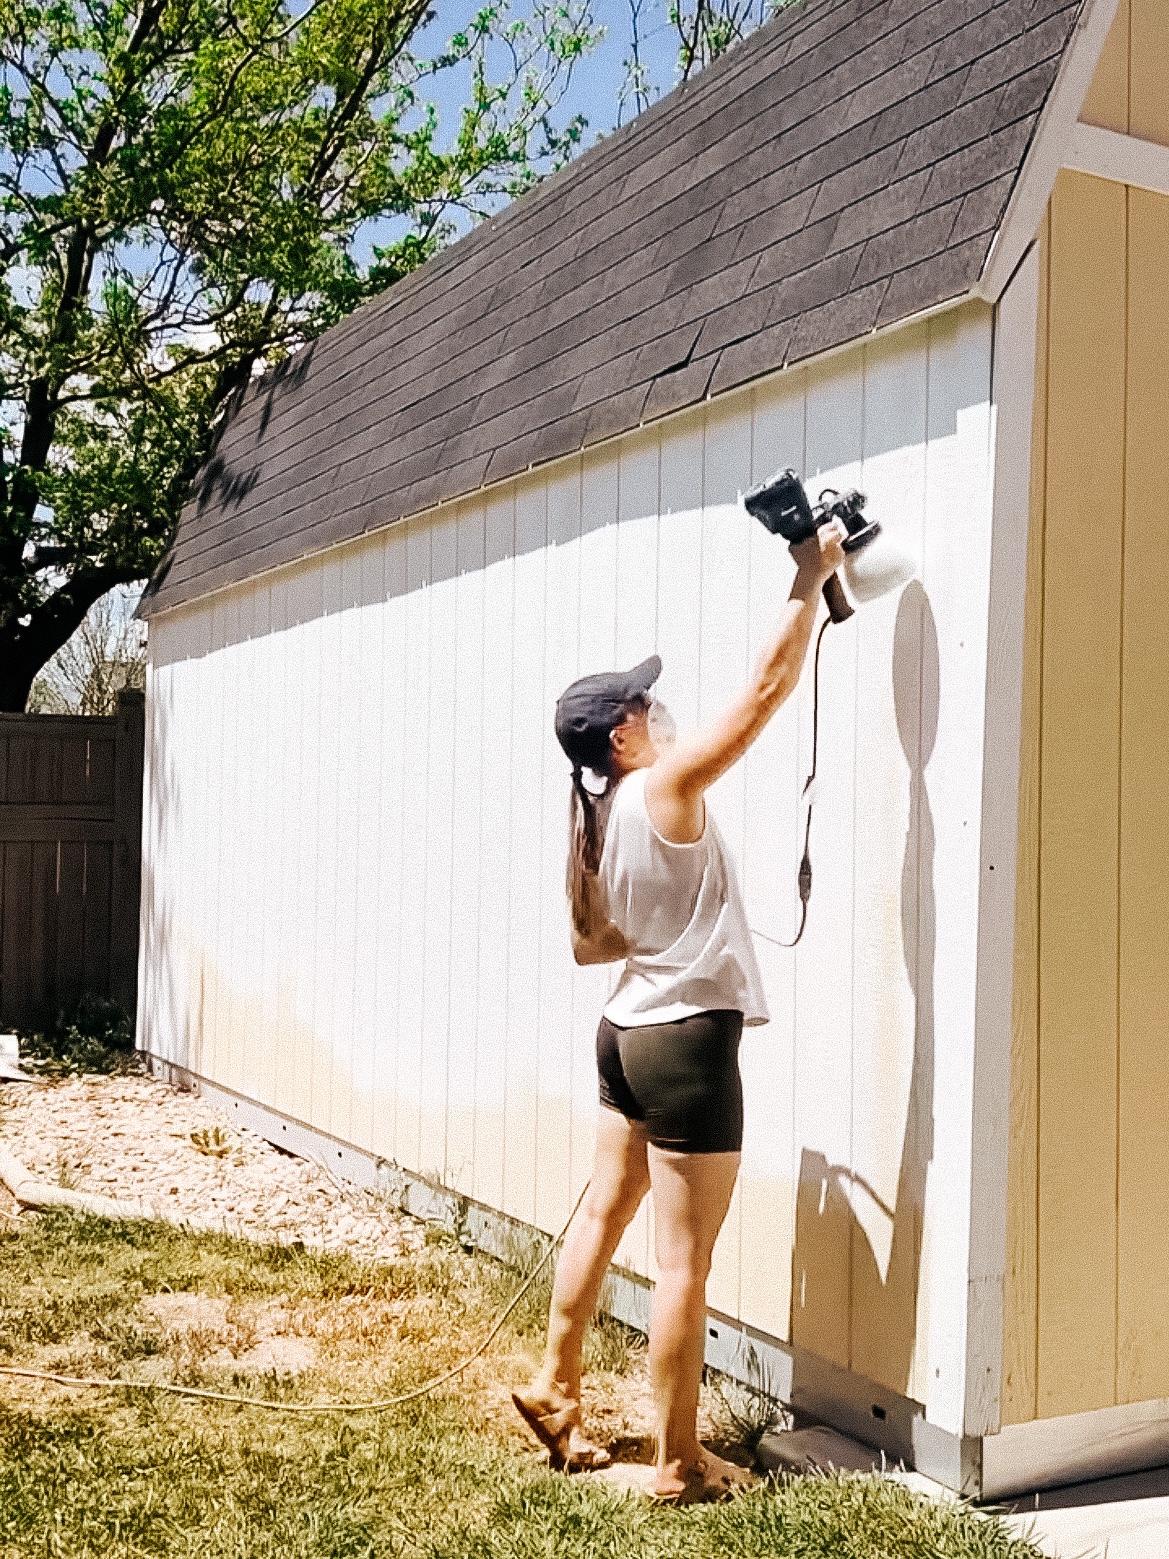
I used my paint sprayer again (duh) and sprayed on the primer. You could use a brush and a roller to do this and you would achieve a similar finish. Be aware, however, that it will take you a lot longer, especially if your siding is like mine with shiplap-style gaps that you’d need to paint with a brush. I recommend just spending the $100 to get the sprayer and make your life a gajillion times easier!

To keep paint from spraying anywhere I didn’t want it to go, I used a piece of cardboard as a paint shield. I only needed to do this on the bottom because the top fascia was angled in a way that kept the paint off the shingles – hooray!

After primer comes paint! I applied two coats of exterior paint in a low lustre sheen. And of course I used the paint sprayer again. Painting white on white is no fun because it is very difficult to see where you’ve painted and where you haven’t, but it is a little easier if you’re painting in the shade versus the direct sun. So if you can, plan to paint on an overcast day or wait until the sun is in a good position for whatever face you’re painting.
Tip : the exterior paint tended to build up on the tip of my sprayer more frequently than the primer did, so I recommend keeping a baby wipe or towel nearby to regularly clear it.
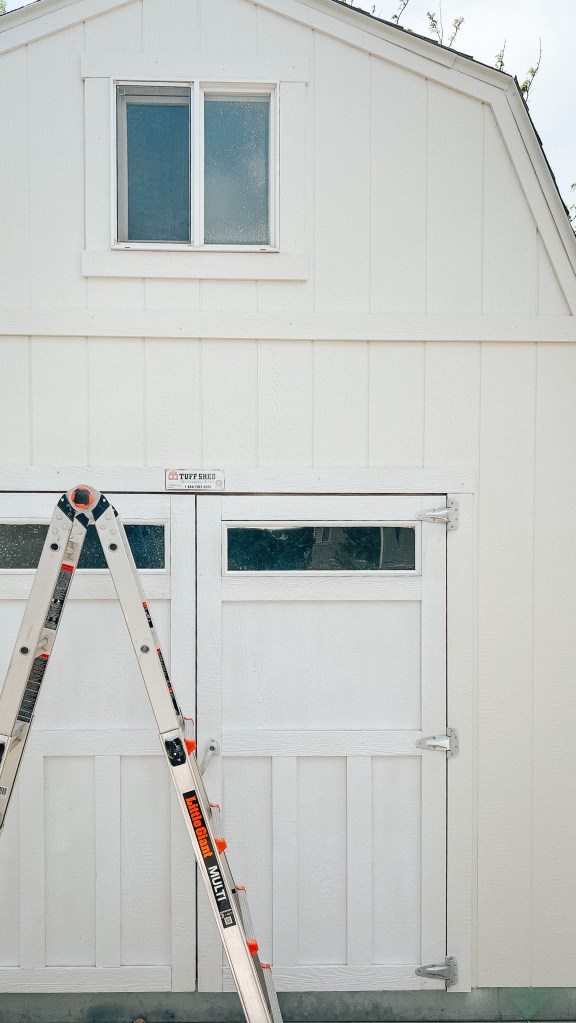
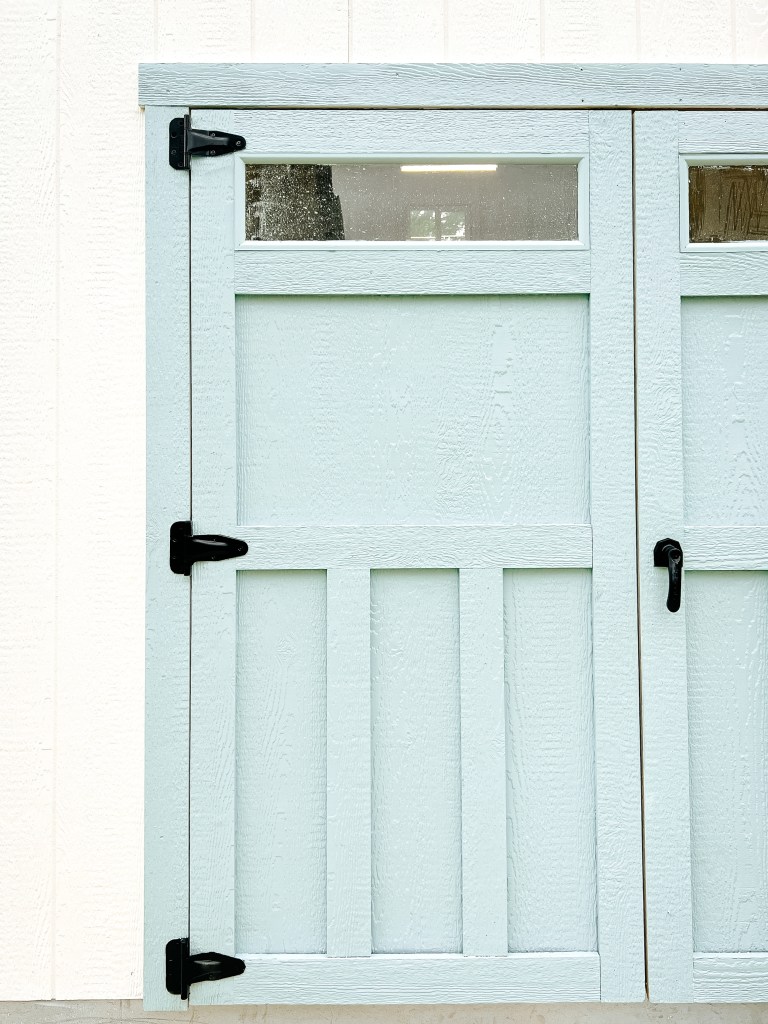
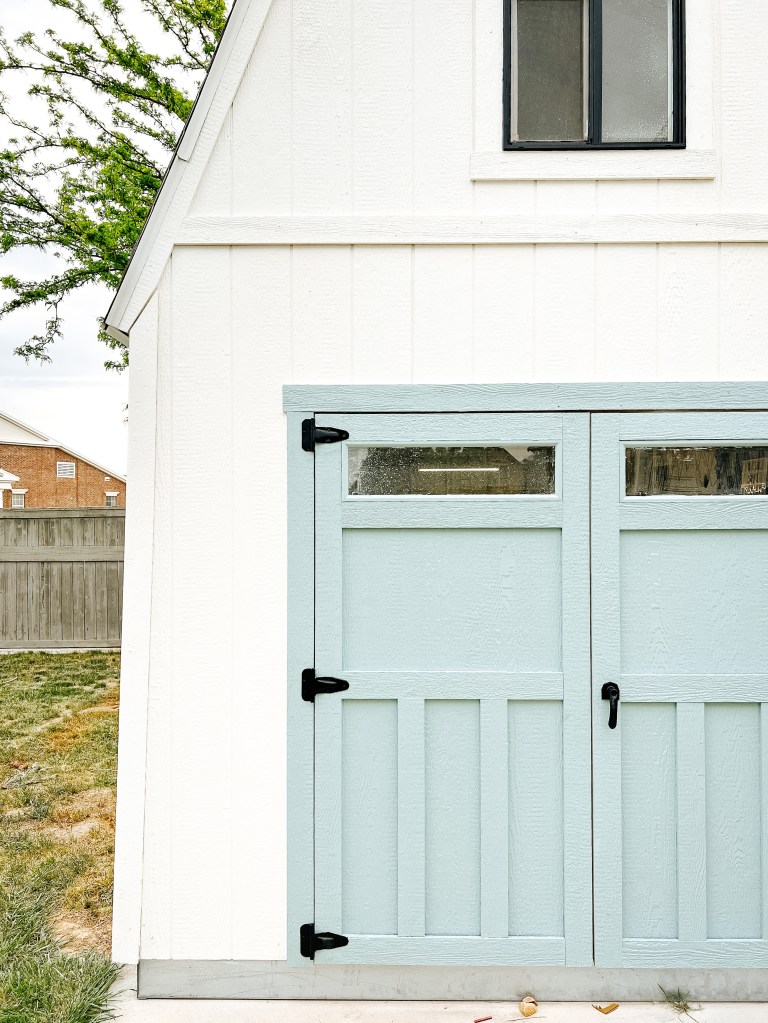
I was pleased to see the yellow go, but I wanted to add a little color back on, so then I painted the door blue (Benjamin Moore Wedgewood Gray, to be exact). I could’ve taken the door off its hinges and sprayed it, but I opted to just brush and roll it instead. It took me 30 minutes for each coat, which isn’t too bad. For reference, though, spraying took me about 7 minutes per side, so about 30 minutes for the entire shed.

After the door was painted, I thought that maybe the window trim on the upper window should be blue as well, so I went ahead and painted it (if you follow me on instagram, you already know where this is going). Bad decision! Okay, it wasn’t that bad, it just made it look more barn-like than what I wanted (if I were going for the barn look, it would’ve been super cute to paint the horizontal trim piece as well). That’s the great thing about paint though! I just waited for it to dry, climbed back up, and painted it white again. Crisis averted!

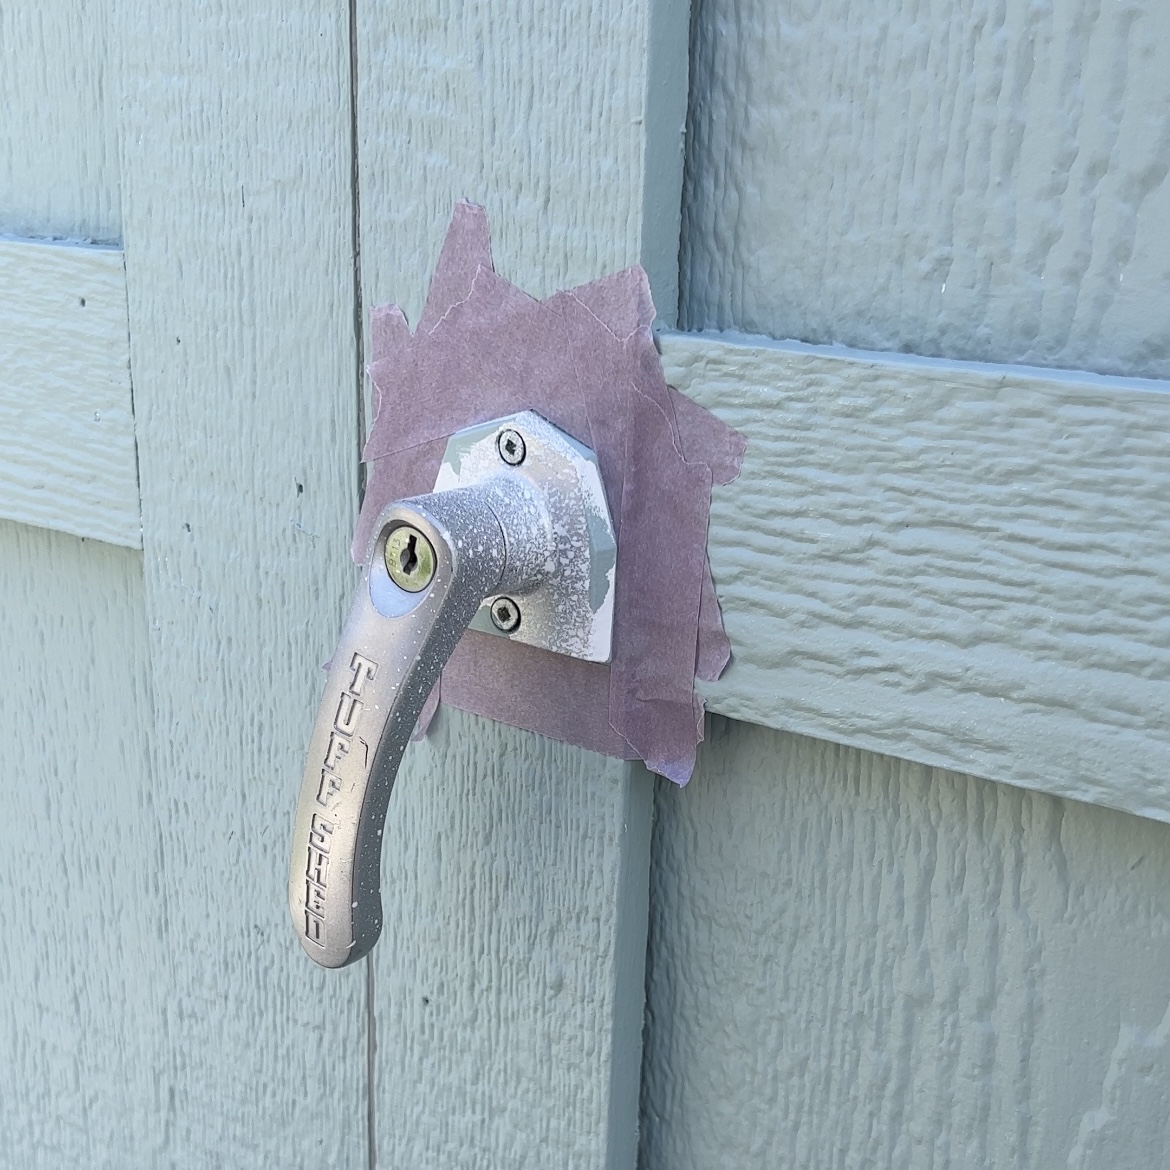
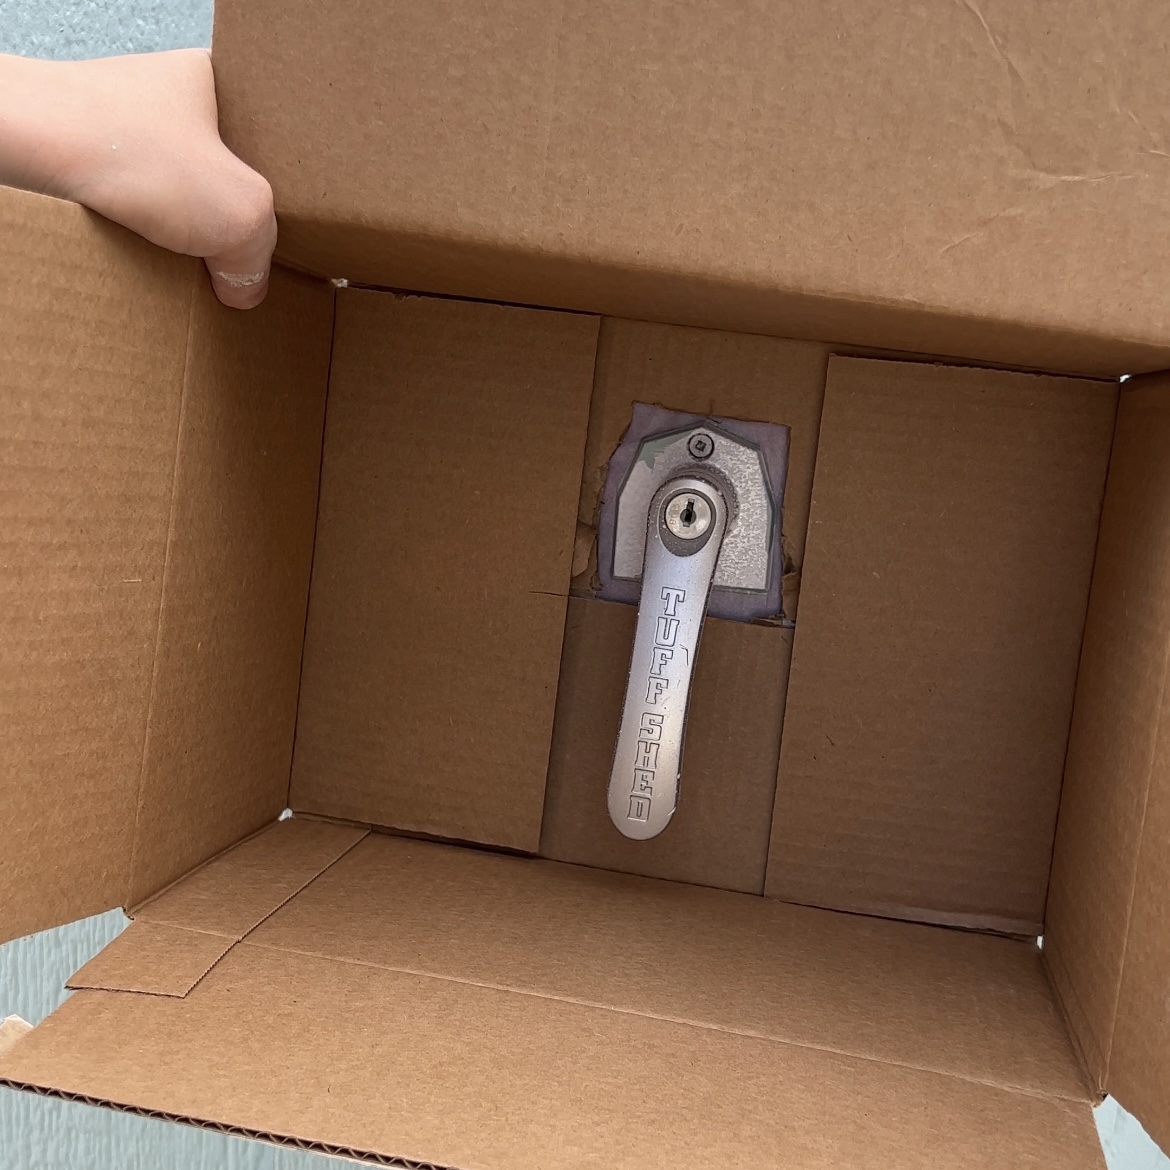
I painted the hardware black because, well, why not! And it makes it look so crisp and fresh. I taped off around the hardware and then cut a hole in a box to create a mini spray shelter and then spray painted them.


I did feel like that window needed a little something though, so I decided to paint the white pieces of the window black as well. I love it! I think it adds just the right amount of dimension without drawing too much attention up there.

I am so close to being done… here is what is left on my to-do list:
- Finish miter stand
- Add counter to drawer units
- Toe kick/build in drawer units
- Build, paint, and hang sign
- Wood storage
- Style & photograph
Make sure to check out all of the other projects happening here, and of course follow me on Instagram to get all the behind the scenes.
With love,
Mercedes
One Room Challenge Week 8 : Reveal→

One thought on “Exterior Glow Up | One Room Challenge Week 7”