
Firmolux supplied the plaster kit for this project. As always, all opinions are my own.
Step 1 : Break your dishwasher, requiring a full kitchen tear out. Step 2 : Convince your husband that the pantry is an excellent place for a microwave (it is, by the way) and that you will make up for the lost cabinet space above the microwave. There ya go – that’s how you get a hood vent 😉

In all seriousness, it did take a little bit of convincing to get Jordan on board moving the microwave. Now that it’s living in our pantry, he loves it there just as much as I do. The kids have access to it since it’s lower and the kitchen is so much prettier without it above the stove! We also have so much more cabinet space with our new cabinets, so that’s not really an issue either.
Want to see what projects I’m working on now? Follow me on Instagram.
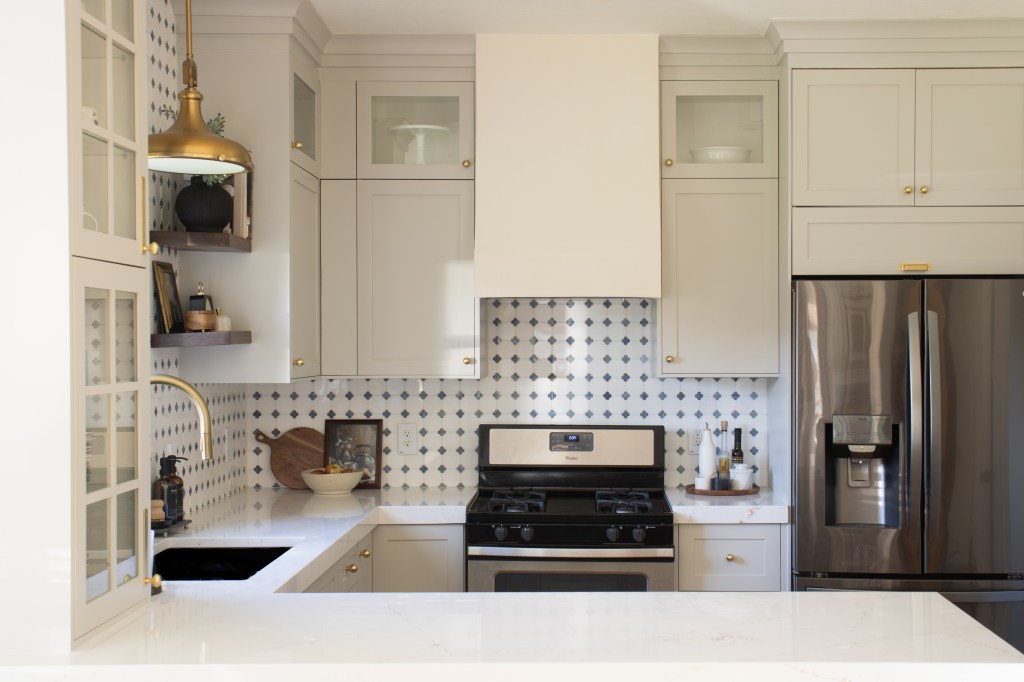
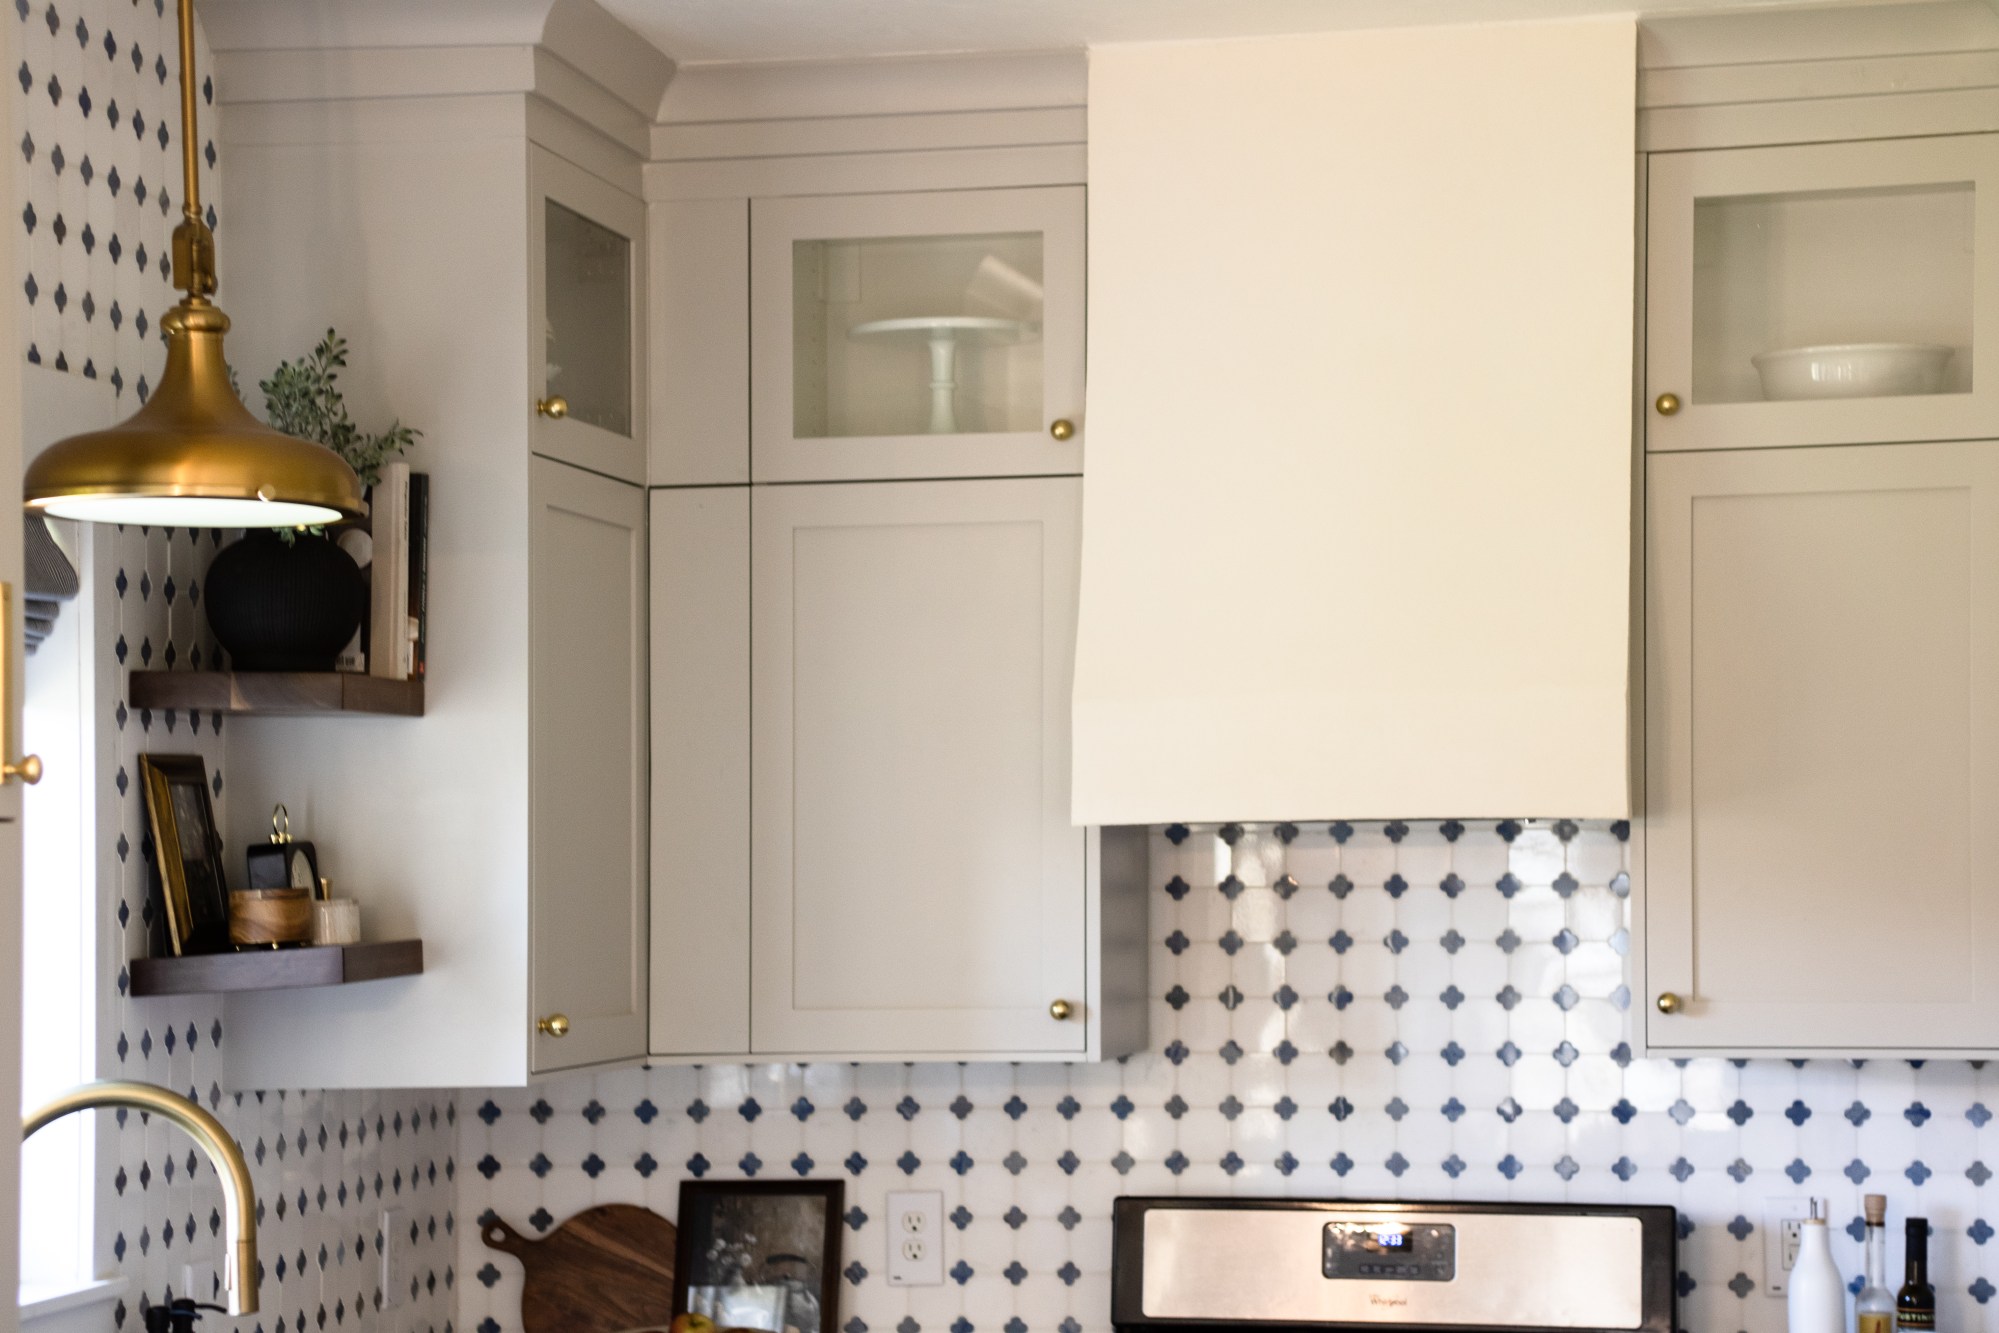
But onto the more exciting bit, I adore the new hood vent that I built and installed! I was a little stumped on what I wanted the vent cover to look like, but as soon as I saw a plaster vent I realized how perfectly it would fit into our new kitchen.
Materials
Disclosure: Some of the links provided are affiliate links, which simply means I may earn a small commission (at no additional cost to you) if you shop through one of my links.
- 2×4 lumber
- 1×4 lumber
- 1×3 MDF
- 1×6 lumber
- Stud finder
- Pocket hole jig (or this one) & screws
- 2.5″ screws
- 1.25″ screws
- Drywall
- Joint compound
- Drywall knife
- Drywall screws
- Drywall tape
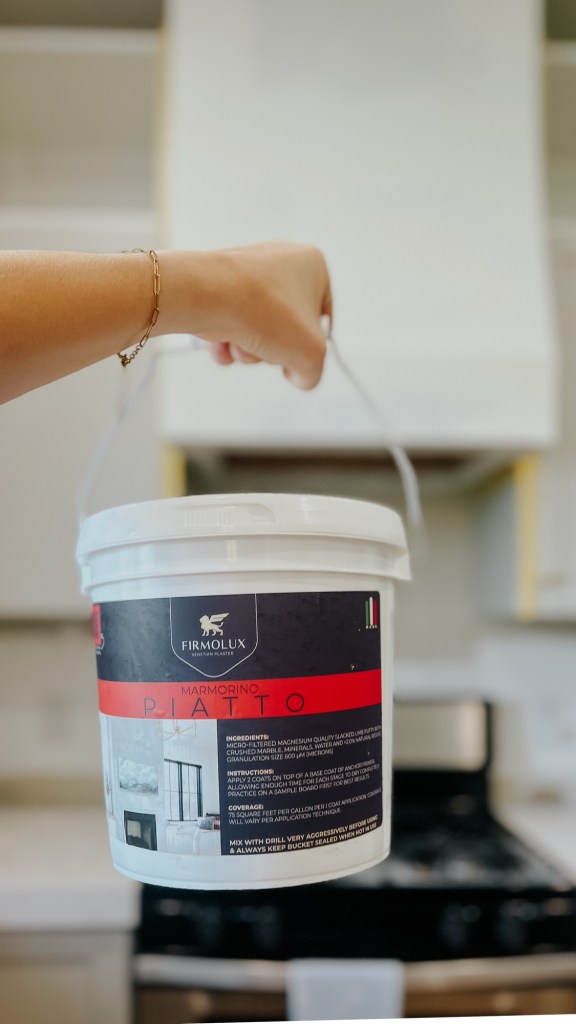
- Venetian Plaster Kit
- Plaster trowel
- Circular saw
- Drill
- *Miter saw (optional, could use circular saw)
Tutorial
I heavily relied on Plank & Pillow’s plaster hood vent tutorial. I highly recommend you read through theirs as well before starting!
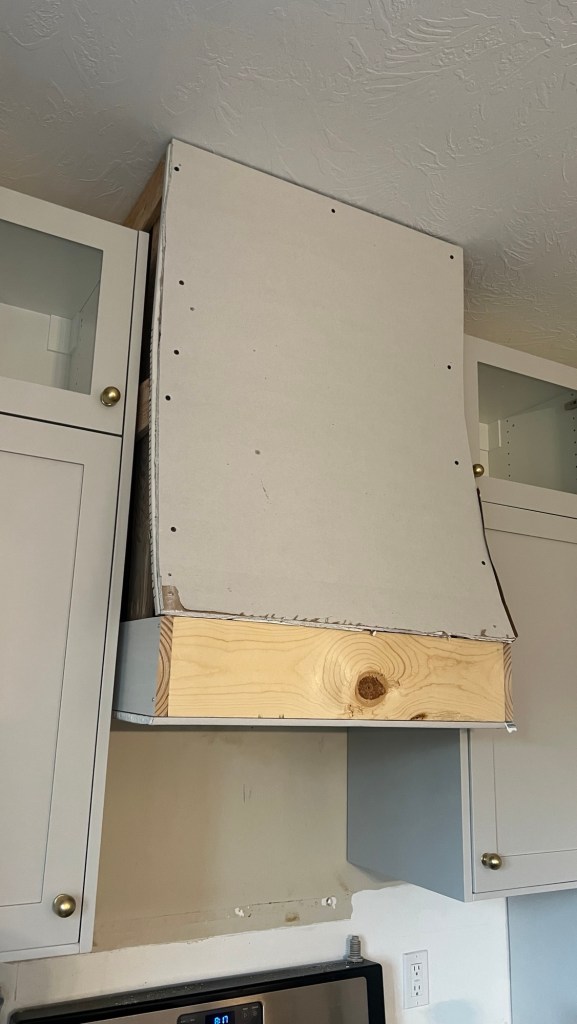
Build the frame
The first thing you need to do is figure out how big your range hood needs to be. This will include how wide you want it and how far off the ground/above the stove it will sit. Remember to account for the thickness of your drywall here! The measurements for our frame are 29″W x 38.5″H x 22″D. We have 9′ ceilings, so this gives us about xx” between the stove and the finished bottom of the vent.

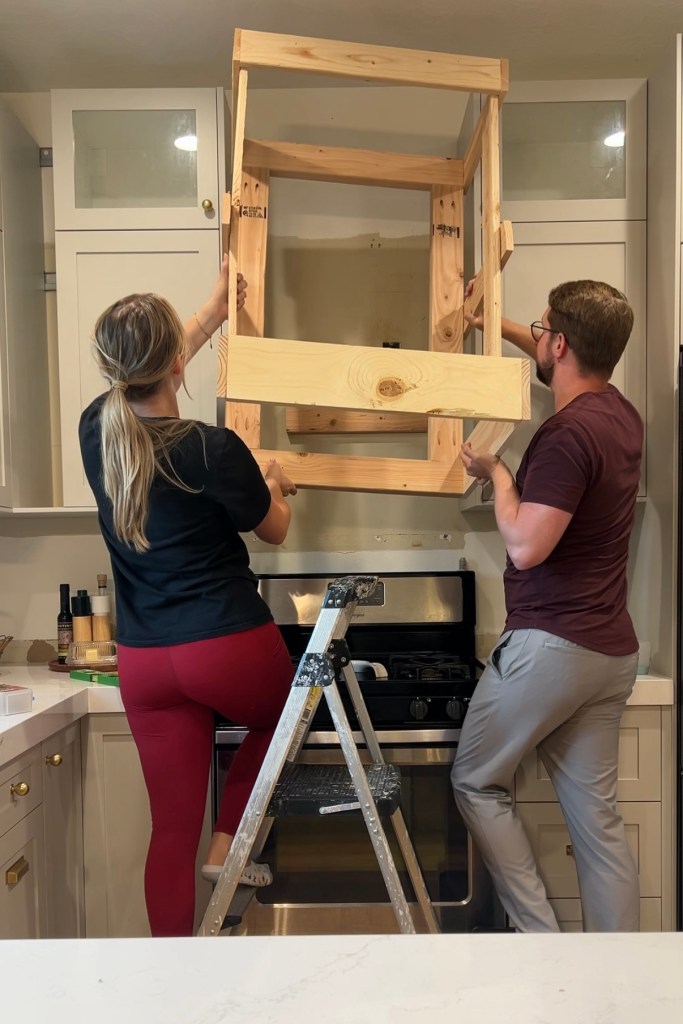
My five year old had a blast helping me build it. We started by building two rectangles for the top and bottom. For the top we screwed together 1x4s and a 2x4s and for the bottom we used 1x6s and a 2×4 around.


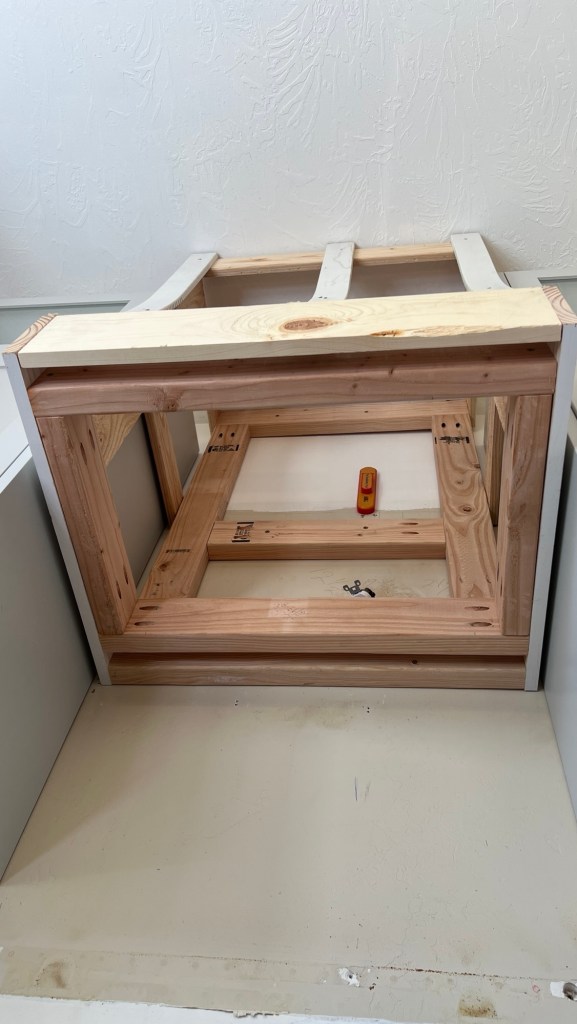
Once the rectangle boxes were created, we joined them with two 2x4s running along the back (these were attached with pocket screws and will be used to secure the frame to the wall) and two 1x4s down the front. I also added a 1×4 horizontally down the middle for stability. Please, please, please make sure you’re lumber is straight! It will be so much easier to construct everything.

The 1×4 down the middle needs to be cut at an angle to allow for the curve. I honestly just eyeballed the angle using the difference between the top and bottom boxes it and it worked out fine! I made it a little too intense of an angle, but it still worked just fine to attach the drywall to. Sorry that’s not more precise.
At this point, the framing for the swoop still needed to be done, but we went ahead and installed it first so I could easily reach through to mount it. I hung a ledger board (which is just a level piece of scrap wood screwed into the wall) so that we could slide the frame in and rest it on that while I mounted it. I screwed it into studs using 2.5″ screws.

Once it was up, I added one more horizontal 2×4 along the back to add another mounting point. I screwed it into the sides of the frame with pocket holes. I also added the horizontal front piece (1×4) to those angled side pieces I attached earlier.

Time for the swoop! This was by far the most intimidating part of the build. I used three 1×3 pieces of MDF. After realizing that at the angle I had chosen I couldn’t just bend them a little to make it work, I started adding kerf cuts. These are a bunch of little cuts you make in the back of a board using a circular saw set to a shallow depth. My first attempt was not so great, so I scrapped the first boards and tried again. On my second attempt, I added way more kerf cuts so that they were even more flexible – then it worked!


I cut the bottom of the boards at a slight angle so they could sit flat on that board and nailed them in there with my brad nailer. The tops and middle sections got a screw.

Ok, last part of the frame! I dryfitted the vent I chose (recirculating, by the way, since we don’t have an exterior vent here) and realized I didn’t account for it in my original framing! So I added in another layer of 2x4s on the bottom so the vent had something to mount to.
Drywall
With a little bit of patience, you can definitely learn how to drywall. The worst part of it really is the sanding, everything else is like frosting a cake! My biggest mistake here was sticking with 3/4″ drywall. I wish I would’ve used 1/2″ because it is significantly easier to bend.
I cut down the main front piece and then saturated it with water, letting it sit for a while. This is supposed to allow it to bend nicely and make the swoop, but mine didn’t bend quite far enough and ended up creasing in a couple of spots. It wasn’t a big deal, I just smoothed out the breaks using many layers of joint compound… but it would’ve been better to go with 1/2″ and need less touch ups!

I cut and hung the rest of the drywall and used flexible corner beading for the curved edges. After about a million coats of joint compound and as many rounds of sanding, it was nice and smooth and read for the plaster.
Venetian Plaster
This was by far the best part of the whole build. The plaster was so fun to work with! As I was looking for the right type of plaster to use on a kitchen hood, I discovered Firmolux’s Venetian Plaster. The lime is sourced and the plaster manufactured in Italy (near Venice) and is about as authentic as it comes, which I loved! I was looking for that old-world-look to add into this new kitchen and it is the perfect product to do so.
I started by priming it with their special primer. It has a gritty texture to it so it holds the heavy plaster nicely. I did need to roll slowly to keep the material from splattering.
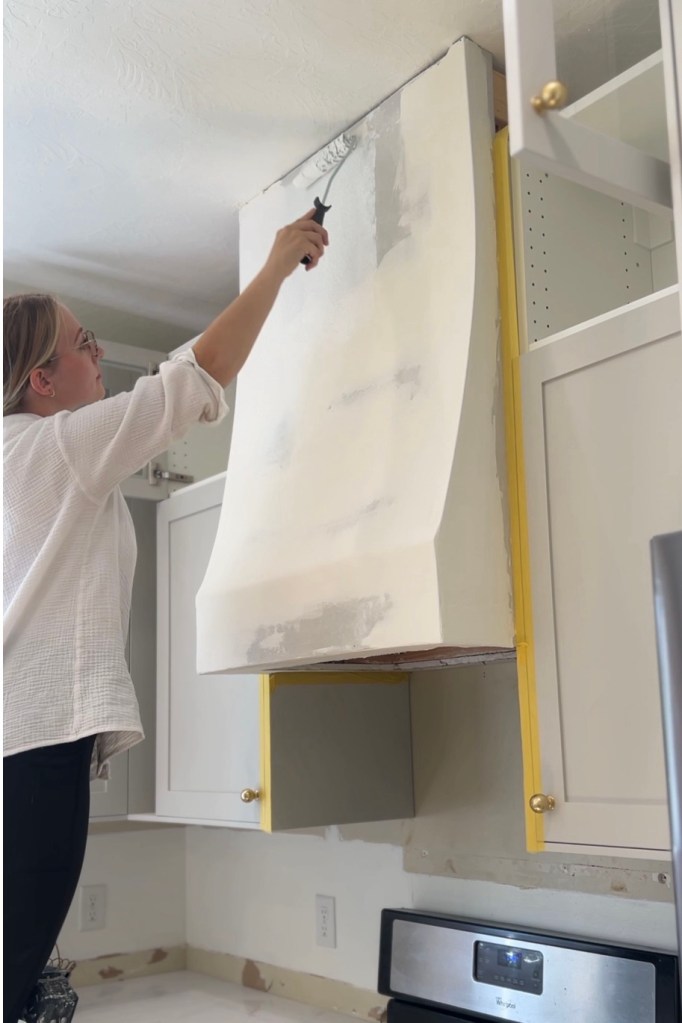
Once that dried, I did two coats (drying in between) of plaster. You can buy their plaster untinted or tinted to match all the main paint colors. Ours is tinted to match our walls – BM Simply White. They have some excellent videos on how to apply the plaster and it’s quite easy. I worked from the bottom up, applying it with my trowel at about a 15º angle. The first coat is mainly coverage, so you keep that one pretty straight forward. With the second coat, however, I moved in curvy motions to keep that movement alive!

As a perfectionist, I had to continually remind myself that the goal of the plaster is not perfection. I wanted that work look, so I wanted to leave some movement and not have it all be perfectly smooth. If I were to do it again, I would leave it a bit less “perfect” than where I got it.

The corners were a little tricky, but after some trial and error I figured out that if you add a little bit over the edge you can come back on the other side and very lightly knock down the excess.

Once the two coats of plaster were dried, I added the included beeswax to seal it – crucial since it’s in the kitchen! I used an old t shirt and worked it onto the hood in circular motions. You can buff out the beeswax to get a shiny finish, but I just left it to keep it matte.
Install the vent
The last step was installing our vent. It’s recirculating and mounts on top of the finished surface so I did this step last, but some vents may need to be installed earlier on in the process. I am actually not super happy with this particular vent so I’m not going to link it, but when I get around to replacing it with something better I’ll link one that I like!


Final thoughts
My final thoughts : I love it! It adds so much depth and texture and character to the kitchen and it was not difficult or expensive.
With love,
Mercedes ♥


One thought on “All About Our Venetian Plaster Hood Vent and How We Built It”