
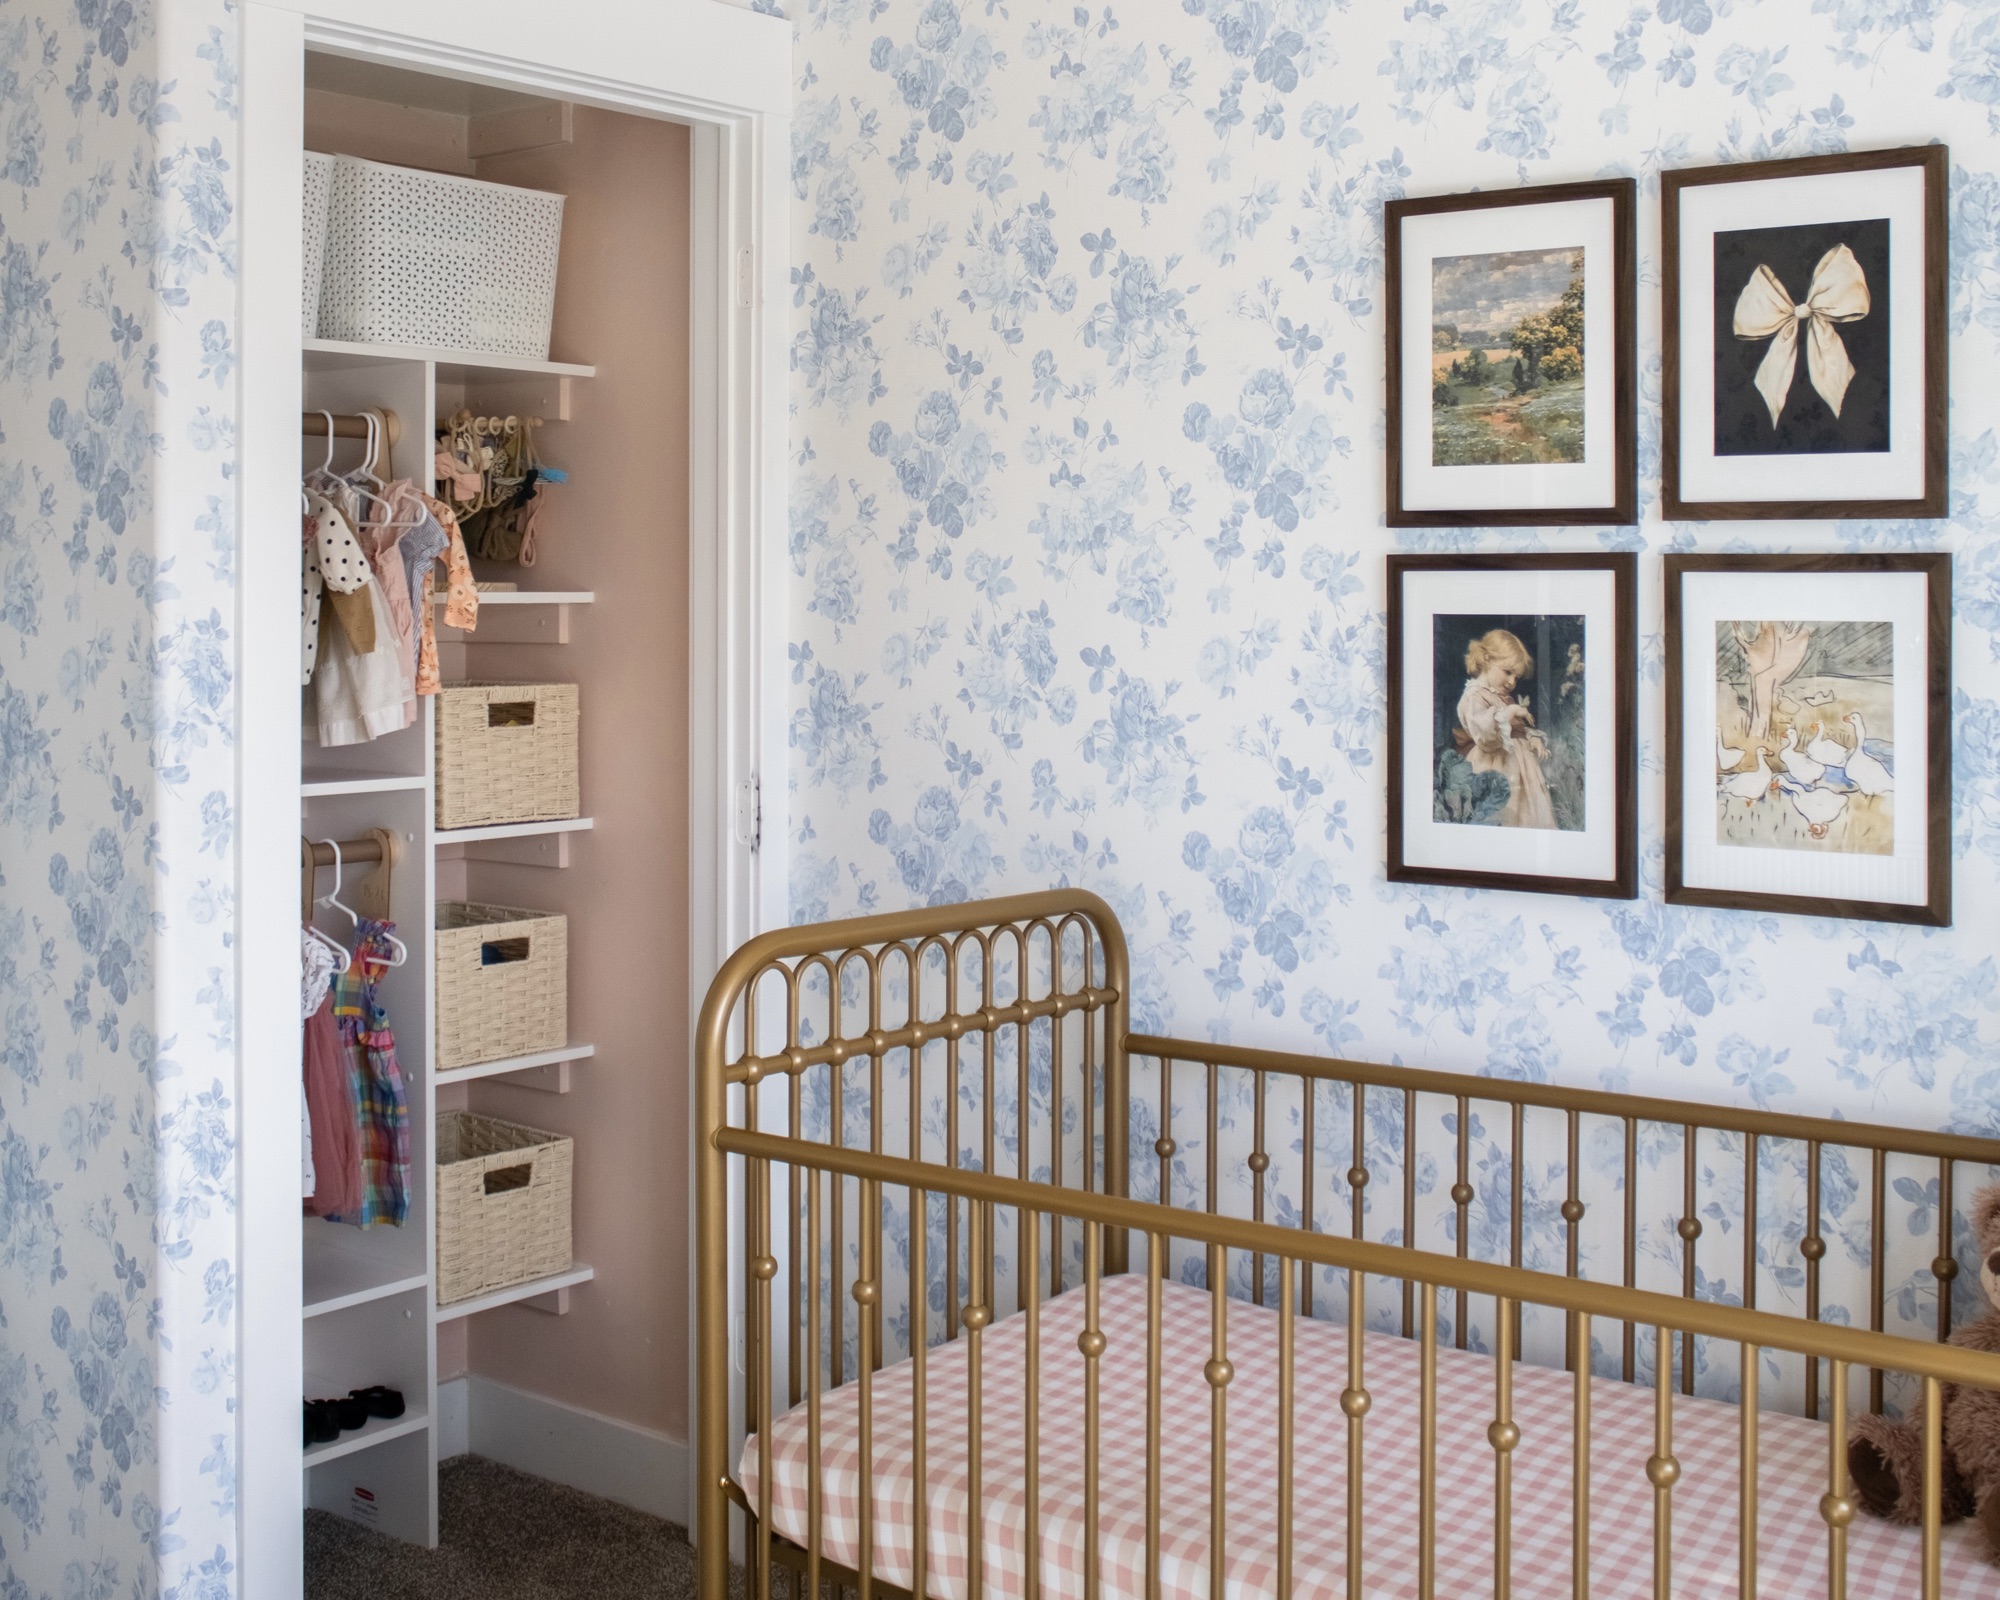
When I redid Violet’s nursery for her last winter, one of the challenges in her room was the lack of space. It is not a very big room, so I had to come up with space saving some solutions. One of the main decisions I made to conquer that issue was here, with this closet.

When I put the crib on this wall, I could no longer fully open the closet door, and that was true with other furniture configurations as well. I wasn’t willing to ditch the rocking chair (or any other furniture), so I decided to take the door off the closet instead! I didn’t want to stare at a boring or ugly closet, though, so I decided to make it pretty!
It ended up taking me way longer than I expected – what doesn’t, at this point – but I honestly think you could do this in a day or two if you weren’t wrangling the kids including a newborn.
Materials
Disclosure: Some of the links provided are affiliate links, which simply means I may earn a small commission (at no additional cost to you) if you shop through one of my links.
- Paint (I used HGTV Home by Sherwin Williams in Romance)
- Roller & brush
- 1×3 MDF
- Shelving boards (I needed 3)
- Long screws & melamine screws
- *Drywall anchors
- Caulk
- Closet rods
- Closet rod brackets
- Brad nails
Tools
Tutorial
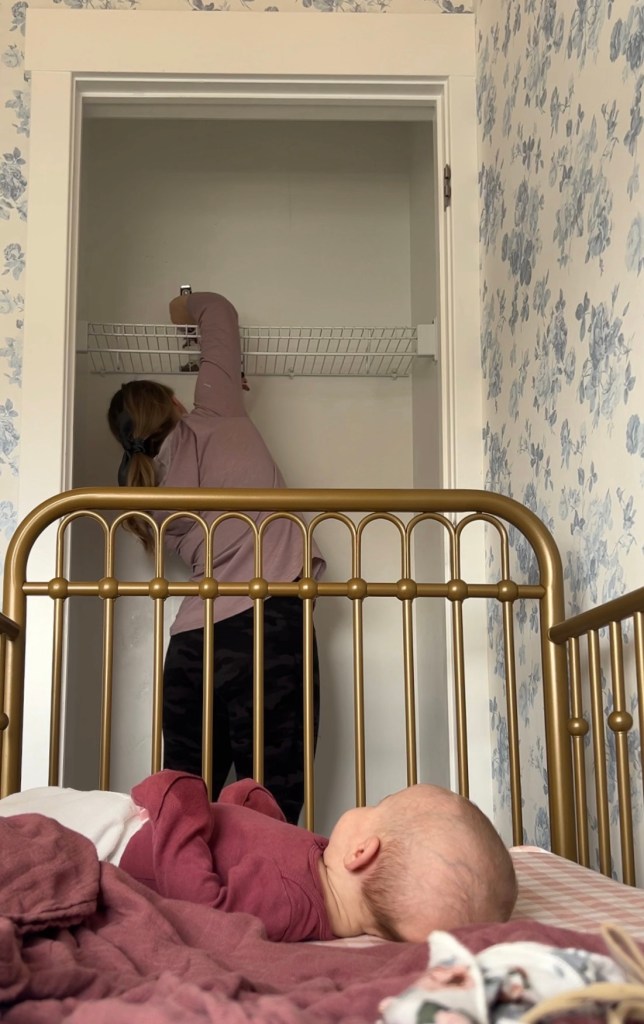
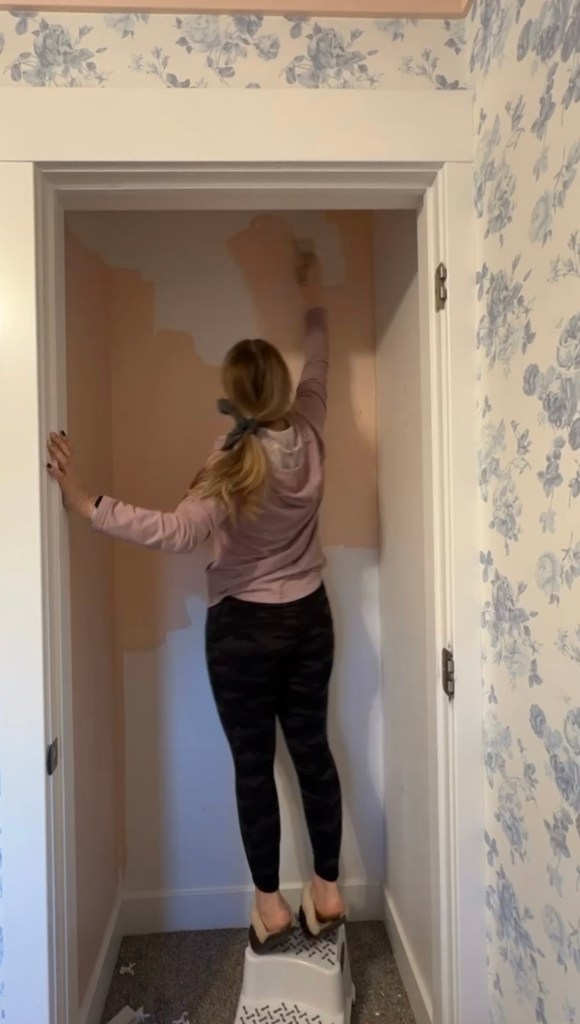
I started by removing the old wire shelving and rods, then I filled the holes left behind. I painted the whole closet, including the ceiling, pink! I had some leftover paint from her pink shiplap ceiling, so I used the same color.
Once I had the walls ready, I started adding the shelving. I sketched out my plans in Procreate. The numbers should be pretty easy to adjust to your closet if you want to change them!


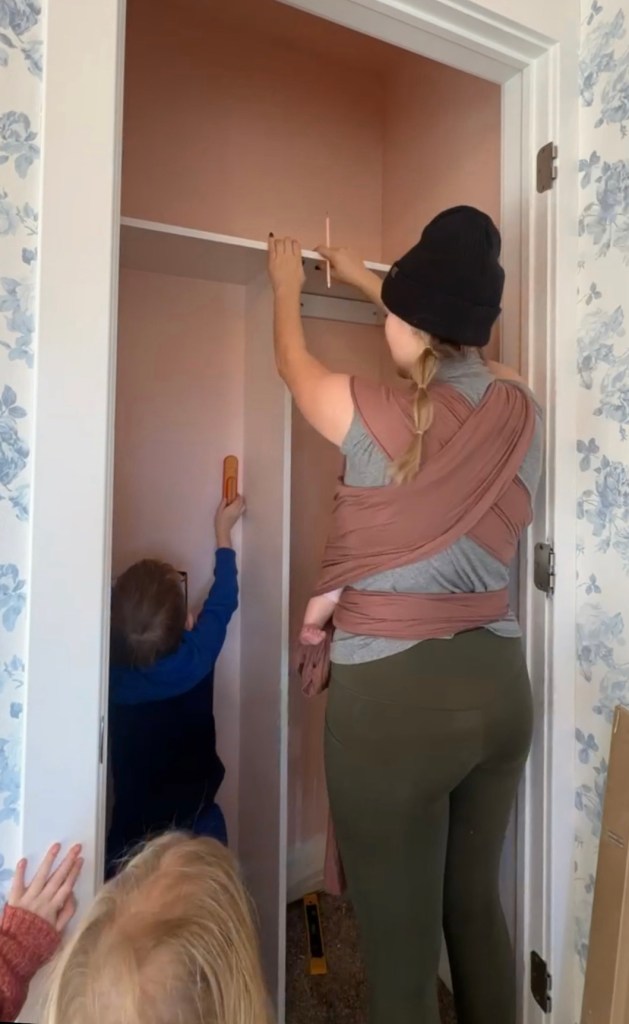
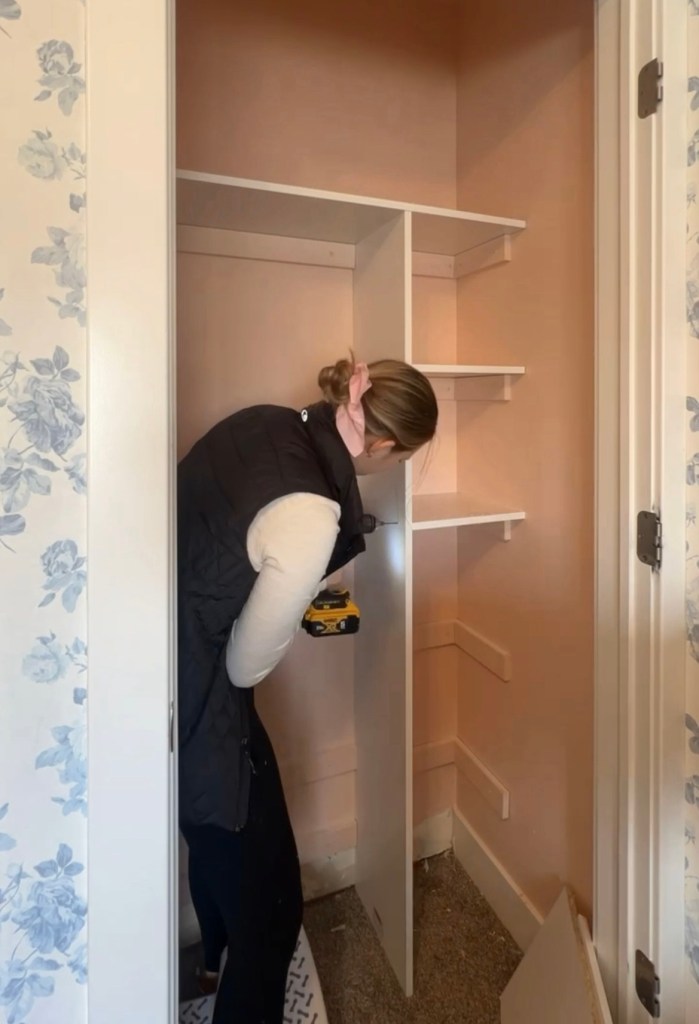
I used 1×3 MDF that I cut to size to create brackets for the shelves. This is by far one of the easiest ways to install a bunch of shelves! Just cut the MDF to the length and depth you need it and screw it into the studs with nice long screws. If you can’t hit very many studs, you can use a *heavy duty drywall anchor. Here, I could only attach the shorter support pieces to one stud so I added an additional support point via drywall anchor.

Make sure your brackets are level! I like to get one screw screwed in almost all the way, then set my level on top and adjust as needed, then screw in the rest of my screws. If you’re working solo, I recommend starting your screws in the board before you put it up on the wall so that you’re not trying to hold the board level and start your screw at the same time.

I like to paint my bracket pieces to match the wall so that they blend in, so once they were all attached I did just that.

Once the brackets were done, I cut the shelving boards to length. I have used these boards a few times and it’s really important to note that they are not easy to paint! They are laminated, so the finish is almost plasticy. Great for cleaning, not great for painting. I love them if I want shelves that are going to be white, but if I want to paint shelves I use these instead
I secured the top board to the bracket below with brad nails and then inserted the big vertical piece.

Next I added the cubby shelves. I slid them in and nailed them down to the bracket, then I screwed them in from the side to attach them to that vertical piece. Make sure to pre-drill using a bit slightly smaller than the screw when you do this. I like to use these screws when working with melamine – remember how you can’t easily patch and paint it? These come with little caps that go into the screw to help hide the head.
Oh, and I did the same thing with the shelf that sits between the hanging clothes and the shoe shelves.
Next up I caulked all my seams – or at least most of them. Shhhhhh but there may still be some that I didn’t do. Who knows!
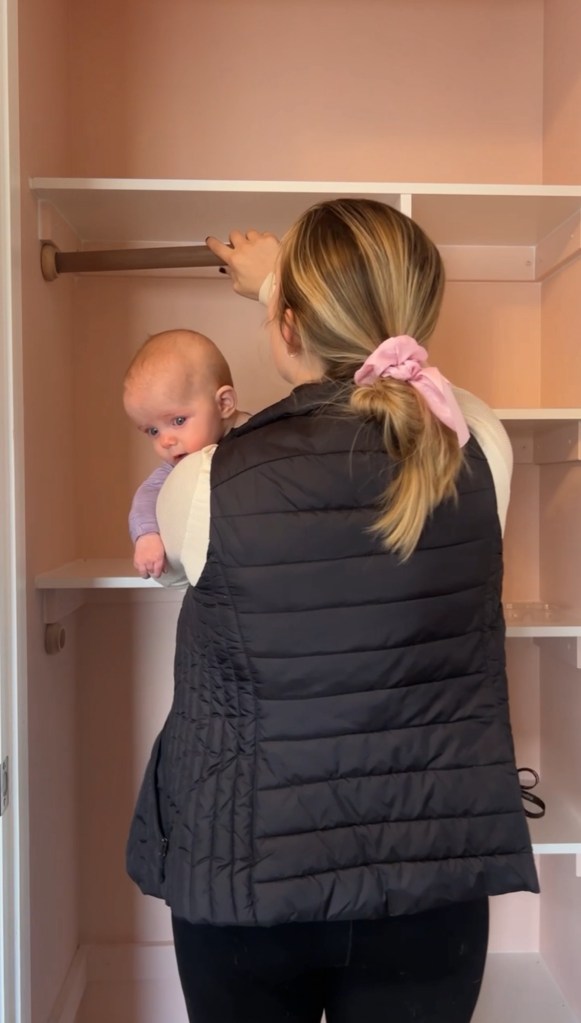
I added these really pretty wooden rods in and I love the way they look! My biggest tip when hanging closet rods is to make sure that you can fit the hanger in above the rod. Don’t mount it too high!
The rod brackets were supposed to match the rod but obviously, they don’t. I was going to stain them to better match, but it’s been five months and doesn’t bother me at this point. Yay for the 5% club!

I grabbed these cute baskets and this bow organizer because since it is open to the room, I wanted it to be as pretty as possible!

You could easily expand this project to a bigger or smaller closet and you can customize it entirely to fit your needs! As always, let me know if you have any questions.
With love,
Mercedes ♥

Loving your idea and it looks so amazing!!
thanks for sharing the details.
LikeLike