
Last May, I woke up one morning after visiting my uncle the night before to a 4 year old begging me to get chickens (my uncle has chickens). How could I say no? I mean, I could have just said it, but instead I found myself researching the various different breeds of chickens and how to care for them… and getting really excited myself at the prospect of welcoming a few fluffy hens to our backyard.
Want to see what projects I’m working on now? Follow me on Instagram.


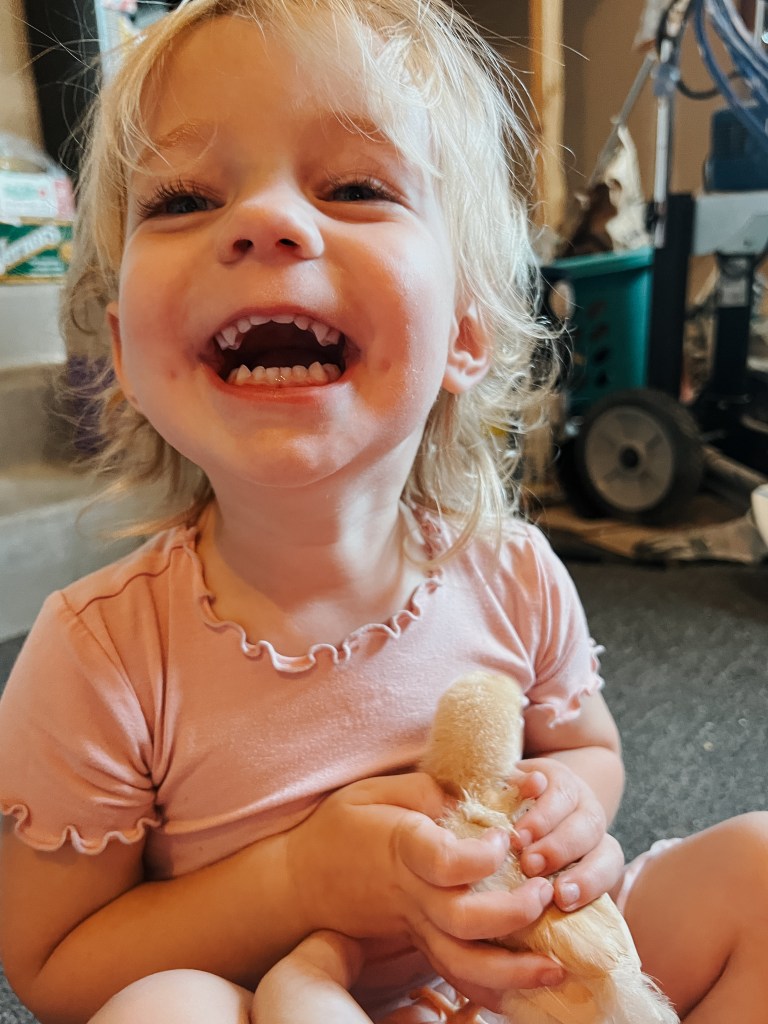
Jordan came downstairs and I told him the plan that Elliott and I had hatched. He said he didn’t hate the idea, but thought that maybe we should wait until next year since I was five months pregnant with Vi at the time. Well, guess what? Three days later we had six cute baby chicks!
We got the chickies by the skin of our teeth, snatching up the last of them before the hatcheries closed down until the fall. And Jordan was on board… or at least mostly. He still thought we should wait a year, but like always I convinced him we should just do it!


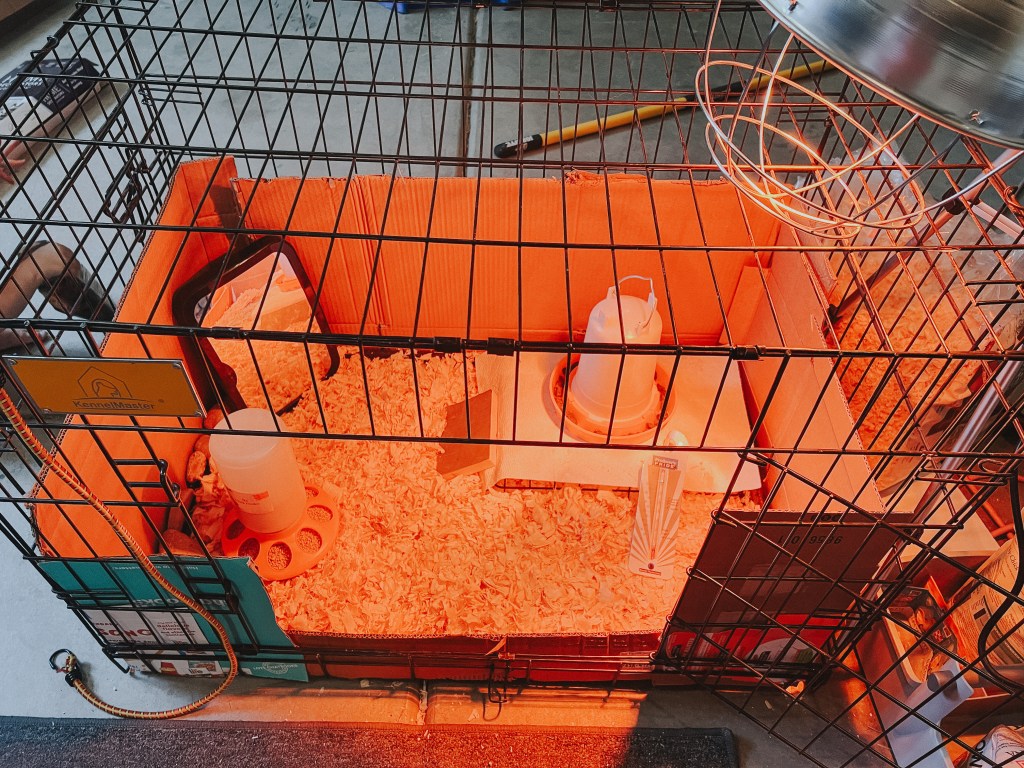
I knew the chicks would outgrow the brooder box in our garage quickly, so I had to start on building the coop ASAP! I started clearing a spot for them in the backyard and found these coop plans on Etsy. Most of the time when I build things I create the plans from scratch, but I have to admit it was super nice having all of the math done for me. I still double checked everything as I went, but not having to draw blueprints was amazing. I honestly don’t know why I haven’t bought building plans before!
It is a pretty straightforward build and took me about three weeks working around naps and in the heat at five months pregnant. So if you have a little more concentrated time to devote, I think you could very well do it in two weekends or in a week working only in the evenings. While it’s not a very complicated build and the plans are clear, it is also helpful to have some experience building things. But don’t fret! If this is your first DIY project you can do it! Just expect it to take a little more time as you learn some of the methods.

I started by building the base with pressure treated 4×4 lumbar. It is important to use pressure treated lumbar so that it doesn’t rot as it sits in the elements. By the end of the first day, we had the whole base built.

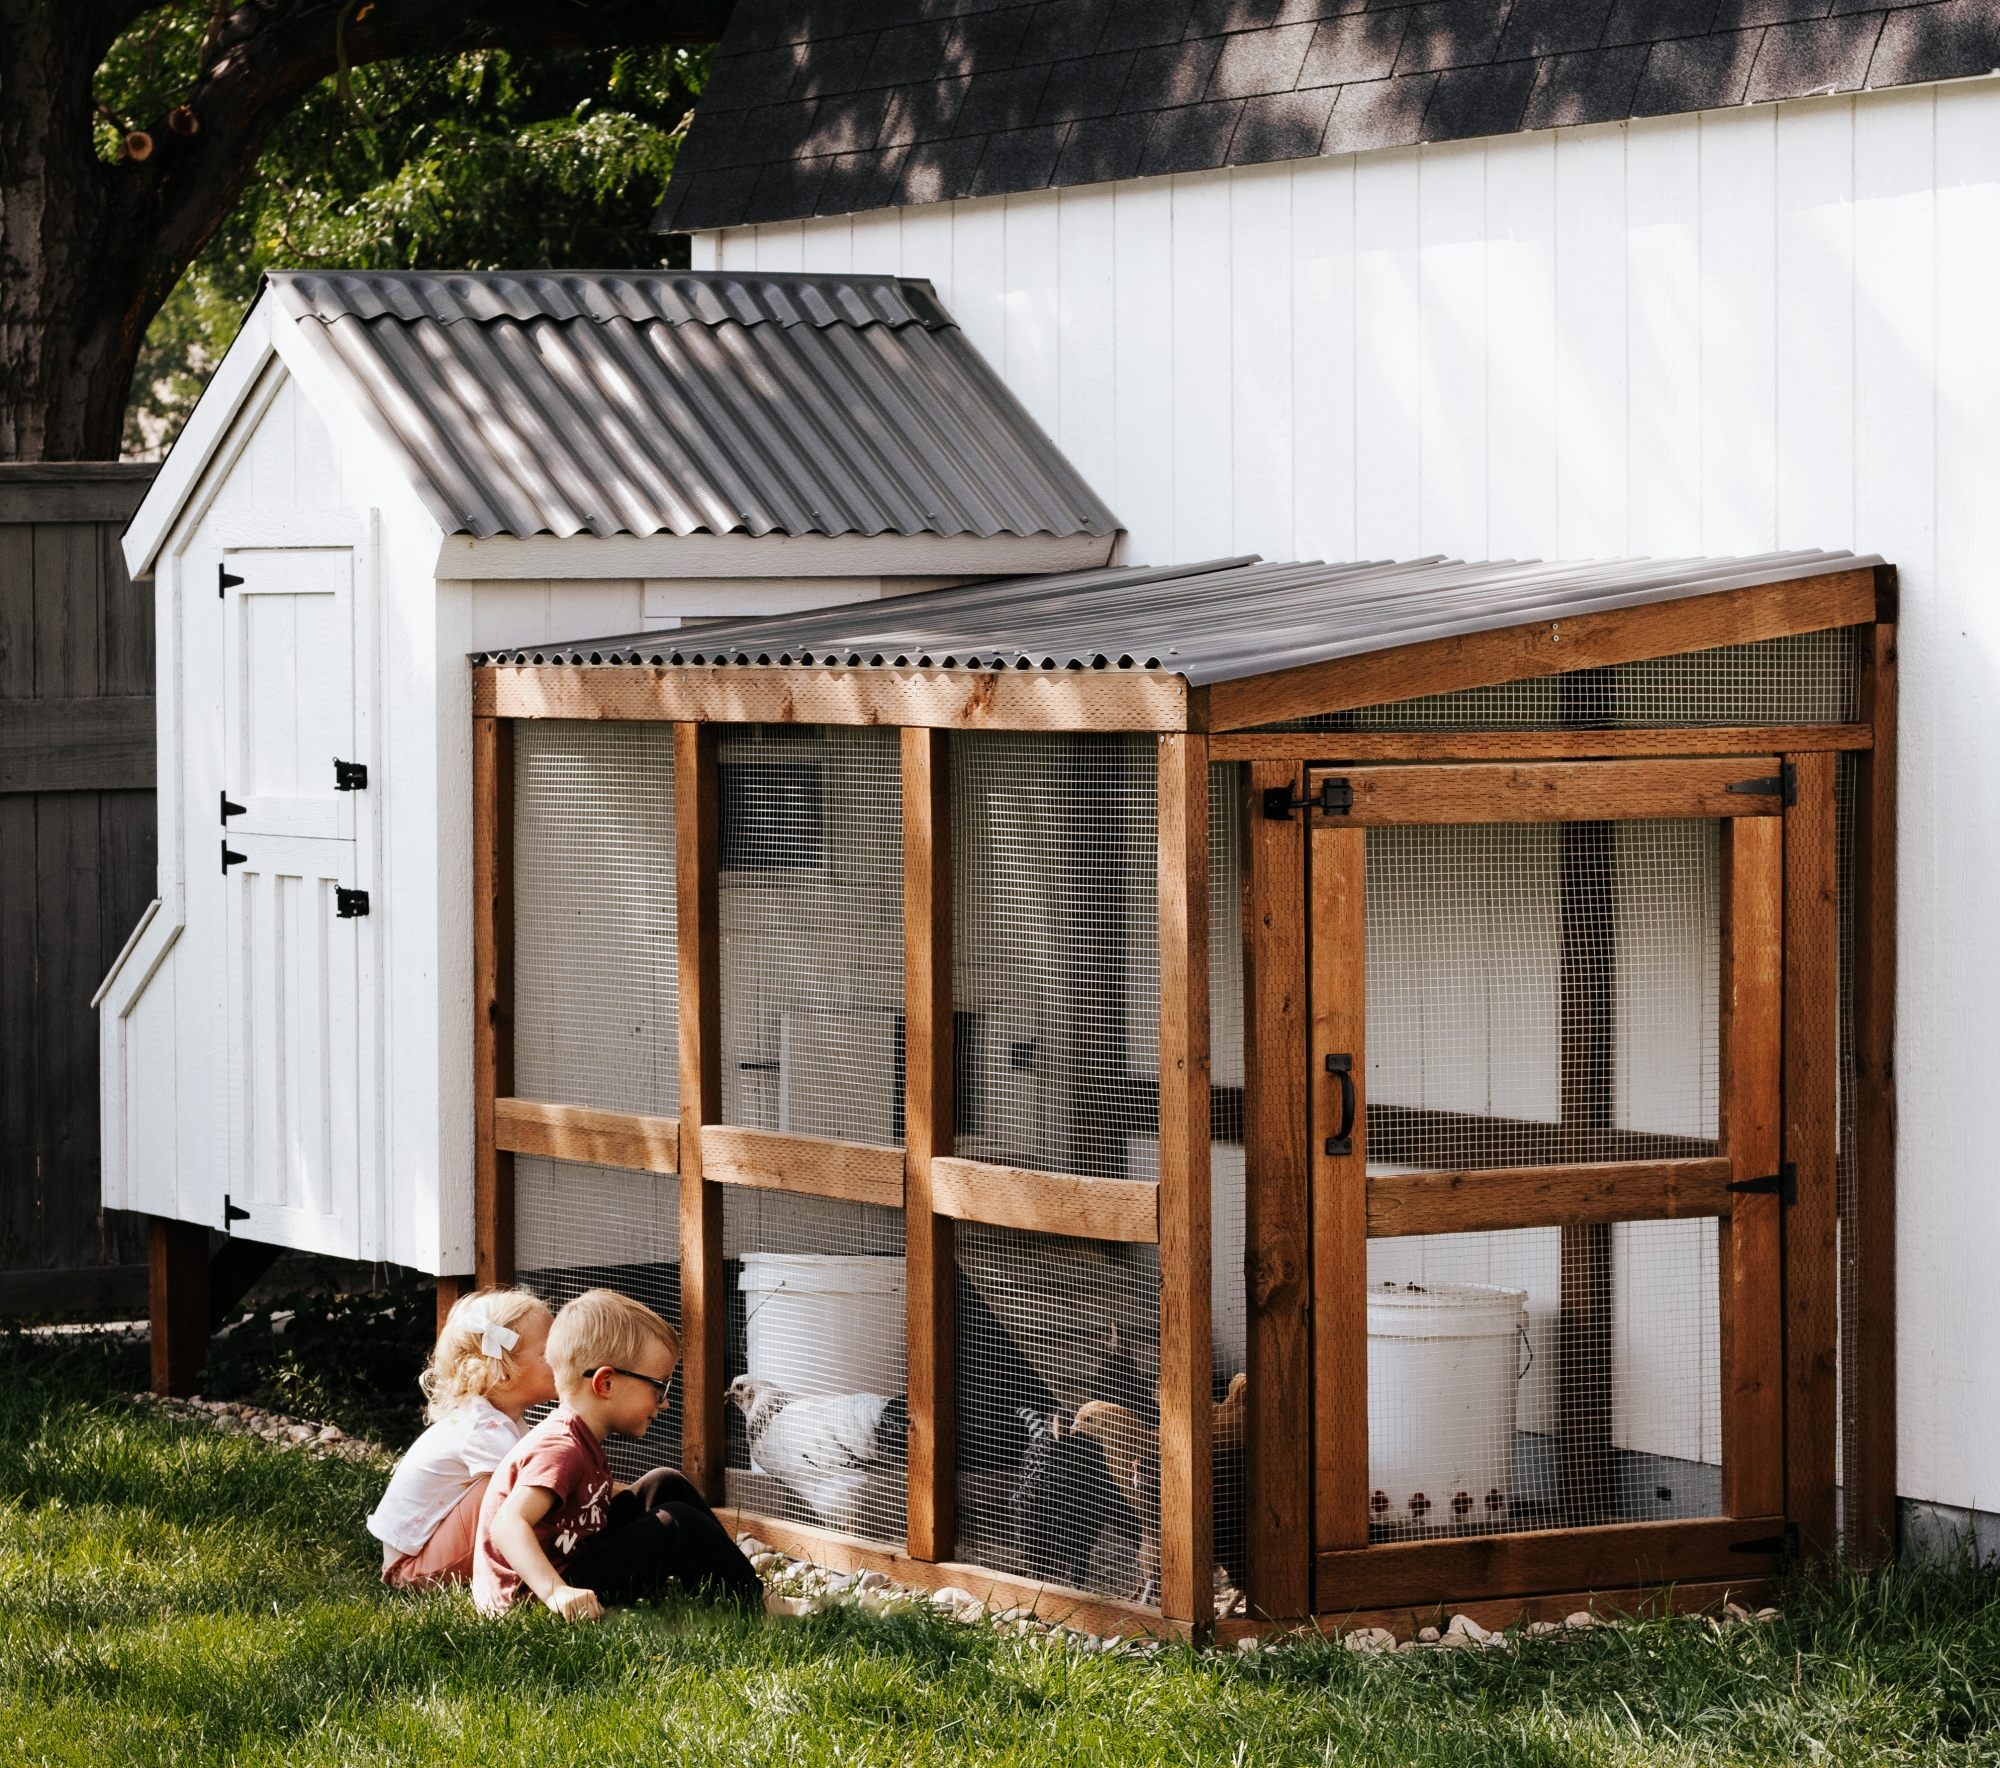
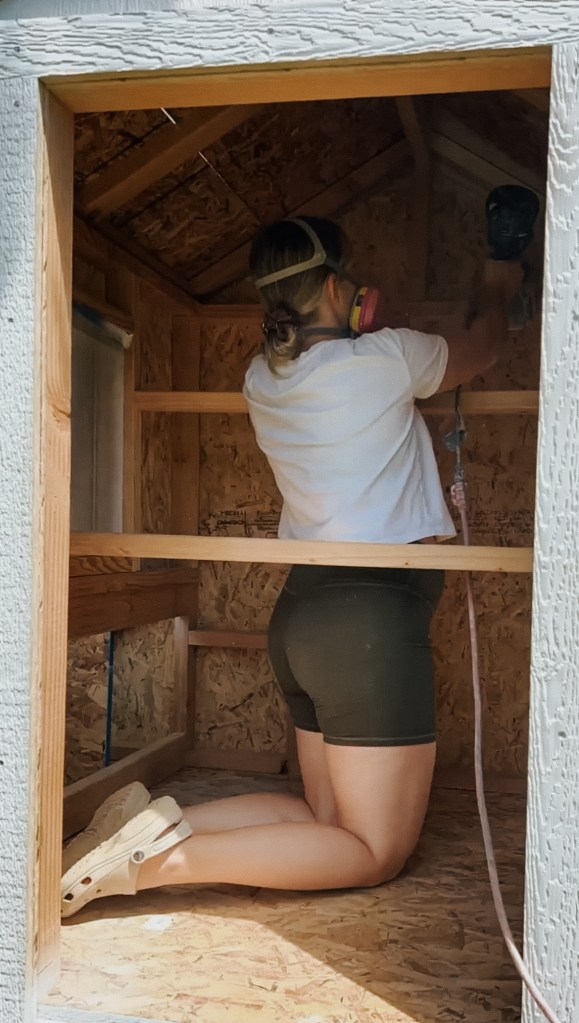
We built the studs for the walls next. If you’re wanting to customize the way the walls are, this is where you can do that! I adjusted where the run door is from the plans – they have it going out of the back pitched wall, but I wanted to have it come off of the side, so I just took the framing meant to support that door and moved it to the wall I wanted it on.


Having the math done for me on all the roof angles was super helpful! I don’t think my pregnant brain would have been able to figure it out on my own – or at least not easily.

This is the point at which I realized I need to build the kids a playhouse! They were having so much fun climbing in and out and playing house with it.

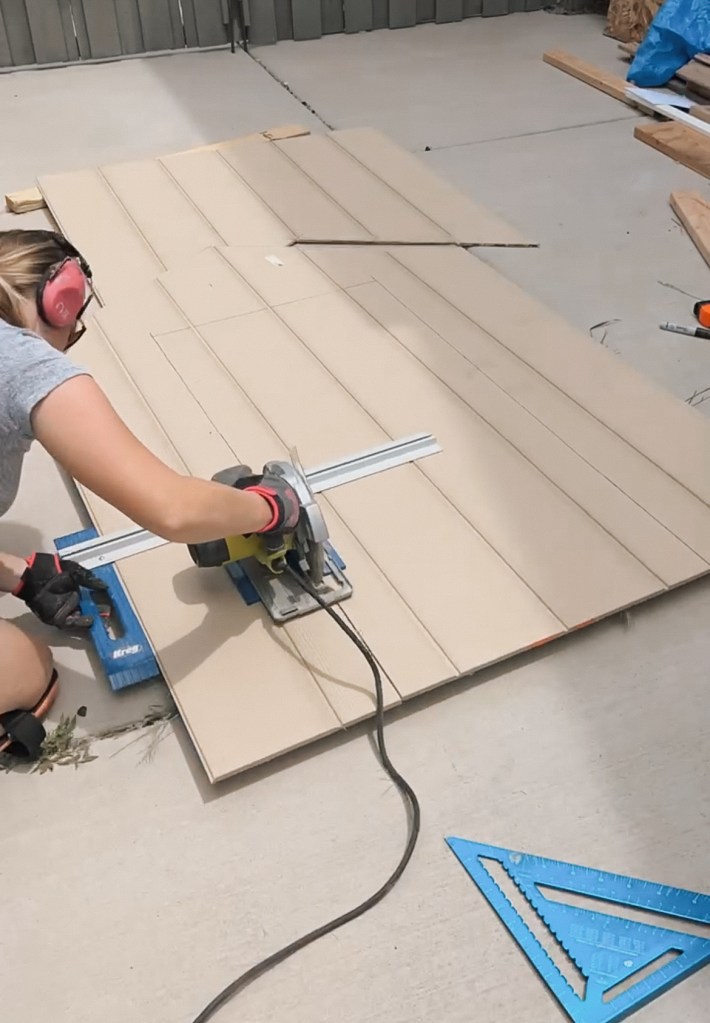
With all the framing done, it was finally time to add siding. I recommend having two people for this part. I could do some of the pieces myself, but it was so much easier to line everything up with Jordan helping hold as well.
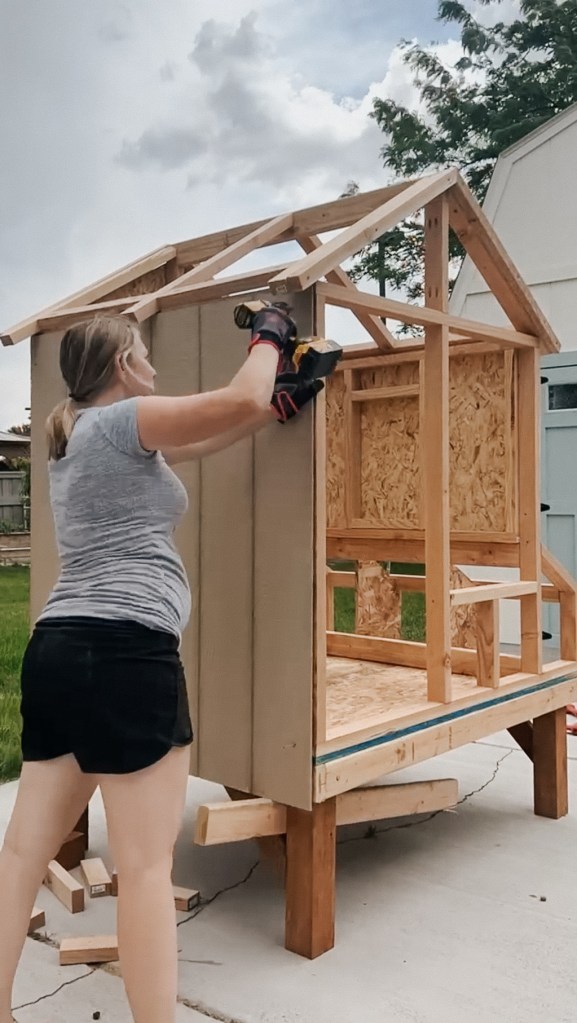

When you cut your siding, be conscientious of where the lines will end up so that the pattern is symmetrical.
I added the OSB roof on as well as the hinged lid to the nesting boxes. I considered covering the nesting boxes with roofing materials as well, but I ended up just using siding.
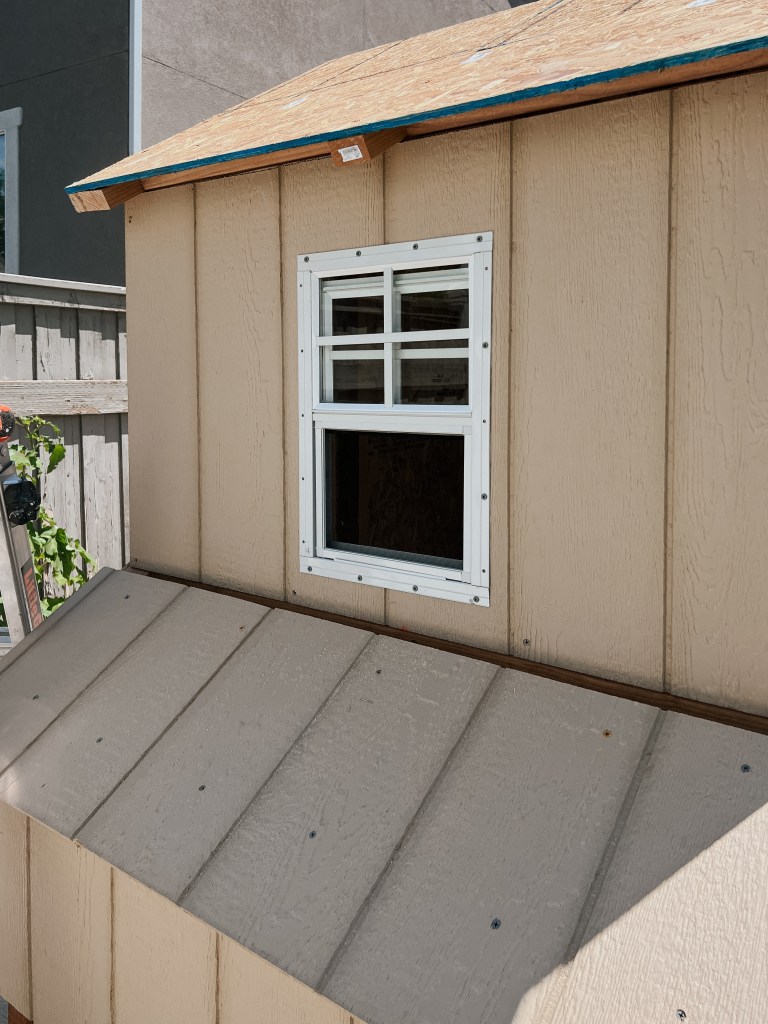

Ventilation is super important in a coop (I learned), so we added these windows. I recommend replacing the screen with hardware cloth to keep it more predator proof, but I don’t have any photos of that.

There was a lot of work to get it looking nice and pretty – like adding all of the trim pieces. A lot of this probably isn’t necessary for a functional coop, but I think if you’re putting something in your yard that you’re going to look at every day, it should be something you enjoy looking at!
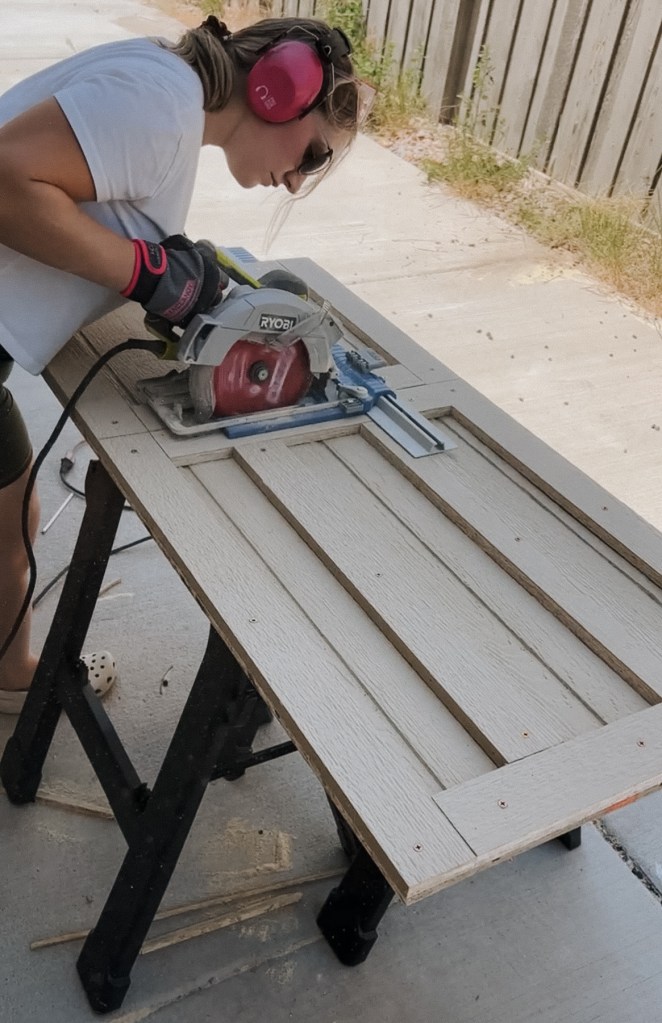
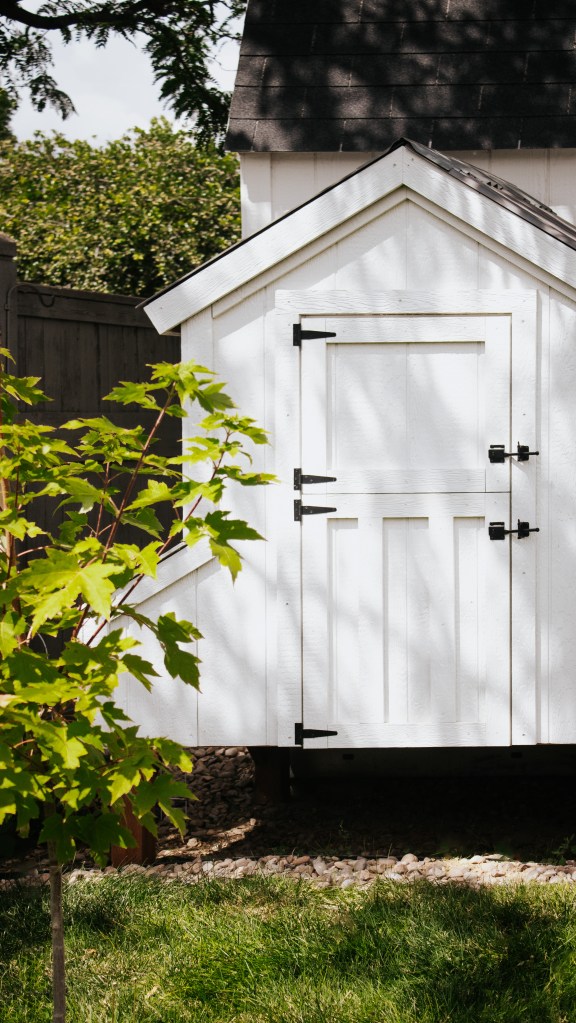
The door is another place where I veered from the plans a little bit. Instead of one door, I cut mine in half to create a Dutch door. This might be my favorite thing about the whole build. I think it’s the cutest addition! And I love that the kids can (with a stool) open the top door to watch the chickens without the chickens trying to fly the coop.


I primed everything with my favorite primer and painted it Benjamin Moore White Dove to match the shed. Make sure to use exterior paint! Using a paint sprayer makes this step so much faster. I also painted the inside to offer a layer of protection for the wood from the chickens. I painted to roosting bars Benjamin Moore Brewster Gray – I had some extra paint in that color laying around.


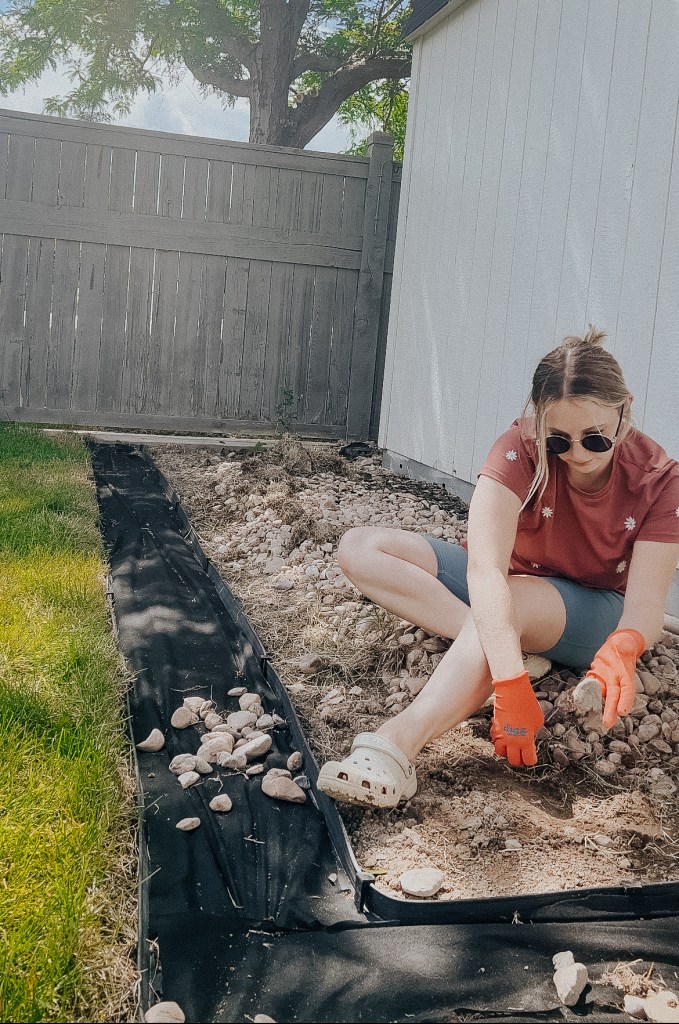
In my researching how to keep the chickens as low maintenance as possible, a few people recommended adding flooring to the coop. It will all be covered with whatever bedding you choose, but it helps with coop clean up and it protects the wood from moisture. I hopped on my local Buy Nothing page (do you know about these? They’re on Facebook and the best!) and scored this waterproof flooring for free.

We conscripted some family and a few neighbors to help us move it into place because it was so heavy! I couldn’t build it in place because it sits right against the shed. Apparantly it wasn’t actually that bad, but I was so worried it was going to be too heavy to move at all.

Now the only thing left to do was the roof! I actually ended up moving the chickens out here before I added the roofing material because the OSB sheeting was already on, so it was safe for them.

I finally got around to it, though, and I used this SunTuf material. I started with trying to use the installation strips, but quickly found that I preferred just screwing it right into the OSB.

And there’s the coop build!

The only change I want to make is to replace the run door with an automatic one, but after a year we still have the manual one. We leave it open all the time because our run is totally enclosed and as predator proof as I can get it, so I’m not too worried about the chickies at night.
We love having our chickens and the kids think it is so fun to collect fresh eggs every day! They’ve been a wonderful addition over here.
Looking to build a run as well? Here is how we built ours!
With love,
Mercedes 🖤

MY FAVS
Are you wanting to tackle this yourself? Here are links to some of my favorite tools used in this project.
Disclosure: Some of the links provided are affiliate links, which simply means I may earn a small commission (at no additional cost to you) if you shop through one of my links.

what did you use for the trim? And please share what type of sheets were used for the exterior you painted.
LikeLike
Hi! The exact products I used are all linked in the coop plans I used 🫶 https://rstyle.me/+2Ubbdk_scl2Q3egPgnVfAw
LikeLike
Hi dear Mercedes. Great job. Thank you very much for sharing this project. I ll do smth the same with my kids. We live in Russia. i ll just add insulation in walls. With great respect, Daria.
LikeLike