
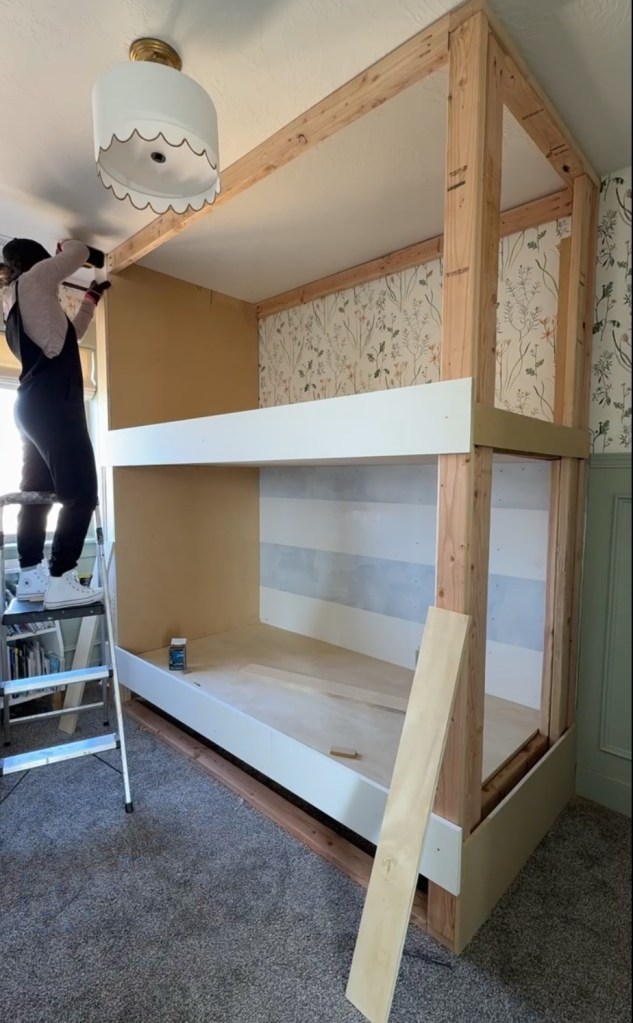
With the framing complete for the bunk beds, it’s time for step two – trimming everything out. While this step included approximately 8,000,000 cuts (or at least it felt like it) it’s finally starting to come together and look like a real bed!
Disclosure: Some of the links provided are affiliate links, which simply means I may earn a small commission (at no additional cost to you) if you shop through one of my links.
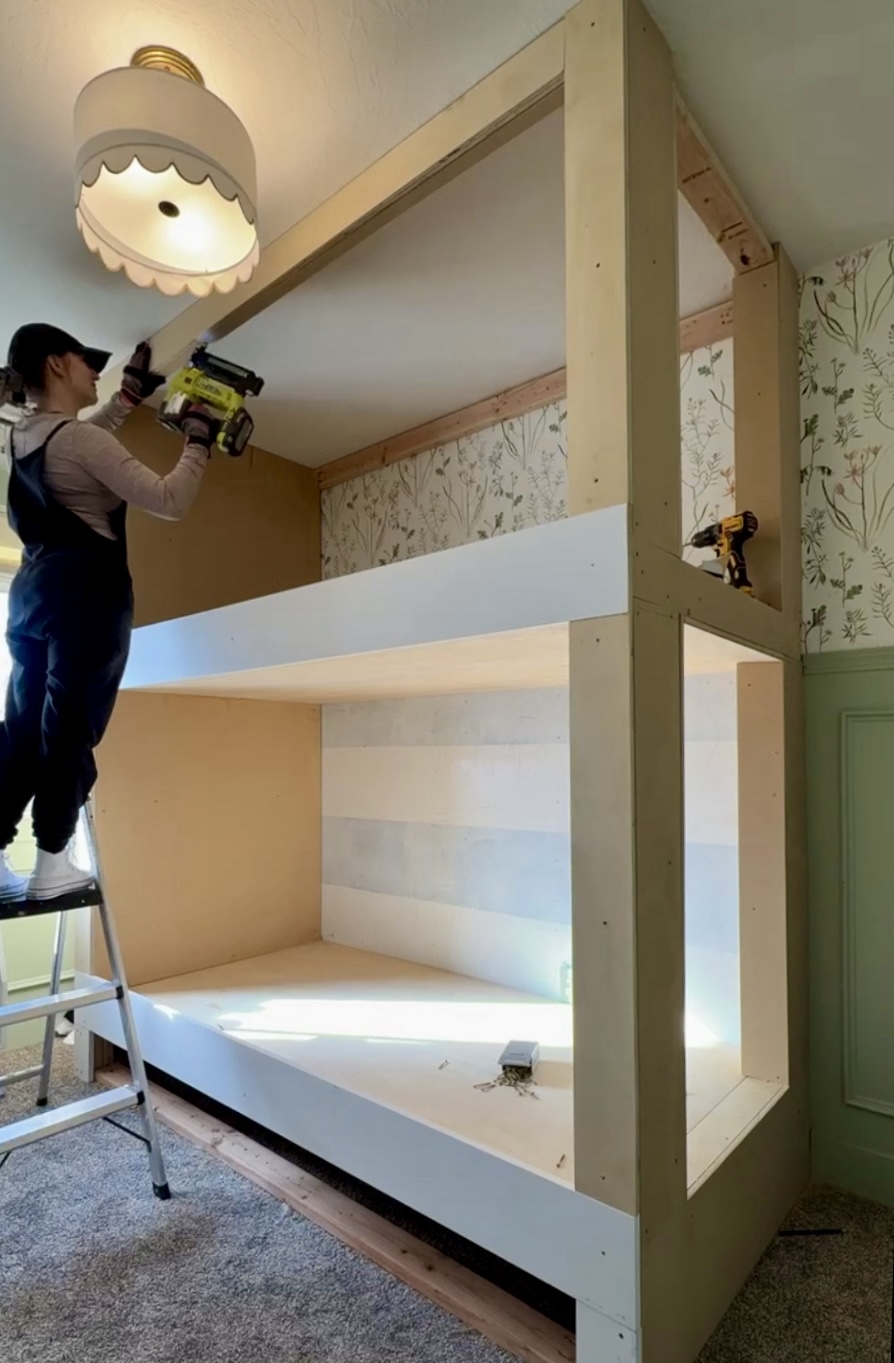
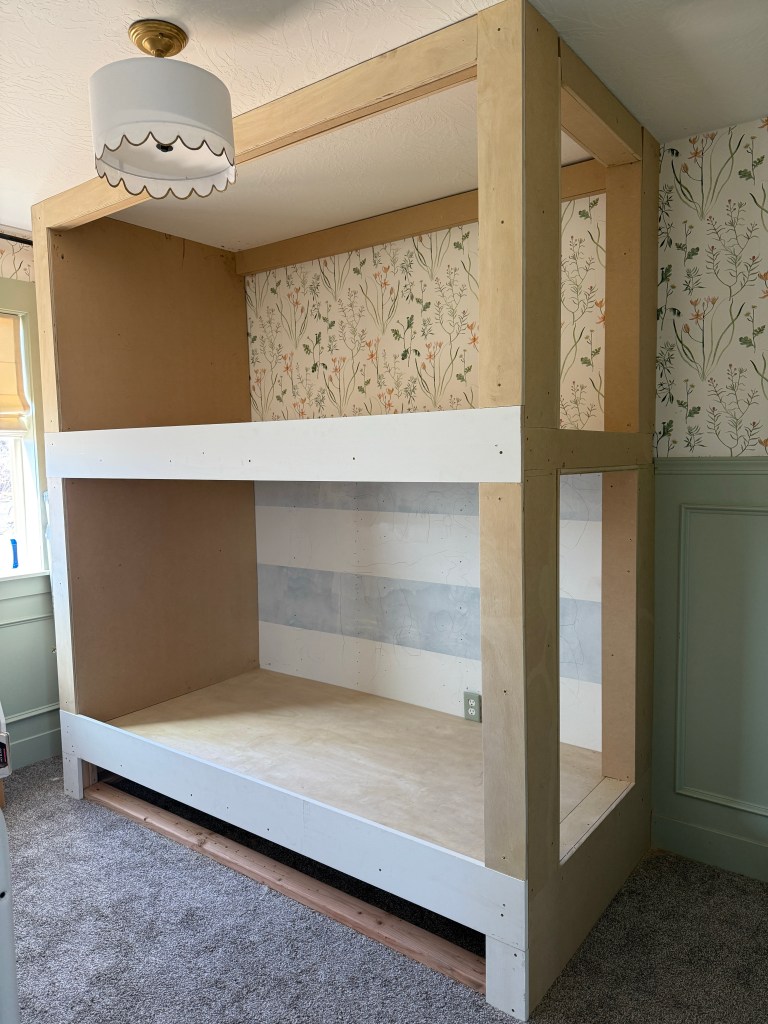
I used a combination of MDF and wood to add walls and rails on everything. Most of the wall pieces are 1/2” MDF, while the rails (is that what they are? Not really, but those horizontal pieces that provide the mattresses with a little lip) are 1×8 pine. The rest of the front pieces are leftover 3/4” plywood to match the thickness of that pine. And lastly, the piece under the top bunk is 1/4” plywood.
I started with the bottom piece of the top bunk. I honestly have no idea how I managed to wedge this in here in a way that allowed my to attach it myself, it should definitely be a two person job! Not necessarily because it’s heavy – because it’s not – just because it is big and awkward to hold. I used my nail gun to attach it to the framing.
Want to see what projects I’m working on now? Follow me on Instagram.
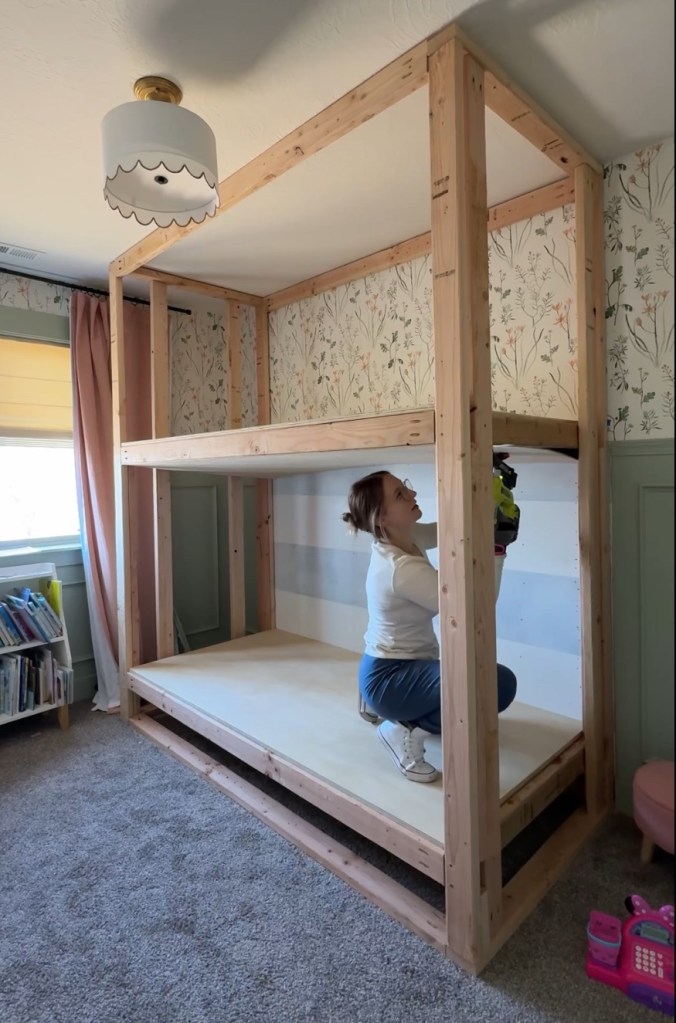
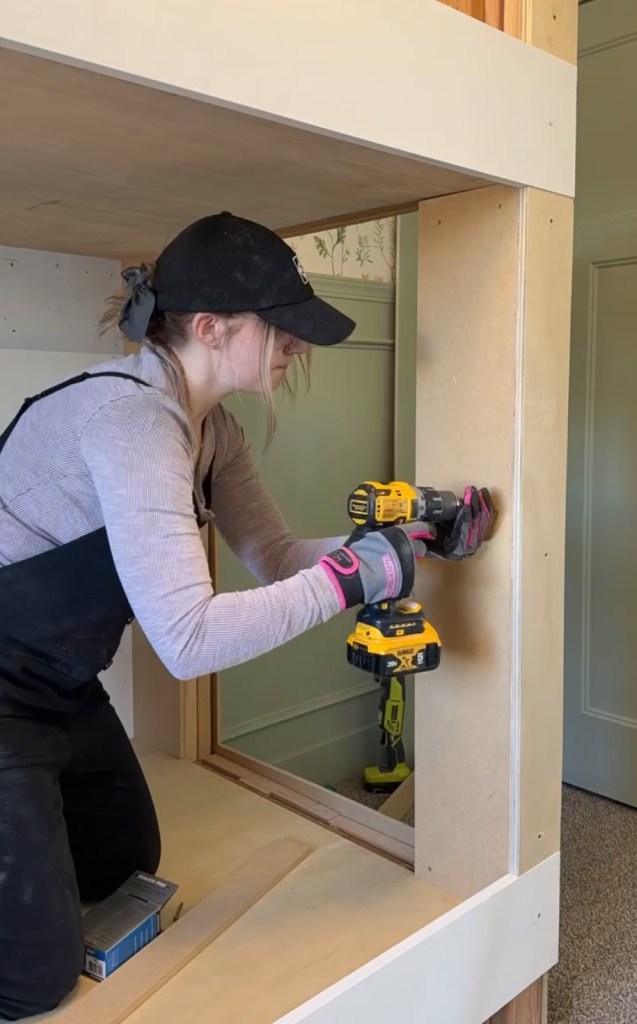
Next I did the big wall on the outside of the headboard wall. This was a beast to carry up and down the stairs, especially since I had to re-cut it, but in a way it was also the easiest wall to get on because it was so straightforward. I used 2” screws to screw everything from here on out in.
Go in whatever order makes sense to you, I don’t think it really matters! But here is the order I went in :
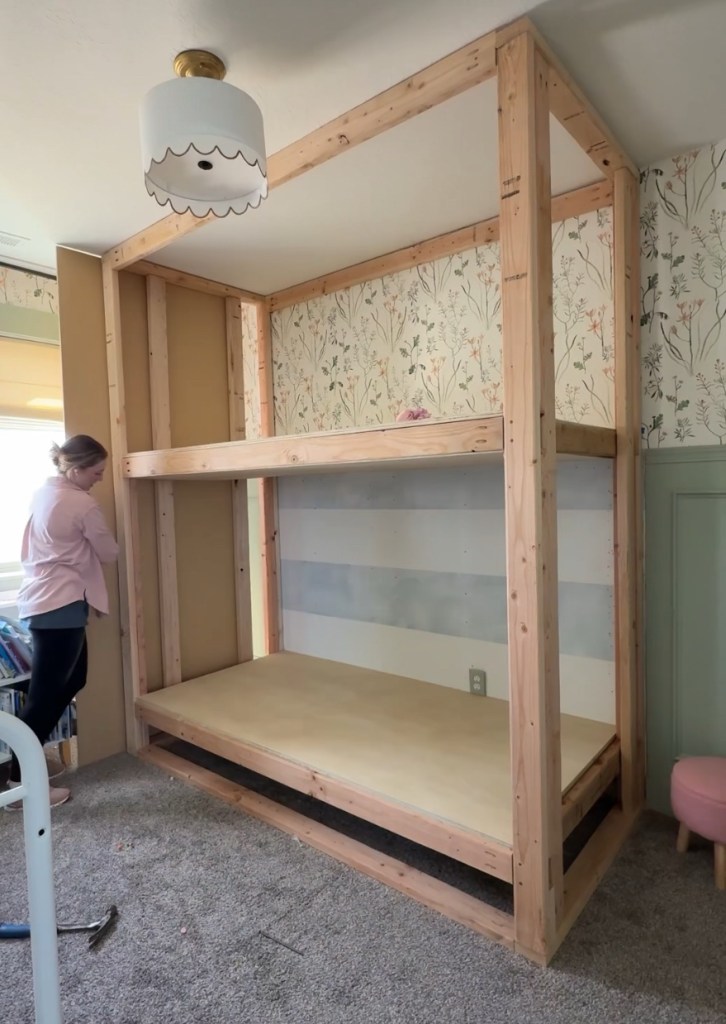
Then I attached the inside walls of the headboard (I added some blocking here to match the depth of the wall) followed by the base of the footboard wall, horizontal boards, the middle section of the footboard wall, finished off the front of the headboard wall, wrapped the footboard posts, and then wrapped the beams up high.
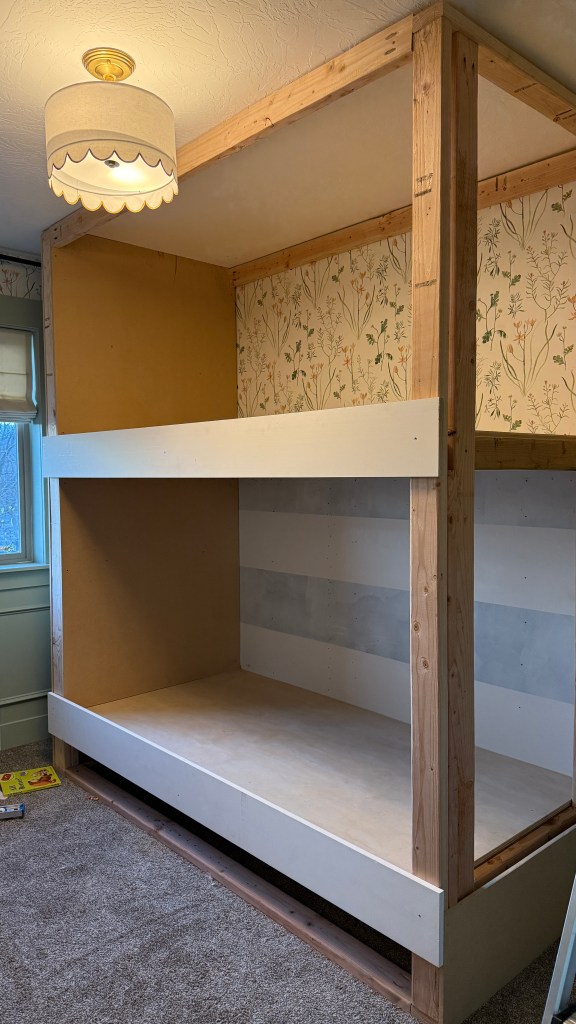
With the framing wrapped, I started filling all the seams and nail holes. I used this heavy duty wood filler for my first pass. After sanding that, I came in with joint compound, sanded, and finally used some spackle to finish off anything that still needed it. It was a lot of filling and a lot of sanding, but we got there eventually!
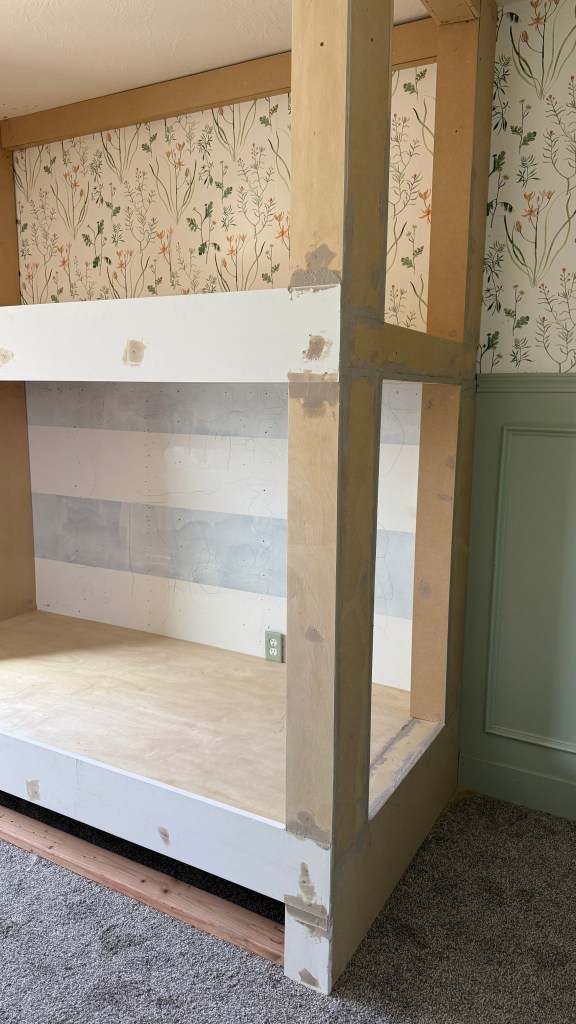
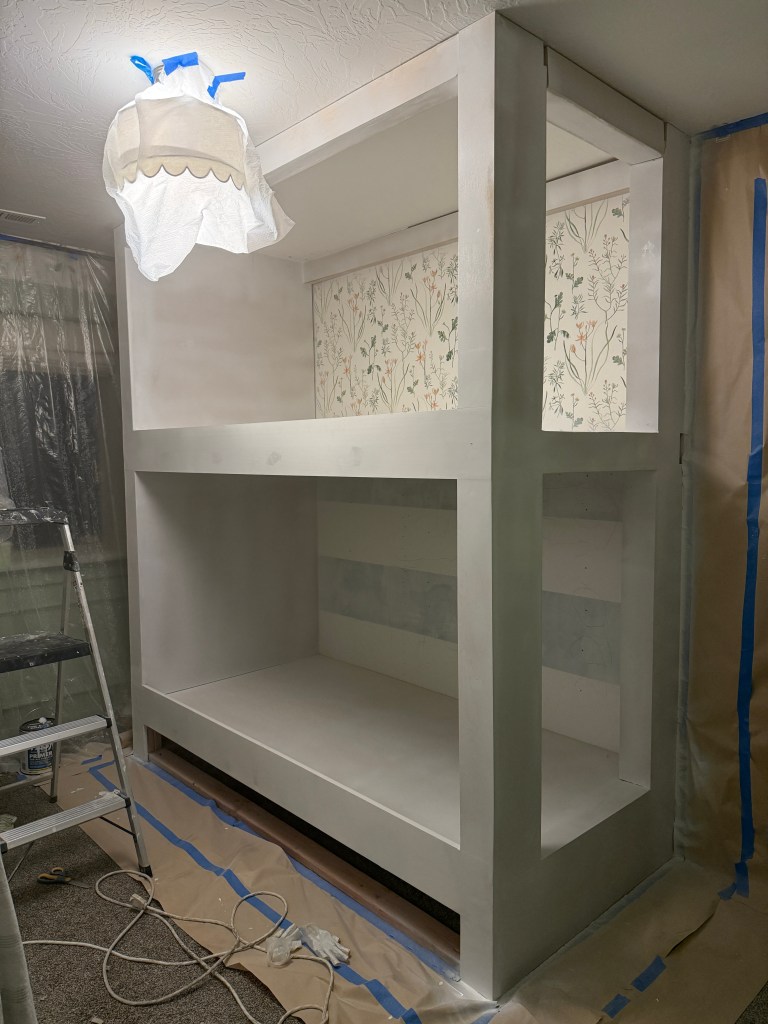
After the seams were as smooth as I could get them, I masked everything off and primed it. I actually went ahead and painted it too because I had a deadline I was working towards, but I still need to add crown moulding and do something with the back wall! So while it’s technically painted it’s still not quite done, lol. You can see a sneak peak on my instagram!
Stay tuned for those finishing touches, including adding drawers under the bottom bunk!
With love,
Mercedes 🖤

One thought on “How To Build Twin Over Twin Bunk Beds | Part Two”