
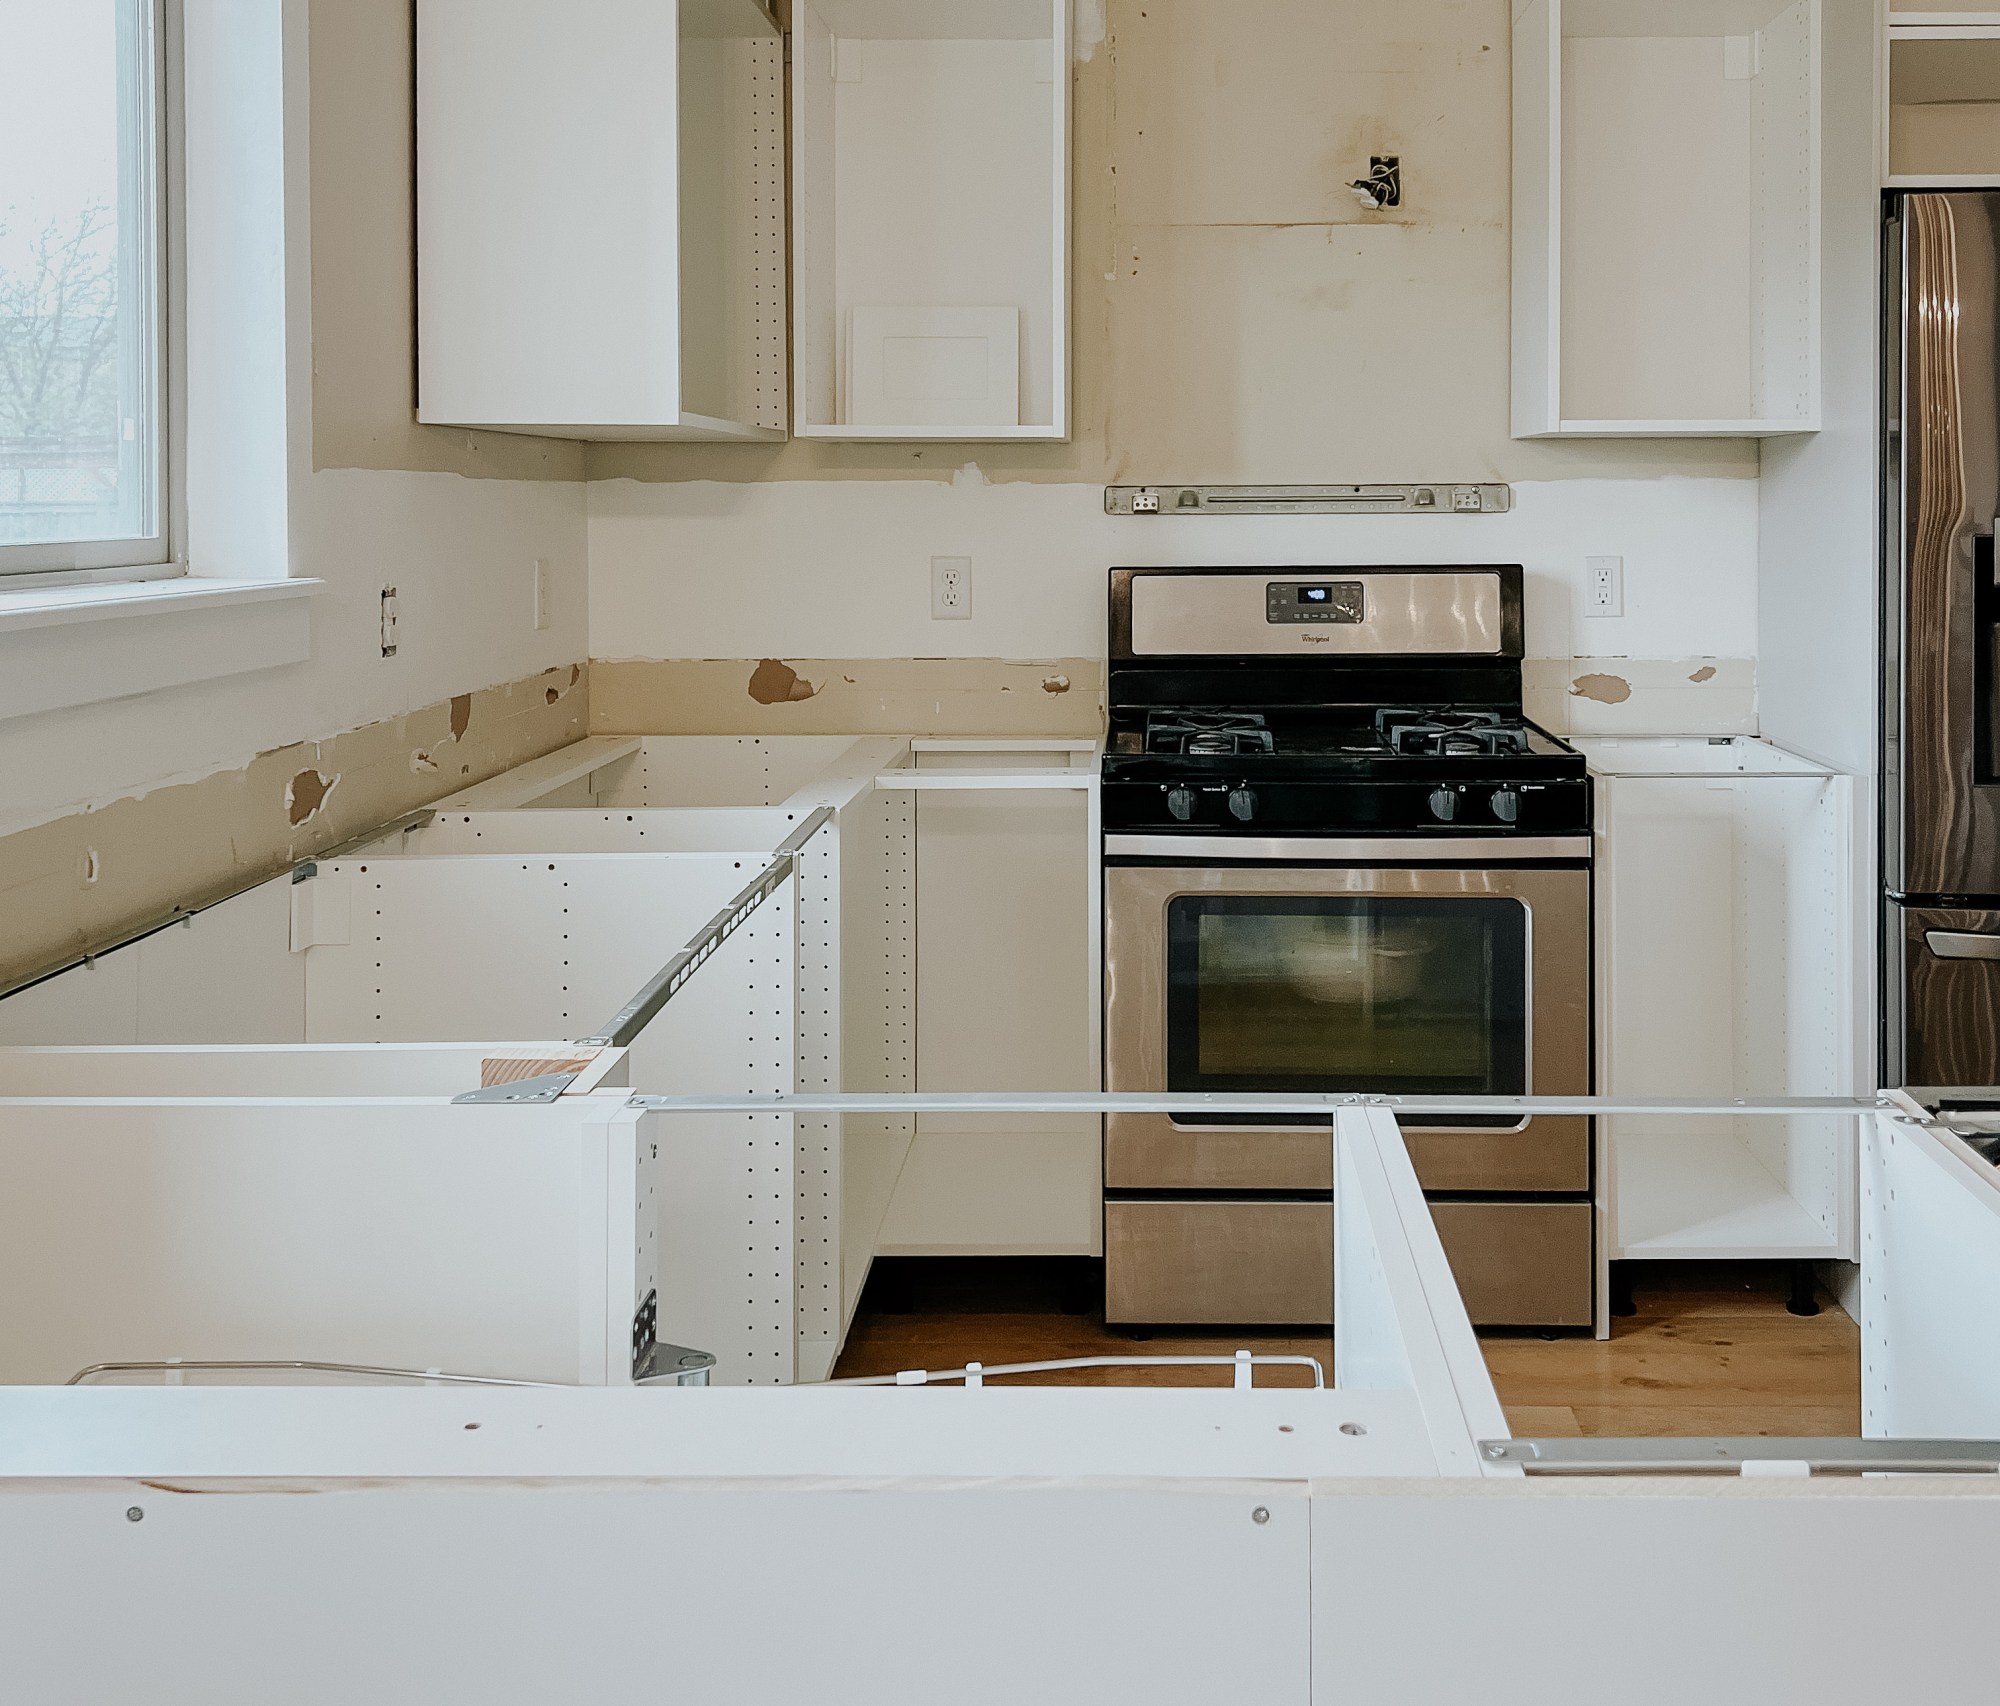
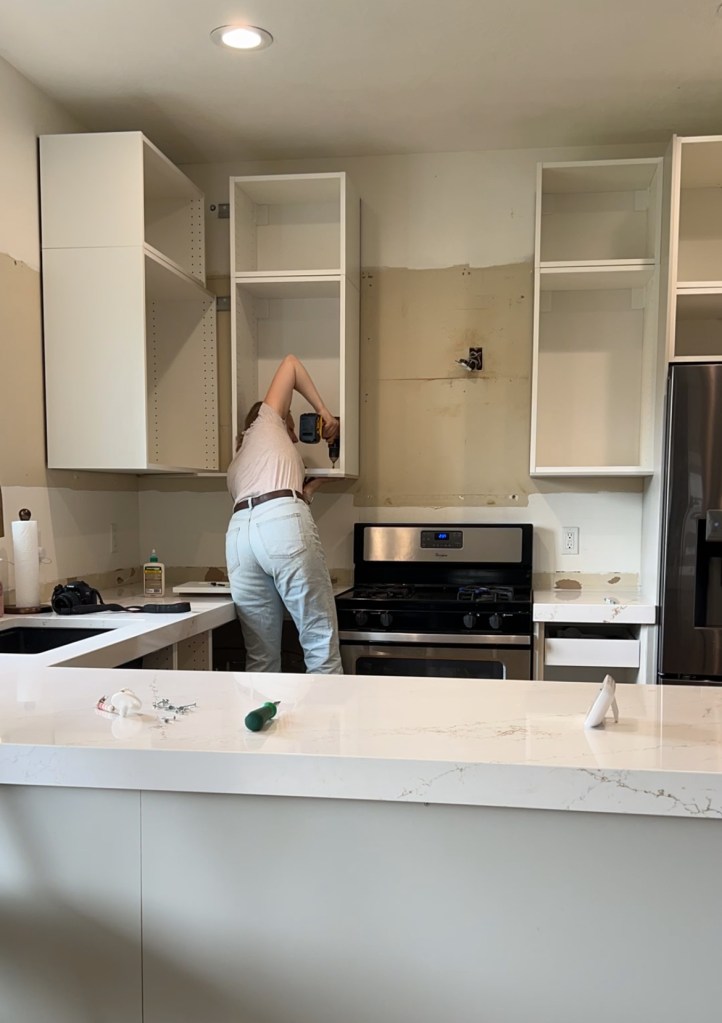
Let me tell you how I saved hundreds of dollars on my IKEA kitchen renovation! As many of you know, we are knee deep in a massive project where I’m renovating my kitchen with IKEA cabinets that I’m making look not like IKEA cabinets. The boxes are like the skeleton, but when you look at the kitchen everything “on top” will be custom, not IKEA, if that makes sense.

IKEA cabinets are secured to the walls via a suspension rail, so they hang about 1/2″ off the wall. Every IKEA plan, even if you’re not customizing it further, will include end panels. These panels are to be cut to size and installed on the outside of the cabinet to fill in that gap.
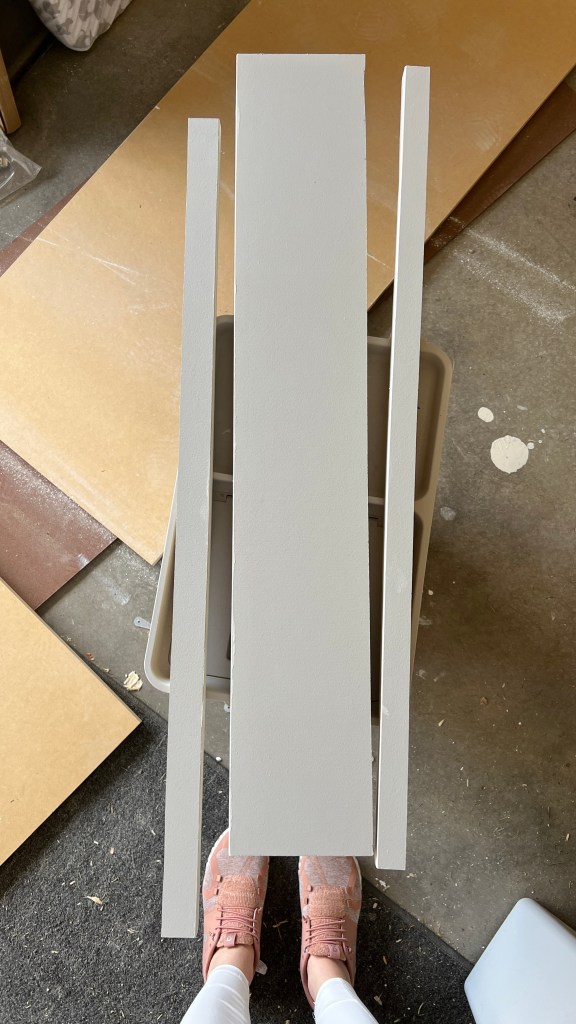
The cabinet door company that I’m using also supplies end panels, but I’m going to let you in on a secret – you can make your own! The end panels from IKEA and from custom cabinet door companies are just 3/4″ MDF painted and cut down. That’s it! And honestly, they’re pretty expensive. It might be worth it to you if you’re not confident in the finish you can achieve painting them yourself, but I have painted enough cabinets and knew that I could get the finish I wanted if I made them myself and save hundreds of dollars.


I got 3/4″ MDF and cut it down to size using my circular saw and rip guide.

The cut edge of MDF is pretty textured and porous and since this is a super important part of the end panel, I filled it with wood filler and hand sanded it smooth. I also very slightly knocked down the angle of the cut edge so that it isn’t super sharp, but not so much that it’s rounded.
After prepping the panels, I primed them with my favorite primer and gave them a light sanding to keep them super smooth. Basically, I’m following my steps for how to paint cabinets!
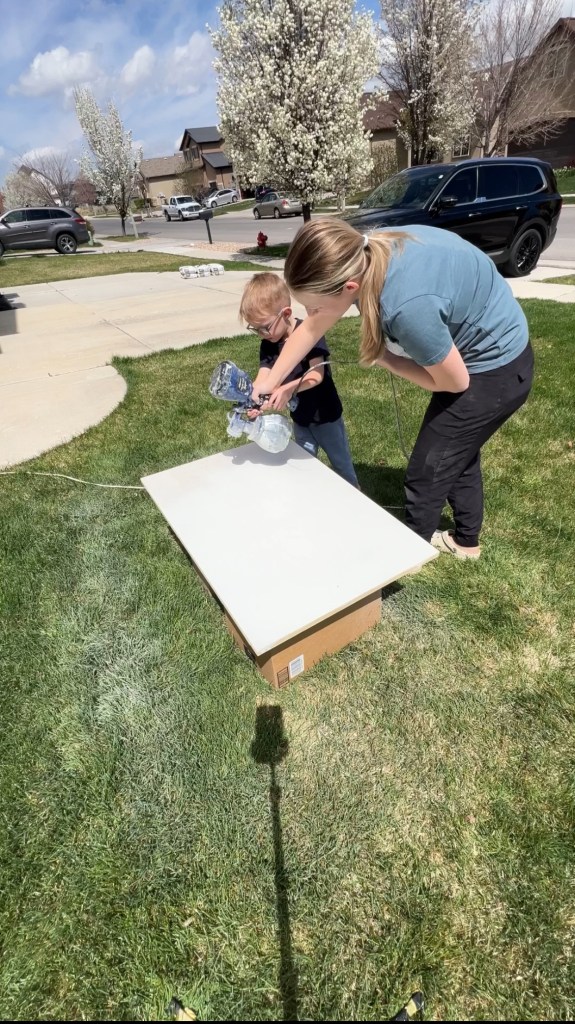
I used my sprayer and put 3 coats of paint on them, sanding in between finishes. I didn’t get a photo, but I actually wet sanded after the second coat to get it super smooth! I misted water on the panel and sanded with a 500 grit paper. I think I’ll be doing this with every cabinet project I have in the future – it worked great.

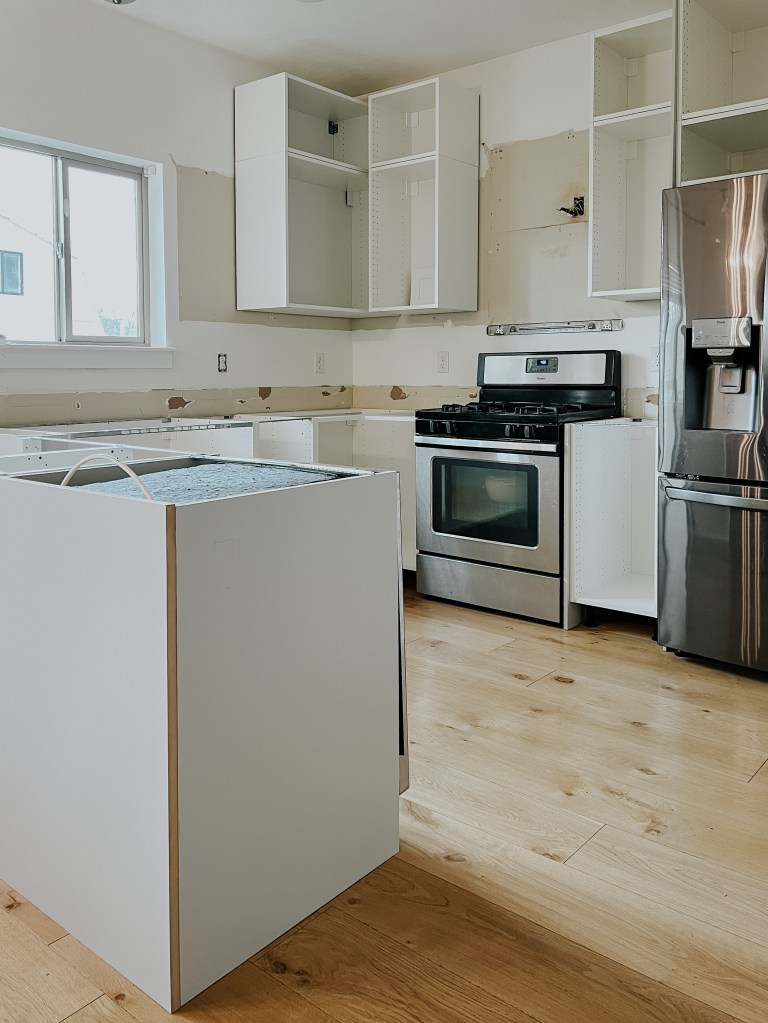
I started on the bottom since I needed to get those done before the countertops could be templated. The back of the island was pretty straightforward. I did it in two pieces so there is a seam, but it’ll be covered by trimwork that I add later. I added an end panel to the sections of cabinets that will be seen, which on the bottom wasn’t too many.
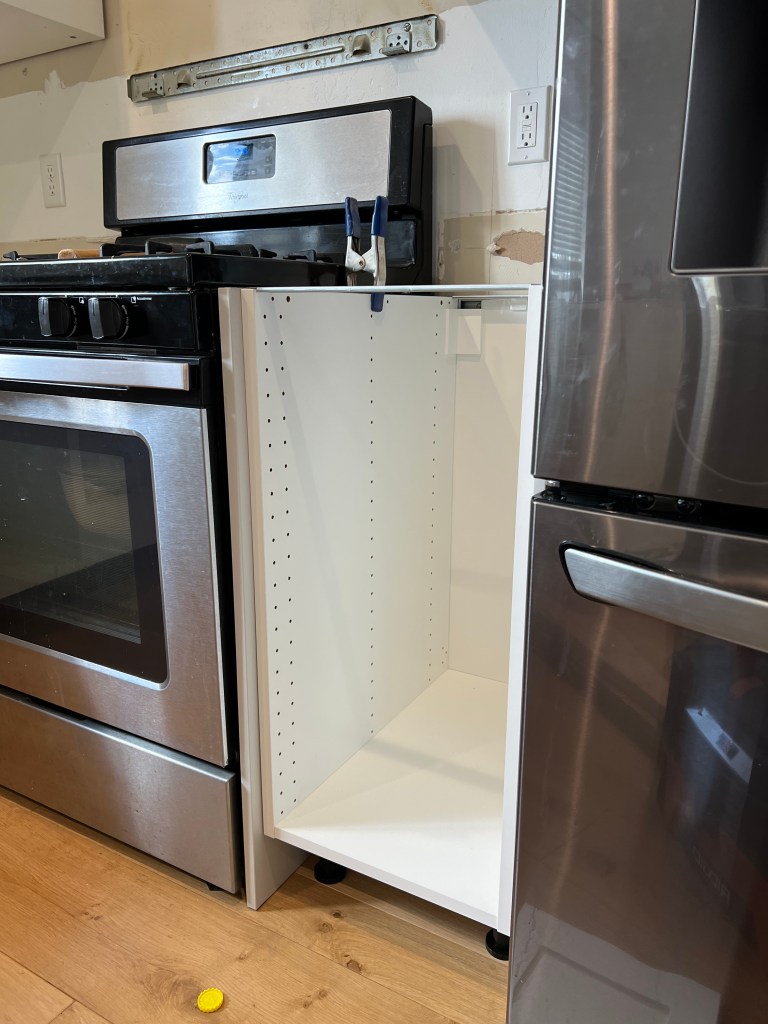
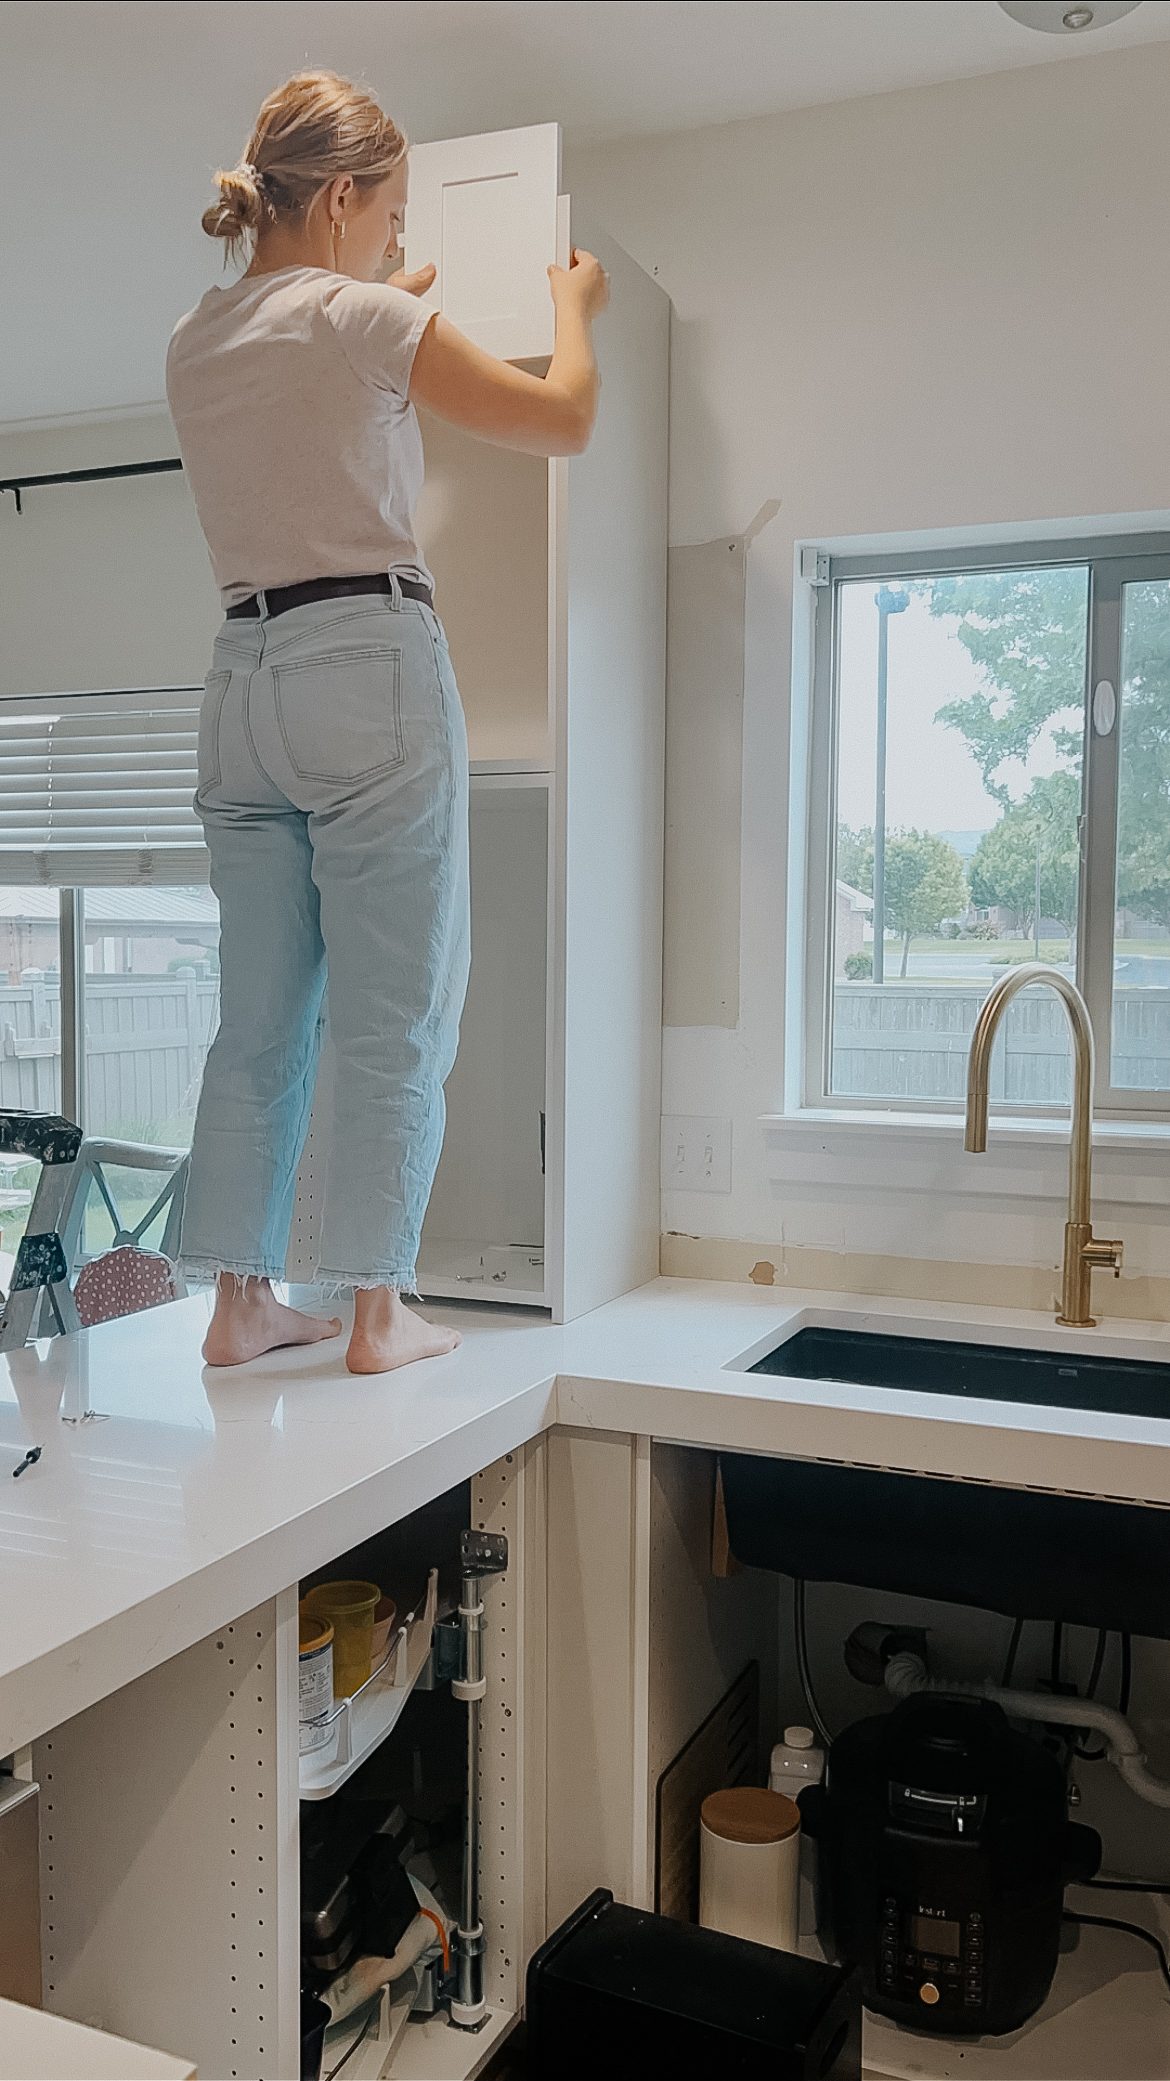
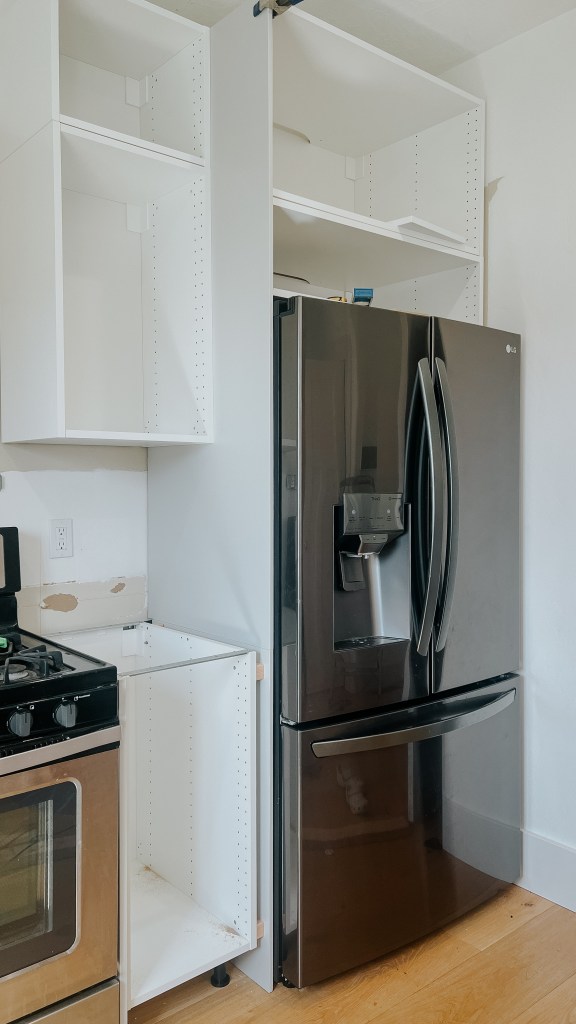
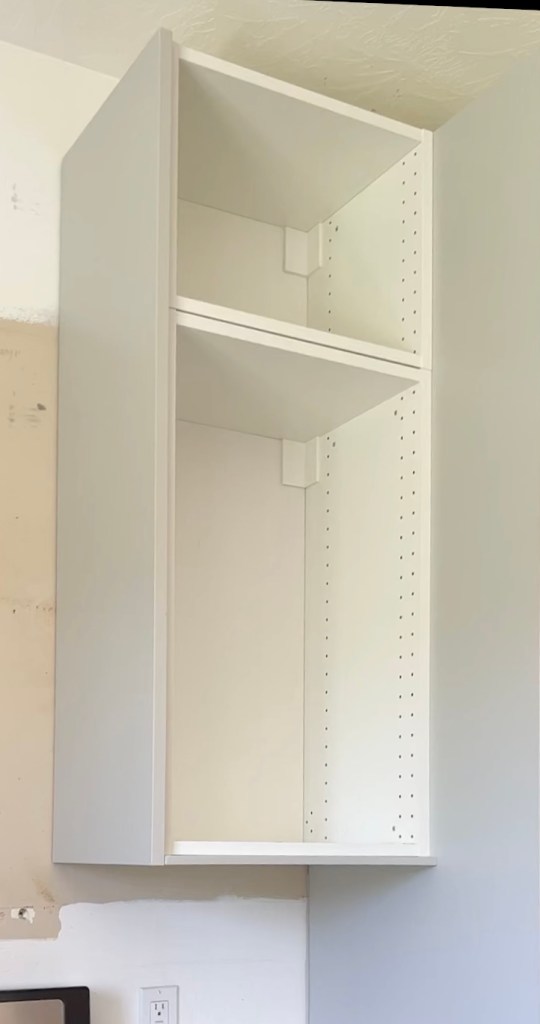
On the top, I had a lot more end panels! The biggest one I did was around the fridge and I’m a little obsessed with it.
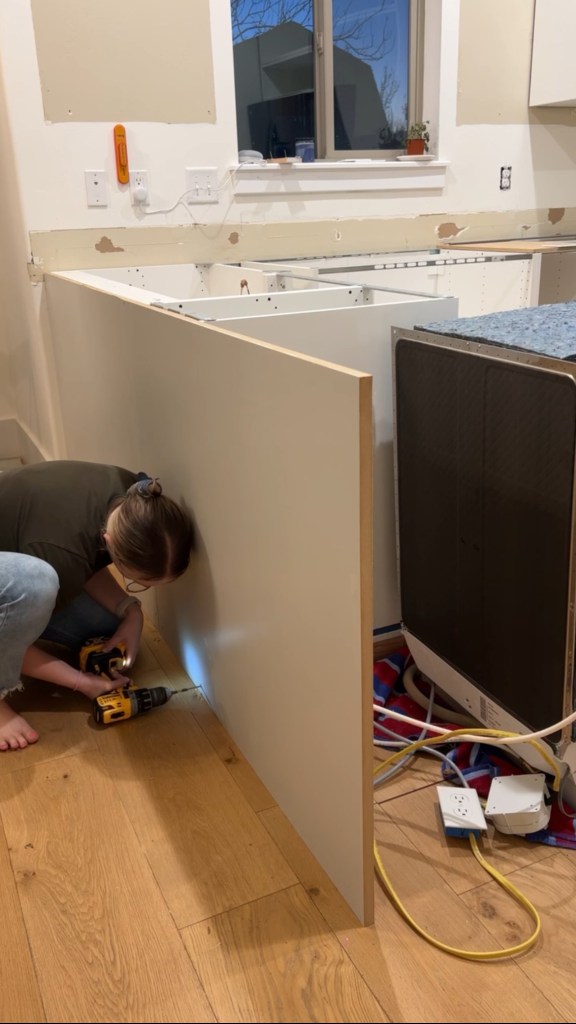
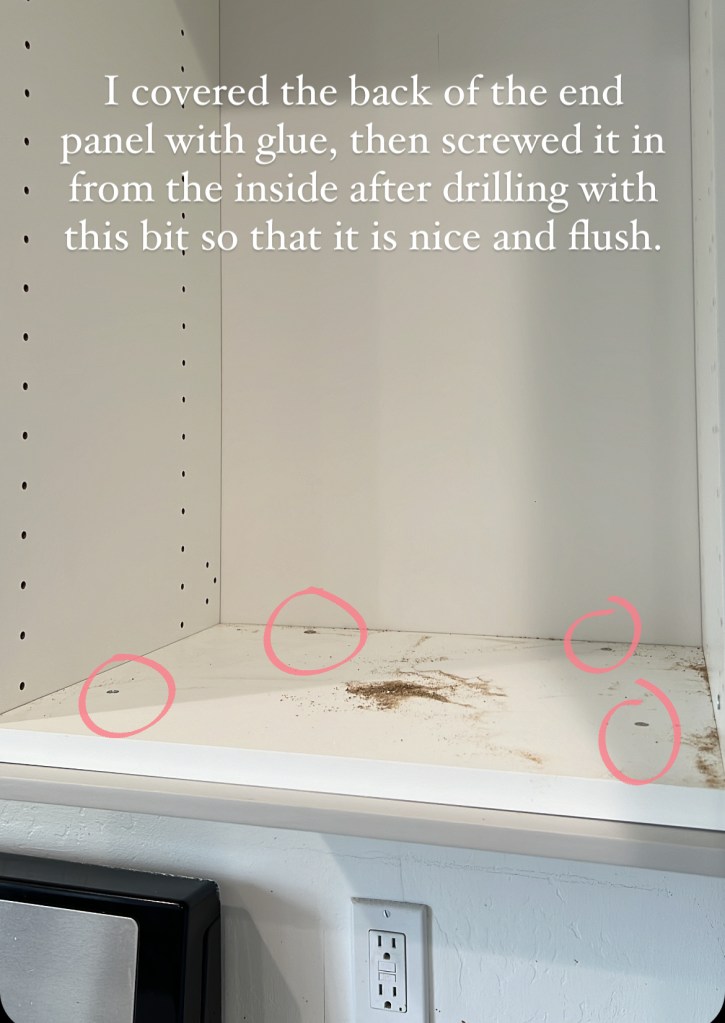
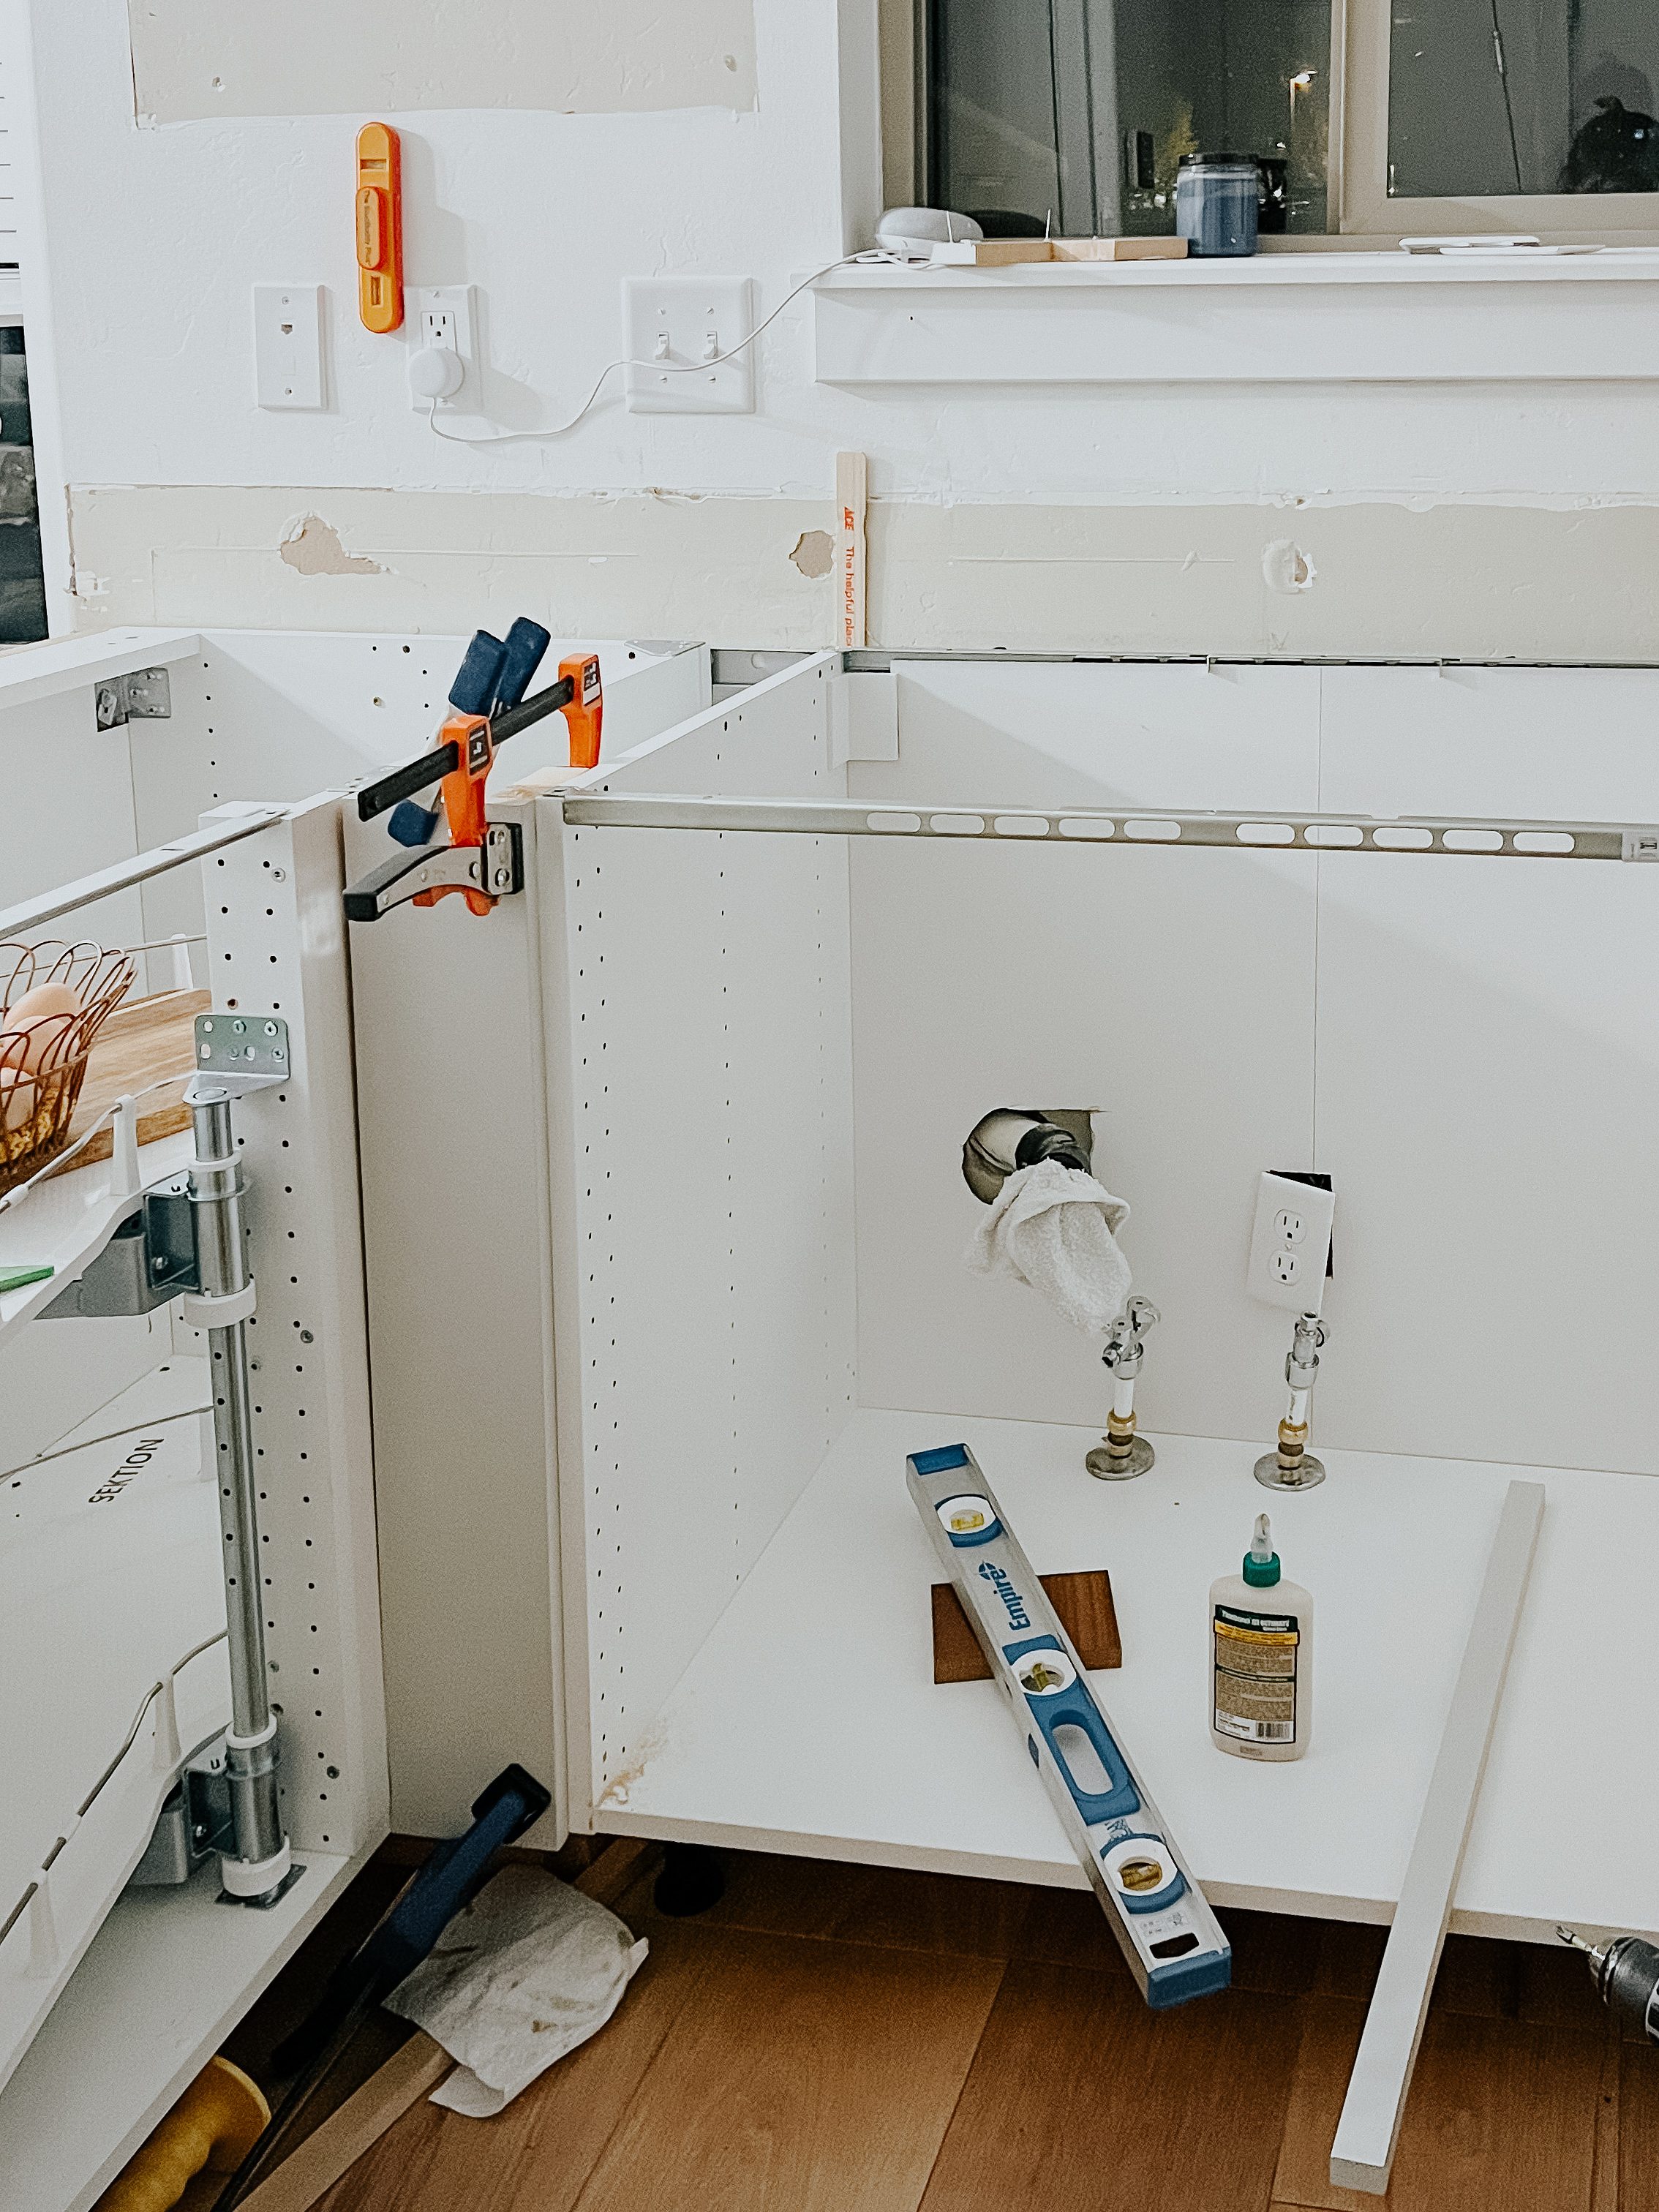
Attaching them was easy, but I was also very careful to line them up perfectly. The IKEA directions will guide you to install them flush with your cabinet box. There is nothing wrong with this approach, but it does leave your door sitting proud and I wanted the front of the end panel flush with the face of the door. I used the door sample that I have on hand (since the cabinet doors are still being made) to line it up. I covered the side with wood glue and then screwed them in from the inside. I used a countersink bit so that the screw is flush on the inside of the cabinet.

I also added end panels on the bottom of each cabinet so that it looks fully inset!
I also needed filler pieces. These go anywhere there are gaps between cabinets. I used offcuts from the end panels, so I didn’t have to paint them again. To attach these, I added blocking to the space next to the cabinet and glued the filler piece to the block. The glue will be plenty to hold it tight and I don’t have to fill any nail holes on the front.

Any small gaps between the end panels and the wall will be covered by backsplash or I’ll caulk it, and I also need to caulk a few places where the filler pieces meet, but those are details I can address later, haha!
I finished the bottom filler pieces, had the countertops installed, and then did the uppers so unfortunately I don’t have a picture of them all finished at once, but hopefully you get the gist! 🙂
With love,
Mercedes ♥
