

If you’ve read the saga of our hardwood floors, you know we brought our floors with us as we moved across the country from Utah to Arkansas (if you haven’t, you can read about it here). While we were in the store buying our bamboo floors, I found floor tile with the prettiest pattern on it and immediately fell in love! Plus, it was only $0.99 per square foot, so that made me pretty happy. I know I’ve said it takes me ages to make a decision but once in a blue moon, I’ll see something and know it’s exactly what I want. That’s exactly what happened with this tile and since we were already buying floors, I figured we should just throw it in…right?
Want to see what projects I’m working on now? Follow me on Instagram!


We didn’t have the freedom to just run back to the house and take measurements for how much we would need (seeing as that trip would take us approximately 4 days), so we called up our awesome realtor. There wasn’t anyone living in the house when we purchased it and even though we hadn’t closed yet, she was able to measure the dimensions of the hall bath and the laundry room – the two rooms I wanted this tile in – and send them to us.
Both rooms combined equaled about 100 square feet and we needed to buy extra to account for waste, so for right around $120 we purchased the tile for both of those rooms. Win! After buying mortar and grout and renting a manual tile cutter, I think we landed between $150-$175 for the whole project.
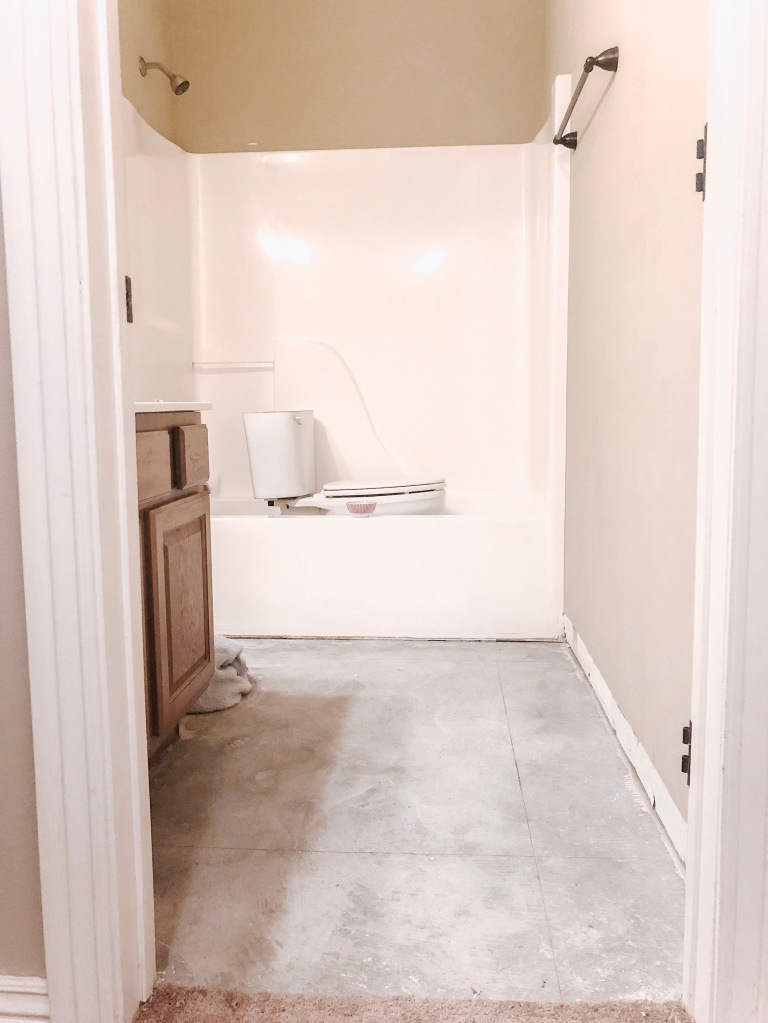
When we hired a crew to come remove the old glued down flooring, we also had them rip out the tile in the laundry room and hall bath so that we wouldn’t have to and so I could tackle the project whenever I wanted to without needing to bring them back out.
The flooring for the rest of the house took priority because we really wanted to get our fridge in! We were living on microwave food and take out until we could get a refrigerator into our kitchen, but we couldn’t do that until we had floors. Once we had finished the main space, J started work and I was still nervous using the saw, so instead of finishing the hardwood and running it down the hallway (which was going to require approximately 3 million cuts), I decided to tile the laundry room. I used a manual tile cutter for almost all of the cuts and since it’s not a power tool, I was really comfortable using it. There were a couple of places where I needed to use an angle grinder, but after watching many YouTube videos, I felt comfortable enough to use it on my own. YouTube is awesome.
It’s not that I couldn’t use the saw, it’s just that I wasn’t experienced with it and I didn’t want to be home alone if something bad were to happen. Now, I’m probably more comfortable than J is with most of our tools and I am not worried about using them when I’m home alone.

I started by dry fitting the tiles, which means that I laid them out and made all the cuts I would need before putting any thin set down. I highly recommend this when doing floor tile because 1) it’s easier to make sure your tiles are lined up when there isn’t mortar covering any alignment marks you’ve made on the floor and 2) it’s more efficient to get all the cuts done and then spread lots of thin set and then lay your tiles down quickly.

The laundry room was the first room I did because there is no toilet flange I would need to cut around, so it made sense to get used to my tools before I would need to make a funky cut. After the laundry room I moved onto the bathroom and making the circular cut was actually a lot easier than I anticipated.

I took a whole day to lay the tile in the laundry room, waited 24 hours, and then spent about an hour grouting it. After another 24 hours, I sealed the grout and then we could finally get a washer and dryer in there and tackle the laundry equivalent of Mt. Everest that had accumulated – oops! The bathroom was a little smaller so the tiling only took me a couple hours. The next day I grouted and then the following day I sealed it and we got the toilet back in. Yay!

We purchased the tile from Floor and Decor and used platinum colored grout to match the faux grout lines in the tile. Our closest Floor and Decor is over 3 hours away from us, which makes my heart hurt a little (haha). If you ever get a chance, just go wander through their store. They have so many pretty tiles and other flooring options and it is so much fun. A quick note – Home Depot carries a similar tile, but if you look closely at it, the image is pretty grainy so I would choose the Floor and Decor version over Home Depot’s. Sorry Home Depot! I still love you.
This tile works so well in these spaces because they are small and the pattern makes them feel so fresh and cheerful.
With love,
Mercedes ♥

Hi! Did you cement backer board first to the subfloor and then orange membrane? I have been researching and so many people do it differently. Some do both or just one. You are a pro now that you’ve done so many floors. I adore your herringbone bath. Thanks!
LikeLike
I did not! Just the plywood subfloor, then Ditra, then tile. Just pay attention to what the mortar is rated for because it’s confusing!
LikeLike